


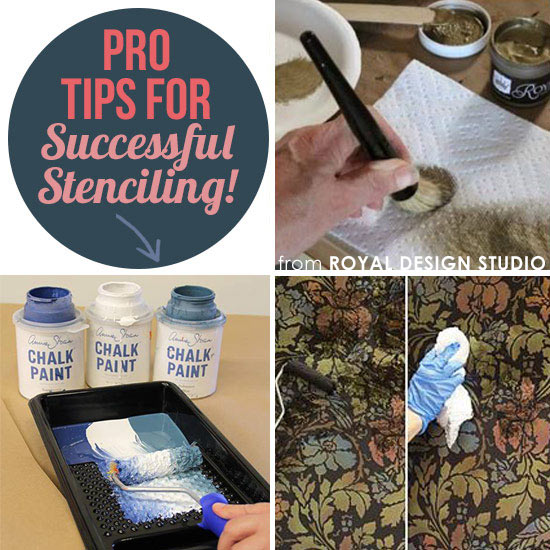
We're always sharing fab stencil ideas and inspiration on Pinterest and Facebook, but one of our most popular shares is the Stencil Tips series! Every time we create new stencil finishes and DIY stencil projects for you in our studio, we post them in the How To Stencil section of our website and we like to share individual nuggets of information to help make stenciling that much easier. Plus, many of our Stencil Tips address some of the most popular questions we receive. Ready to stencil like a pro? Let's do it!

Two of the queries we are commonly asked are "How do you prevent paint from seeping under the stencil?" and "How do you clean a stencil?". Both are GREAT questions and we cover each of them in our How to Use Basic Brush Stenciling Techniques. We feature the brush techniques using our Royal Stencil Cremes since they are paints made specifically for stenciling and their consistency and opacity will help you create a better project. The right products make it! Even when using acrylic paints, the key is to keep as "dry" a brush as possible -- this will help make clean-up a breeze, too, so be sure to click on the brush stenciling link for more.

If you've been using stencils with one color, it's time to step up your game! To add depth to your stenciling, lay the stencil back over your first color and stencil in another. For our stenciled floorcloth tutorial, we shaded the outer edge of the flower petals in a light blue over a deep charcoal for added dimension and interest. This stencil tip will also help you in adding highlights and shadows for a more three-dimensional effect, too. Have fun experimenting!

Sometimes, a color can be too bright and you just need to knock it back a bit - it happens! Our next Stencil Tip is to use an antiquing glaze to help tone down the brightness while adding a rich layer of depth and color to your stencil project. You can see the full project results and step-by-step how-to on our Creative Coloring & Antiquing with Stencils how-to!

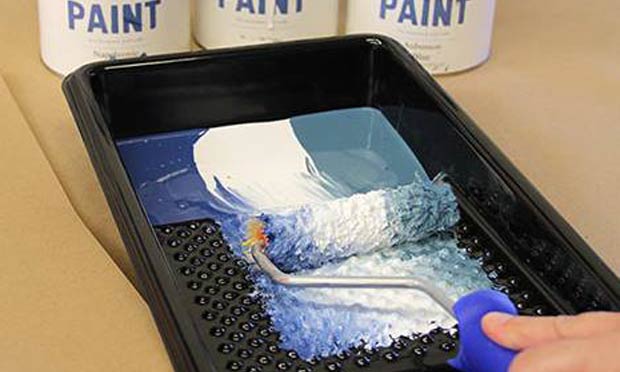
Chalk Paint® decorative paint by Annie Sloan is a revolutionary furniture paint and we use it frequently in the studio! One of the most popular stenciling tips we ever shared was that you could place paint colors side by side and then stencil them with a roller for an organic and forgiving multi-color look. So pretty! The Stencil How-to was for our Faded Silk Suzani Stencil Fabric Finish -- a perennial favorite. Be sure to offload well!

Who says you have to stencil with just color? Not us! In fact, we recommended a cool twist on stenciling in our Stamping the Splendor Damask Stencil How-to. Using rubber craft stamps & ink to help stencil in your pattern - now there's a way put an even MORE personal stamp on your projects! Be sure to click on that link to see the lovely final results!
We're always striving to inspire you with stencil ideas and we hope these tips help enhance your next stencil project! Do you have any tips you'd like to share or have any questions for us? Let us know in the comments - we'd LOVE to hear from you!
Take a look at these extra stencil project tutorials just for YOU...
- Stencil How-to: Stenciling a Lampshade
- How to Stencil a Lace Doily Pattern on Fabric Pillows
- Stencil How-to: Colorful Moroccan Canvas Art


