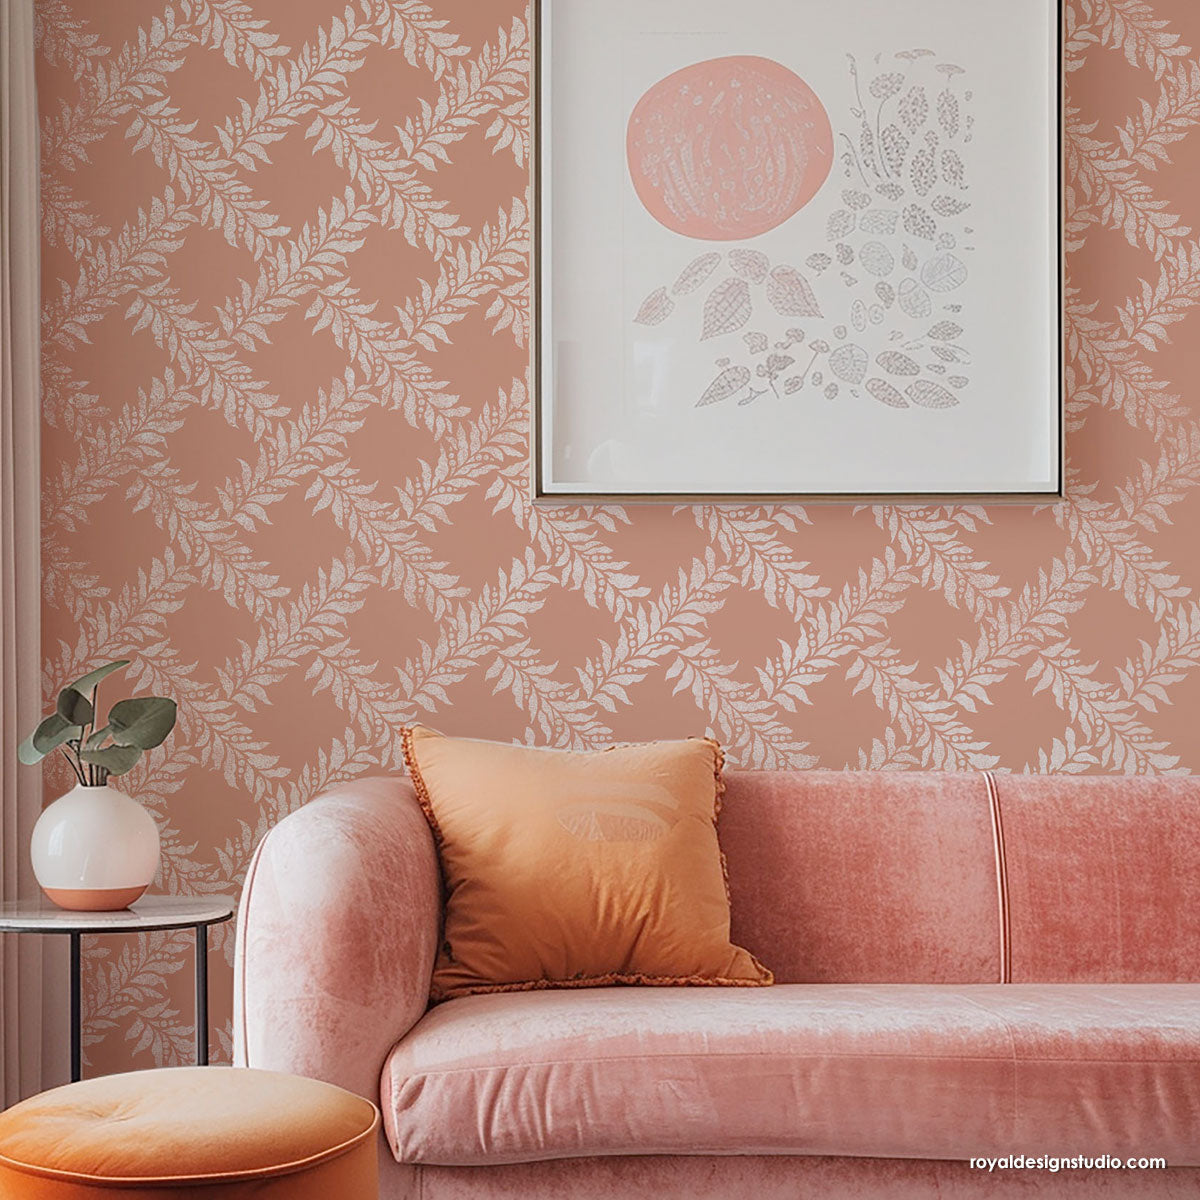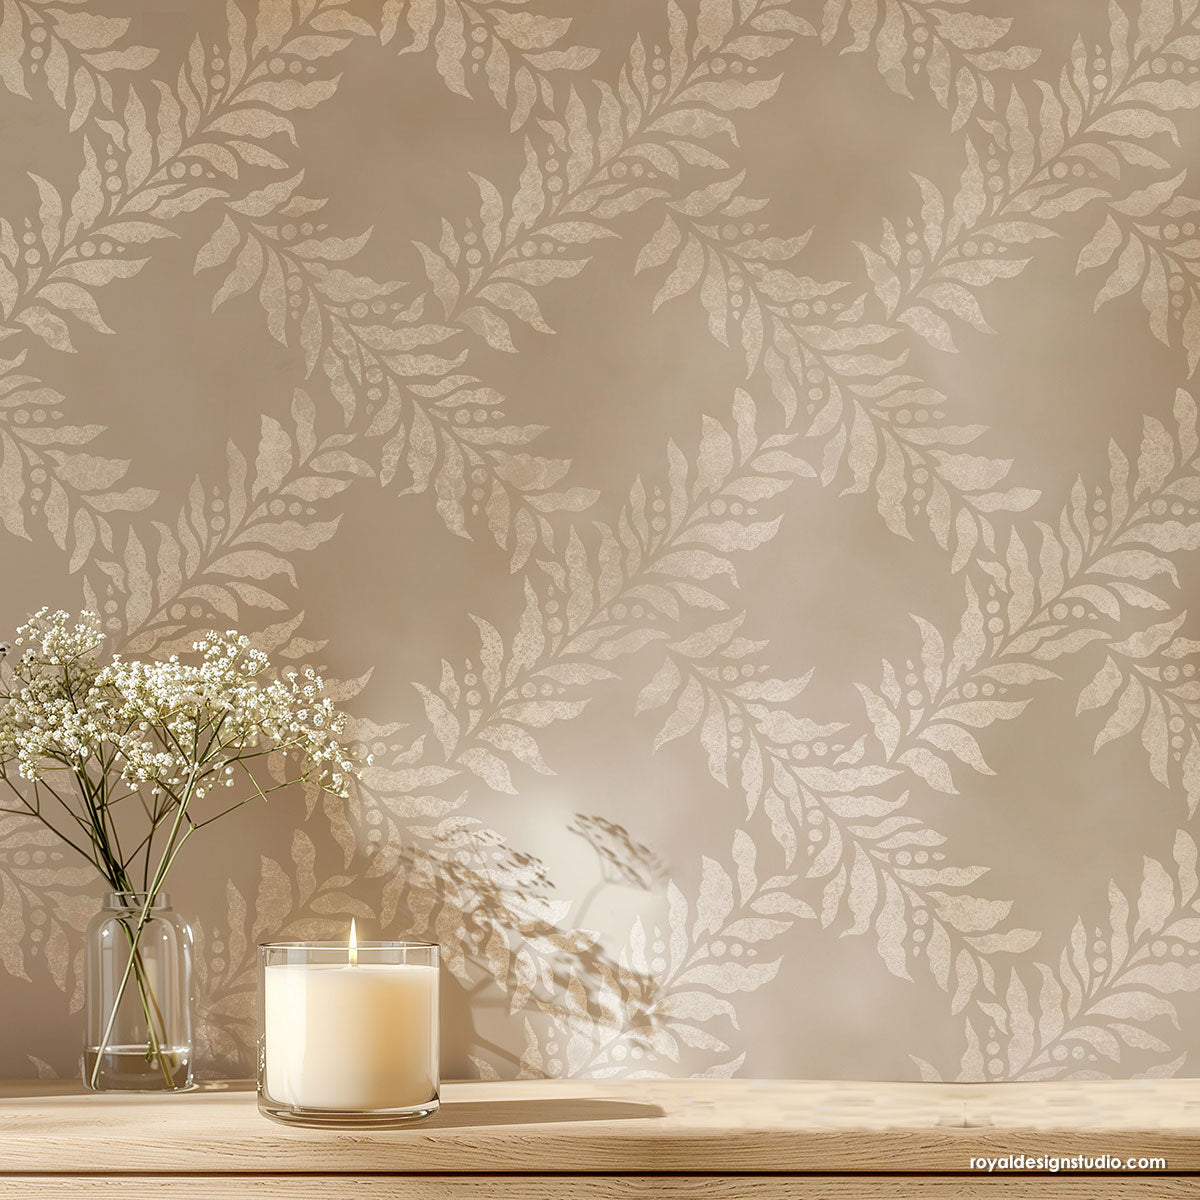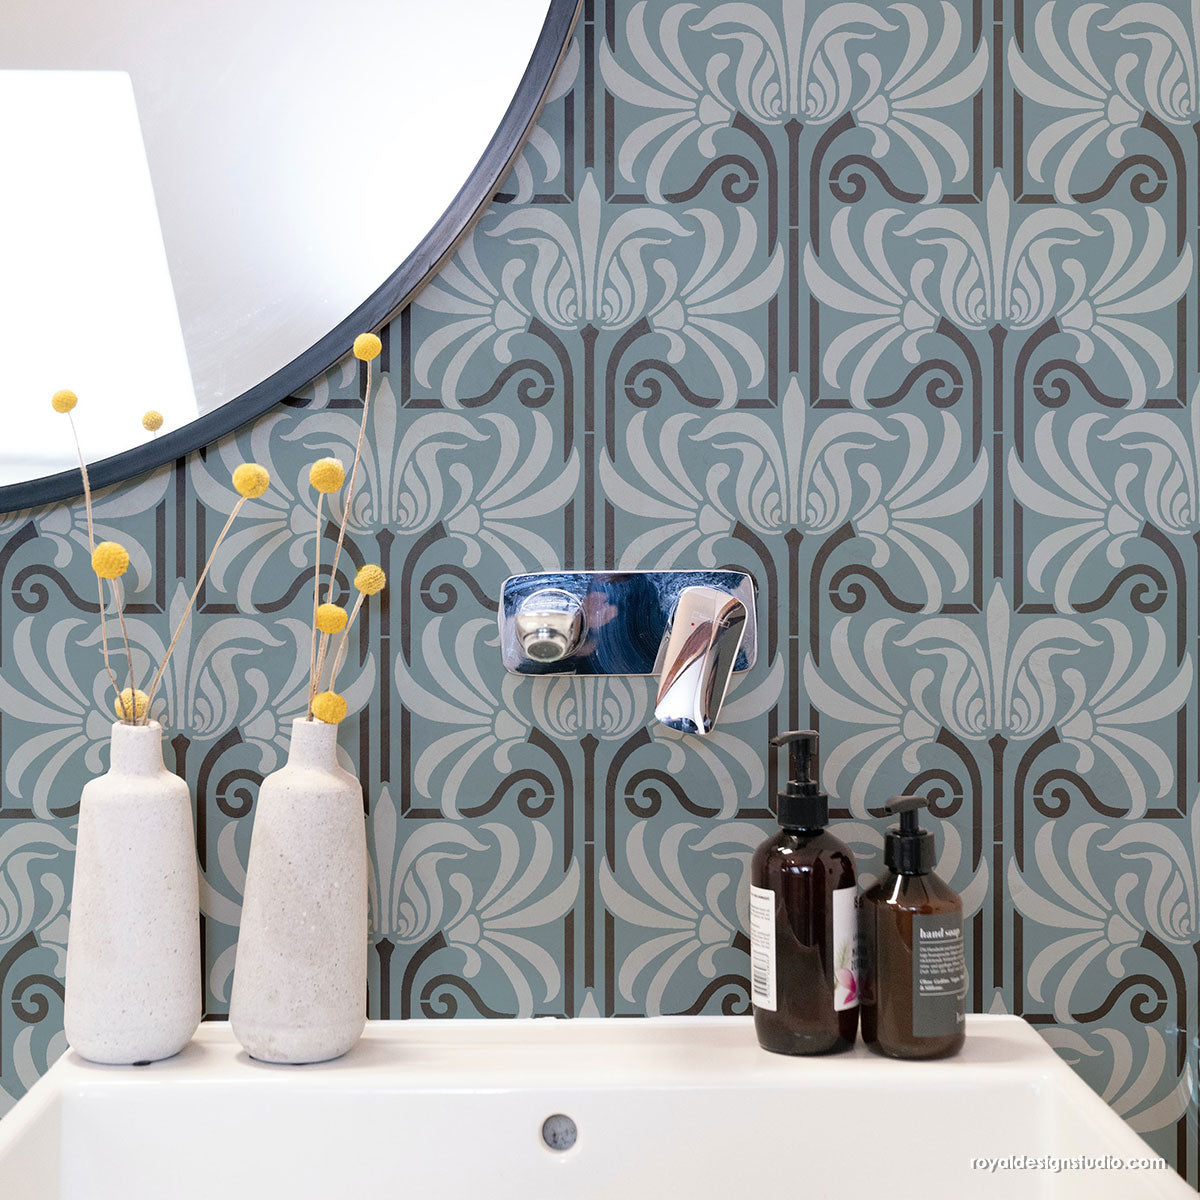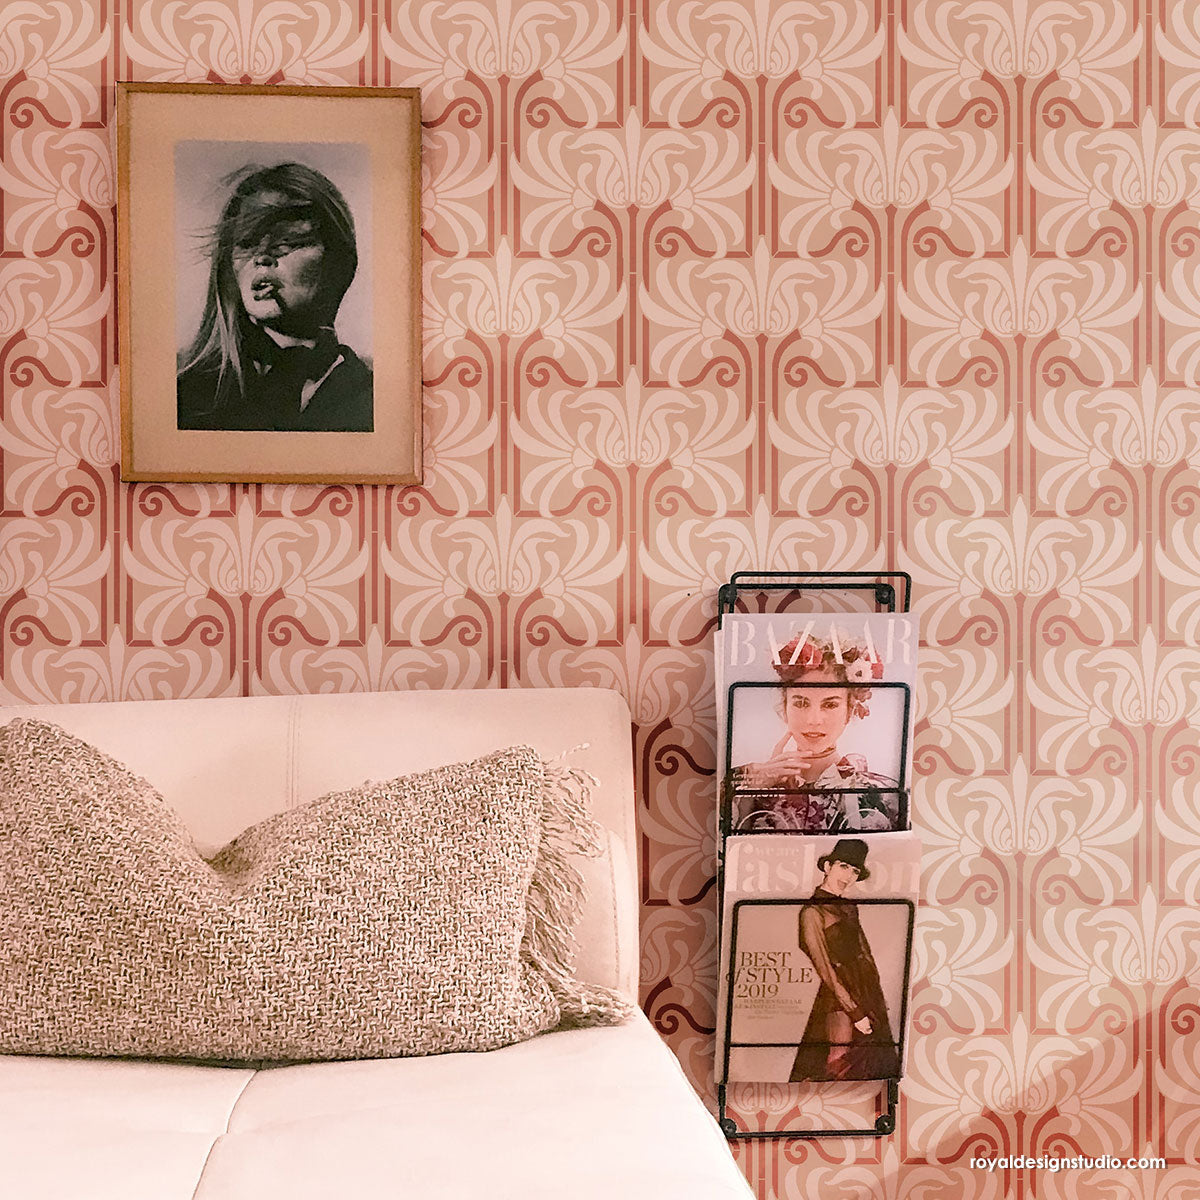

Globally inspired tribal elements are a huge design trend this year. No matter where you look, clothes, accessories, home furnishings or home décor – you are sure to find these patterns in one form or another. One of these haute and trending global textile patterns is that of the ‘Tenango textiles’ embroidered by the Otomi Indians in Mexico and thereby more popularly known as ‘Otomi textiles’. We also fell in love with the nature inspired, fun and whimsical Otomi patterns and thought how cool would it be to be able to transfer it to almost! We designed the Otomi stencils so that these beautiful patterns could be transferred to your walls, tables or wherever else you wanted instead of limiting its availability to fabrics and textiles.
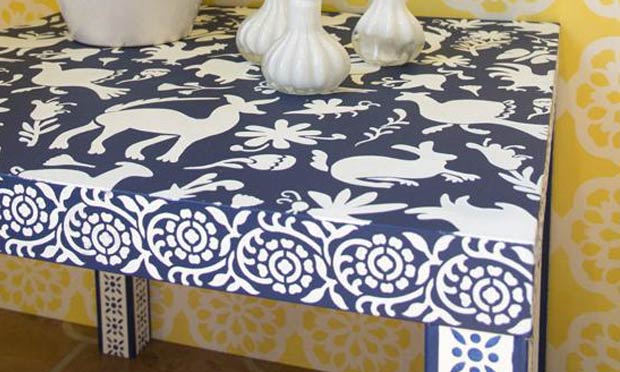
We tried these stencils on one of our favorite Ikea products – the Ikea Hack. This DIY will let you create something exotic out of a mere $8 table! We also tried stenciling the Otomi pattern on fabric and the outcome was a fabulous looking table runner that would otherwise cost you at least a couple of hundred bucks!

Supplies for the Otomi Ikea Hack DIY:
- Royal Design Studio Stencils: Small Otomi Folk Art Furniture Stencil and India Sari Border stencils
- Annie Sloan Napoleonic Blue Chalk Paint
- Annie Sloan Pure White Chalk Paint
- Stencil Brushes
- Ikea Table
- Foam Roller and Tray
- Painters Tape
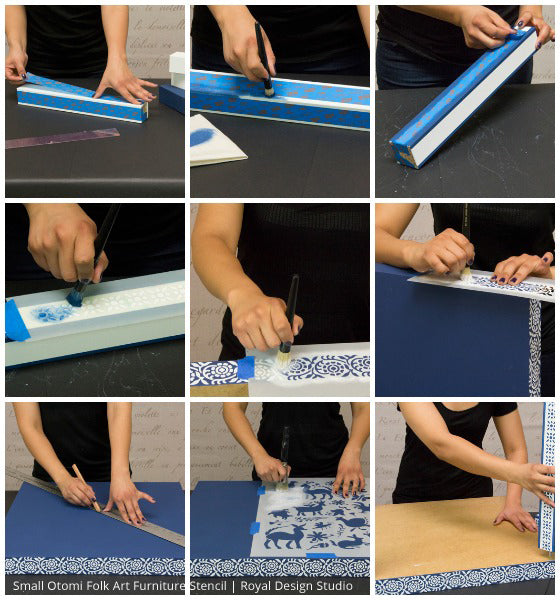
Step 1: Start with painting the four legs of the Ikea hack with pure white chalk paint using a foam roller. Also, paint the table top with Napoleonic Blue chalk paint.
Step 2: Place a 1 ½” inch painters tape centered on all four vertical surfaces of the table’s legs. Now, using a stencil brush, paint the edges of the legs with Napoleonic Blue chalk paint to create a border on all four sides.
Step 3: Once the paint is dry, remove the tape and stencil the pure white chalk painted area of the legs with stencil ‘C’ of the Sari Border Stencil Collection. Repeat this for all four sides of all the legs.
Step 4: Similarly, use stencil ‘A’ from the Sari Border Stencil Collection to stencil the edges of the blue table top with the Pure White Chalk paint.
Step 5: Define the center of the table by finding the intersection point of the two diagonal lines of the table top (this will help center the stencil pattern). And finally, use the Pure White chalk paint to stencil the table top with the beautiful Otomi Furniture Stencil!
Ta-da! Easy breezy and gorgeous both at the same time, isn’t it?!

Let’s take a quick look at how easily the Otomi stencil can also make any normal looking table runner or throw into a gorgeous conversational piece.

Supplies for the Otomi table runner DIY:
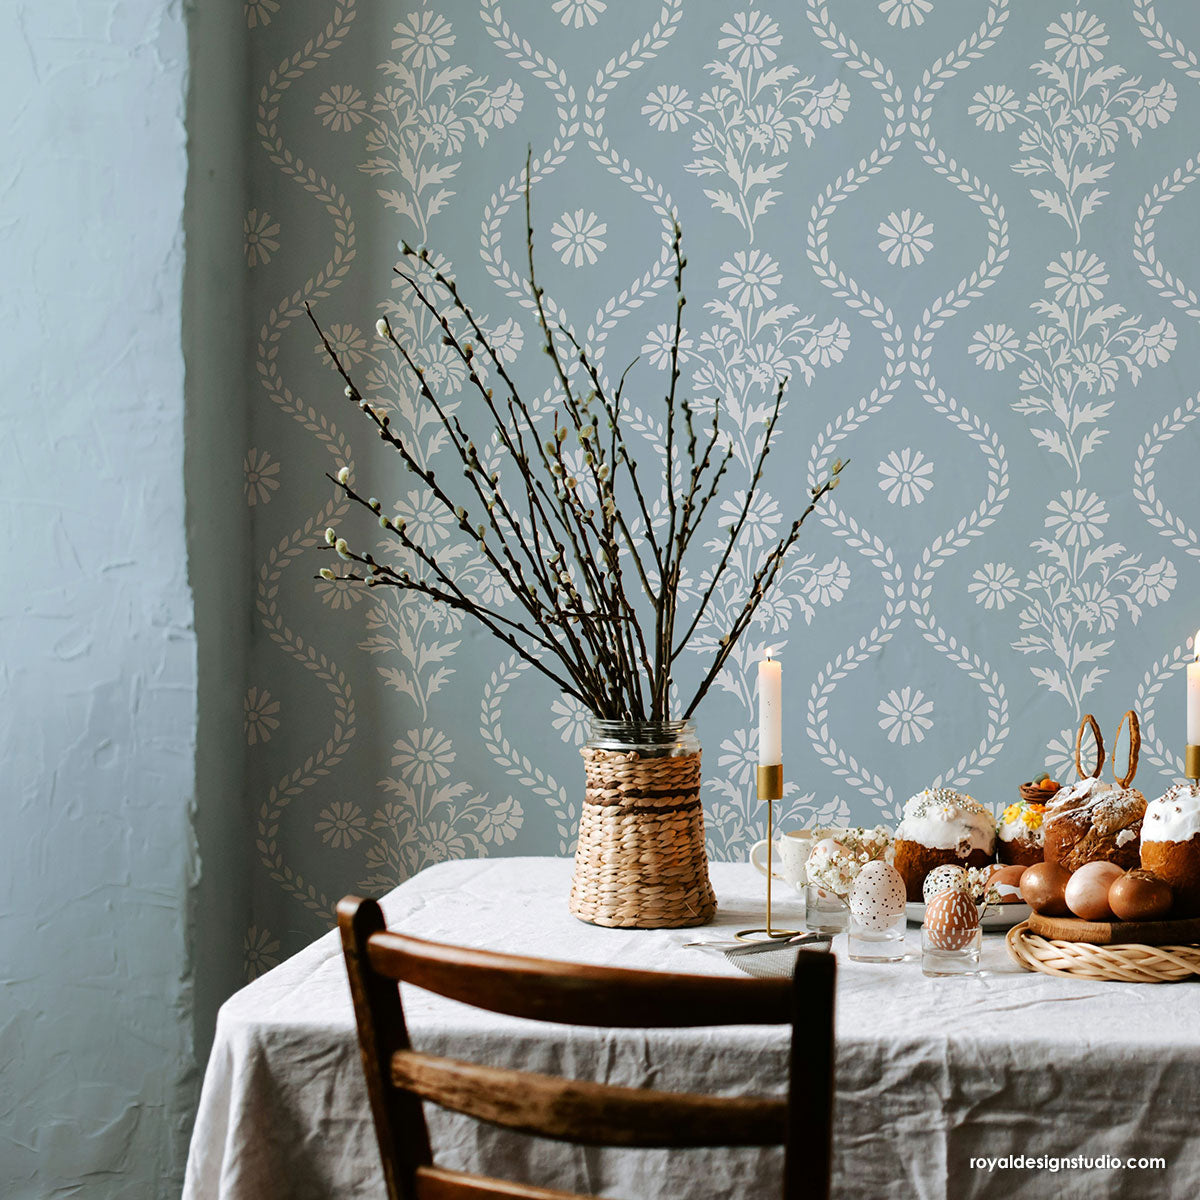
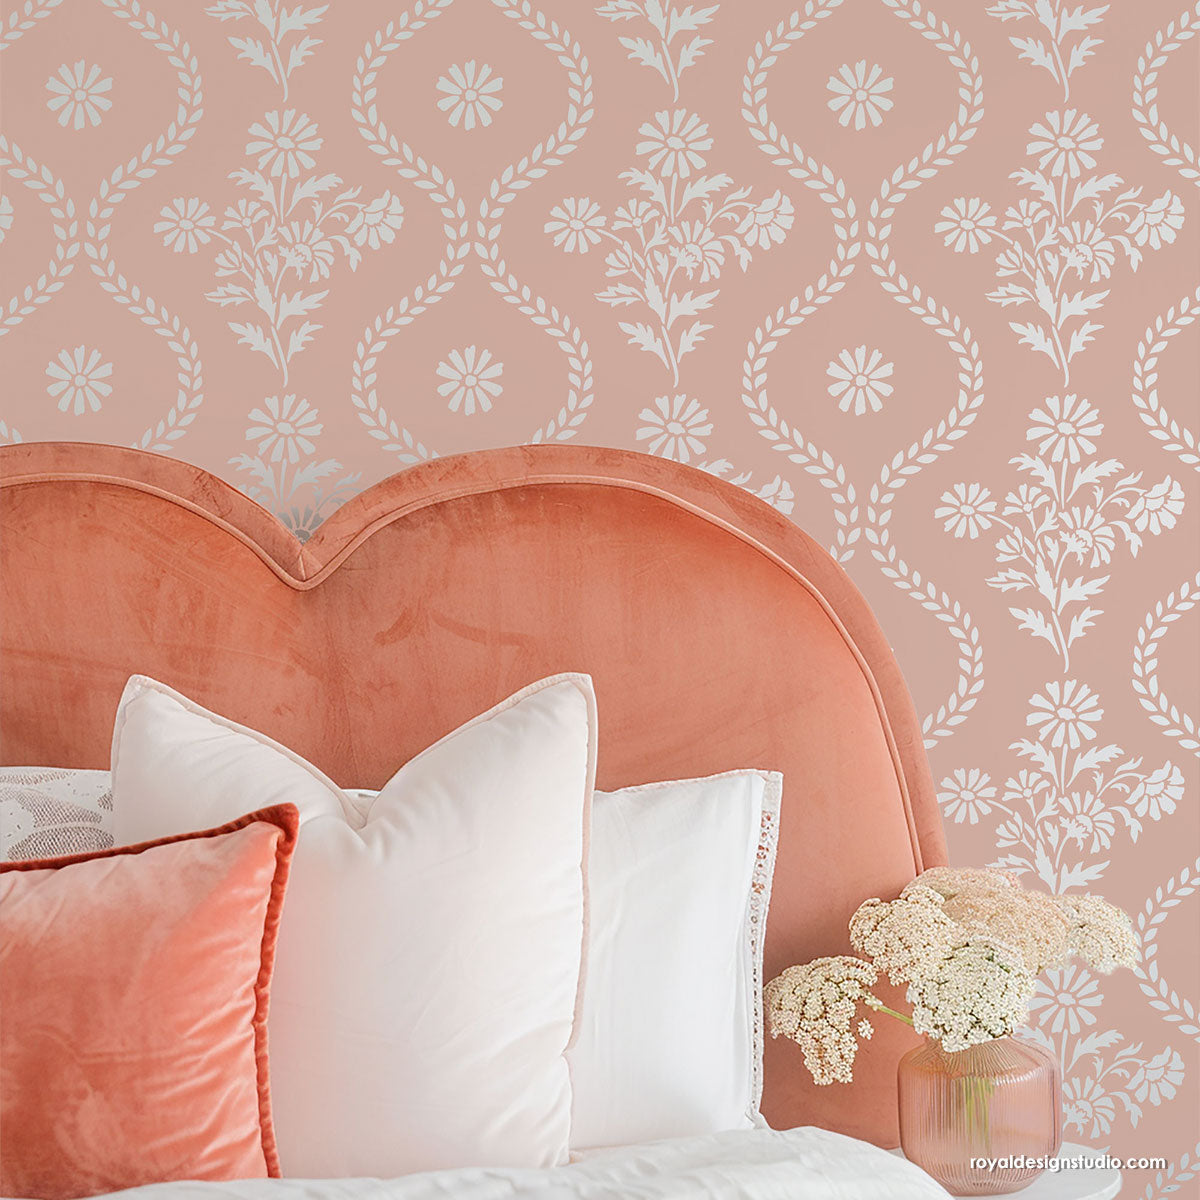
- Otomi Allover Damask Wall Stencil
- Stencil Brushes
- Royal Design Studio Stencil Cremes: To make a Champage colored Stencil Creme mix 1pt Bright Gold + 1 pt Pearl Oyster + ½pt Smoked Oyster
- Painters tape
- Cotton table runner
- Measuring tape

Step 1: Tape around the edges of the table runner to give it a defined border and find its center in order to properly center the stencil pattern.
Step 2: To secure the stencil on the fabric and to avoid any potential bleeds, use spray adhesive and place the stencil on the fabric. Now, using a large stencil brush stencil with the Champagne stencil crème we made earlier.
Step 3: Repeat step 2 for the entire length of the fabric that you are using and once the stencil crème’s have dried off, remove the tape. That's it. Super easy.

We hope the above DIY’s have inspired you to create your own works of stenciled art and we would love to see and share your projects with our community of stencil enthusiasts! So be sure to share what you create with our stencils.
If the above tutorials have left you craving for more cool stenciling projects, you might also enjoy reading: