


Our Royal Design Studio stencils and stencil brushes are designed for a lifetime of use… IF they are taken care of! The dirty little secret is that no one particularly enjoys cleaning their stencil and stencil brush, BUT it is necessary if you want to take care of these valuable design tools. You’ll want keep your stencils and stencil brushes in tip-top shape to reuse them for your future DIY projects.
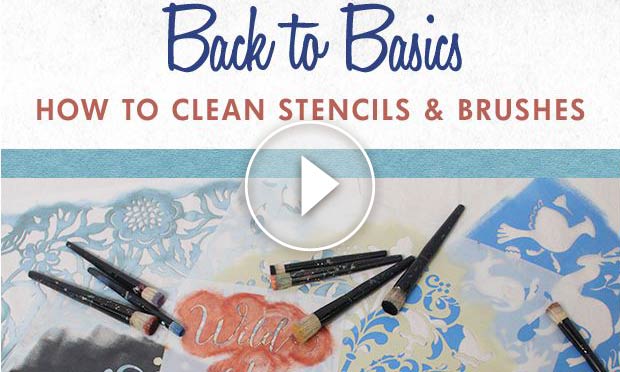
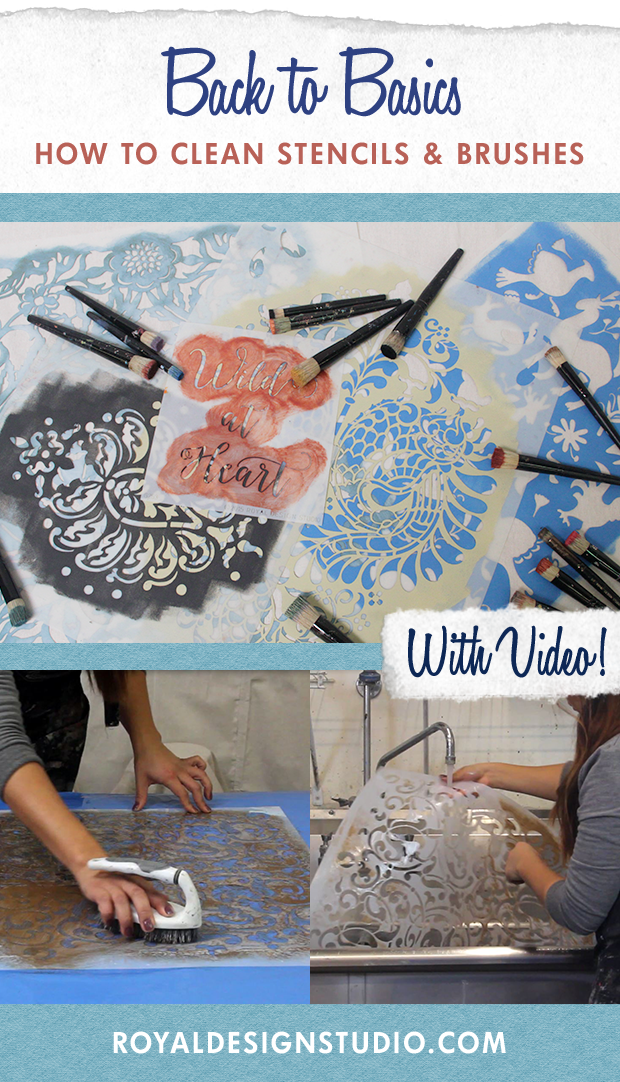
Click play and watch the Stencil Basics video below to learn how to properly clean your stencil and brushes…
How to Clean Stencils
We highly recommend that you clean your stencil periodically throughout your stencil project. This is true whether you are using latex paint, acrylic paint, or our metallic Royal Stencil Cremes.
Letting too much paint build up on your stencil can cause many issues:
- Some of the smaller design elements in the stencil can become smaller.
- Aligning your registration marks to create a straight design will come more difficult.
- Your stencil may become heavier and your stenciling won’t be as clean and crisp.
- And the longer you paint without cleaning your stencil, the harder it will be to get the paint buildup off later.
We’ve been stenciling and cleaning stencils for over 20 years and we’ve found the fastest way to easily clean stencils without causing any damage to them! Here’s how:
- The best stencil cleaner we’ve found is Motsenbacher’s Lift Off. It’s an environmentally friendly latex paint remover. The best tool for scrubbing and removing paint without damage is a short, stiff-bristled scrub brush.
- Remove any painter’s tape from your stencil and place it flat on a hard surface. This surface could be a table covered with heavy plastic, a large plastic bin, a laundry sink, or even your bathtub.
- Spray the Motsenbacher’s Lift Off liberally on both sides of your stencil and let it sit for at least a few minutes without it drying out.
- Use a stiff-bristled scrub brush to scrub off the paint from both sides of the stencil. Then rinse your stencil with warm running water.
- If the paint is built up heavily, it may be necessary for you to repeat the cleaning process. You can also use a sponge with a Scotch-Brite pad to remove any small remaining areas of paint.
- Rinse well and dry your stencil completely by air drying or with a towel before beginning to stencil again.
Heavy Duty Stencil Cleaning with Old or Dried Paint
Sometimes it’s not possible to clean your stencil right away. If you allow paint to build up on the stencil and let it dry out, you will need to take a little more time to clean it. Here are some PRO tips for cleaning hard-to-clean stencils using a large plastic garbage bag.
- Lay your stencil inside a large plastic garbage bag.
- Spray the Motsenbacher’s Lift Off liberally on both sides of your stencil. Then push out the air from the bag as you use your hands to sweep it closed. The key is to remove any air from the bag so that the stencil remains wet with the latex paint remover.
- Allow your stencil to soak in the paint remover for several hours or even overnight. This should loosen all the paint on your stencil.
- Use a stiff-bristled scrub brush to scrub off the paint from both sides of the stencil. Then rinse your stencil with warm running water and let dry.
How to Clean Stencil Brushes
Our signature Royal Stencil Brushes are designed with an abundance of soft, natural bristles. With proper care, you can expect them to last for years of use. We recommend using our Stencil Brush Scrubber with Motsenbacher’s Lift Off or Murphy’s Oil Soap for best results. You can also use any mild liquid or bar soap.
- Clean your stencil brush immediately after use. This will prevent you have having to soak them, which can expand the glue and crack the metal ferrule.
- Wet the brush with lukewarm water under the tap. Apply Motsenbacher’s or Murphy’s Oil Soap directly to the brush and coat the bristles well.
- Rub the brush in a circular motion over the plastic Stencil Brush Scrubber. This tool will help you to clean in between all the bristles.
- Rinse and repeat until the water runs clean. Note that some colors of paint may stain the brush slightly but as long as all the paint particles are removed, you brushes are ready to dry.
- Blot off excess water onto a towel. Leave your stencil brush to dry flat so that water doesn’t collect in the metal ferrule. Make sure to dry it completely before stenciling again. If you’re in a hurry, you can use a hair dryer or lay the brush under the sun.
Check out all of our Stencil Basics videos for need-to-know tips and tricks on how to stencil perfectly and create pretty pattern that you’ve always wanted!


