

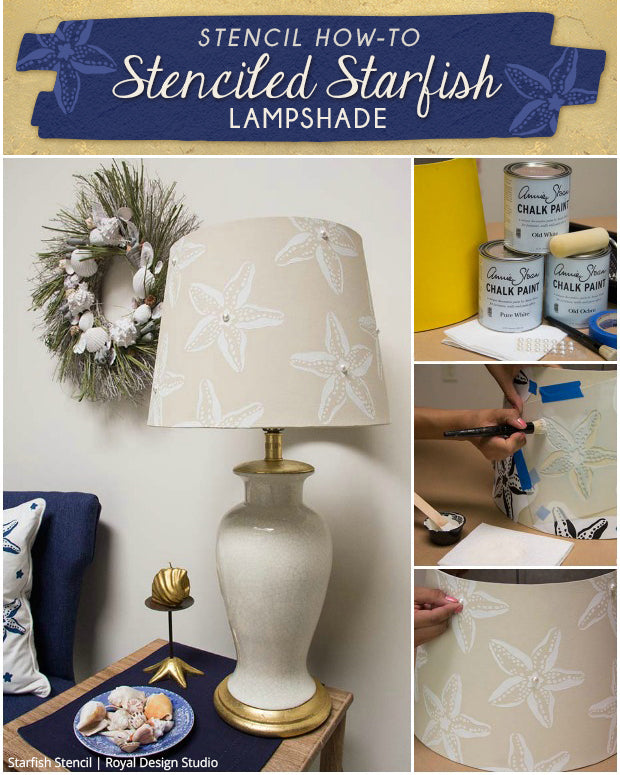
Stenciling a lampshade is a fast and easy way to light up a room. This stenciled starfish lampshade project can be done in about an hour. The results can be enjoyed for years, but this is such an EASY stencil project you could even update your lampshade each season!
- Problem: You’ve found a lampshade in the perfect size, shape, and price range but the color is… well, shall we say awful!
- Solution: Chalk Paint® decorative paint and stencils from Royal Design Studio can turn that dismal looking lampshade into one that lights up your room.
This stencil how-to project features a pattern and color combination that is perfect for a beach decor design scheme. However, a simple substitution of paint color and pattern choice will give you a stencil project that represents your own amazing personal style.
Stencil Supplies you will need:
- Starfish Wall Art Stencil from Royal Design Studio (available FREE with every purchase July 2014)
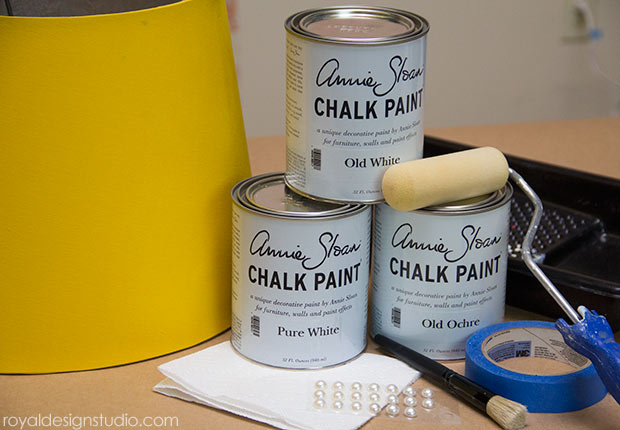
- Chalk Paint® decorative paint: Old Ochre, Pure White, Old White
- 1″ Stencil Brush
- Stencil Roller set including
- Paper towels and Painter’s Tape
- Adhesive-backed Pearls
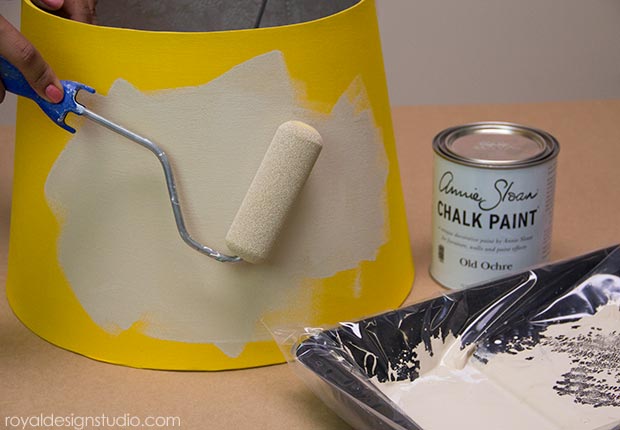
Step 1
Use a 4″foam roller to roll on 1-2 coats of Old Ochre Chalk Paint over the existing lampshade. The Chalk Paint will provide great coverage and dry quickly!
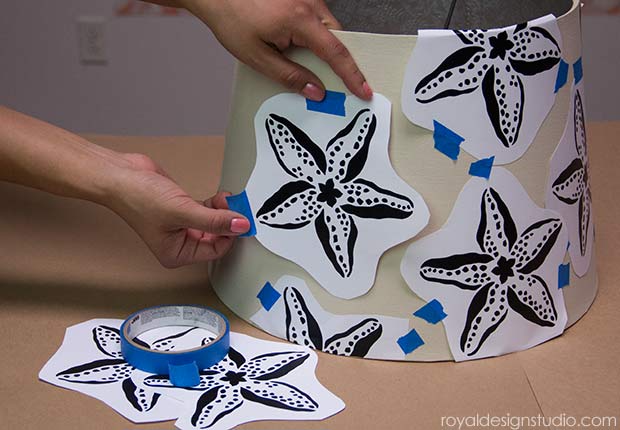
Step 2
Here’s a cool trick for planning the repeat of a single stencil to create a nice allover pattern! Stencil the pattern first on a piece of paper and make multiple photocopies of the image. Tape these in place on your lampshade, playing with various layout options until you find one that works best for you.
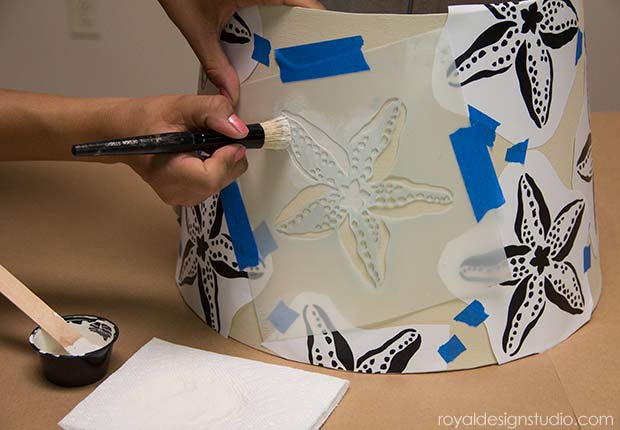
Step 3
Place the Starfish stencil over the printed image, tape in place and remove the paper. Stencil each Starfish with a mixture of 1 part Pure White Chalk Paint and 1/2 part Old White Chalk Paint. Dip just the tips of your stencil brush into the paint mix and offload excess paint onto paper towels. Stencil two thin layers of paint to get solid coverage. Continue stenciling around the whole lampshade in this same manner until complete.
Step 4
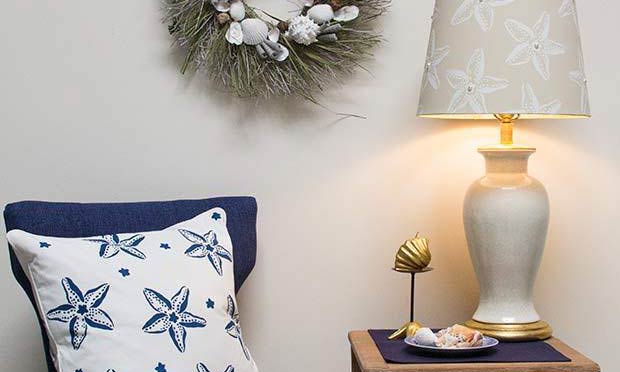
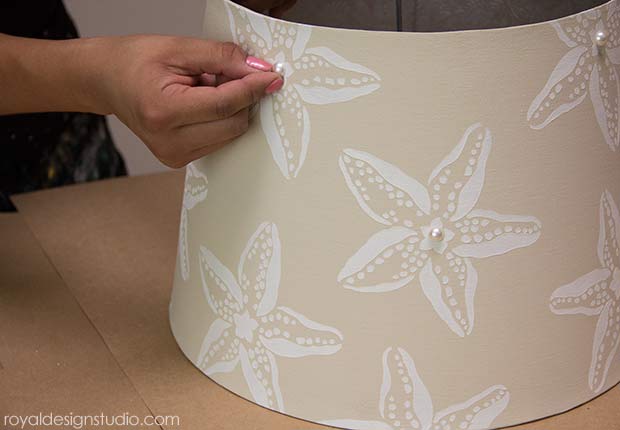
We LOVE to add fun embellishments to our stencil projects around here. These little stick-on pearls were found in the scrap booking section of our local craft store and they provide just the right amount of bling to the starfish, don’t you think?
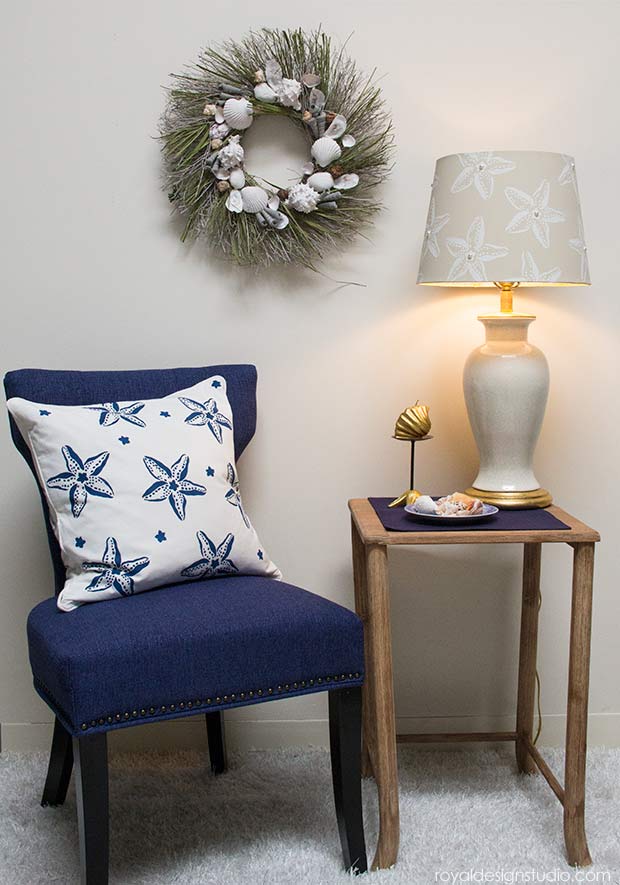
Of course you don’t need to stop with just one Starfish stencil project. The beauty of stencils is that they can be used over and over and adapt to so many surfaces and color options. We loved our lampshade so much, we also updated an old canvas covered pillow with Napoleonic Blue Chalk Paint®. To fill in the spaces in between the large Starfish stencils we simply stenciled the center element of the design. With decorating it’s all in the details!!
Like this stencil project? Here are links to more Stencil How-tos to keep you decorating with style!


