


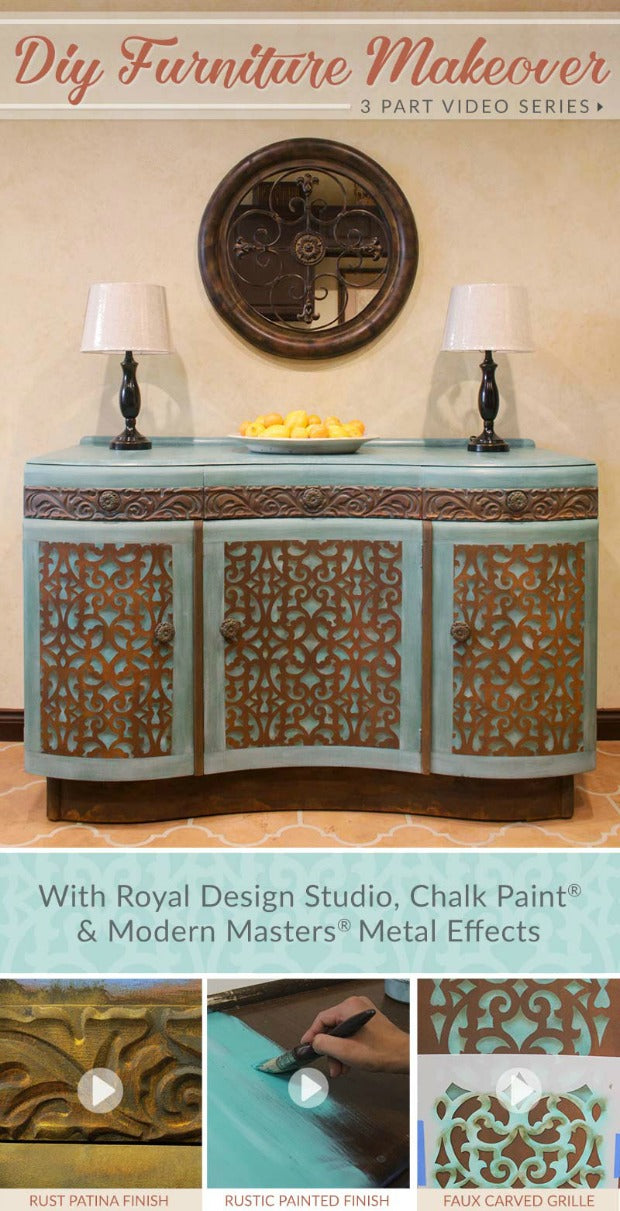
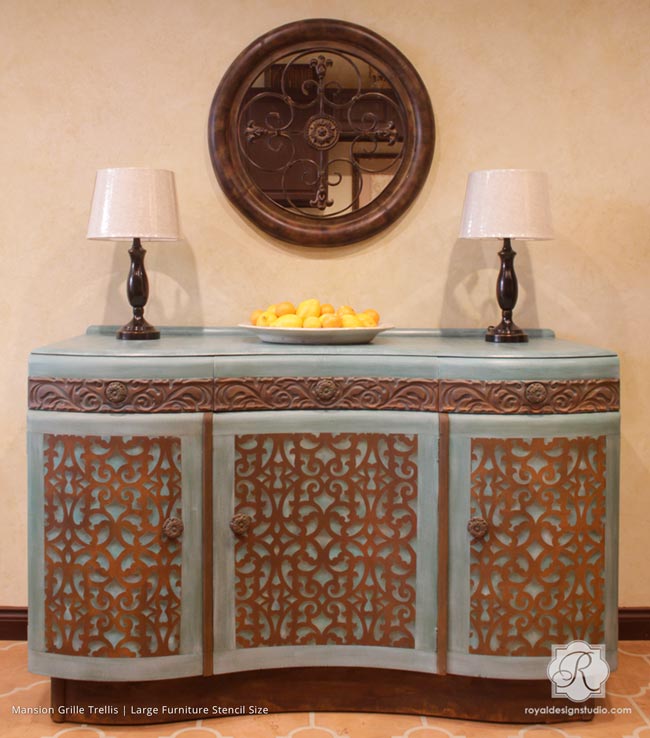
You know that gorgeous patina furniture that you’ve been eyeing, swooning and drooling over at the store that has a silence inducer price tag? Well, what if we told you that you can create a piece just like that but for a fraction of the cost? Psst… you can, and we’re going to show you how! Our Furniture Stencils , Chalk Paint® by Annie Sloan, and Modern Masters Metal Effects Collection pair perfectly to create the beautiful look of time-worn patina finishes.
This DIY idea is a quick and easy option without all the fuss and deterioration that comes with the passage of time. Scroll down to view all three 3 video tutorials and written instructions. Then, get ready to use your newfound knowledge to create each of these looks separately OR together for your own DIY furniture makeover!
Supplies for all three projects:
- Mansion House Grille Trellis Furniture Stencil
- Stencil Brushes: ¾”, 1”, ½”
- Annie Sloan Chalk Paint®: Provence, Florence, Clear Wax
- Modern Masters: Acid Blocking Primer, Oxidizing Iron Metal Effects Paint, Rust Activator, PermaCoat ExtremeSo Slow Extender
- Wood Icing
- Rich Brown Stain & Seal
- So Slow Super Extender
- Chip Brushes
- Cheesecloth
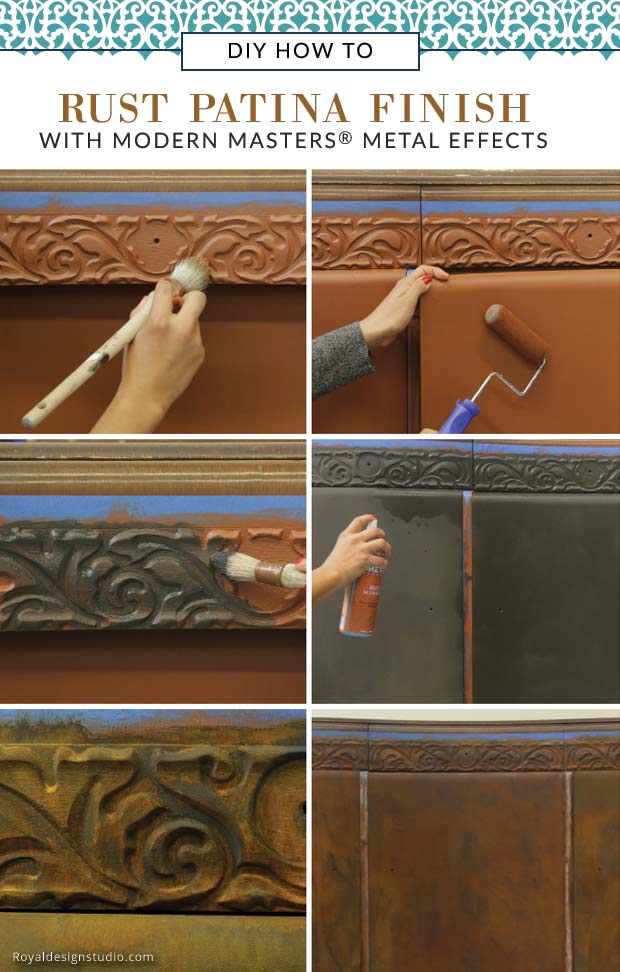
Part 1: How to Create a Rust Finish on Furniture
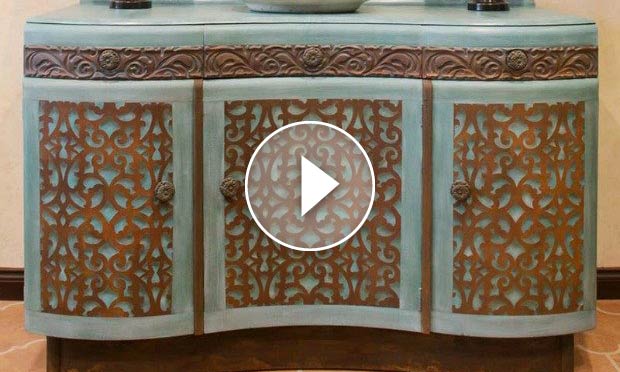
Modern Masters Rust Patina Finish system allows you to instantly create the look on an old rusty surface on furniture, moldings, walls, and metal accessories. What takes Mother Nature years can be done, by you, in just a matter of hours! We selectively used the rust patina finish on just certain area of our thrift store furniture find…
Step 1: Fill in and damages areas with Wood Icing or wood filler using a putty knife. Allow to dry and use fine sandpaper to smooth the area. Be sure to wear a dust mask when sanding.
Step 2: Remove the dust and clean your entire piece with TSP substitute. Allow to dry.
Step 3: Use painter’s tape to mask off the areas you want to apply the iron finish to.
Step 4: Apply two coats of acid blocking primer with a brush or roller. This will seal the surface and keep the iron paint and activator from penetrating the original surface. Allow to dry between coats and then overnight.
Step 5: Apply 2 or 3 coats of Oxidizing Iron Paint over your primed areas with a brush or roller. Allow to dry for 30 minutes between coats and at least an hour before going on to the next step.
Step 6: Apply the Rust Activator with a spray application and proper ventilation. You can smooth or stipple out any drips with a chip brush. Allow to dry for 5 minutes and then apply a second coat. A beautiful rust finish will develop over the next 2 hours.
Step 7: Apply 2 coats of PermaCoat Xtreme to seal the rust finish. For the first coat, mix 1 part PermaCoat with 1 part water. This mixture will allow it to penetrate the finish more easily. Allow to dry and then apply a full coat of PermaCoat.
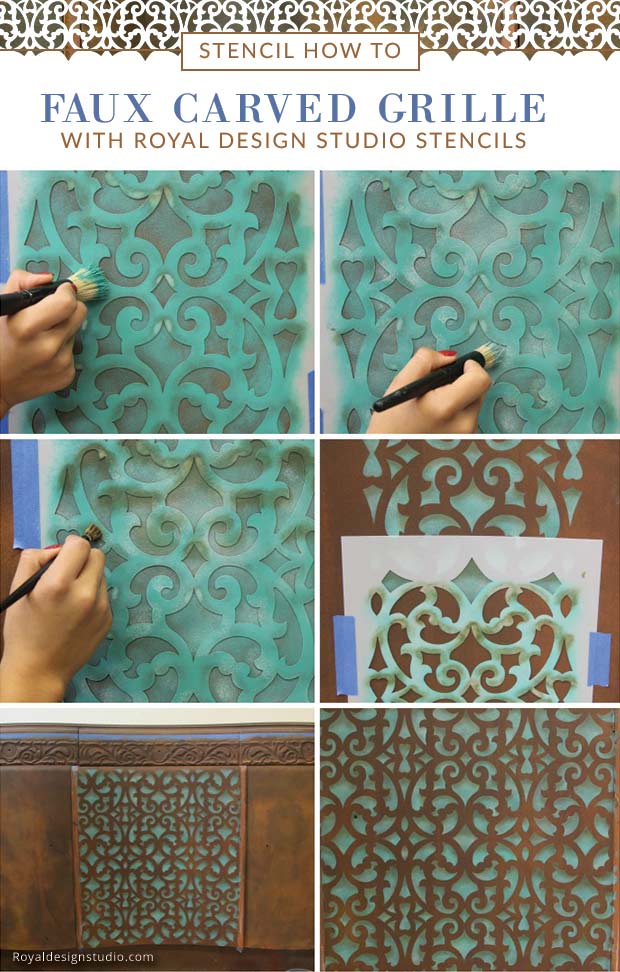
Part 2: How to Stencil a Faux Grille Design
Stencil shading makes it easy to create a 3 dimensional effect using a trellis stencil from Royal Design Studio. See how to create a faux carved effect with just a few brush strokes…
Step 1: Use a measuring tape and level to place the stencil pattern straight and centered on the cabinet doors. The stencil pattern should end the same on each side as well as the top and bottom.
Step 2: Use a 1” stencil brush to stencil the pattern with Florence Chalk Paint®, leaving some open areas.
Step 3: Immediately after Step 2, stipple through the stencil randomly with Provence Chalk Paint® using a ¾” stencil brush. This will add more interest and dimension to the pattern.
Step 4: Add some So Slow Extender to Rich Brown Stain & Seal. Use a ½” stencil brush to paint the mixture along the tops of the design elements so that the color is darker towards the top and fades away at the bottom. This technique creates the look of shadows and adds an illusion of depth to the grille pattern.
Step 5: Once you are completely finished with the first repeat of the stencil move the stencil over and line up the next repeat using the registration marks. Repeat Steps 1 through 4 to finish cabinet doors.
Part 3: How to Create a Rustic Chalk Paint Finish
Everyone knows that Chalk Paint by Annie Sloan is the best paint in the world! In this last lesson, we share how to paint and create a rustic look you’ll love to use on all sorts of furniture fixups…
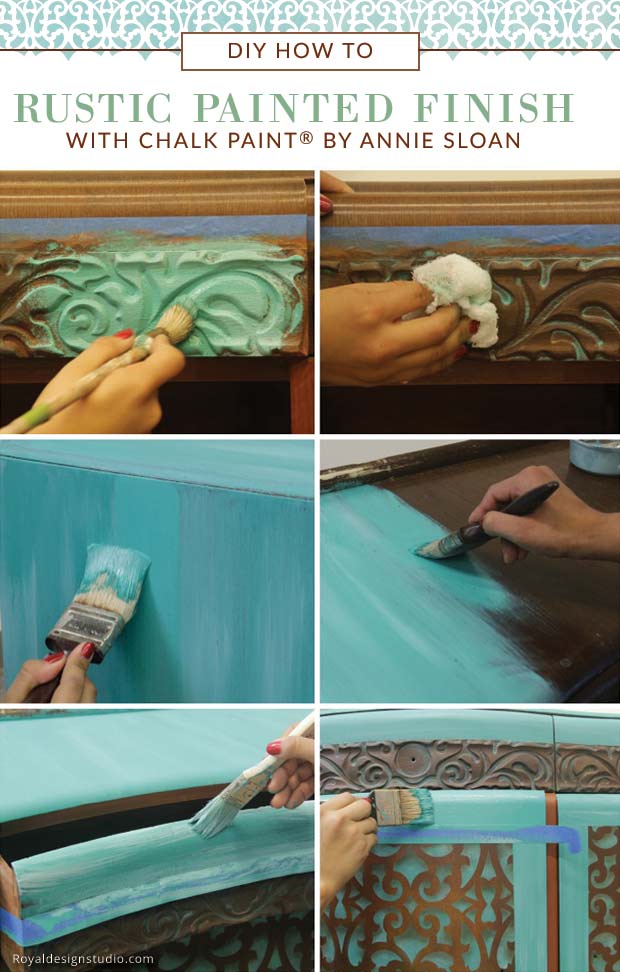
Step 1: Apply both Florence and Provence Chalk Paint® randomly with a stencil brush over a small amount of the carved area.
Step 2: Immediately after Step 1, use a piece of damp cheesecloth to remove the excess Chalk Paint® on the raised areas. Leave the paint only on the crevasses and low areas.
Step 3: Paint the side panels of the furniture piece with Florence Chalk Paint® using a long vertical motion and leaving some areas open. While that coat is still wet, add some interest and highlights with Provence Chalk Paint®. Slightly blend the two colors using long vertical brush strokes. Repeat this step until you get the desired effect.
Step 4: Use the same technique from Step 3 to paint the top the furniture piece, continuing with long, straight brush strokes that follow the grain of the wood. Use painter’s tape to mask off the rust finished areas, and repeat this technique on each of the drawers. To create a border around the cabinet doors, tape off 5 inches on each side and paint a frame using the same painting technique.
Step 5: Mix 1 part Rich Brown Stain & Seal with 1 part So Slow Extender. Use a brush to apply the mixture over the Chalk Paint® finish. Wipe off and blend in immediately with cheesecloth. This stain glaze will tone down the color and give it a rich look.
Step 6: Load a chip brush with Provence Chalk Paint® and offload excess paint onto a paper towel. Use this dry brush to add back in any more desired color and texture over the glazed stain layer. Allow the entire piece to dry.
Step 7: Finally, seal and protect your entire piece with Annie Sloan Clear Wax. Apply 1 or 2 thin layers and buff to a soft sheen.
Ta-da! You now have a beautiful furniture piece with a DIY rust patina finish and a stenciled pattern that looks like 3 dimensional carved wood!
Looking for more Stencil Techniques like this? Check out these other stencil tutorials and videos:


