Learn how to create a romantic stenciled accent wall that features pastel ombré painted stripes topped with an elegant Damask Stencil pattern.

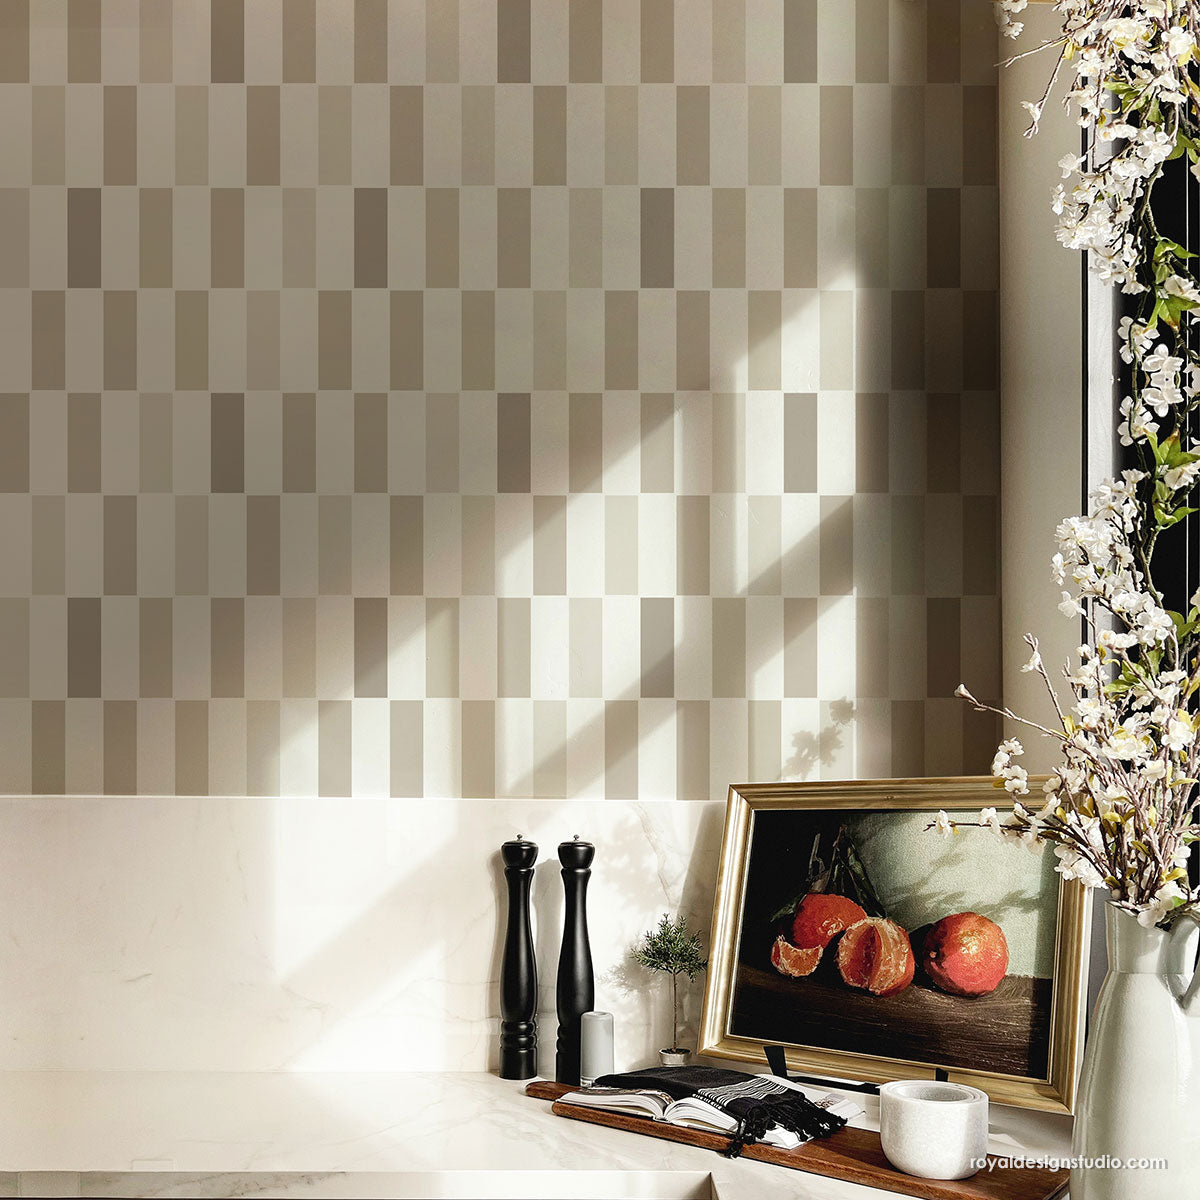
Ombré is a French word that describes the gradual blending of one color hue to another, usually moving in shades from light to dark. Our painted stripes move from light to dark and back to light again to create a soft undulating color across the wall. It is a beautiful look by itself, but provides the perfect backdrop for the Villa Damask stencil from the Alison Woolley Stencil Collection.
Watch the video so see this technique in action and find step by step details below.

Stencil & Painting Supplies
- Villa Damask Wall Stencil
- Chalk Paint® by Annie Sloan: Antoinette,
Scandinavian Pink, Old White, Coco
- 2 - 1”Stencil Brushes
- Foam Roller, Roller tray and Handle
- 4 - 2” Chip Brushes
- Chalk Line, Measuring tape
- Paper towels, painters tape, brown paper
To recreate this wall you will need 4 values of one color, 1 being the lightest shade and 4 the darkest shade.
Start by creating the 4 custom Chalk Paint® colors for your background.

Make sure to properly mark each container as you mix the colors. The color values are so close they can look very similar while wet. NOTE: You will need to mix Color 1 and Color 4 first, then use those color mixes to create Colors 2 and 3.
- Light Pink Mix: 1 part of Scandinavian Pink + 1 part of Antoinette + 3 parts of Old White + ¼ of Coco
- Medium/Light Pink Mix: 2 parts Light Pink Mix + 1 part Dark Pink Mix
- Medium/Dark Pink Mix: 1 part Light Pink Mix + 2 Parts Dark Pink Mix
- Dark Pink Mix: 1 part of Scandinavian Pink + 1 part of Antoinette + 9 parts of Old White + ¼ of Coco
Painting the Ombré Stripes
Find the center of your wall and snap a chalk line. OR, you can also use a level and a piece of chalk to trace a straight vertical line. The line should extend from floor to ceiling.
Measure 3.5” from your line on both sides and snap/ trace another line, repeat this step until you reach the end of your wall and have created a series of lines 3.5” apart.
Use a different chip brush for each color and paint the stripes one color at a time from floor to ceiling. You can thin the paint slightly with water to get it to flow better
There is no need to mask off the stripes to get a perfectly straight line. A little unevenness will add to the hand painted quality and the closely related colors will flow together nicely.
Once all the ombré stripe colors are painted it’s time to stencil!

Stenciling the Villa Damask Stencil
Place your stencil at the top/center of your wall. Use a level to make sure it is aligned with the center of the 7”wide lightest pink stripe. Note: You will use the stripes as guides for the repeating the stencil horizontally on the wall.
Mix 2 parts Coco Chalk Paint®with 1 part Old White Chalk Paint®. Place your Coco color mix in a paint tray and load your roller with paint. Off load excess paint on a piece of contractor’s paper or paper towels.
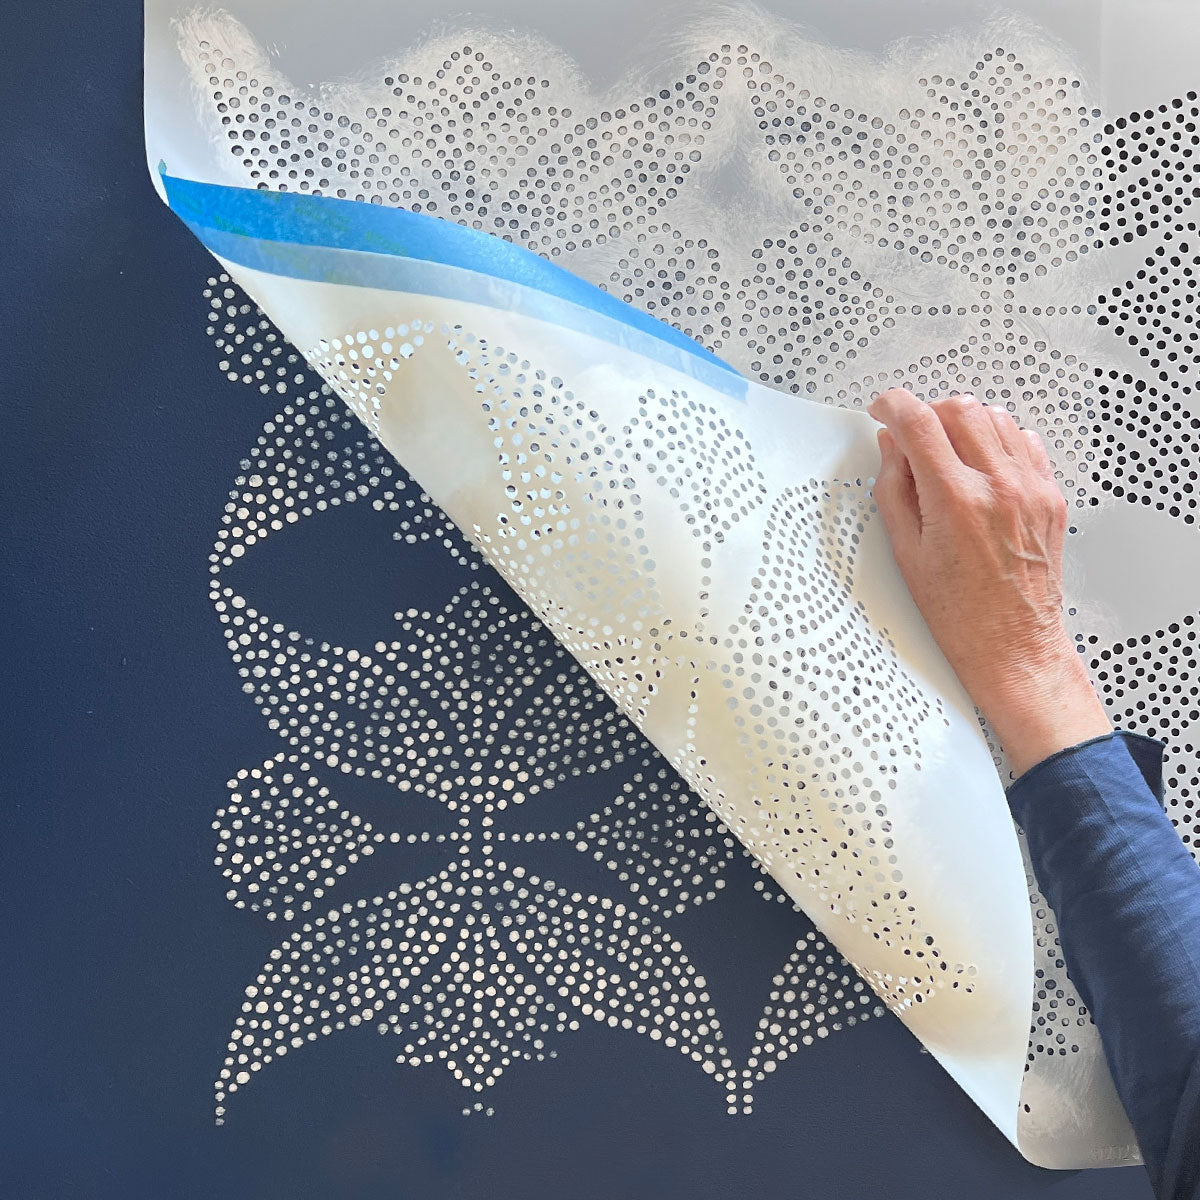
Roll through the stencil using a light to medium pressure. Follow the registration marks in the stencil to repeat your stencil down. Use a level to make sure your second repeat is straight.
When you reach the floor line or base board of your wall use a 1” stencil brush to paint the areas of the stencil the roller cannot reach easily.
After finishing the first stenciled row, find the center of your stencil and align it with your ceiling line. Place painter’s tape on the ceiling to avoid getting any stencil paint there.
Center the stencil on top of the 7” Medium/Dark Color stripe (#3). Use a level to make sure it is straight.
Stencil the pattern up to the ceiling line and use a 1” stencil brush to reach the areas the roller cannot paint, like you did with the baseboard.
Use the registration marks to repeat the pattern down the wall again. Keep stenciling until the whole wall is completed.

Shading the Damask Stencil
Clean the stencil and replace it back over the stenciled Villa Damask patterns you have already stencils.
Load a 1”brush with Coco Chalk Paint® and off load excess paint on paper towels.
Use this color to add shading to the stencil design at the edges of the design elements to add more depth and dimension to the damask pattern.

With its soft pink shades this look is the perfect paint and stencil treatment for a glamorous, feminine bedroom. Of course, if this color doesn’t “tickle you pink” you can also create this look with a soft shades of blue, gold, taupe or whatever suites your fancy.
To recreate this look with latex paint, simply choose shades that are 2-3 spaces apart on a color deck to use as your #1 and #4 colors. Mix them together in different amounts to get two values in between and off you go to paint some ombré stripes!
Looking for more Stencil Techniques like this? Check out these other stencil tutorials:

