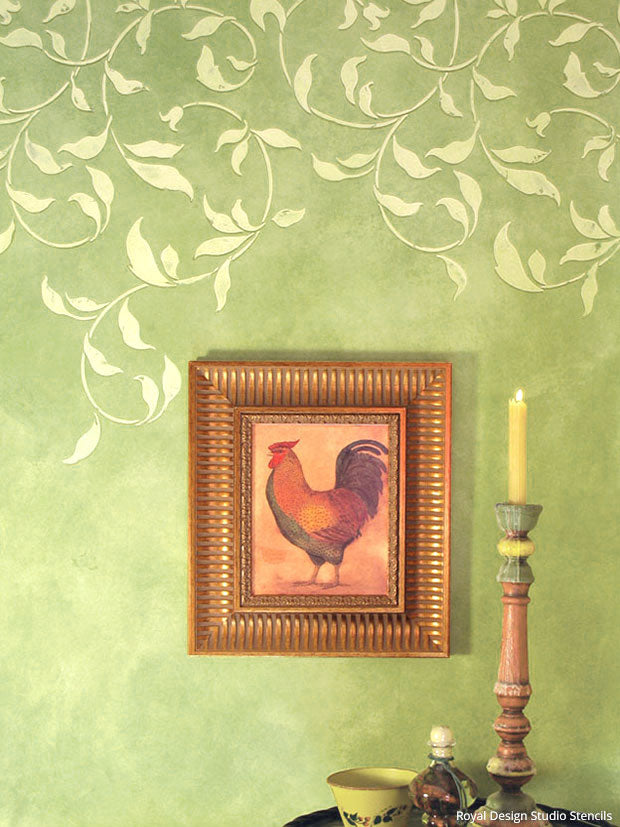


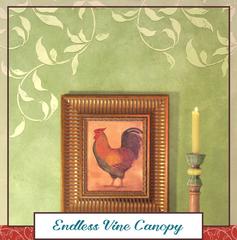

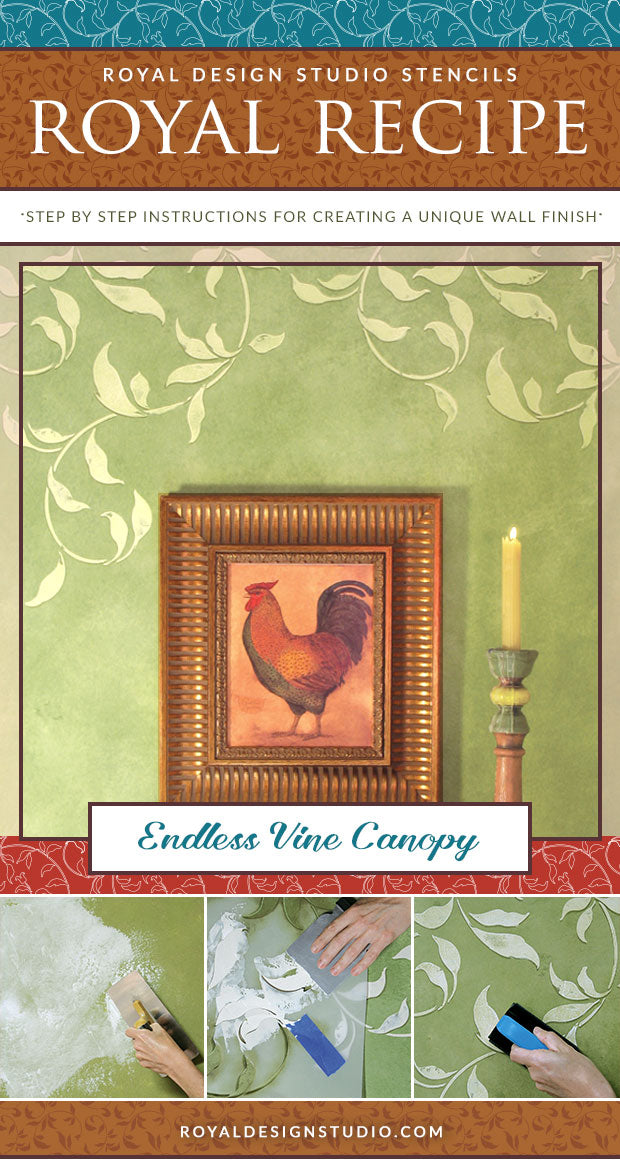
Use an embossed stencil technique to create a canopy of vines around a room. A drop shadow effect adds extra dimension to this finish which features a broken plaster trowel technique.
Like all of our Royal Recipe Professional Finishes Stencil Tutorials, this finish is designed for the experienced DIYer or professional decorative artisan. This is not a "beginner" faux finish and a basic understanding of artisan finishing techniques is required.
Supplies:
- Royal Design Studio Stencils: Endless Vine Wall Stencil in Production Size
- Faux Effects® Products: Untinted Platertex, Sand Venetian Gem, Ultra Polishing Tint Base, Aquacreme, Aquacolors: Earth, Green, Yellow Ochre, Dark Brown
- Tools: 1" Stencil Brush, Foam Brush or Roller, Large Stippler Brush, Japan Scraper, Venetian Trowel, 1.4" Nap Roller, Median Grit Sanding Block, Painter's Tape
Prep: Roll on a coat of Texturecoat with a 1/4” nap roller over a smooth wall surface to provide some surface “tooth”. For walls that are already slightly textured, simply roll on two coats of Off White Aquabond.
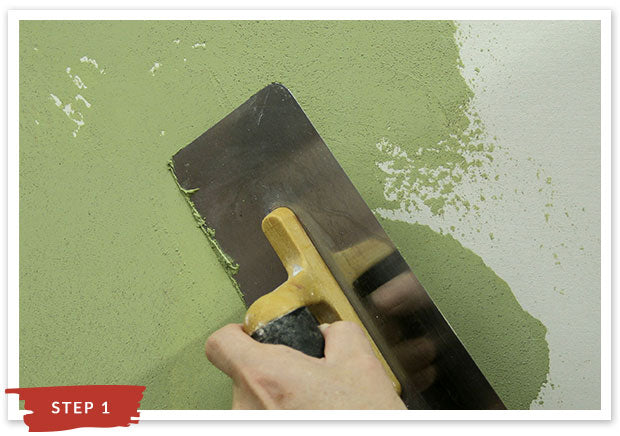
Step 1: Tint the Untinted Plastertex at a ratio of 2 teas. each of Yellow Ochre and Earth Green Aquacolor per pint of Untinted Plastertex (or 1/3 C. each color per gallon). Use a Venetian Trowel to apply over the surface in a skip-trowel method (or with a light texture), covering about 90-95% of the surface. Let dry.
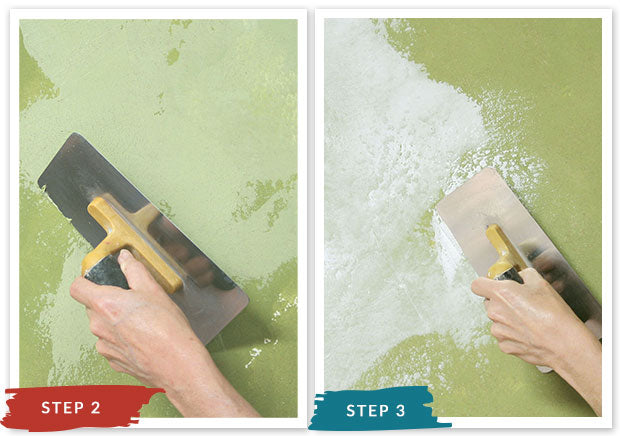
Step 2: Apply a second layer of the same mixture over the first, again using a skip-trowel method. Fill in the majority of the previously unfilled areas and leave some of the first layer showing through here and there. Note that the material dries significantly darker. Let dry.
Step 3: Use a trowel to apply a tight skimcoat, or “backfill” layer of Venetian Gem Ultra Polishing Tint Base overall. Push the material hard into the recessed areas to fill them and pull the trowel very hard and at a higher angle across the surface to remove the excess material as you go. This material will become more translucent as it dries.
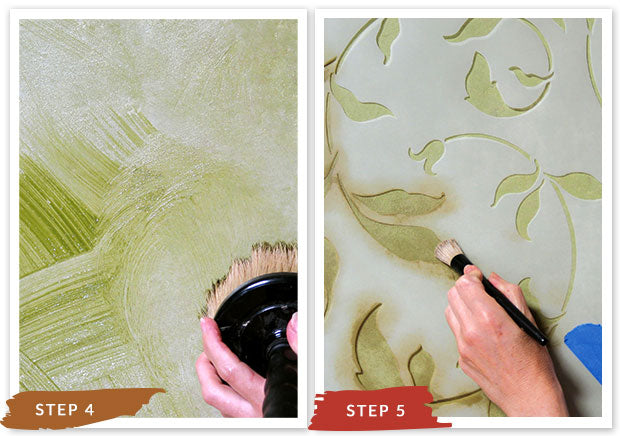
Step 4: Mix a glaze the same color as the Plastertex by tinting it to a ratio of 2 teas. each of Yellow Ochre and Earth Green Aquacolor to a cup of Aquacreme. Apply it to the surface in workable areas with a foam brush or roller and brush, blend and soften it with a large Stippler brush. Let dry.
Step 5: Stencil the Endless Vine design beginning at the ceiling line and extending it down approximately one width of the repeat around the room with a custom brown color created by mixing equal parts of Yellow Ochre, Earth Green and Dark Brown Aquacolor. Add smaller sections of vine, pulled from the allover design, here and there trailing down irregularly from the repeat.
NOTE: Rather than repeat an allover vine stencil on the entire wall surface, use it create a very deep, irregular frieze, or “canopy” at the ceiling line. Depending on the height of the ceiling this could be done in a number of ways. For room with average height, 8’-9’, simply begin the design along the ceiling line and allow it to repeat down 18” to 24”.
For higher ceilings a nice treatment is to extend the ceiling color and/or treatment down on to the wall surface to a height of about 9’-10”, where you can transition to your wall and vine finish by simply taping off, adding molding or a contrasting stenciled border. Either way, it adds to the look if you vary how the vine ends around the bottom by stenciling smaller pieces of vine trailing off in different directions here and there.
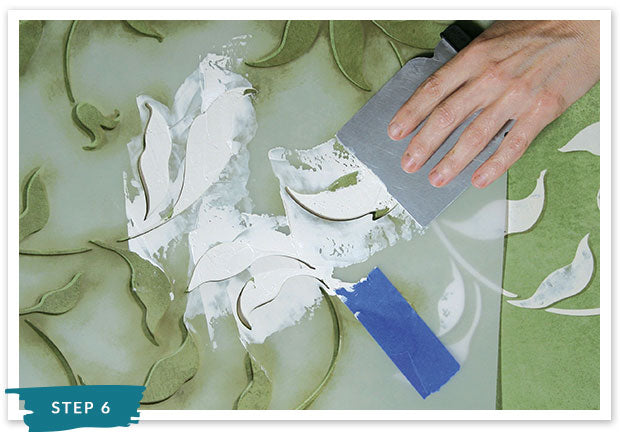
Step 6: Mix a custom color of Venetian Gem by combining 1 part Ultra Polishing Tint Base with 1 part Sand. Replace the stencil over the original stenciling and then shift the stencil up and to the right between 1/16 and 1/8 inch. Use a large Japan Scraper to skip-trowel the plaster through the stencil. Hold the trowel at a very flat angle to the surface and use a light pressure, as if icing a cake, to avoid pushing excess material under the stencil. A light misting of Spray Adhesive may help to keep the stencil in place. Let dry.
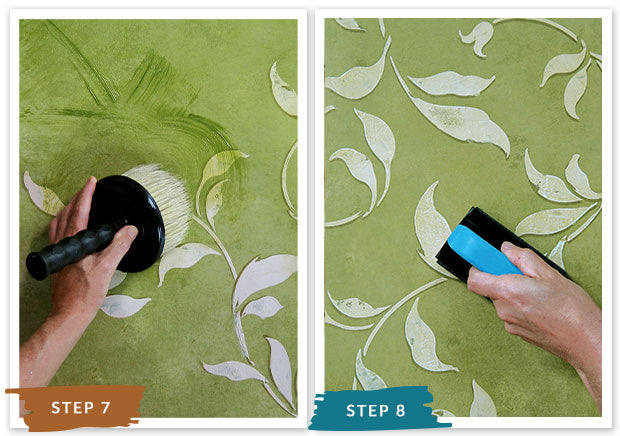
Step 7: Re-apply another layer of the original glaze color to the entire surface as you did in Step 4. Soften out brush marks by lightly dragging or stippling with a large brush.
Step 8: Use a medium-grit sanding block to sand lightly on the embossed stencil areas. The sanding block will cut through the glaze, revealing a lighter color on the higher areas of texture and provide a more distressed look to the finish.