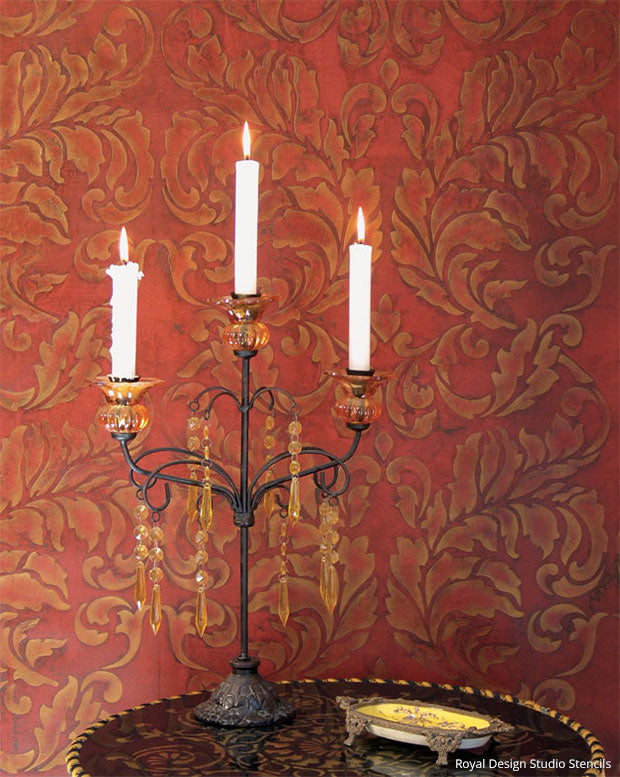


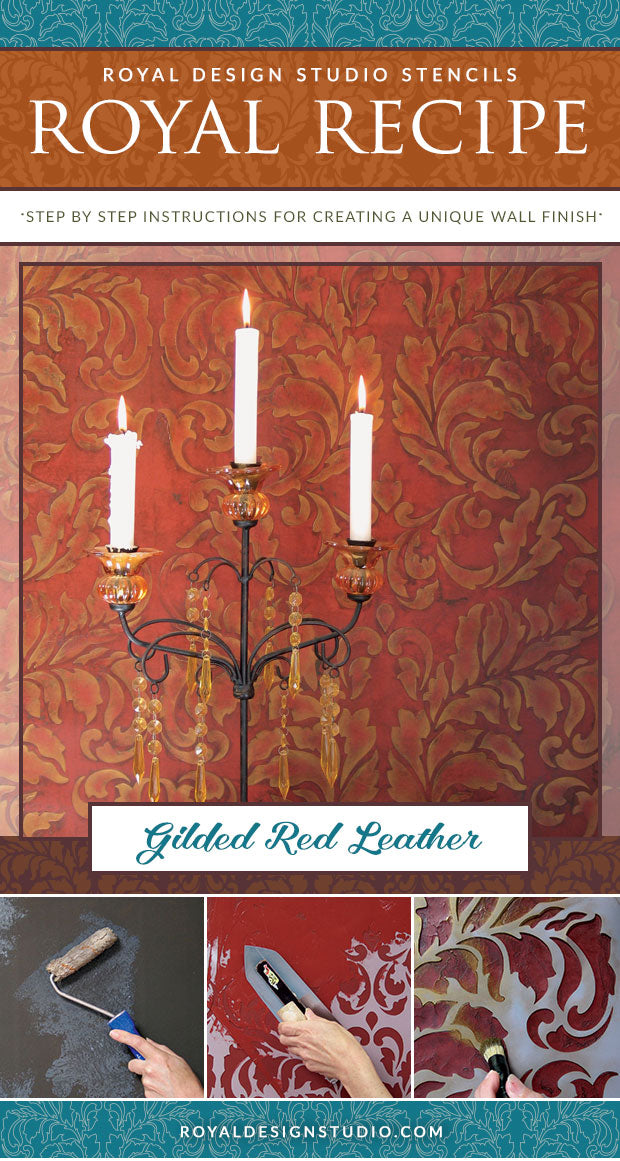
Create the high-end designer look of gilded, embossed leather with a Royal Design Studio damask stencil and an embossed technique using Venetian Plaster. A random crackle finish adds an aged effect and the addition of gold metallic stencil makes this rich look even richer!
Like all of our Royal Recipe Professional Finishes Stencil Tutorials, this finish is designed for the experienced DIYer or professional decorative artisan. This is not a "beginner" faux finish and a basic understanding of artisan finishing techniques is required.
Supplies:
- Royal Design Studio Stencils: Acanthus Damask Wall Stencil in Large Production Size
- Rich Brown and American Walnut Stain & Seal
- Bright Gold Royal Stencil Creme Paint
- Faux Effects® Products: Black Aquabond, Ruby Venetian Gem, Aquasize, FX Thinner
- Tools: 5/8" Stencil Brush, 4" Nylon Roller, Japanese Trowel, Rubber Trowel
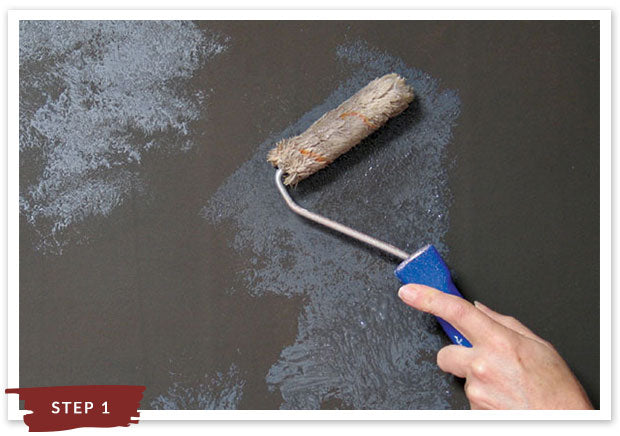
Step 1: Basecoat your surface with two coats of Black Aquabond and allow to dry. Use a 4” nylon roller to apply Aquasize in random patches overall. Change the direction of your roller as you work and use a cross-hatching type of motion to create irregular edges. Cover from 40% - 60% of your surface area with the size. Allow the size to dry thoroughly before proceeding. The size will turn from frosty to clear as it dries.
NOTE: Applying the size too thickly will cause it to drip on a vertical surface. If you desire larger cracks it is preferable to apply two thin coats of size rather than one thick one. Allow the size to dry between coats.
The size of your cracks will be affected both by the thickness of the size and the thickness of the material going over it. Thicker size and material equals larger-sized cracks. For small to average cracks (as done here), one coat of size should be sufficient.
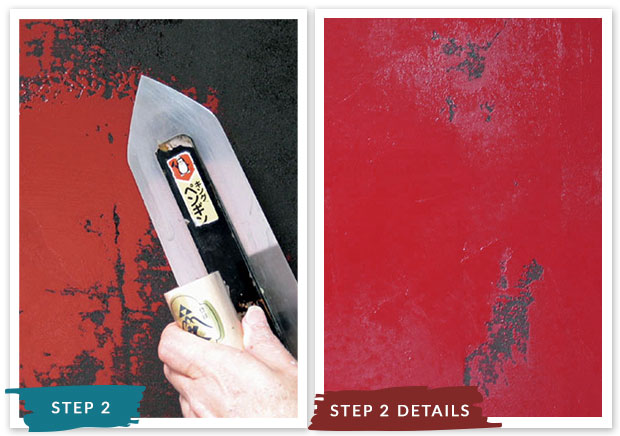
Step 2: Use a Japanese Trowel to apply a skip trowel coat of Ruby Venetian Gem overall. If a more distressed look is desired, leave to irregular patches of the background color showing through by avoiding those areas and also by varying the pressure on your trowel. Allow this layer to dry fully, preferably overnight
DETAIL: This detail shows a finished area with some background color “peeking through”.
NOTE: The stencil used features a pinpoint registration system to match up the allover pattern. When embossing with such and allover pattern it is important to place the stencil around the room and mark the registration points lightly with a chalk pencil. That will allow you to leap frog around the surface to avoid placing your stencil over a just embossed (and still wet!) area.
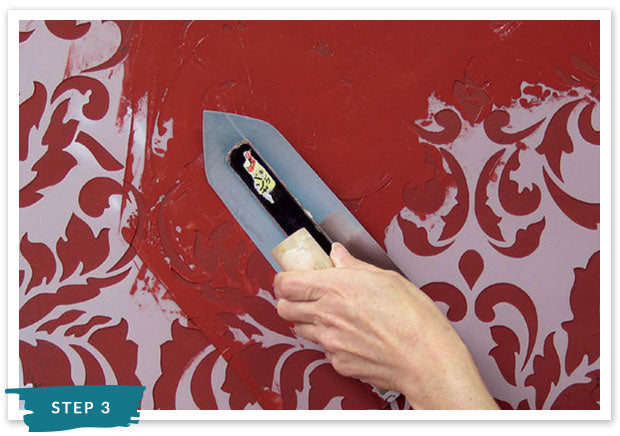
Step 3: Use the flexible Japanese trowel to emboss the design through the stencil with the same Ruby Venetian Gem color. Use a flat angle and light pressure to avoid pushing the material under the stencil as much as possible. If “run-unders” occur, remove them immediately with a Q-tip. As this dries you will see some re-cracking of the embossed Venetian Gem.
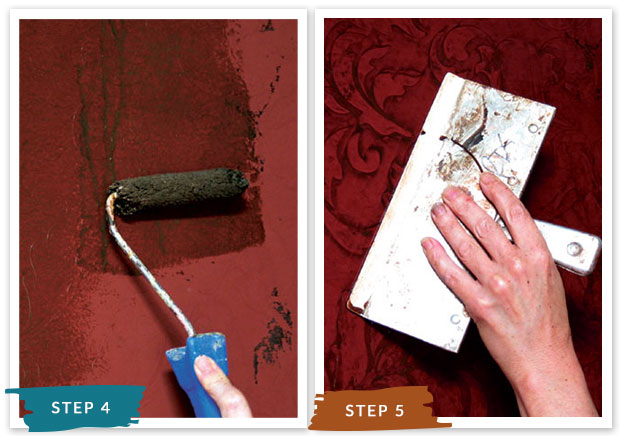
Step 4: Mix a dark toning layer by combining American Walnut and Rich Brown Stain and Seal at a ratio of 2:1. Thin that mixture with FX thinner at a ratio of 1:1. Roll the thinned mix over a workable area (approx 3’ wide by the height of the space). Keep a leading, heavy wet edge of this layer as you move around the room.
Step 5: Immediately remove from the high spots and embed the toning glaze into the recessed areas by running over it with a soft rubber trowel. Change the direction of your movements and employ a cross-hatching motion to avoid obvious lines. Allow this layer to dry thoroughly.
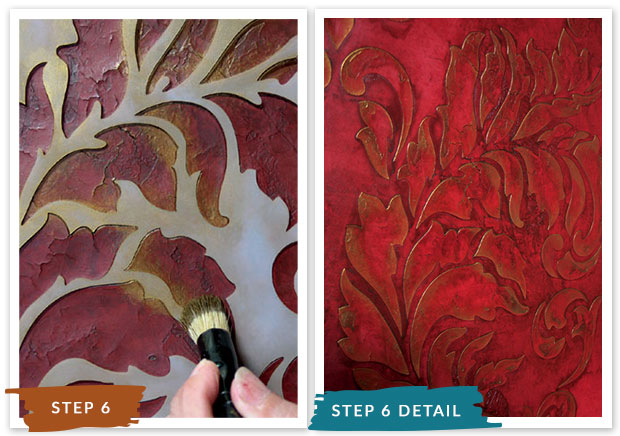
Step 6: Load a stencil brush with Bright Gold Royal Stencil Creme and remove excess onto paper towels. Replace the stencil over the embossed design and stencil around the edges of each element to highlight. Allow the stenciled gold to fade gradually towards the middle of the design by using a lighter pressure there.