


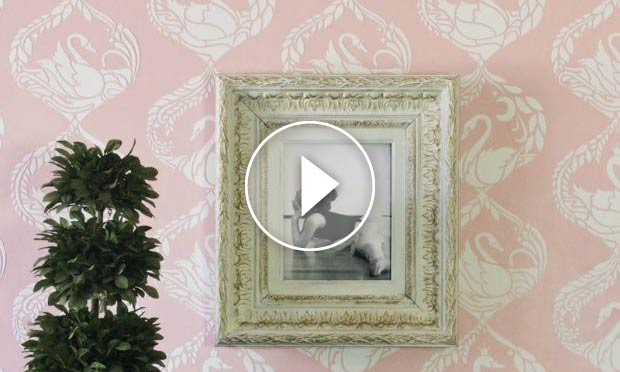

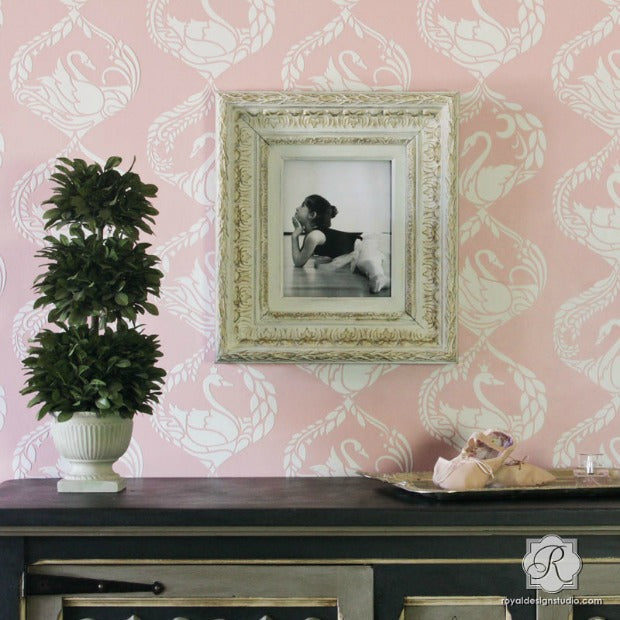
A little bird told us that you’re looking to transform your nursery or little girl’s bedroom into a charming nest! A sweet way to decorate this space is to paint an accent wall with our Swan Serenade Wall Stencil. Inspired by Swedish design and the lyrical beauty of the classic Swan Lake, this allover pattern is shines when painted in pinks and creams. We took this sweet style one step further with a raised stencil pattern. This technique takes a little more time, but it’s actually quite easy and inexpensive when done with paint and joint compound. Watch the video and follow the step by step instructions below to see how you soar to new heights with your wall stenciling:
Supplies:
- Swan Serenade Wall Stencil
- 1 ½” Royal Stencil Brush
- Premixed Joint Compound
- White Latex Paint
- Japanese Trowel, Plastic Spatula, Sanding Block/Paper, Level, Contractor Paper, Stray Adhesive, Paper Towels, Painter’s Tape, Terry Cloth/Rag
Steps 1-3: Prior to stencil embossing you will want to establish the repeat of the pattern on the wall by stenciling key elements first with just paint. This will allow you to leapfrog the stencil around the wall and give each repeat time to dry adequately.
Step 1: Place and secure the stencil on the center of your wall with a level and painter’s tape.
Step 2: Load the stencil brush with white paint and then offload onto a paper towel to remove excess paint.
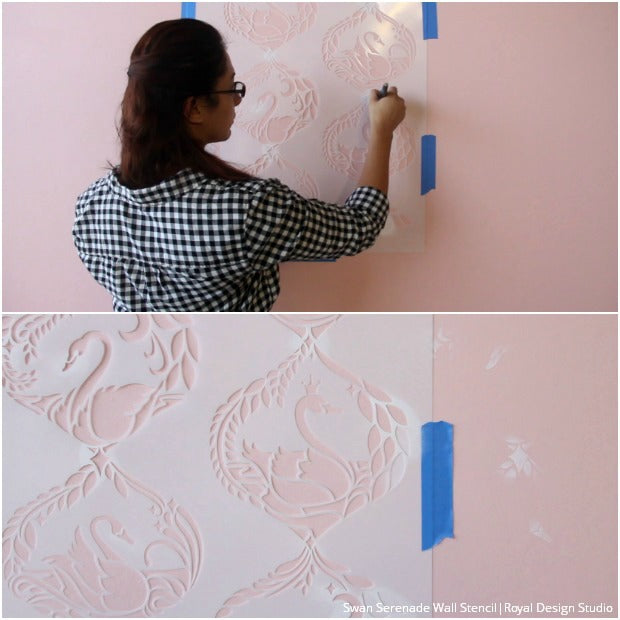
Step 3: Stencil just a few key elements of the pattern. Repeat the stencil pattern across the entire wall using the registration marks until the entire wall is stenciled. These painted areas will mark the pattern repeat registration for when you do the stencil embossing.
Step 4: Lightly mist the back of the stencil with spray adhesive and place the stencil directly over one of your previously painted repeats.
Step 5: Mix one part white latex paint with 4 parts premixed joint compound. This will create a more durable joint compound mix with bright white color.
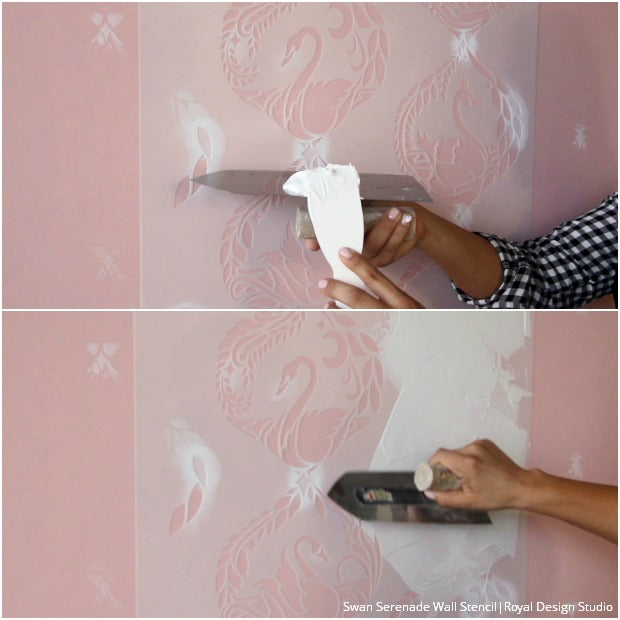
Step 6: Use a plastic spatula to load the trowel. Gently trowel a generous and even layer of the joint compound mix over the stencil pattern. Make sure to hold the trowel at a low angle and apply the mixture as if you were “icing a cake”. Try to maintain an even thickness of the Joint Compound mix throughout.
Step 7: You will need to clean the stencil off between repeats-or possibly every 2-3 repeats. This will depend on if or how much excess material gets pushed under the stencil. To clean, gently remove the remaining joint compound mix from the front of the stencil with the trowel or a plastic scraper. Clean any dirty areas on the back of the stencil with rag.
Step 8: Reapply the spray adhesive on the stencil and skip one previously troweled repeat on the wall. Place the stencil over the next set of registration marks. Stencil embossing every other repeat with allow for more drying time for each repeat while you continue to stencil. Stencil with the joint compound mix and repeat Steps 6 through 8 until every other repeat is stenciled. Then go back and fill in the repeats in between. Let dry overnight.
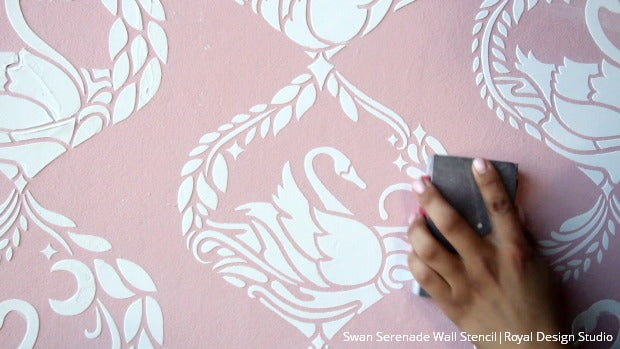
Step 9: Use a sanding block or sandpaper to carefully smooth any ridges or uneven areas. Clean the sanding dust off the wall with a damp rag. Use the wall base color paint to touch up any areas that inadvertently got the joint compound mix on.
Looking for more Stencil Techniques like this? Check out these other stencil tutorials and videos:


