

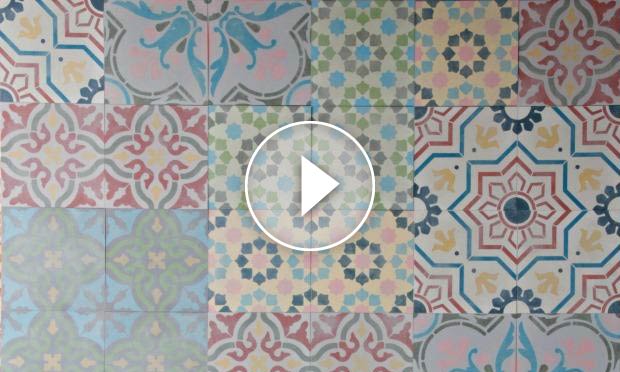
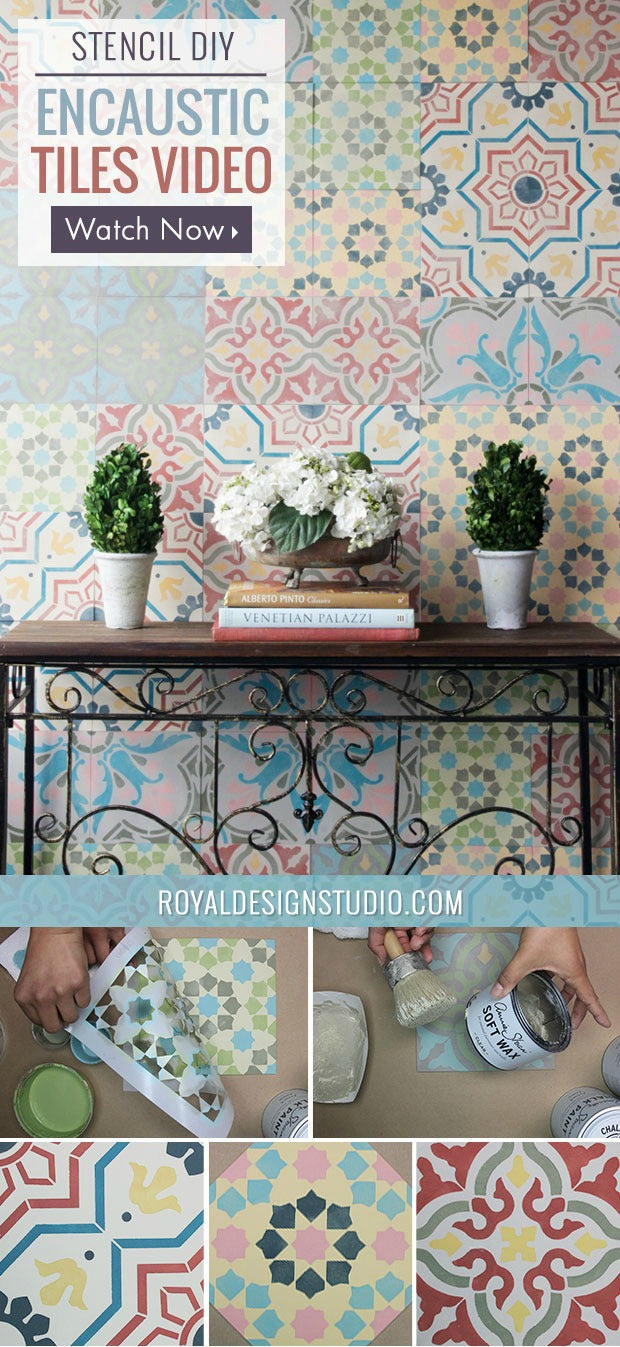
The pretty patterned look of Encaustic cement tiles is trending all over design blogs and Pinterest! This DIY tutorial shows you how to get the look yourself using tile stencil patterns and Annie Sloan Chalk Paint from Royal Design Studio.
Real Encaustic cement tiles have a unique look because the patterns are inlaid into the surface using molds and different colors of clay rather than being glazed on the surface. These types of tiles have been used since Medieval times and have been commonly used for years in interiors as far reaching as England, the Mediterranean, Cuba, and Morocco! Now you can recreate the look yourself for walls, furniture and floors with ease.
BONUS: You can use our Spanish Tile Stencil Set along with our Tile Wall Art Wood Shapes™ so that your stenciled tile designs can be removed and rearranged with ease. See how you can get that handmade, Old World look for a less with our step-by-step video and find the supplies and steps detailed out below!
Supplies:
- Spanish Tile Stencil Set
- Annie Sloan Chalk Paint®: Arles, Cream, Coco, Old White, French Linen, Versailles, Florence, Provence, Olive, Aubusson Blue Old Ochre, Scandinavian Pink, Chateau Grey
- Annie Sloan Soft Clear Wax
- Large 3” Stencil/Wax Brush
- Royal Stencil Brushes
- Large Tile Wall Art Wood Shapes™
- Foam roller and tray, cheesecloth, spray adhesive, Post-it Notes, sanding block, paper towels
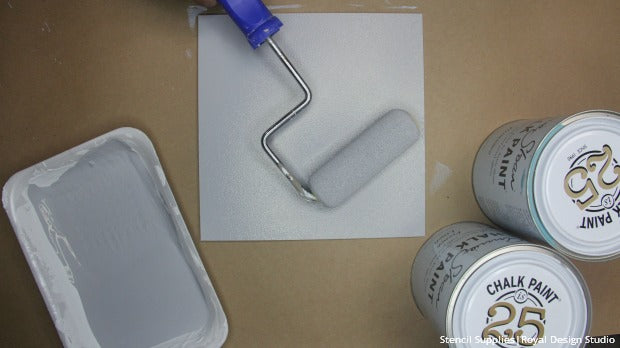
Step 1: Use a foam roller to apply Paris Grey Chalk Paint® as a basecoat on all the Tile Wall Art Wood Shapes™. Let dry.
Step 2: Use a foam roller to apply 2 coats of one of these Chalk Paint® mixes to each of the tiles:
- Old Ochre
- 1 part Arles + 2 parts Cream
- 1 part Coco + 2 parts Old White
- French Linen
- 1 part French Linen + 1 part Old White
- 1 part Versailles + 2 parts Cream
Step 3: Apply a layer of spray adhesive to the back of a tile stencil and place it on top of a painted wood shape.
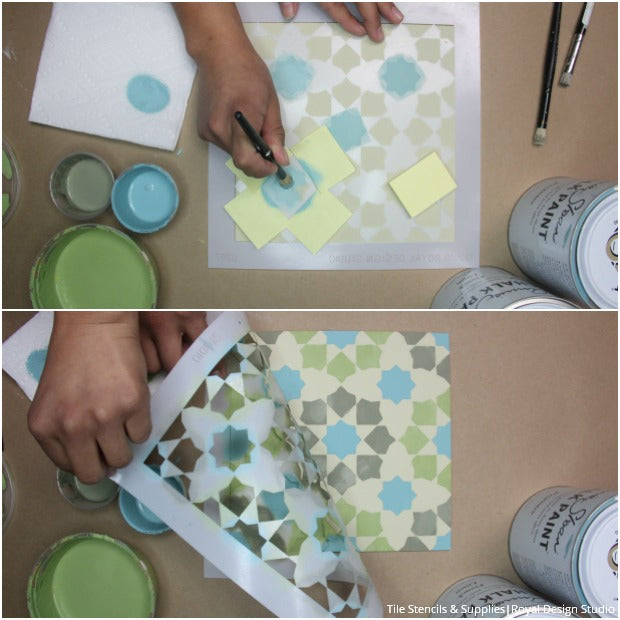
Step 4: Load your stencil brush with paint and off-load the excess onto a paper towel. Then stencil those specific elements with a circular motion. Stencil different elements with different paint color mixes.
In this tutorial, we used these colors with these tile stencils:
- On the Old Ochre painted wall art shapes, we stenciled the Marbella Tile Stencil with Scandinavian Pink, 2 parts Aubusson + 1 part Olive, Cream, and 2 parts Florence + 1 part Napoleonic Blue Chalk Paints®
- On the 1 part Arles + 2 parts Cream painted wall art shapes, we stenciled the Cadiz Tile Stencil with 2 parts Aubusson + 1 part Olive, 1 part Provence + 2 parts Old White, and ¼ part Old White + ¾ part Scandinavian Pink Chalk Paints®
- On the 1 part Coco + 2 parts Old White painted wall art shapes, we stenciled the Toledo Tile Stencil with Scandinavian Pink, Chateau Grey, and Arles Chalk Paints®
- On the French Linen painted wall art shapes, we stenciled the Toledo Tile Stencil with 1 part Provence + 2 parts Old White, Arles, and 2 parts Arles + 1 part Antibes Green Chalk Paints®
- On the 1 part French Linen + 1 part Old White painted wall art shapes, we stenciled the Majorca Tile Stencil with ¼ part Old White + ¾ part Scandinavian Pink, 1 park Olive + 1 part Chateau Grey, and 1 part Florence + 2 parts Provence + ½ part Napoleonic Blue
- On the 1 part Versailles + 2 parts Cream painted wall art shapes, we stenciled the Cadiz Tile Stencil with 1 part Provence + 2 parts Old White, Chateau Grey, and 2 parts Arles + 1 part Antibes Green Chalk Paints®
Pro tip: Use post-it notes to mask different elements of the stencil so that you can use different paint colors on specific elements.
Step 5: Repeat Steps 2 and 3 with the rest of the wood shapes.
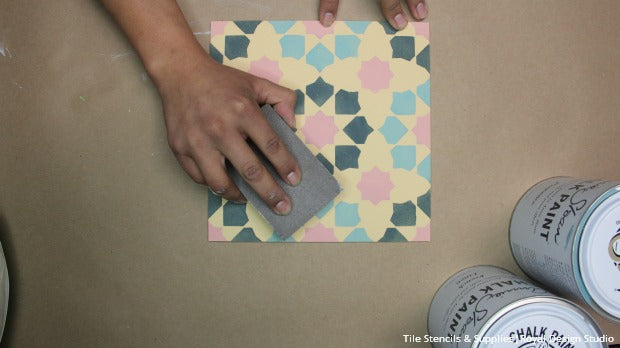
Step 6: Use a sanding block to create a distressed look and to expose some of the first base coat of Paris Grey Chalk Paint®. Be careful not to sand through on the edges. Remove dust with a damp rag.
Step 7: Apply a thin layer of Soft Clear Wax and immediately remove excess wax with cheesecloth. Let dry.
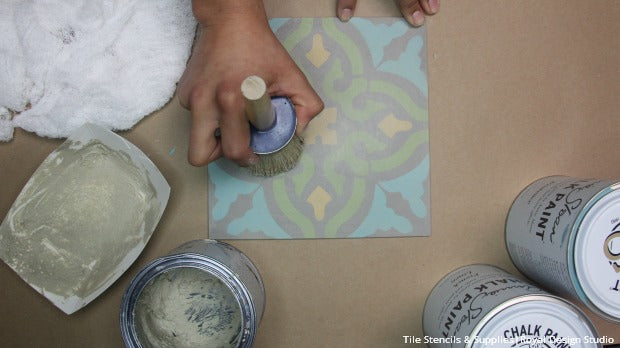
Step 8: Make a tinted wax by mixing 1 part Soft Clear Wax and 2 parts Old Ochre Chalk Paint®. with a waxing brush using a stippling motion in certain areas to enhance the distressed look. Remove excess wax with cheesecloth. Let dry.
Step 9: Hang up your stenciled tile shapes with Scotch® Removable Mounting Squares. Mix and match your stenciled tile shapes any way you wish, and they are easily removable and repositionable for endless wall art options.
Pro tip: Use a stronger adhesive such as Liquid Nails® for a more permanent installation.
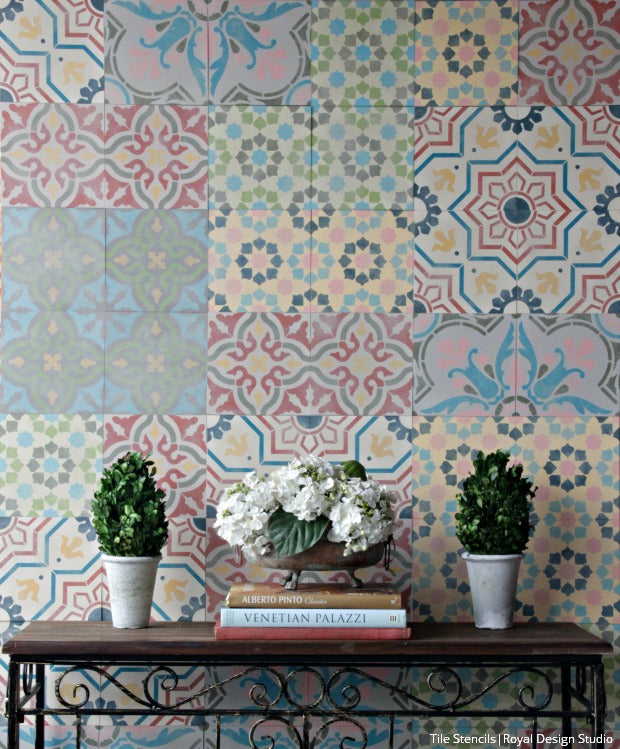
Just look at that! It’s no wonder that this rustic Old World look is trending in interiors right now. Like a lot of things, the beauty of encaustic tile is in its ever-so-slight imperfections. Stencils and distressing help give the design a handmade and worn cement look as timeless as the original tiles.
If you liked this stencil video tutorial please leave us a comment! You can find more How to Stencil Video Tutorials here!


