


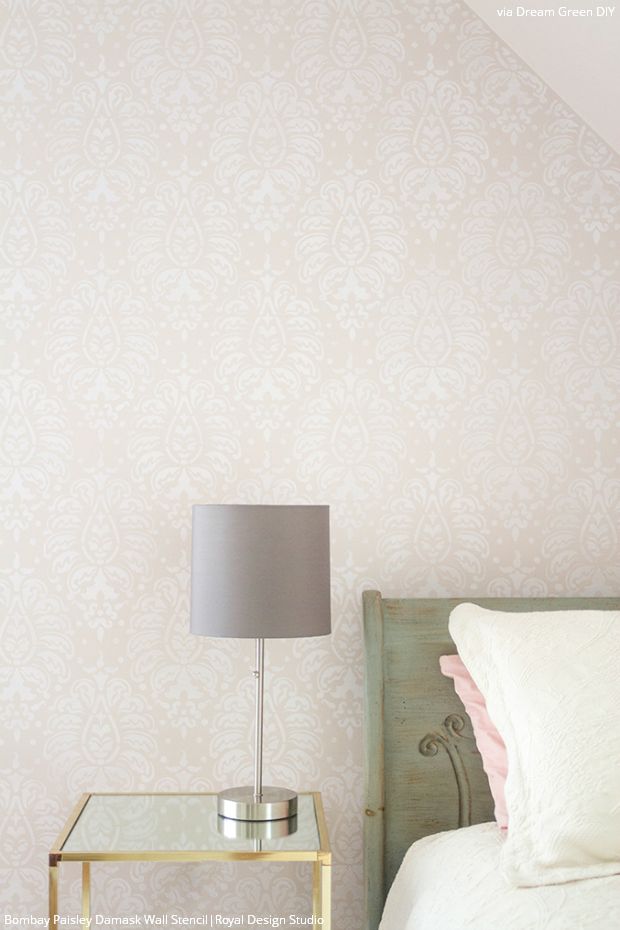
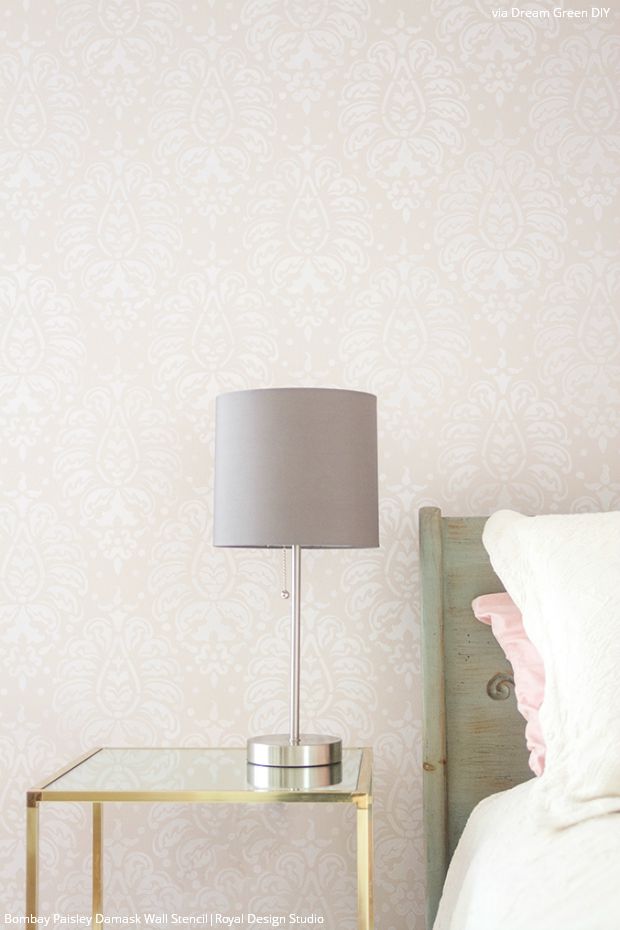
Carrie Waller of Dream Green DIY and her best friend Erica set their sights on transforming Erica’s guest bedroom into a vintage yet contemporary space. To do that, they narrowed down their creative alternatives to wall stencils and paint. They are both fans of Royal Design Studio and immediately set about browsing our large selection of stencils. The Bombay Paisley Damask Wall Stencil caught their eyes, and the plan was made. Along with shades of soft pink, they set forth to create a striking accent wall. Let’s see how they teamed up to work on this DIY project:
These are the supplies that you will need:
- Bombay Paisley Damask Wall Stencil
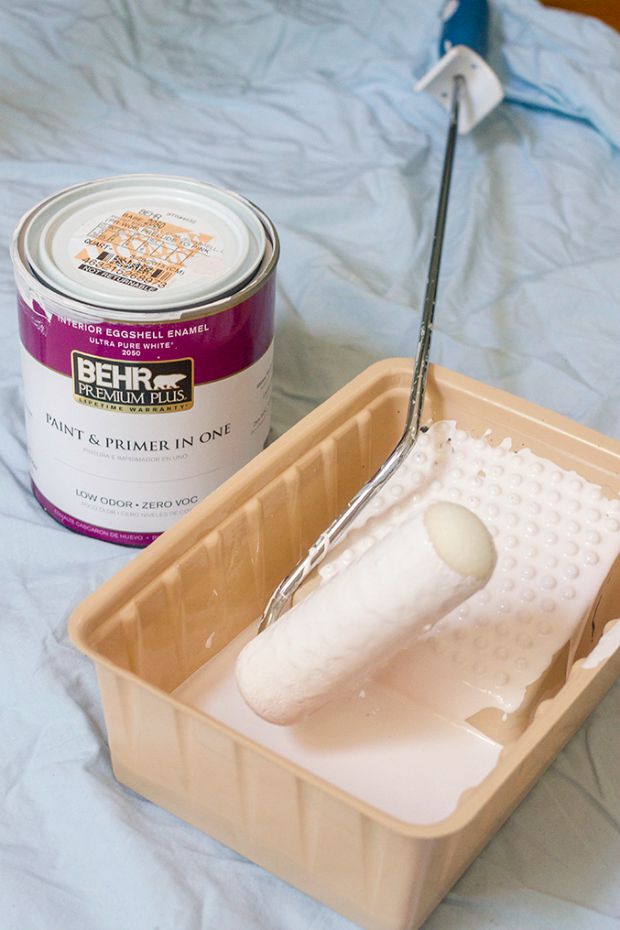
- Interior paint (they used “Creamy Mocha” by Glidden for the wall color and “Prelude To Pink” by Behr for the top coat)
- Foam roller, handle, paint tray
- Painter’s tape
- Paint can opener and stir stick
- Scrap newspaper, poster board, or paper towels
- Disposable drop cloths
- Spray stencil adhesive
- Ladder or step stool
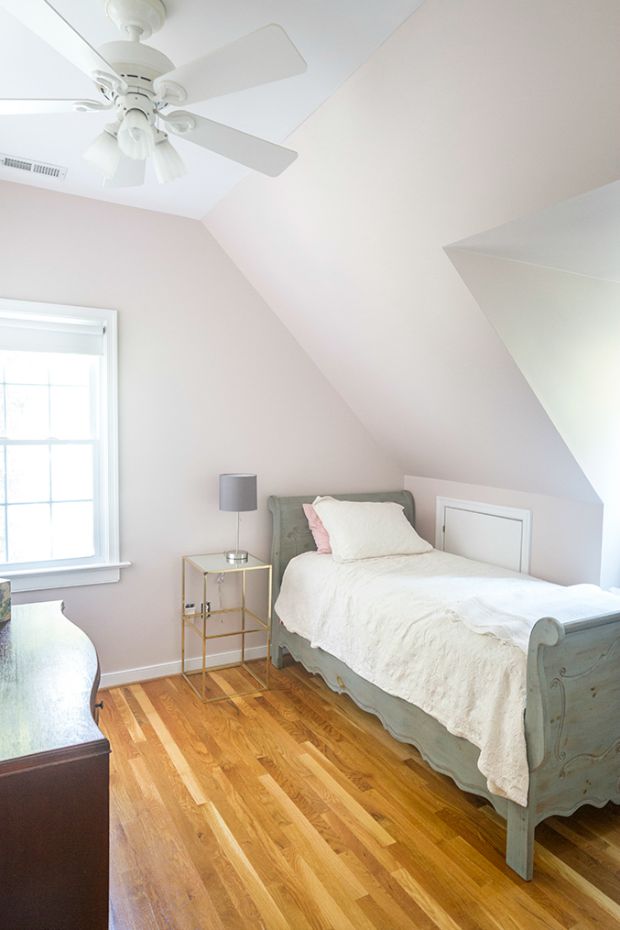
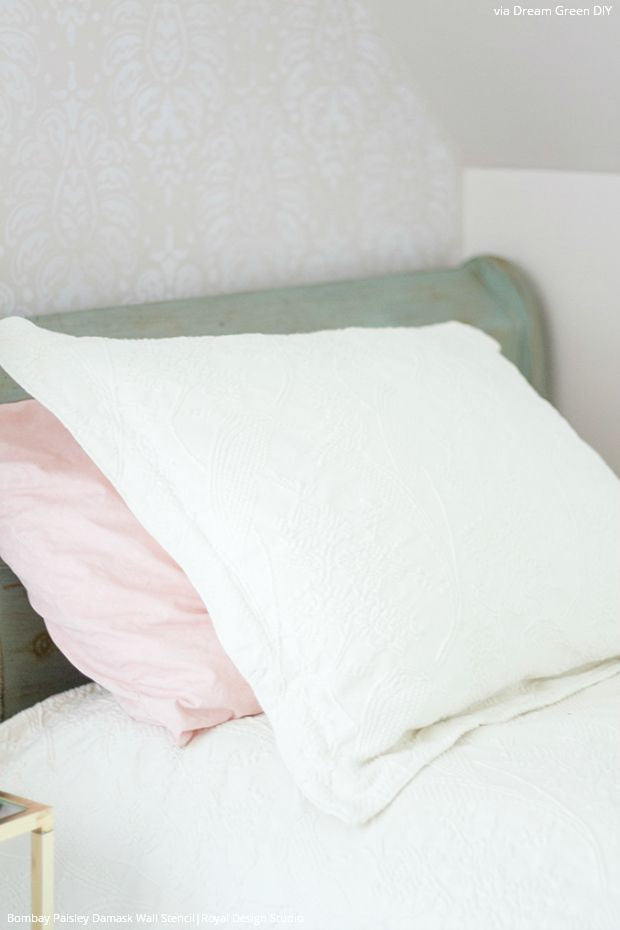
Erica had already updated the guest bedroom with soft and delicate pink walls and a few pieces of heirloom furniture, but she felt like it needed a little extra personality, which is where the stencil and Carrie come in!
Step 1: Prep Your Area
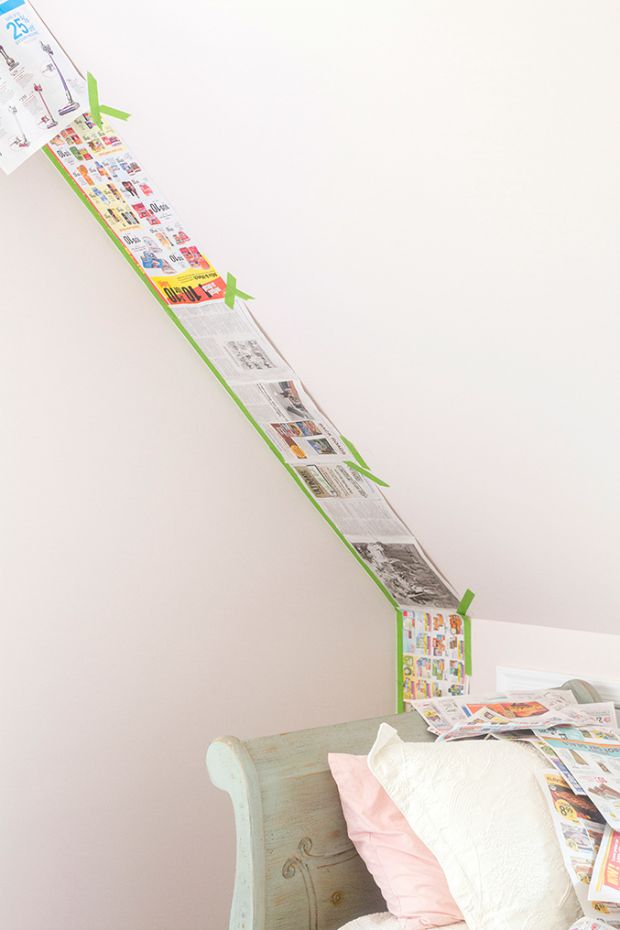
Carrie planned to stencil only one wall, so she prepped the surrounding walls, ceiling, and window with painter’s tape and several sheets of newspaper. She laid down a drop cloth on the floor beneath where she would stencil.
Step 2: Spray Adhesive

After spraying stencil adhesive onto the stencil, Erin let it dry for a minute or two so it would get tacky. Then she handed it to Carrie to place the side of the stencil with the adhesive on the wall. For extra security, it was also into place.
Step 3: Stenciling
Carrie would roll the paint onto her foam roller and then roll off the excess onto a piece of poster board. Paper towels also work well to “off-load” the paint. This technique is imperative for a crisp clean stenciled design.
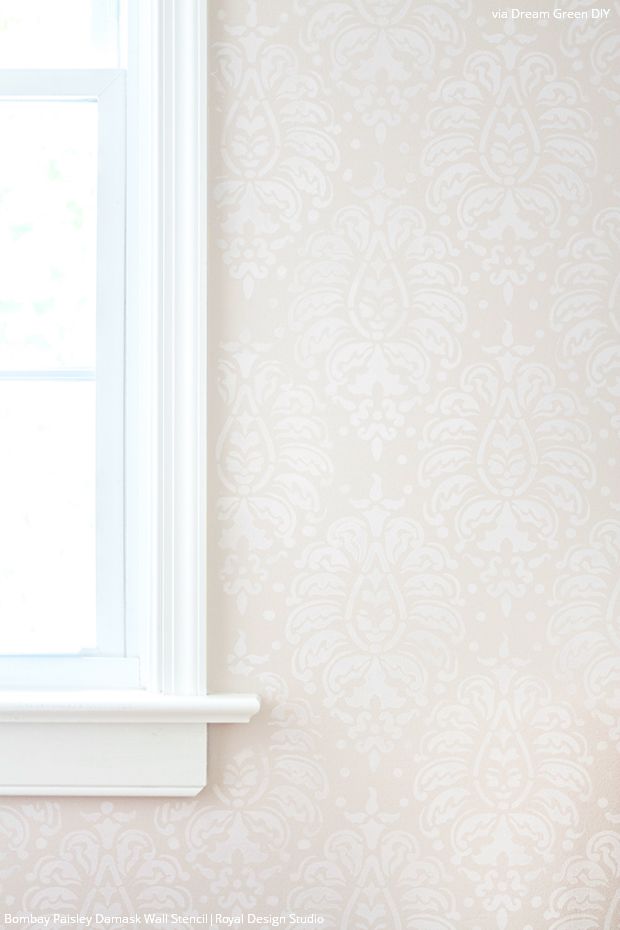
Once you paint the first section, let it dry before you remove the stencil to paint the next section. Carrie used only one light coat of paint as opposed to two so that the damask stencil pattern would have a bit of a lacy, delicate look to it. If you would prefer more contrast, make sure to use two coats and letting each dry in between.
Carrie continued to stencil by respraying the back of the stencil with spray adhesive every 3-4 sections. To reposition the stencil for the next section, she used the helpful registration marks that each of Royal Design Studio’s stencils have. That makes lining up the pattern so easy!
Step 4: Enjoy!
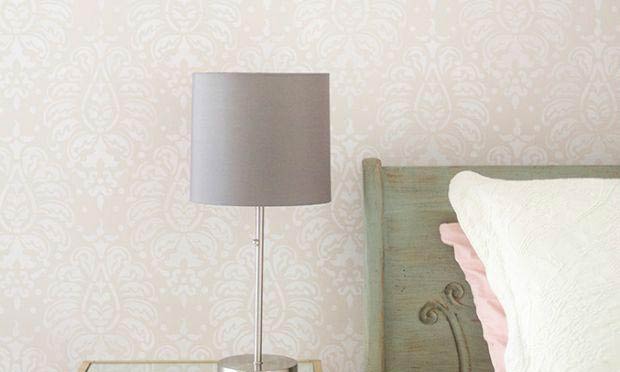
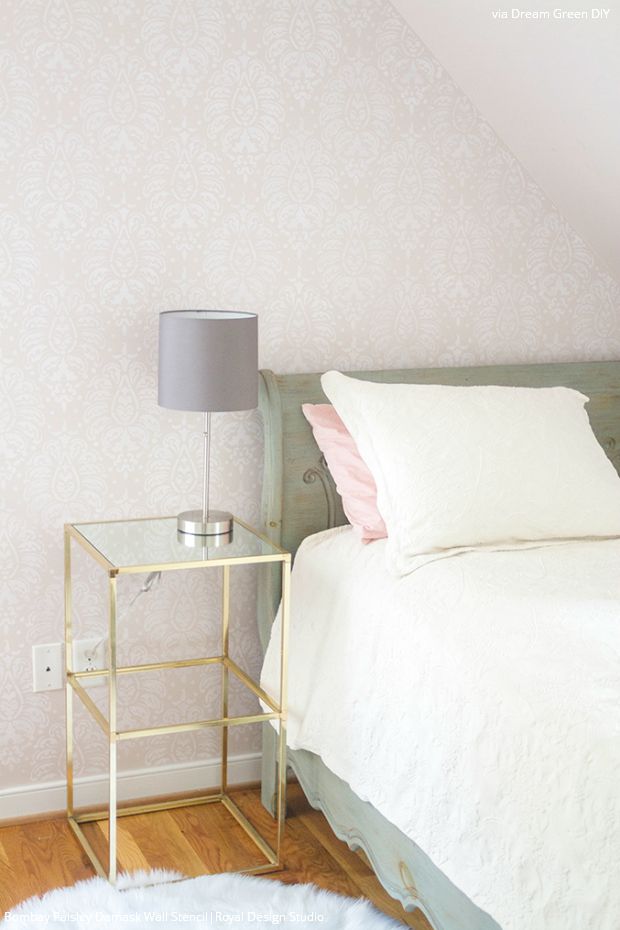
Erica loved her new stenciled accent wall! The pattern is just edgy enough to feel modern, but is still a sweet nod to vintage design, which suits Erica’s 1950s home. Thank you for your help, Carrie!
Are you now thinking of using soft colors and wall stencils to create a subtle pattern on an accent wall? We’d love to see how your DIY stencil projects turn out! Email us at projects@royaldesignstudio.com, share them on our Facebook Page, or you can even Instagram your projects and tag us with #royaldesignstudio


