


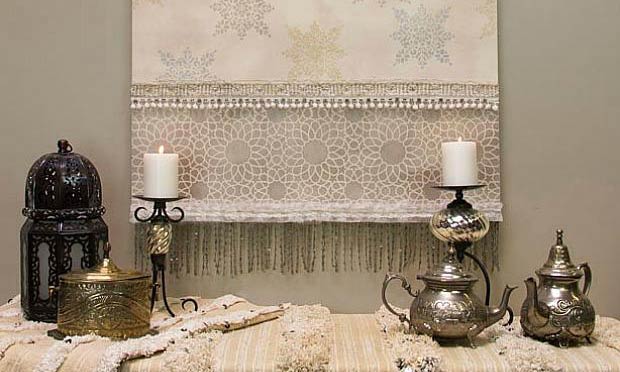
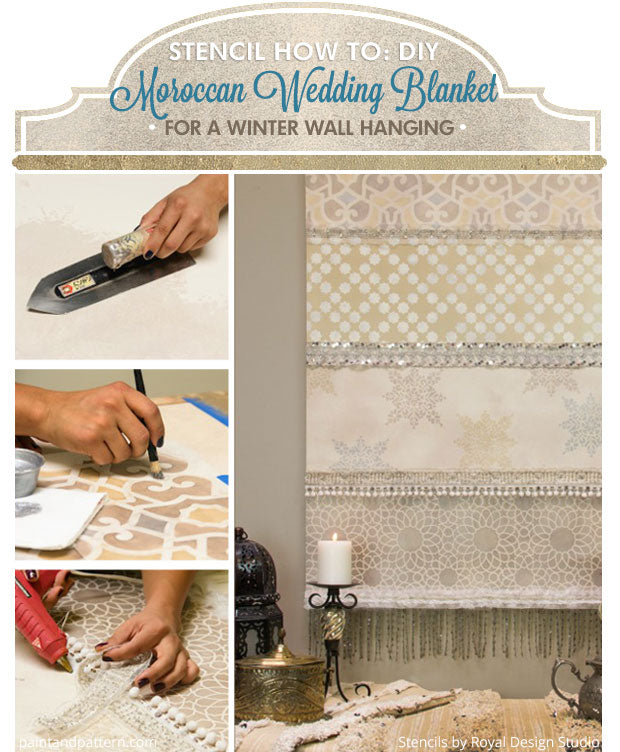
A beautiful winter white wall hanging is an elegant way to decorate your walls for the holidays! All you need is a canvas, ribbon, a couple of small furniture-sized stencils and your imagination to get in on this trend! For our wall hanging, we were inspired by a Moroccan Wedding Blanket and used Moroccan Stencils! But you could do use our Lace Stencils for a snowflake design or even our Modern Stencils for a retro vibe!
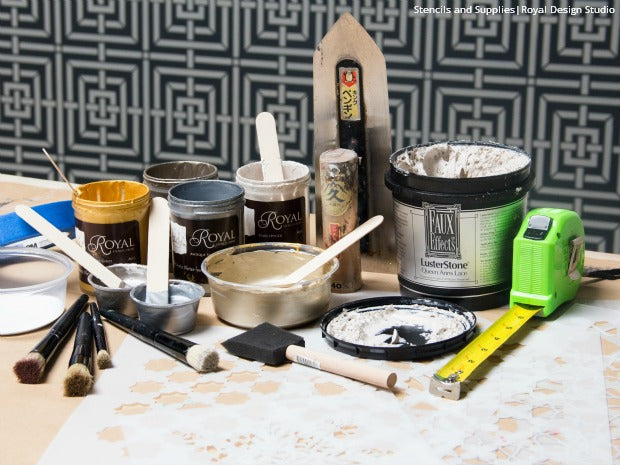
Supplies
- Royal Stencils:
-
Royal Stencil Brushes:
- 3 – ¾” stencil brushes
- 2 – 3/8” stencil brushes
- 1 – 1” Stencil brush
- Royal Stencil Cremes:
- Annie Sloan Old White Chalk Paint
- Foam Paint Roller and Tray
- Japanese Trowel
- Faux Effects So Slow Super Extender
- Faux Effects Luster Stone Queen Anne’s Lace
- Roc-Lon Canvas 33” x 45”
- Measuring Tape, Painter’s Tape, Bounty Paper Towels, X-ACTO Knife, Curtain Rod
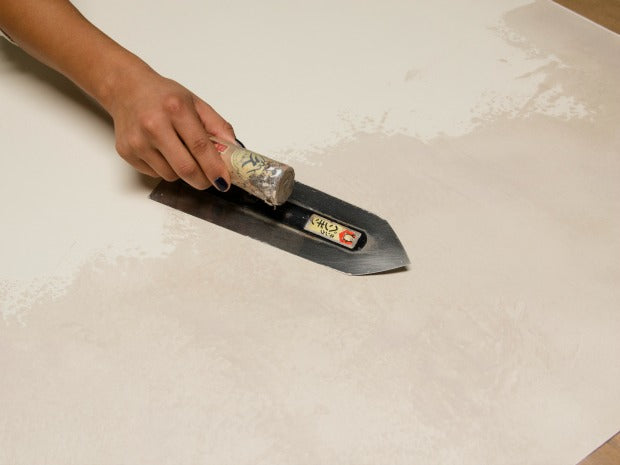
Step 1: Start by troweling a layer of Faux effects Luster Stone Queen Anne’s Lace on your Roc-Lon canvas. When using a Japanese trowel, use light pressure in circular motion to create a smooth finish. Allow to dry for about 1 hour or until it is dry to the touch.
Step 2: Using an X-ACTO knife, trim about 1” off each side of your Roc-Lon canvas to get rid of any rough spots on the edges. You should end up with a rectangular piece about 33” x 45” with clean edges.
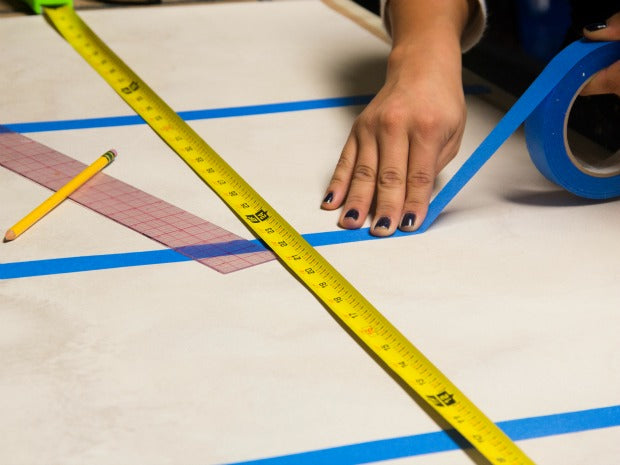
Step 3: Extend your measuring tape the length of your Roc-Lon canvas. Use painter’s tape to section off 4 horizontal sections. You can either make them all equal or play with the spacing!
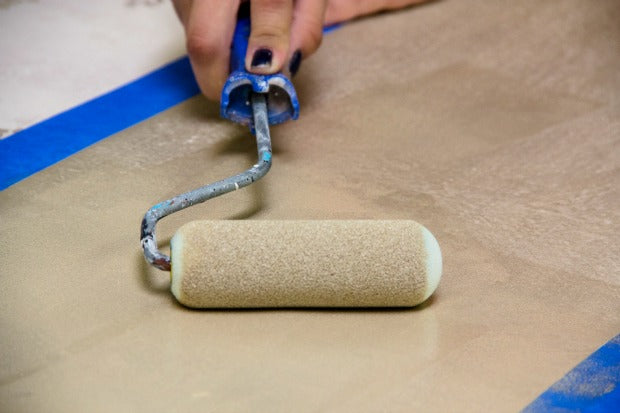
Step 4: Using a foam roller, paint the second horizontal section, top to bottom. We created a custom color by mixing 1 part bright gold, 2 part pearl oyster, and ½ part smoked oyster. Pro Tip: Add a few drops of Faux Effects So Slow Super Extender to make rolling a smooth layer of color easier.
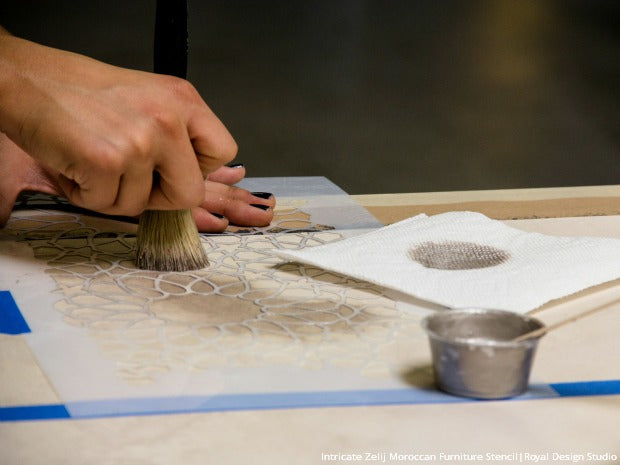
Step 5: While waiting for the second section of the wall hanging to dry, move to the last section and paint its design. This gives you some drying time between two consecutive sections when working with wet paint. This time, we mixed 2 parts of Pearl Oyster Stencil Cream and 1 part of the Smoked Oyster Stencil Cream and used a 1” stencil brush. For this section, we used the Intricate Zelij Moroccan Furniture Stencil. Make sure to place the stencil in the center of the canvas first. We always recommend using a measure tape to find the center. This allows you to perfectly align the design with the canvas as you move the stencil above, below and to the left and right.
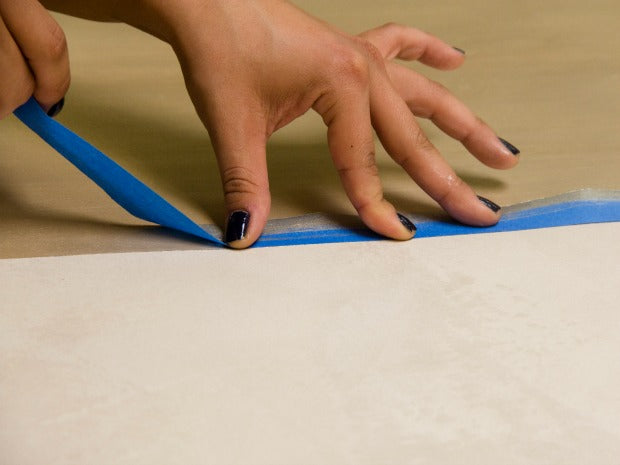
Step 6: Move the painter’s tape to already painted side of each section, covering the now painted edges so you can stencil the first and third sections of the wall hanging.
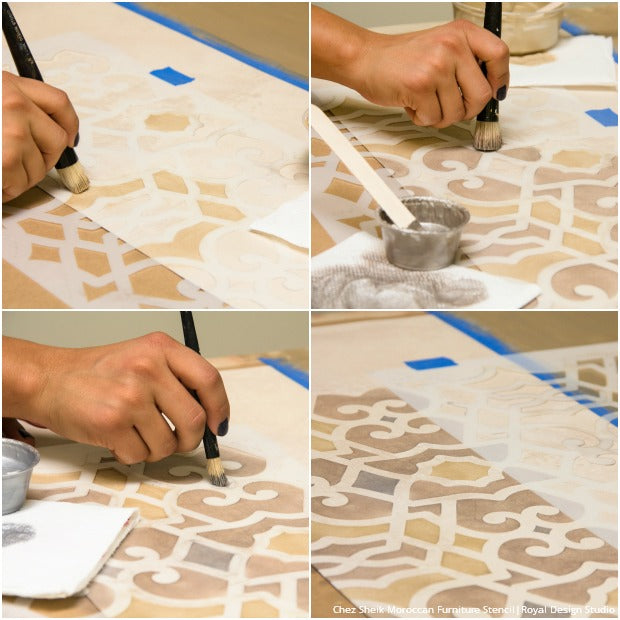
Step 7: For the first section, we used the two previous color combinations from Steps 4 & 5 and we added a third color mix. This one is of 2 parts Pearl Oyster and 1 part Antique Silver. With each of the three custom colors, stencil different elements of Chez Sheik furniture Stencil. Make sure to keep it consistent as the pattern repeats. Follow the pictures in this post as reference or create your own combination. You may have to vary your brushes based on the sizes of the pattern repeats.
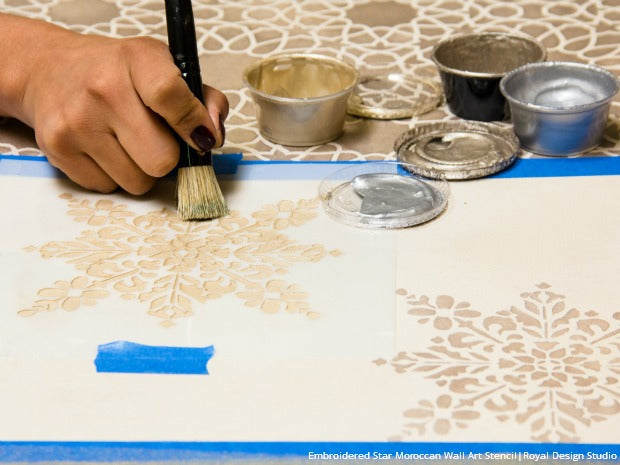
Step 8: Using the same colors from Step 7 and a 1” stencil brush, stencil Embroidered Star Moroccan Motif Stencil on the third horizontal section, alternating the colors on each repeat. We recommend stenciling about 5 to 7 repeats of this stencil depending on your layout. You should leave enough room for the Luster Stone finish to show through.
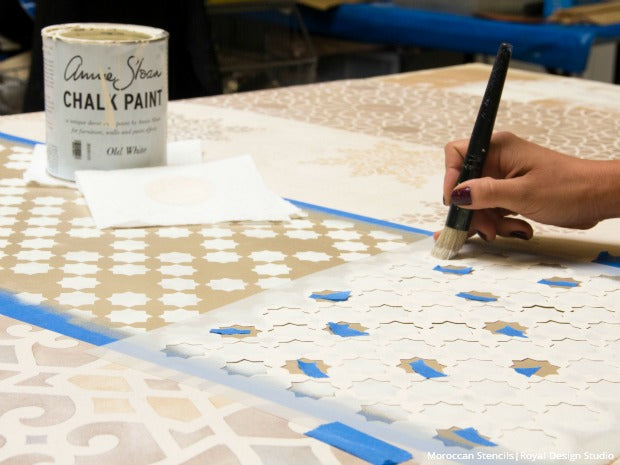
Step 9: Go back to the second horizontal section. It should be thoroughly dry. In this section, we stenciled the Eight Pointed Stars Moroccan Stencil using Old White Chalk Paint and a ¾” Stencil brush. To add some variation to the design, you can leave some star elements of the pattern out. Use a small piece of painter’s tape to mark them. When finished with this last section, remove any painter’s tape left.

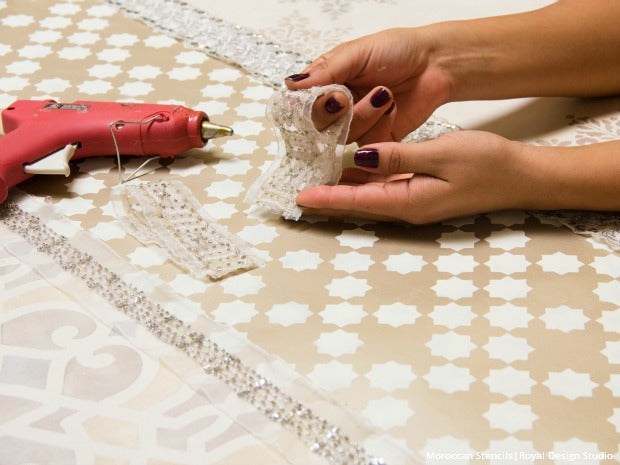
Step 10: Use ribbons to embellish the Moroccan Inspired wall hanging. Find them at a local fabric store and use a hot glue gun to add the embellishments between sections.
Step 11: Create 2 loops with one of the ribbons so you can hang the wall hanging on a curtain rod. Make sure the loops will accommodate your chosen rod.
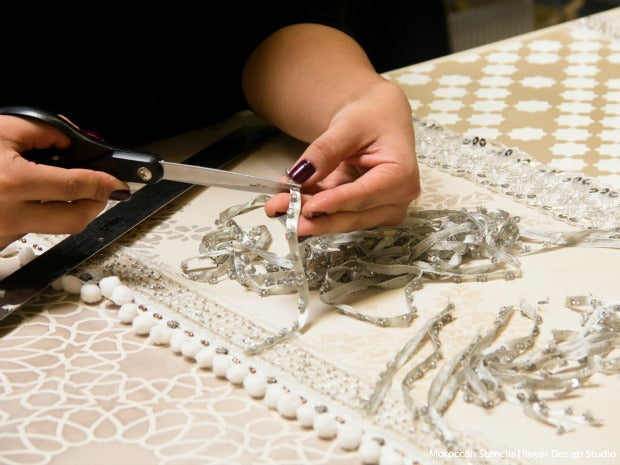
Step 12: To finish the wall hanging, create some fringe for the bottom. With a thinner embellished ribbon, we cut several pieces approximately 6” long and glued them to the bottom of the wall hanging.
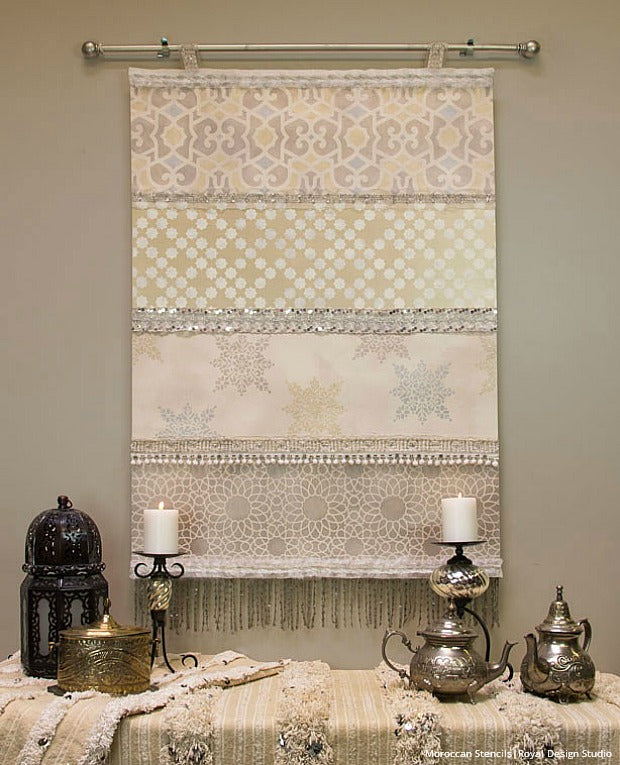
We continued our winter white theme with a silver curtain rod and silver accents to create our shimmering wall hanging! What stencils would you use to create your own wall hanging?
Christmas décor doesn’t have to come from a store… Maybe it can mean a little bit more. Want some more Christmas-themed DIY fun? Click here to see what others have done!
Spread your Christmas cheer! Share your holiday stencil projects! Email us at projects@royaldesignstudio.com or tag us on Instagram with #royaldesignstudio.


