


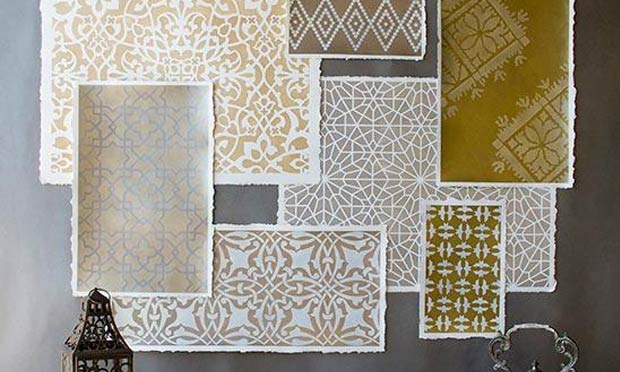
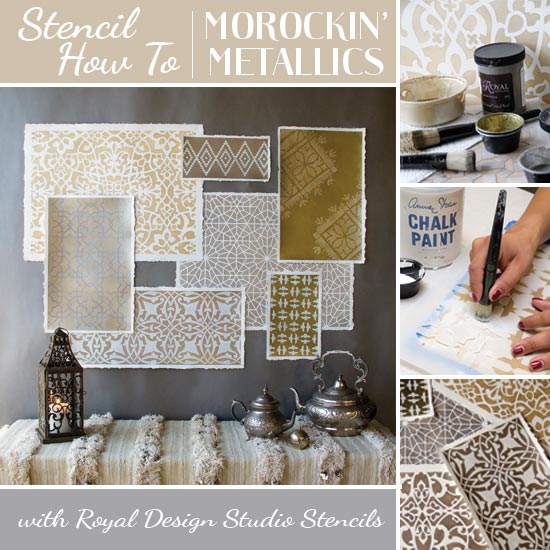
For this stencil how-to we show you how to use stencils from our Moroccan Stencil Collection with shimmering metallic Stencil Creme paints for a fabulous DIY wall art project on watercolor paper. It's and easy and elegant to incorporate many different allover stencil patterns and you can then create a unique and moveable collage-style installation on your walls that is easy to rearrange as you wish!
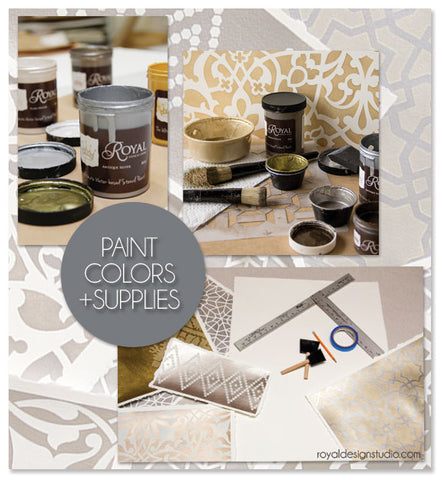
Stencil Supplies you will need for this project:
- Royal Stencil Creme paints*: Bright Gold, Antique Gold, Pearl Oyster, Smoked Oyster, Antique Silver
- Pure White Chalk Paint® decorative paint
- 2" Foam Brushes
- 1" and 1.5" Stencil Brushes
- 22" x 30" heavy watercolor paper (purchased from Michaels)
- Blue low-tack Painter's Tape
- Drywall T-Square or other metal straight edge
*Our Royal Stencil Creme paints are now available in 2oz. AND 8oz. sizes. If you are doing a larger project we recommend checking out the 8oz. sizes
Custom Stencil Creme Color Combinations:
- Champagne: 1x Bright Gold + 1X Pearl Oyster + .25X Smoked Oyster
- Medium Gold: 1X Bright Gold + 1X Antique Gold
- Light Oyster: 1X Smoked Oyster + 1X Pearl Oyster
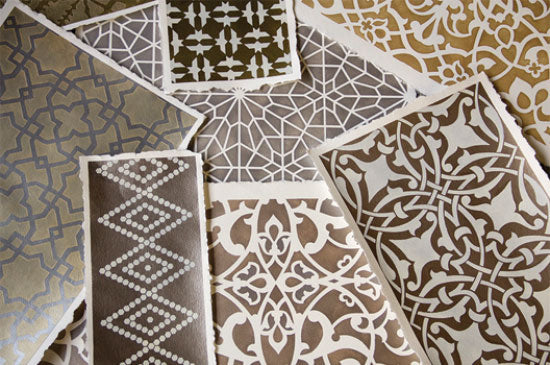
For this project, I wanted to showcase some of our new Moroccan stencil patterns that were developed for our Moroccan Stencil Painting Retreat in May 2013. Since the project there is awaiting publication I can't share it yet, but wanted to recreate the same sort of mix of Moroccan patterns in soft metallic colors-some layered tone-on-tone and some just utilizing the pretty white texture of the watercolor paper.
Royal Design Studio Moroccan Stencils Used:
- Bird Tile Moroccan Stencil
- Starry Moroccan Night Stencil
- Moroccan Roundabout Border
- Hexagons Border Moroccan
- Small Tangier Lattice
- Palace Trellis Stencil
- Fez Blanket Moroccan Stencil
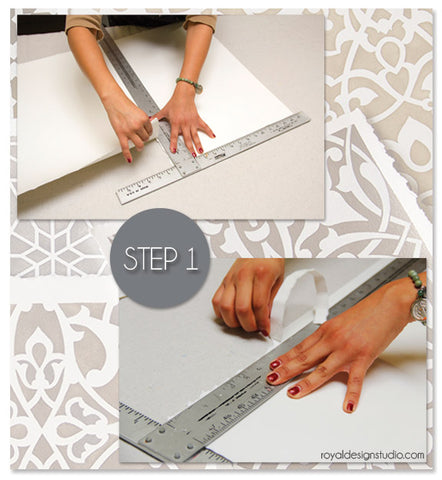
Step 1:
The sheets of watercolor paper naturally have a beautiful irregular edge which provides a nice organic frame for the stenciled artwork. If you are using a full sheet of paper you can simply proceed to Step 2. If you want to create smaller sheet of paper you will need to recreate that torn edge on each side of your smaller sheet. Use a large straight edge (we used a T-square designed for drywall installation) and simply tear the paper along the straight edge to separate it into smaller sizes. Also tear off a small strip around the edges where the paper has a straight cut on it.
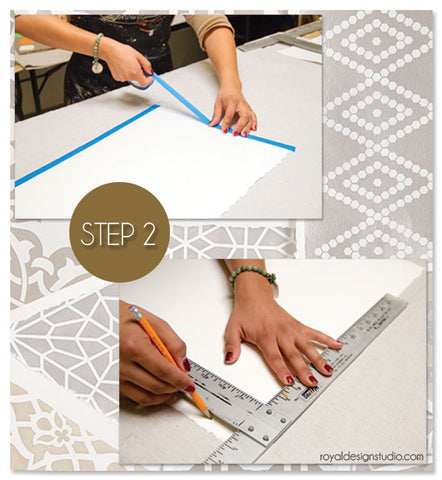
Step 2:
Create a squared-off rectangle within the torn edges. Use the T-square (or similar) to measure in about a half inch or so and create nice square corners with a soft pencil. Run Painter's Tape outside of that line to create a clean-edged tape "frame". Now you are ready to either start to stencil (if you want to incorporate the natural white background like we did with our Palace Trellis Moroccan Stencil) OR apply a layer of Stencil Creme paint to the background if creating a tone-on-tone stencil treatment. For our Moroccan artwork we combined a bit of both techniques for more interest and variation.
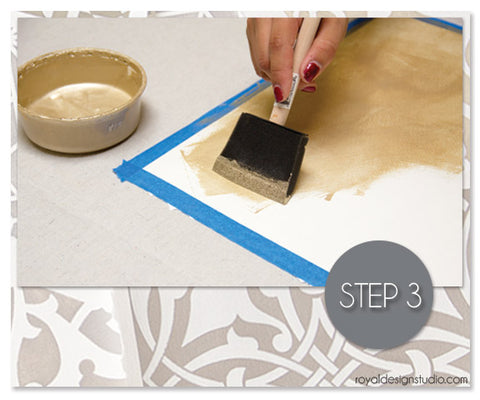
Step 3:
Use a foam brush or foam roller to apply two or more coats of metallic Stencil Creme paint to the background. You can use the colors straight from the jar, play with your own creative color mixes, or follow our color mixes above.
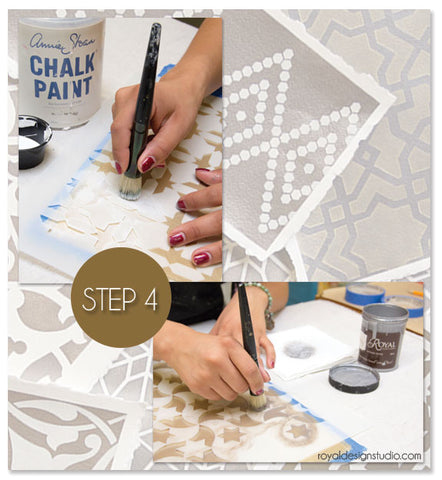
Step 4:
For stenciling over our painted metallic backgrounds we used Pure White Chalk Paint® on some and various custom mixes of Stencil Creme paints on others.

Once the stencil fun is over the design fun begins! After playing with an arrangement on a floor or large tabletop, use low-tack double sided foam squares from 3M to affix the stenciled watercolor paper to your wall. Alternatively, you could fix them to the wall with decorative push pins. We began our design with our larger pieces of paper and then played with the smaller pieces over them to get a nice, balanced mix of sizes and colors throughout our wall art installation.
Check out these other Stencil How-to Projects for more ideas for using both Moroccan stencil patterns and Metallic Stencil Cremes:
- How to Stencil Colorful Moroccan Canvas Art
- Basic Brush Stenciling with Royal Stencil Cremes
- Sparkle Up Chalk Paint® with Royal Stencil Cremes
Happy Stenciling!


