

Emily Siegel: An Entryway That Says "Welcome!"
Stencil used: Asahi Wall Stencil

First impressions matter, and Emily nailed hers! She set out to create "a fun way to welcome people into my home," and her entryway now greets every guest with warmth, color, and personality.
The best part? The joy doesn't stop when guests leave. "It sparks so much joy to walk past this wall all the time," Emily shares. We can see why!
Emily's palette: Behr Portuguese Dawn (a gorgeous salmon) as the base, Crème Fraîche stenciled on top, and playful dots in Red Potato. She worked with foam rollers and stencil brushes.
Emily's pro tip: "Use adhesive spray on back of stencil to stick to wall." A light mist keeps your stencil snug against the surface for crisp, clean lines.
----------------------
Judi Anderson: Personality for a 177-Year-Old Home
Stencil used: Asian Art Deco Wall Stencil ·
Instagram: @judireedanderson

Judi's guest bathroom lives in a home that's 177 years old, and it was ready for some personality. Talk about honoring history with style!
This was no small undertaking. "It took me a solid week to do this 4 color stencil but it was well worth it and everyone is amazed!" A four-color stencil is a true labor of love, and the layered result is absolutely breathtaking.
Judi's favorite product: Metallic copper leaf accents from Shutter Art, which add a warm, luminous glow to the design.
Judi's pro tips: "Stenciling is so much fun and really adds to a room without costing very much. Plan your colors and play around on a practice piece before you start. Less paint more patience." (We may just have to frame that last line!)
----------------------
Alisha Allen: A Kids' Bathroom Full of Character
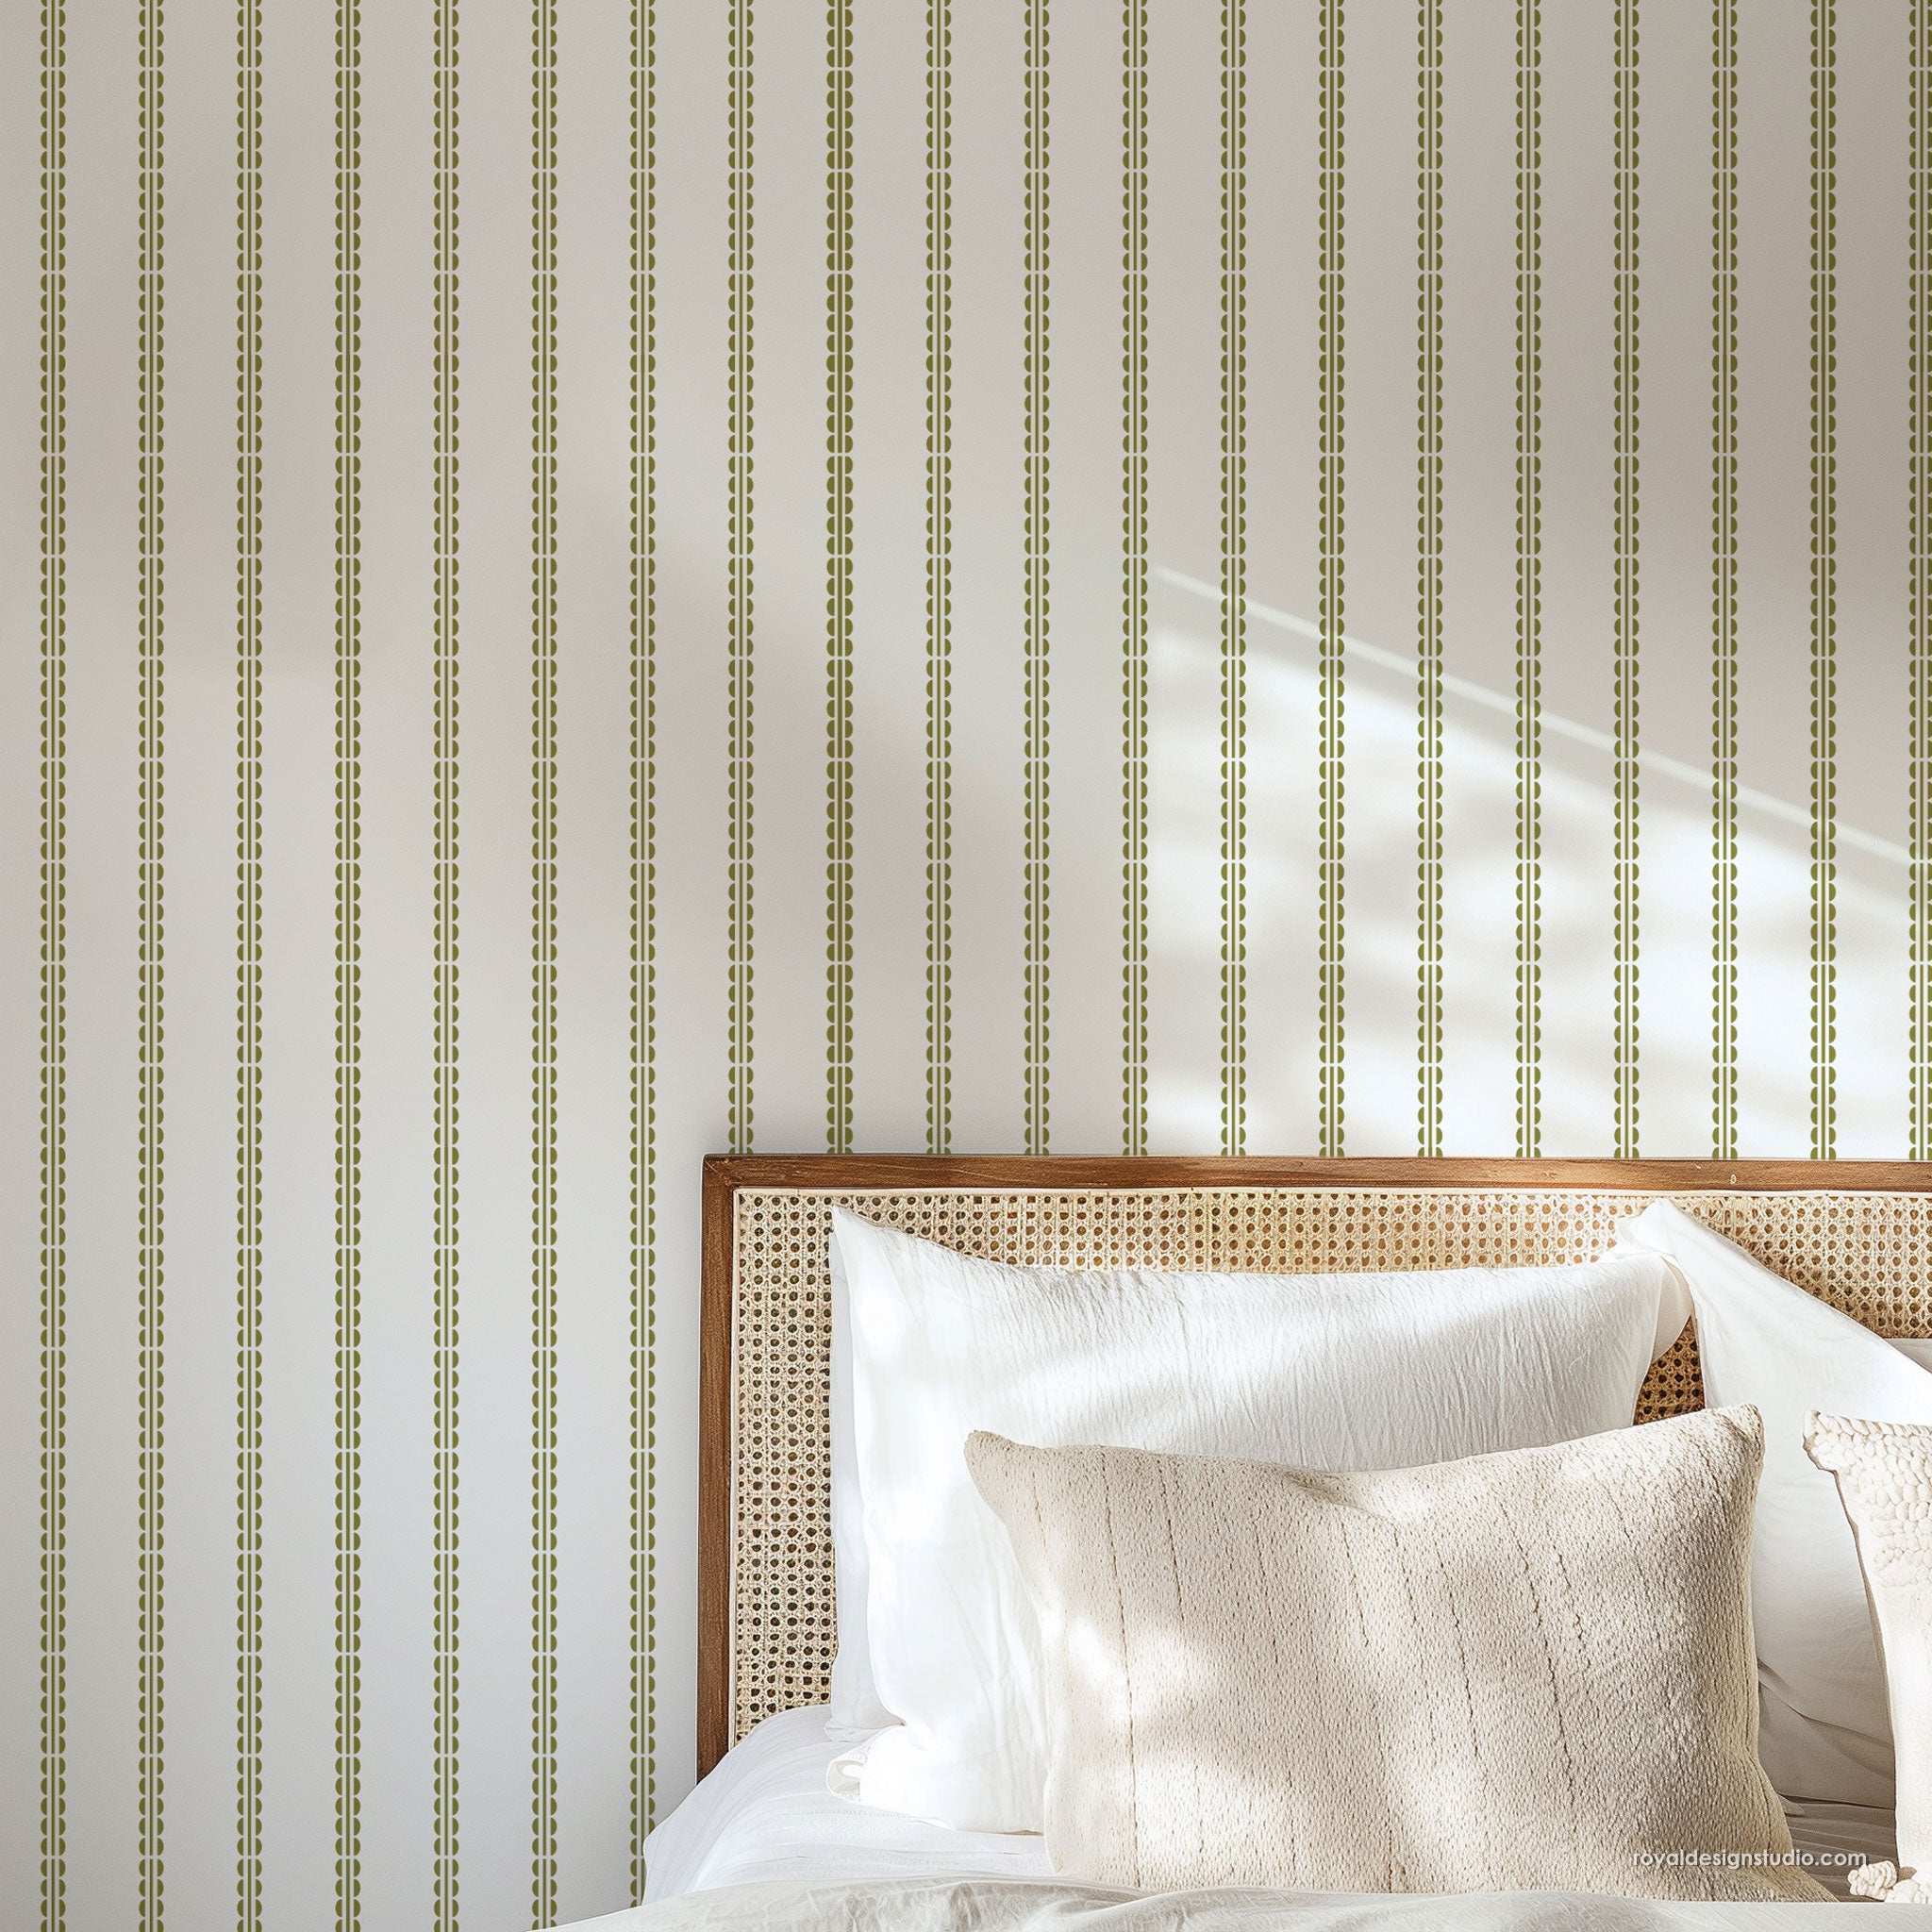
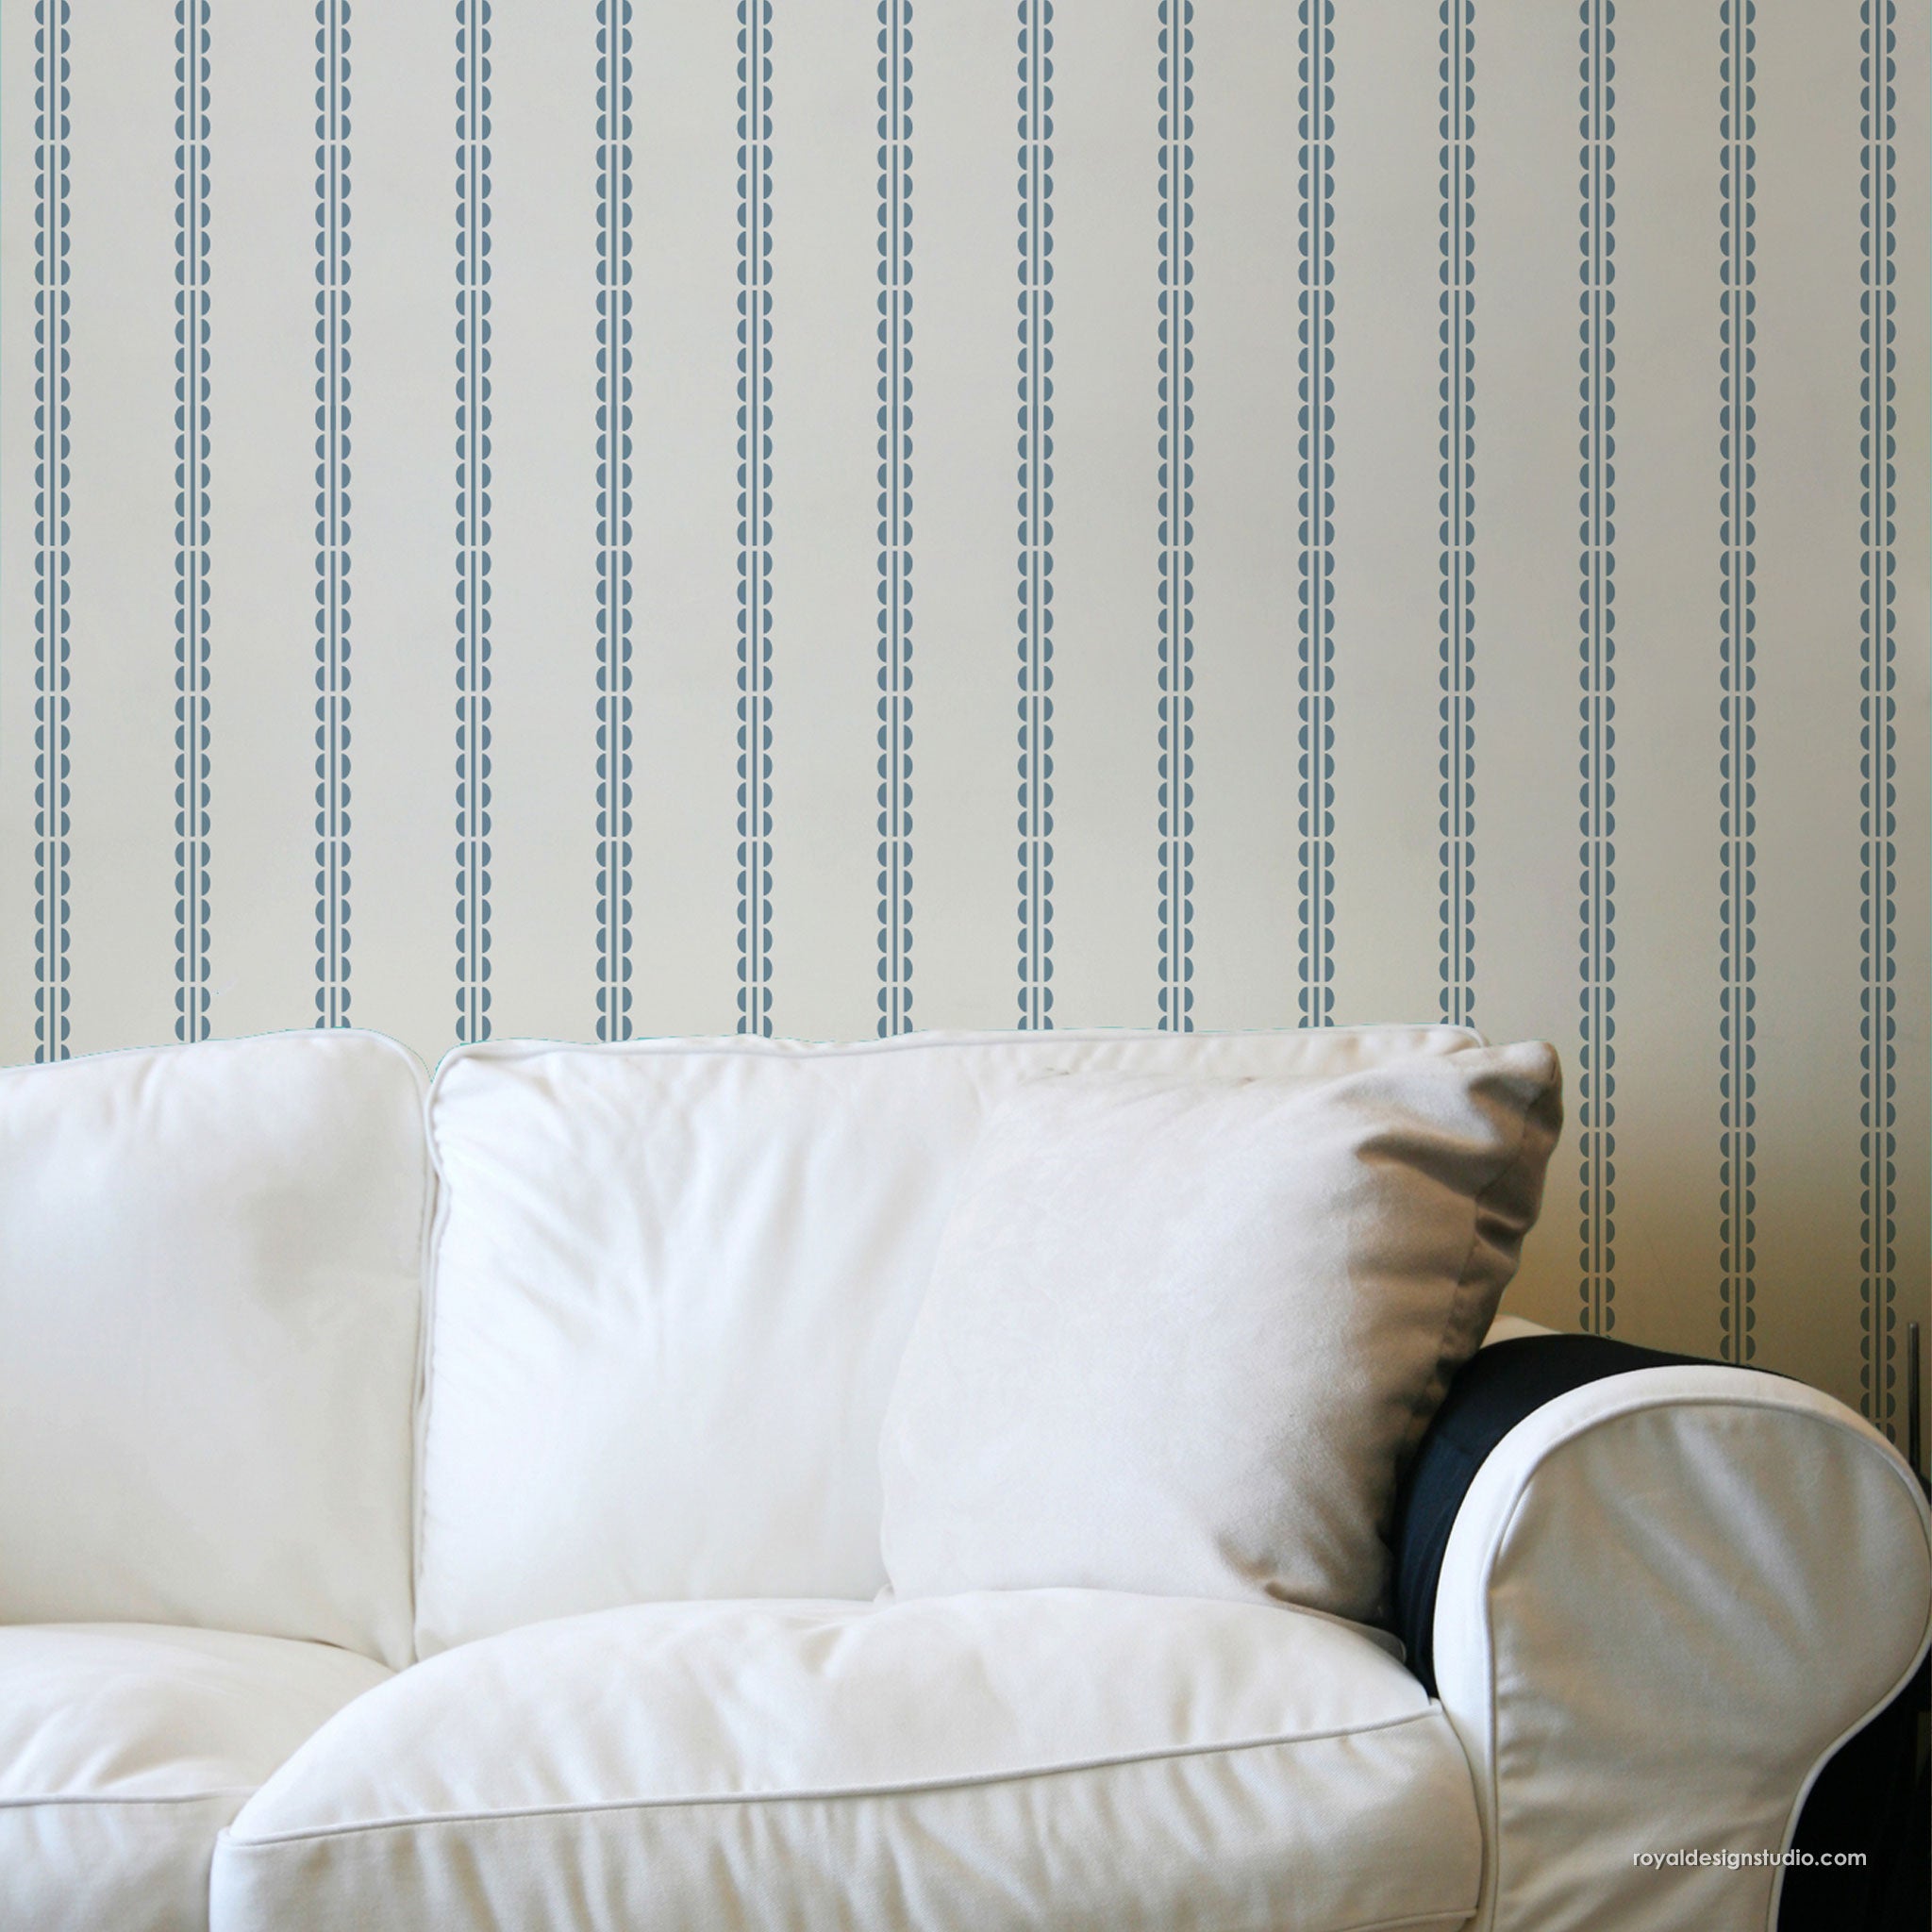
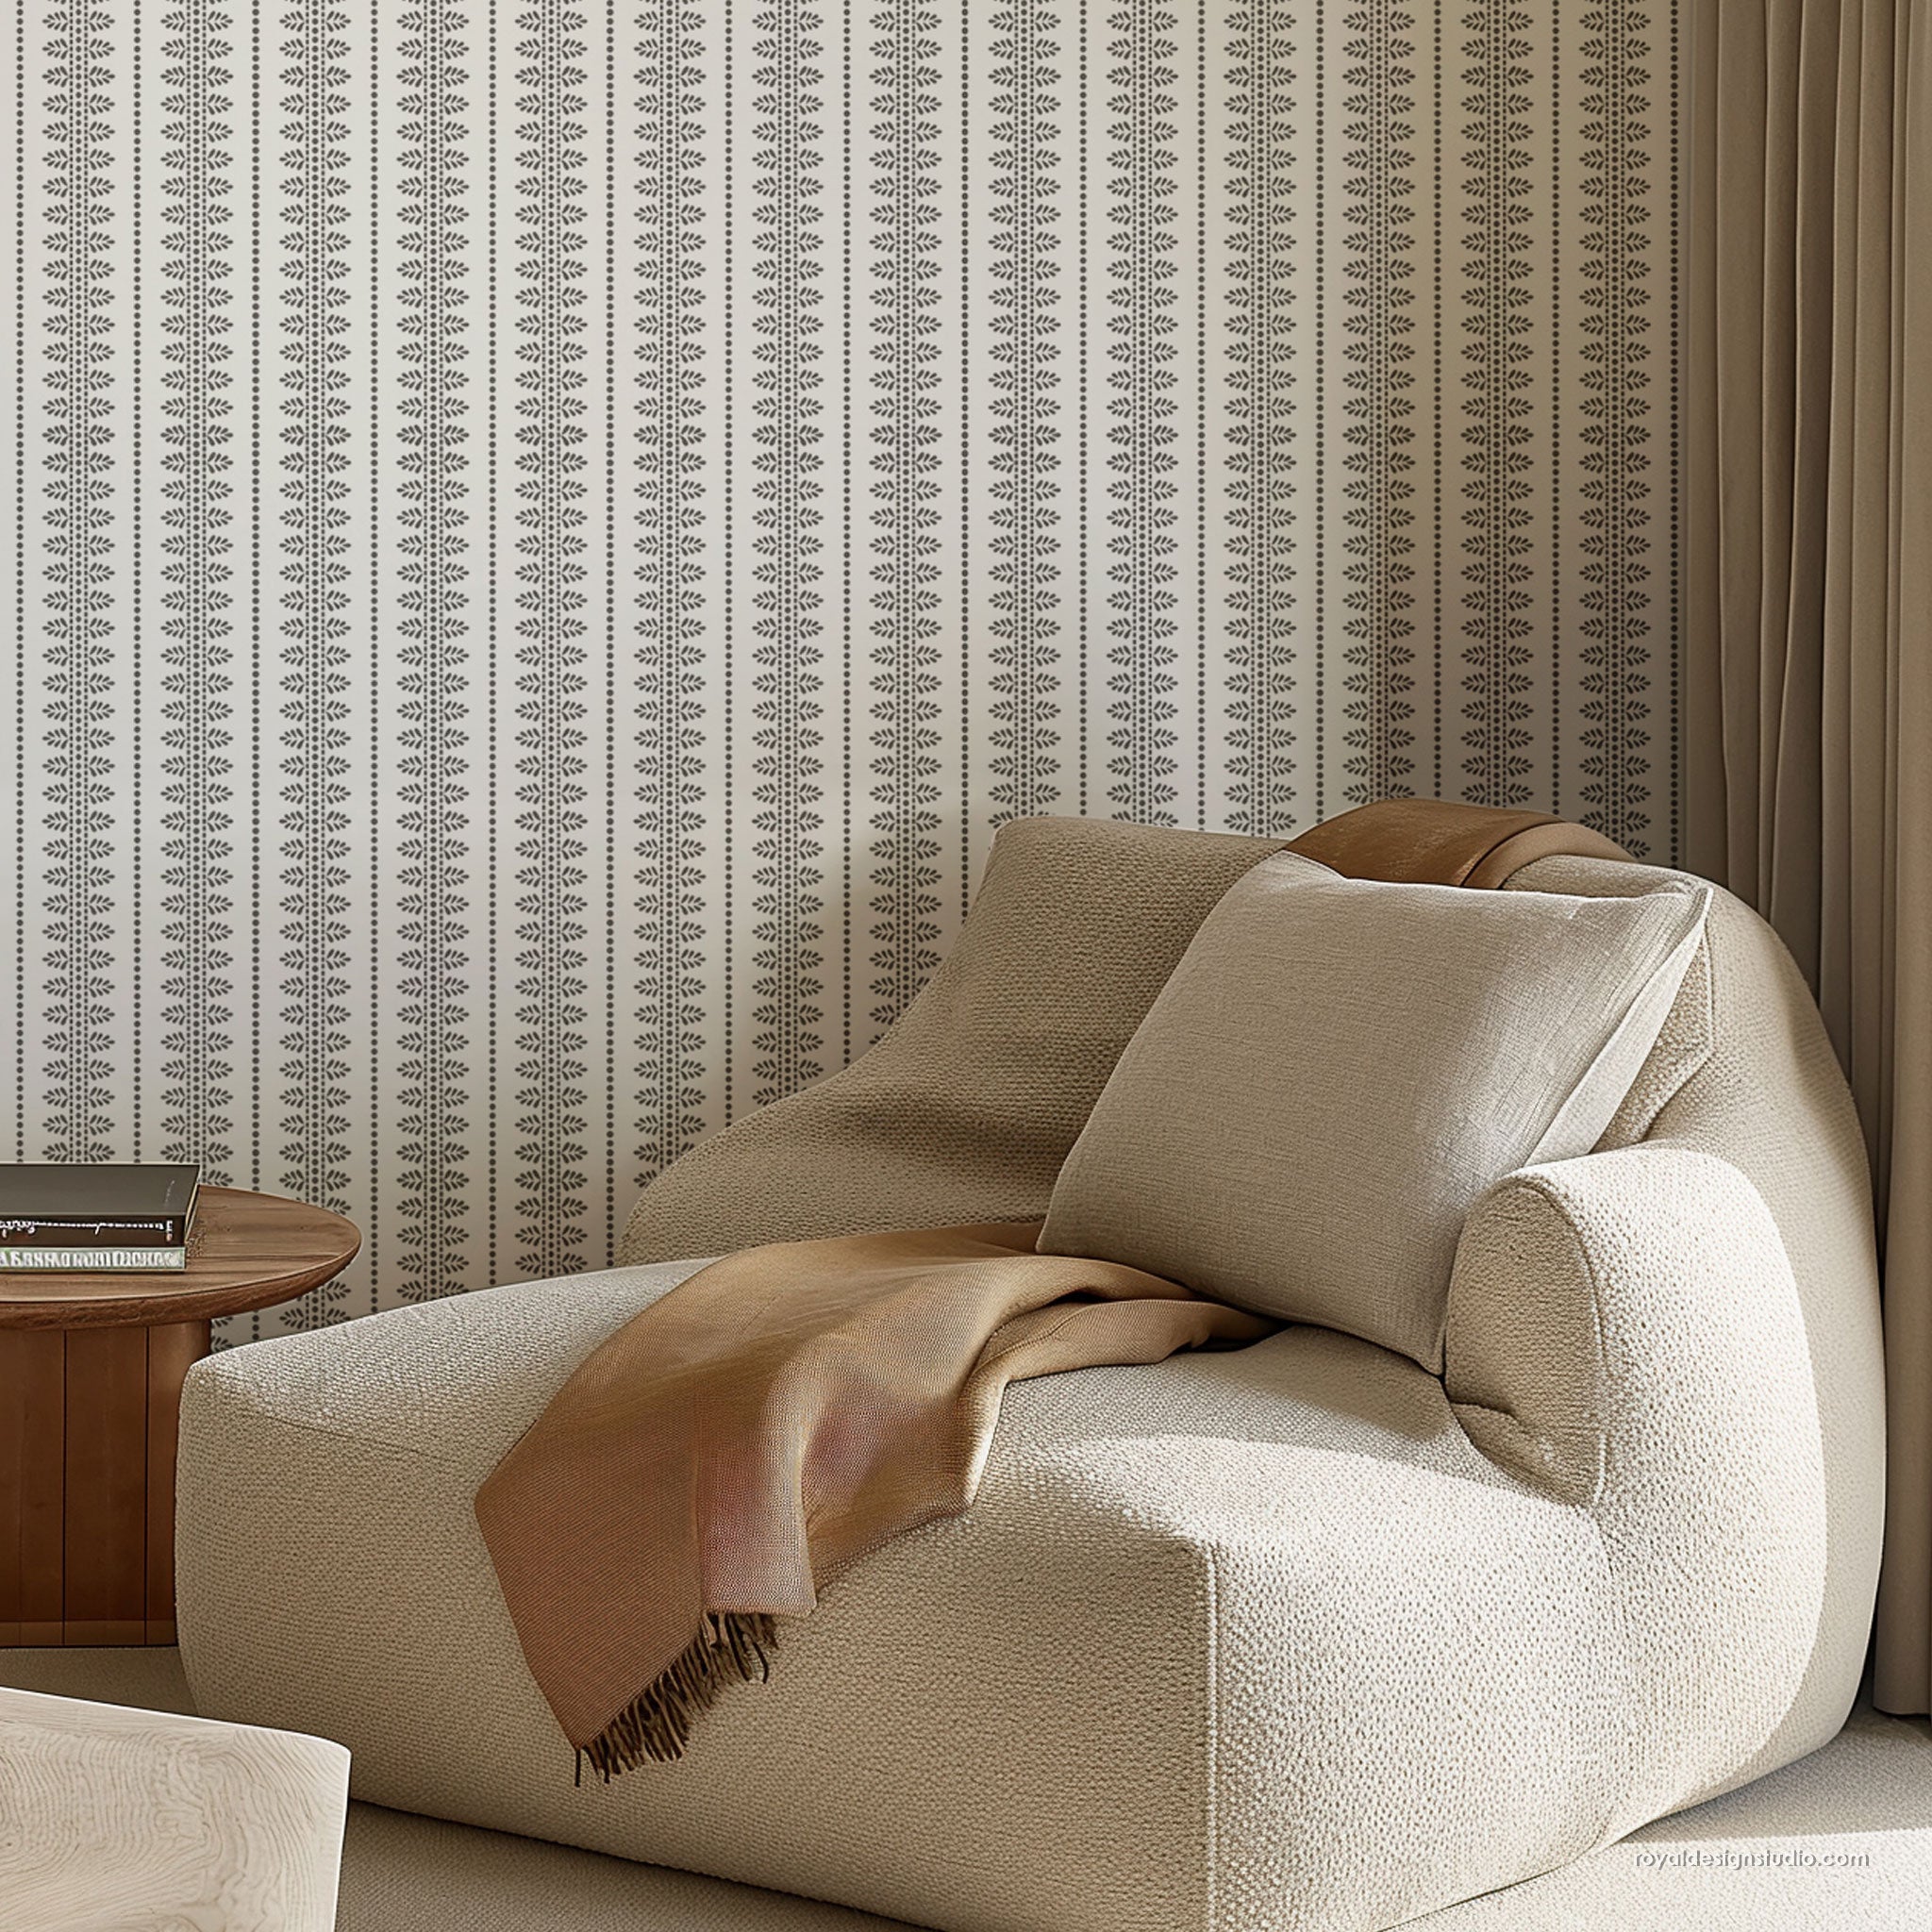
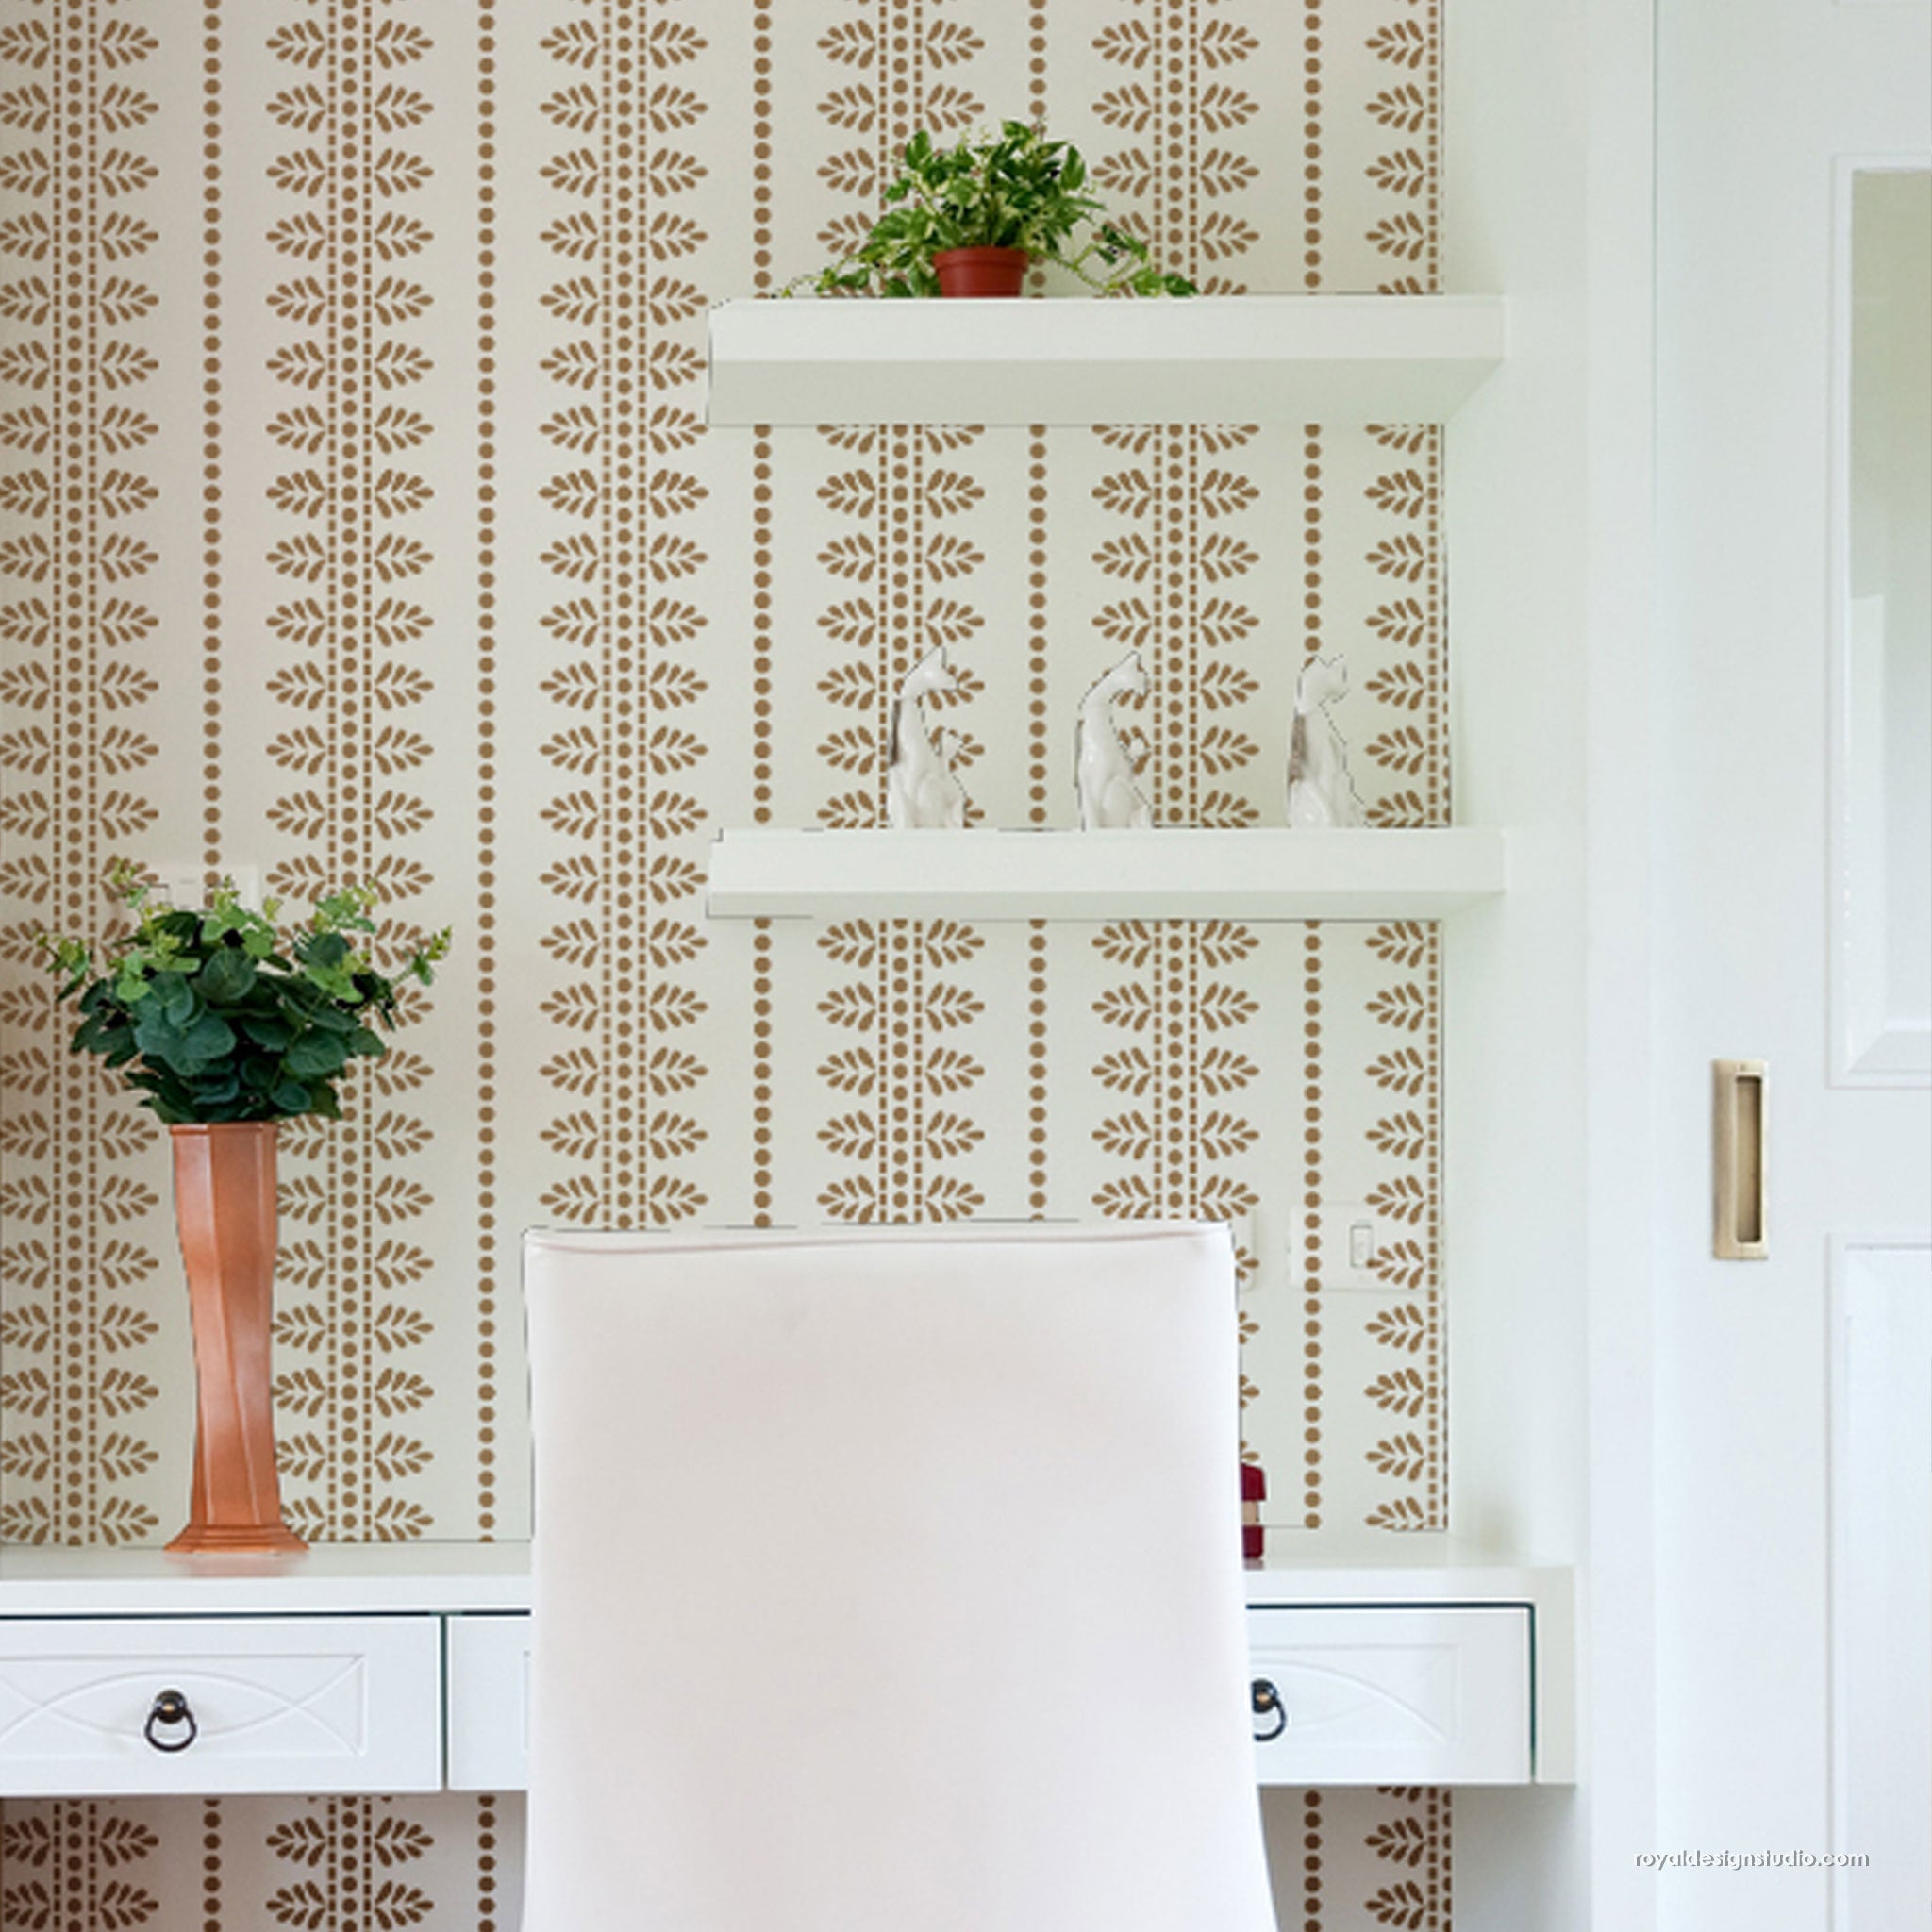
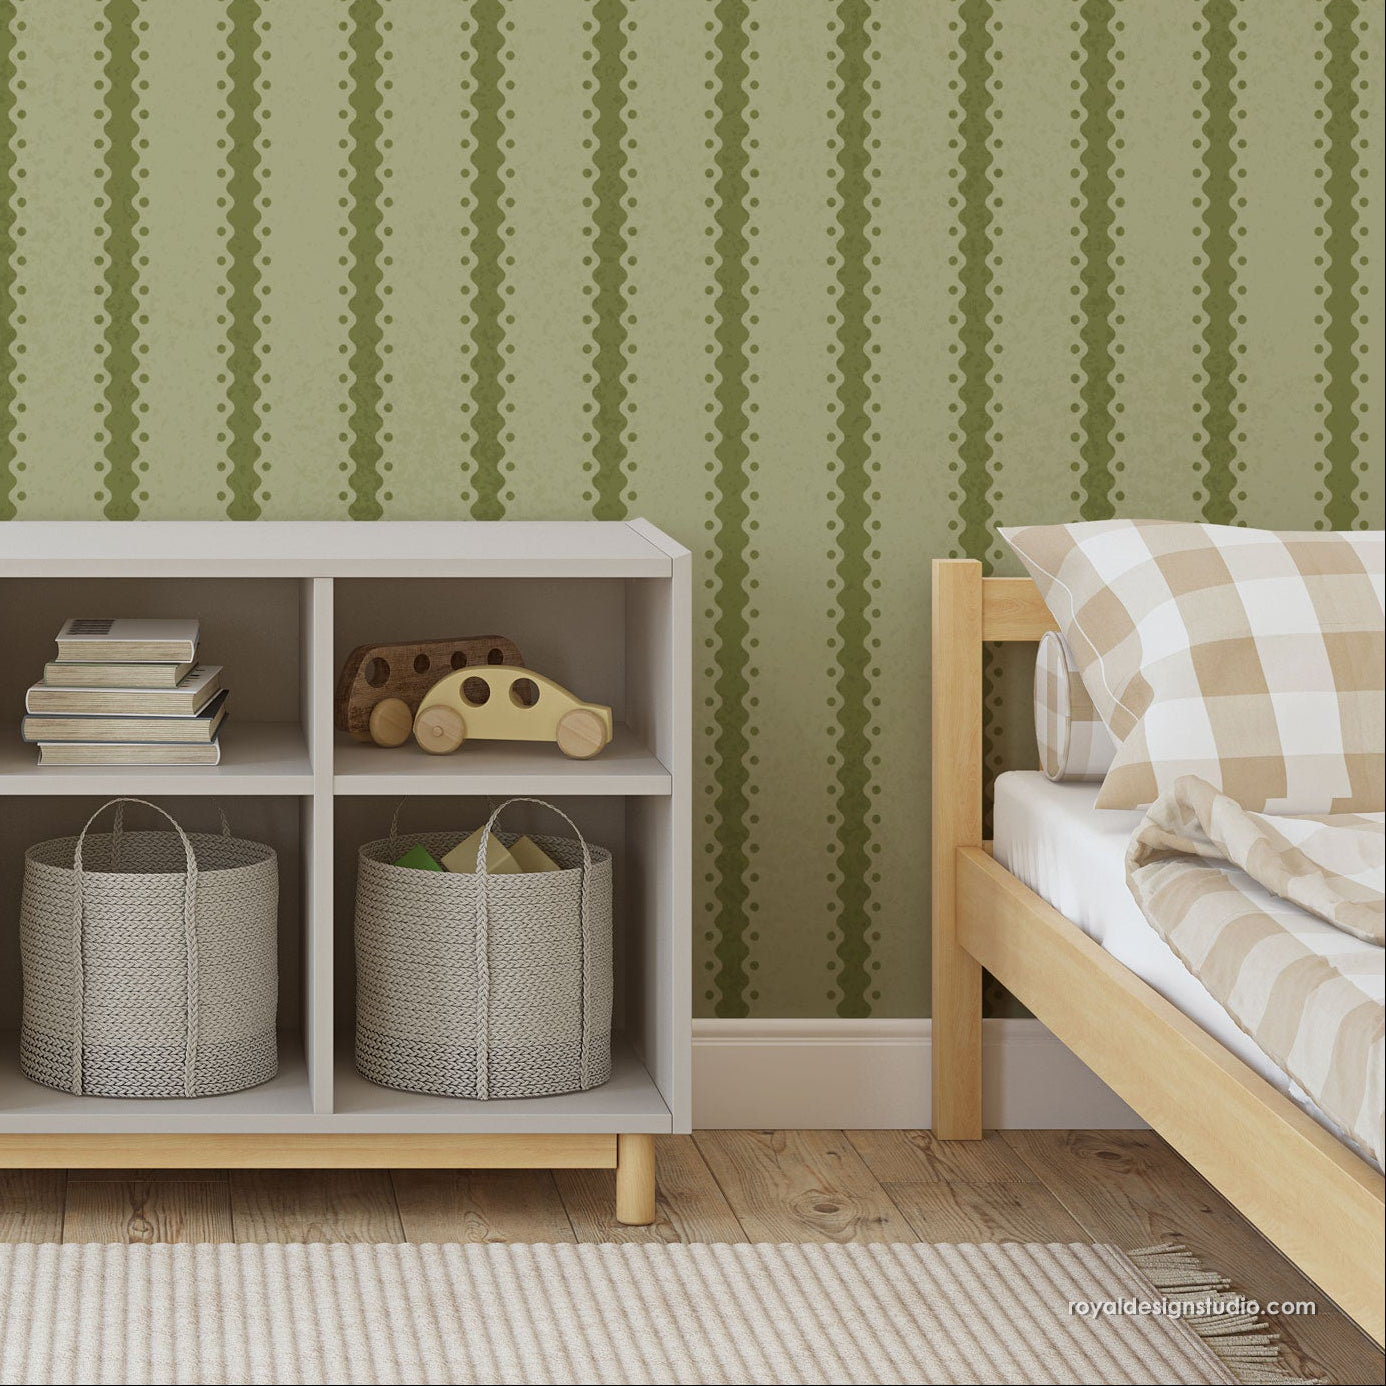
Stencil used: Liam Stripe Wall Stencil

Why wallpaper when you can paint? Alisha wanted to skip the wallpaper and "add character" to her kids' bathroom, and the Liam stencil delivered in a big way.
"Redid my kids bathroom and used the Liam stencil. Turned out so cute! The stencil really pulled the whole project together." We couldn't agree more. It's playful, polished, and full of charm.
Alisha's palette: Sherwin-Williams Redbud and Romance, a sweet and sophisticated pairing.
Alisha's pro tip: "Stenciling takes time but it's worth it." Short, sweet, and 100% true!
----------------------
Anna West: A Greenhouse Haven for Winter Gardening
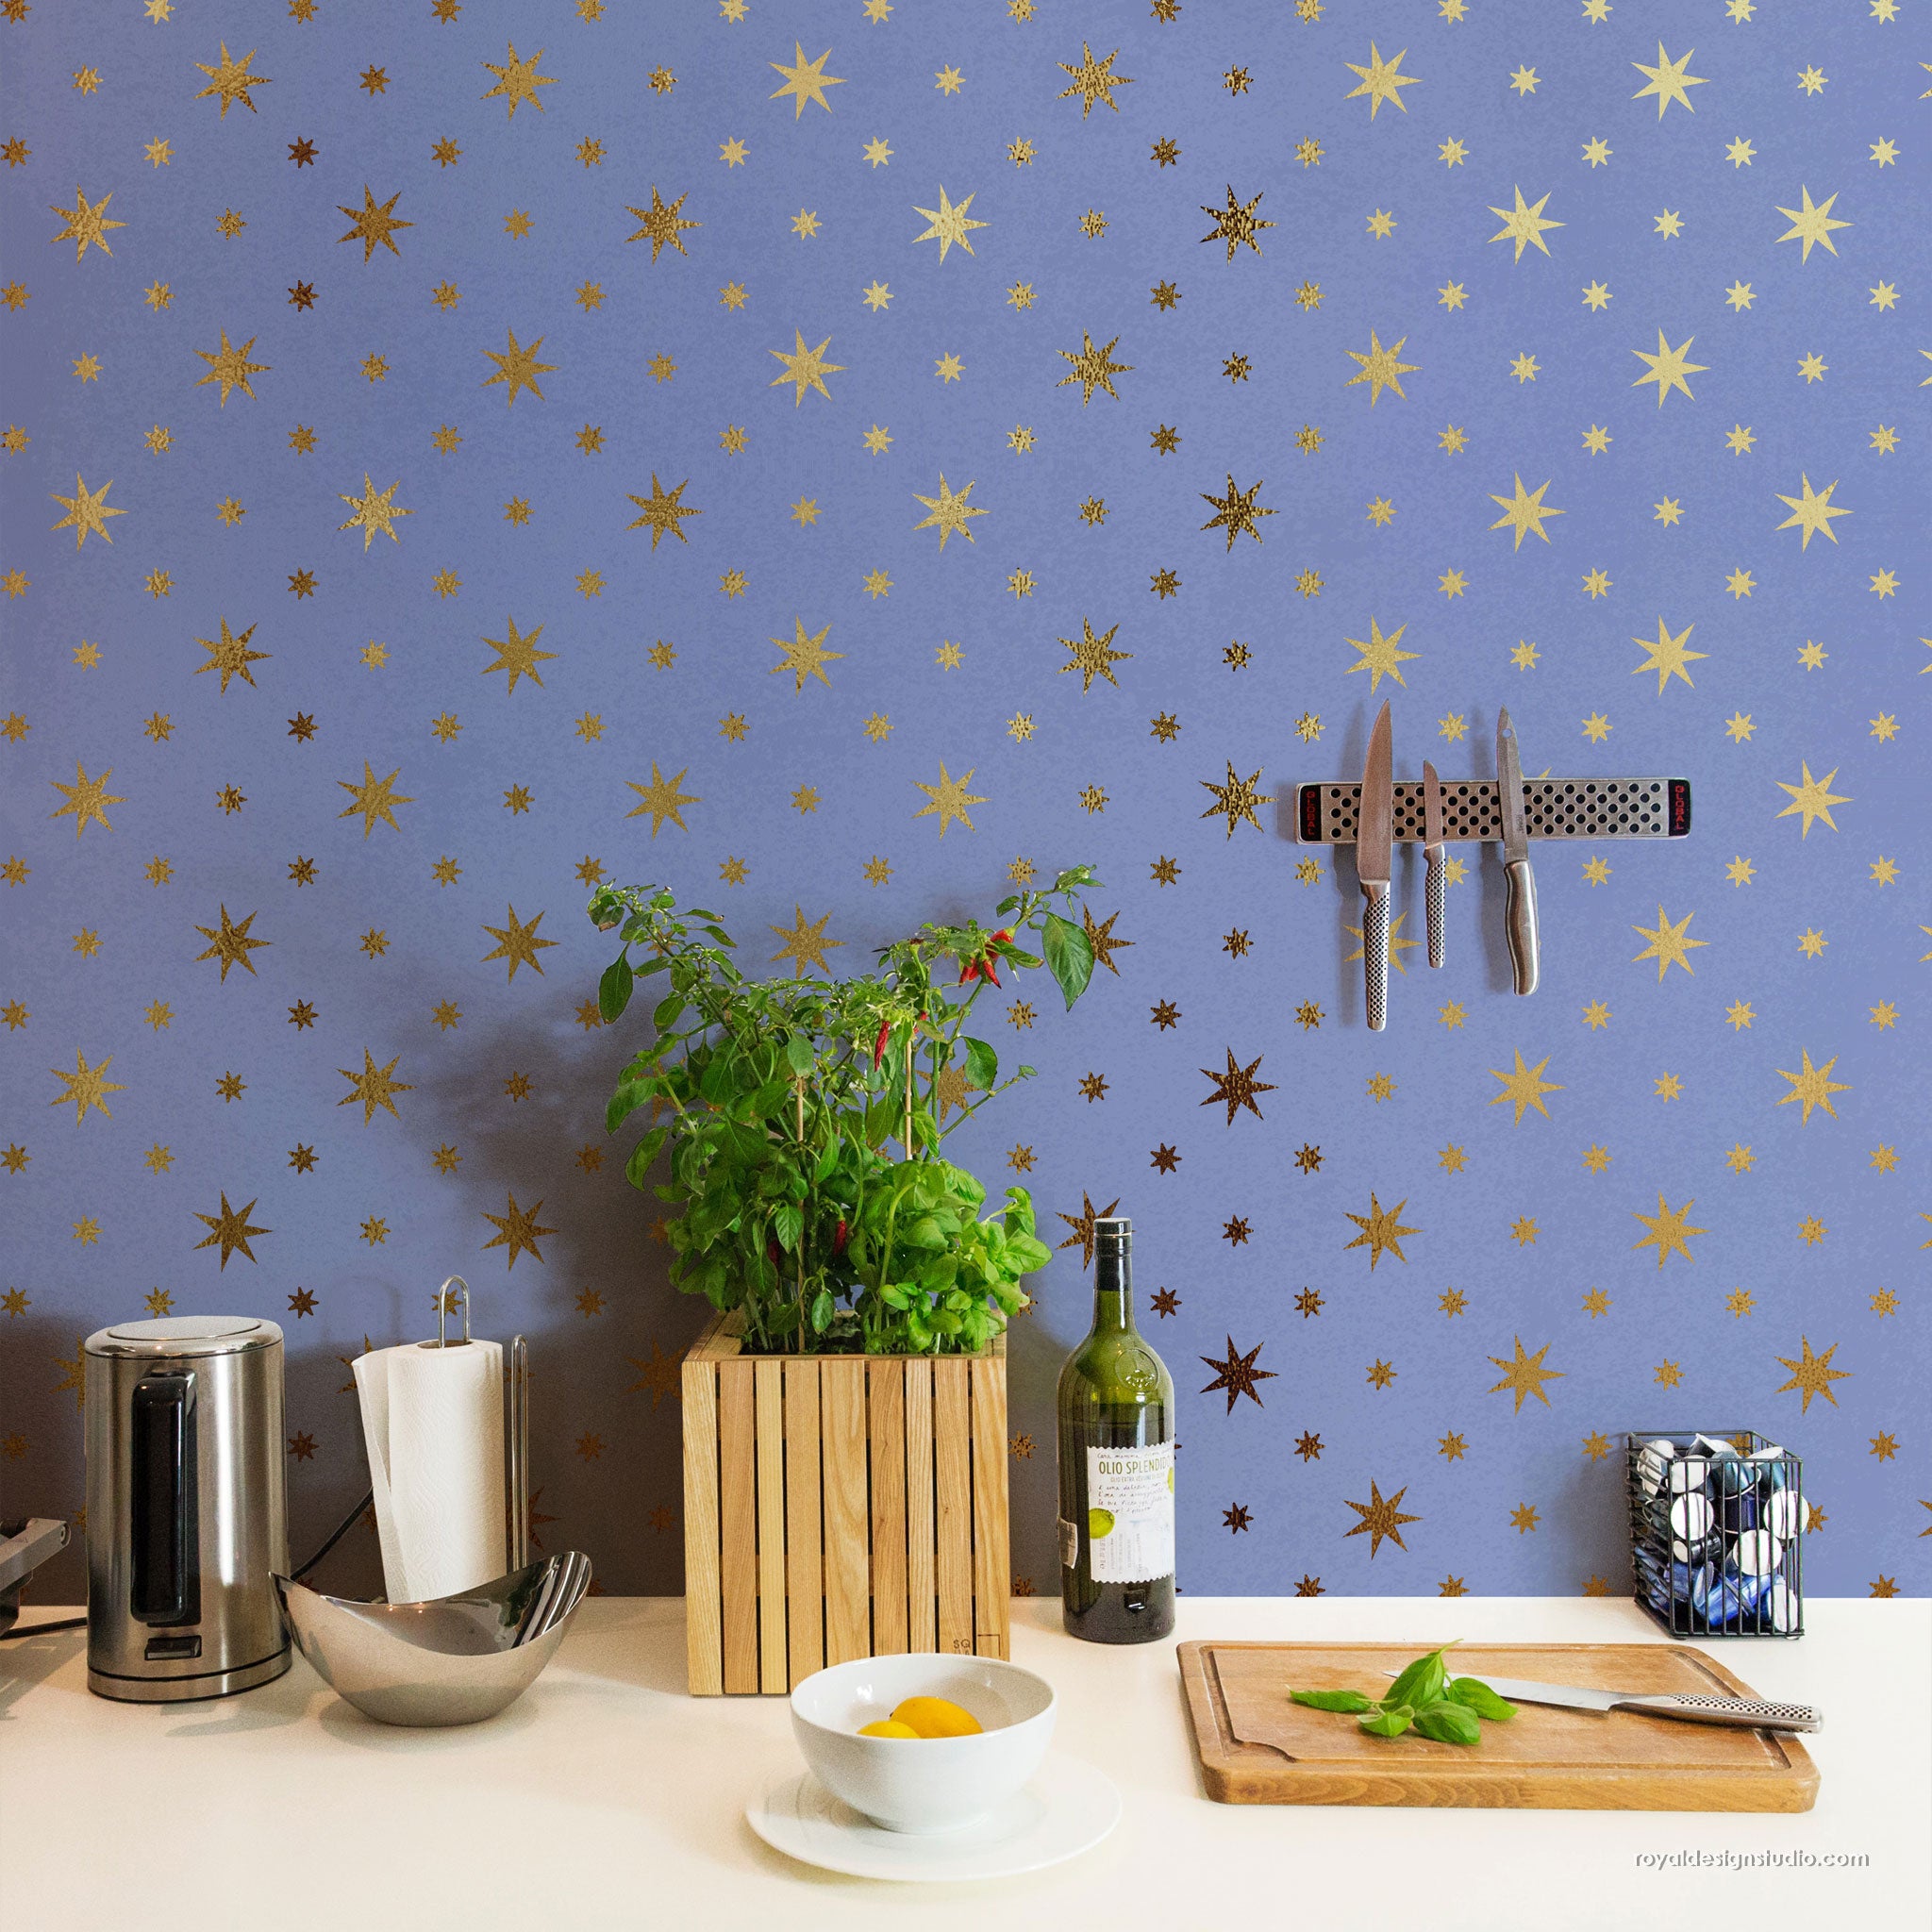
Stencils used: You're a Star Tile Stencil & Meandering Rose Chinoiserie Wall Stencil
Instagram: @Annaneve

This one blooms with heart! Anna's husband built her a lean-to greenhouse this summer, and her dream was to turn it into "a beautiful haven to do my gardening in the dark winter months. I wanted it to be cute as well as practical!"
Mission accomplished. "The actual before was a small dark dirty shed that I could not even stand up in, this is a huge upgrade! Almost can't wait for winter!" (Now that's a sentence we never thought we'd hear.)
Anna's budget win: Anna has had her You're a Star stencil for years and has used it several times. She already had all the paint left over from other projects, so the only cost of this makeover was the Meandering Rose stencil. "Once you get some good brushes and the right stencil, you're good to go!" And our favorite line of the quarter: "I am a Royal Design Stencils Queen! I love them!!!" We love you too, Anna!
Anna's pro tip: "Stencils are really hard to mess up, but I always manage to!" Painting the floor was trickier than she expected, so she whitewashed it to cover her first mistakes, and she loves how it turned out. Her advice: "Like they say, less is more when it comes to paint."
----------------------
Dina Brown: A Moroccan-Inspired Half Bath That Shimmers
Stencil used: Silk Road Suzani Craft Stencil
Instagram: @dinabrownla

Dina simply wanted to make her bathroom more exciting, and exciting is exactly what she got! "I'm thrilled with my Moroccan inspired bathroom! I love the metallic patina green creme paint, it reminds me of an iridescent scarab :)" What a perfect description of that jewel-toned shimmer.
Dina's products: Royal Stencil Creme in Patina Green over white walls, plus a repositioning spray. She also swears by our stencil cleaner spray: "I sprayed it down in the kitchen sink, scrubbed it lightly, dried it and kept going!"
Dina's pro tip: Size your stencil to your space. Dina chose a craft stencil because her small half bath had even tighter areas to stencil under the sink. "The craft stencil was easy to work with in this space." Smart thinking for small rooms and tricky corners!
----------------------
Winning Wisdom: Top Tips From Our Q3 Champs
Feeling inspired? Here's what our winners want you to know before you pick up a brush:
- Less paint, more patience. Judi and Anna both swear by it. A light hand gives you crisp, bleed-free results.
- Practice first. Plan your colors and test on a practice piece before you hit the wall.
- Make it stick. Adhesive or repositioning spray on the back of your stencil keeps it snug and steady.
- Keep it clean. A quick spray, light scrub, and dry with stencil cleaner keeps your project moving.
- Size it to the space. Craft stencils are a smart pick for tight spots like under the sink.
- Give it time. Stenciling isn't a race, and every winner agrees the results are worth it.
----------------------
Congratulations, Winners!
A heartfelt congratulations to Emily, Judi, Alisha, Anna, and Dina. Thank you for sharing your creativity, your stories, and your beautiful spaces with all of us!
Think your project could be next? We want to see your stencil transformations! Snap your before and after photos and enter our next quarterly Before & After Contest for your chance to be featured. Share your progress on Instagram and tag us so we can cheer you on. Happy stenciling!