Stencil How-To: Wedding Photo Booth Backdrop

Stencil How-To: Wedding Photo Booth Backdrop

She and her fiance are wisely saving most of their money for a dream honeymoon to Paris, but of course she still wants to create a lovely setting and festive atmosphere for her friends and family to enjoy-so she is doing many creative, DIY projects for her special day. One of these projects was to create a custom photo booth backdrop with our Step Up Triangles Stencil. Lizelly favors clean, bold, geometric patterns and this design from our Modern Stencils Collection is one of her favorites! 
Stencil How-to: Birds on a Wire Reading Stencil How-To: Wedding Photo Booth Backdrop 4 minutes Next Stencil How-To: Burlap Table Runner
Stencil your own fun Photo Booth Backdrop with Modern Stencils from Royal Design Studio 
Wedding bells will be ringing soon for one our creative team members here at Royal Design Studio!! Our very own Lizelly (shown left) is getting married in a few weeks in an intimate backyard wedding. Lizelly is my go-to girl here for "all things stencil". She works with me to create our latest stencil patterns and creates many of the beautiful accompanying graphics you see here on our website and Royal Design Studio Facebook Page. She and her fiance are wisely saving most of their money for a dream honeymoon to Paris, but of course she still wants to create a lovely setting and festive atmosphere for her friends and family to enjoy-so she is doing many creative, DIY projects for her special day. One of these projects was to create a custom photo booth backdrop with our Step Up Triangles Stencil. Lizelly favors clean, bold, geometric patterns and this design from our Modern Stencils Collection is one of her favorites! This is a super easy stencil project that can be done in just a little time for LOTS of fun on the wedding day! Here's how....
 
Stencil your own fun Photo Booth Backdrop with Modern Stencils from Royal Design Studio

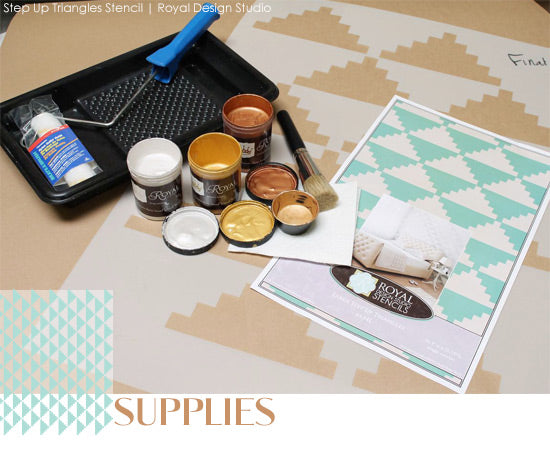
Photo Booth Backdrop Stencils and Supplies:

Large Step-up Triangles Stencil

2" Stencil Brush

Royal Stencil Creme Paints: Bright Gold, Copper Kettle, Pearl Oyster

Small or Medium Nylon Paint Roller, Roller Handle, Paint Tray

Off White Eggshell Latex Paint

Painter’s tape, Paper Towels

Heavy Canvas, Paper, Dropcloth, or Fabric
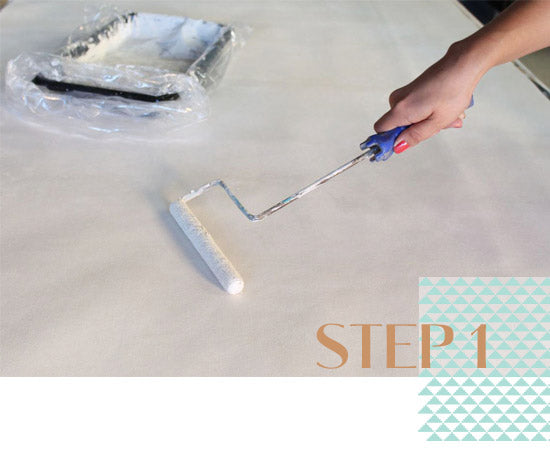
 

Stencil your own fun Photo Booth Backdrop with Modern Stencils from Royal Design StudioStep 1

Lizelly used some heavy Roclon canvas that we have here at the studio. This material is actually used to create light-blocking window treatments and can be found nationwide at fabric stores, like Jo-Ann's Fabrics. Otherwise, you could substitute dropcloth canvas, fabric curtains or heavy paper for your backdrop material. Roll the canvas with 2 coats of the latex paint color of your choice.
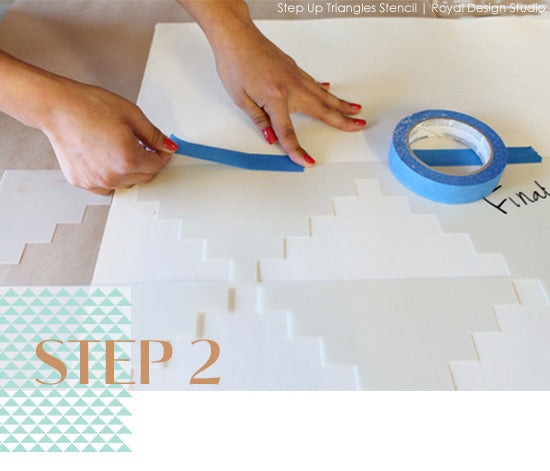
 

Stencil your own fun Photo Booth Backdrop with Modern Stencils from Royal Design StudioStep 2

When stenciling a symmetrical allover stencil design in a featured area like this, it's always best to center the pattern so that it ends at the same place on both sides of the canvas. Determine the center vertical line of the backdrop and center one of the triangle elements there. Simply use ScotchBlue™ Painter's Tape to keep the stencil in place.

Stencil your own fun Photo Booth Backdrop with Modern Stencils from Royal Design Studio
 
Step 3

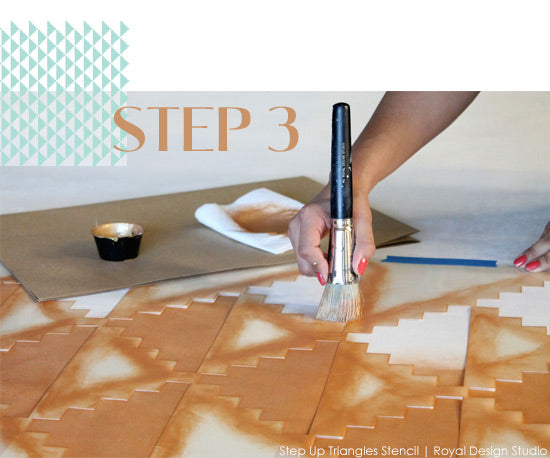
Lizelly has a specific color scheme for her wedding decorations and wanted to create the perfect matching shade of gold. She combined our Royal Stencil Creme paints at a rate of 1 part Bright Gold + 1/8 part Copper Kettle + 1/8 part Pearl Oyster. The Stencil Creme colors can be easily customized in this way to create many glorious shades of shimmering metallic color.  Stencil Creme paints are best used with one of our Signature Stencil Brushes, and our large 2" stencil brush holds a large amount of paint, allowing you to cover a larger area quickly.


 DIY Wedding Project! Stencil your own fun Photo Booth Backdrop with Modern Stencils from Royal Design Studio
 
Of course a super FUN Photo Booth requires accessories that allow your guests to get a little silly! Here, Lizelly and creative co-workers Krista and Valeria had fun hamming it up with fun props they created from clip-art via Creative Market. Instructions are posted on the page!! Lizelly changed the colors to black and cut hers out with some excess white around the design element, embellish a bit with a gold sharpy and attach the stick with glue.


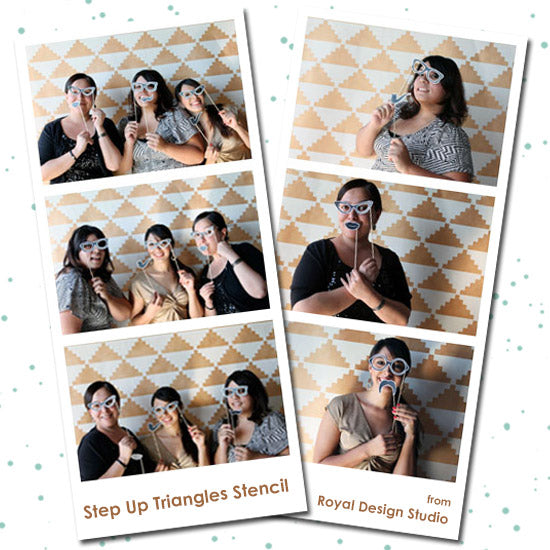
Congratulations on your BIG day, Lizelly! We wish you a long and loving marriage filled with much laughter, and the Paris honeymoon of your dreams!!


Leave a comment

All comments are moderated before being published.

This site is protected by reCAPTCHA and the Google Privacy Policy and Terms of Service apply.