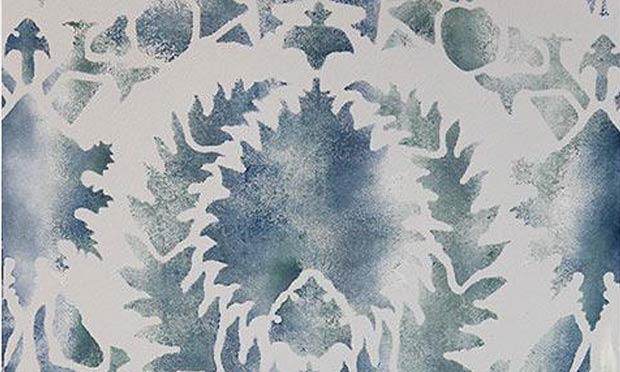
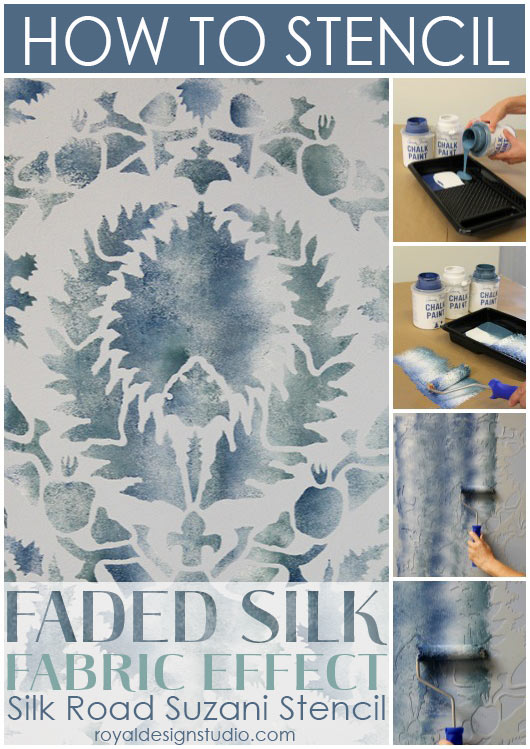
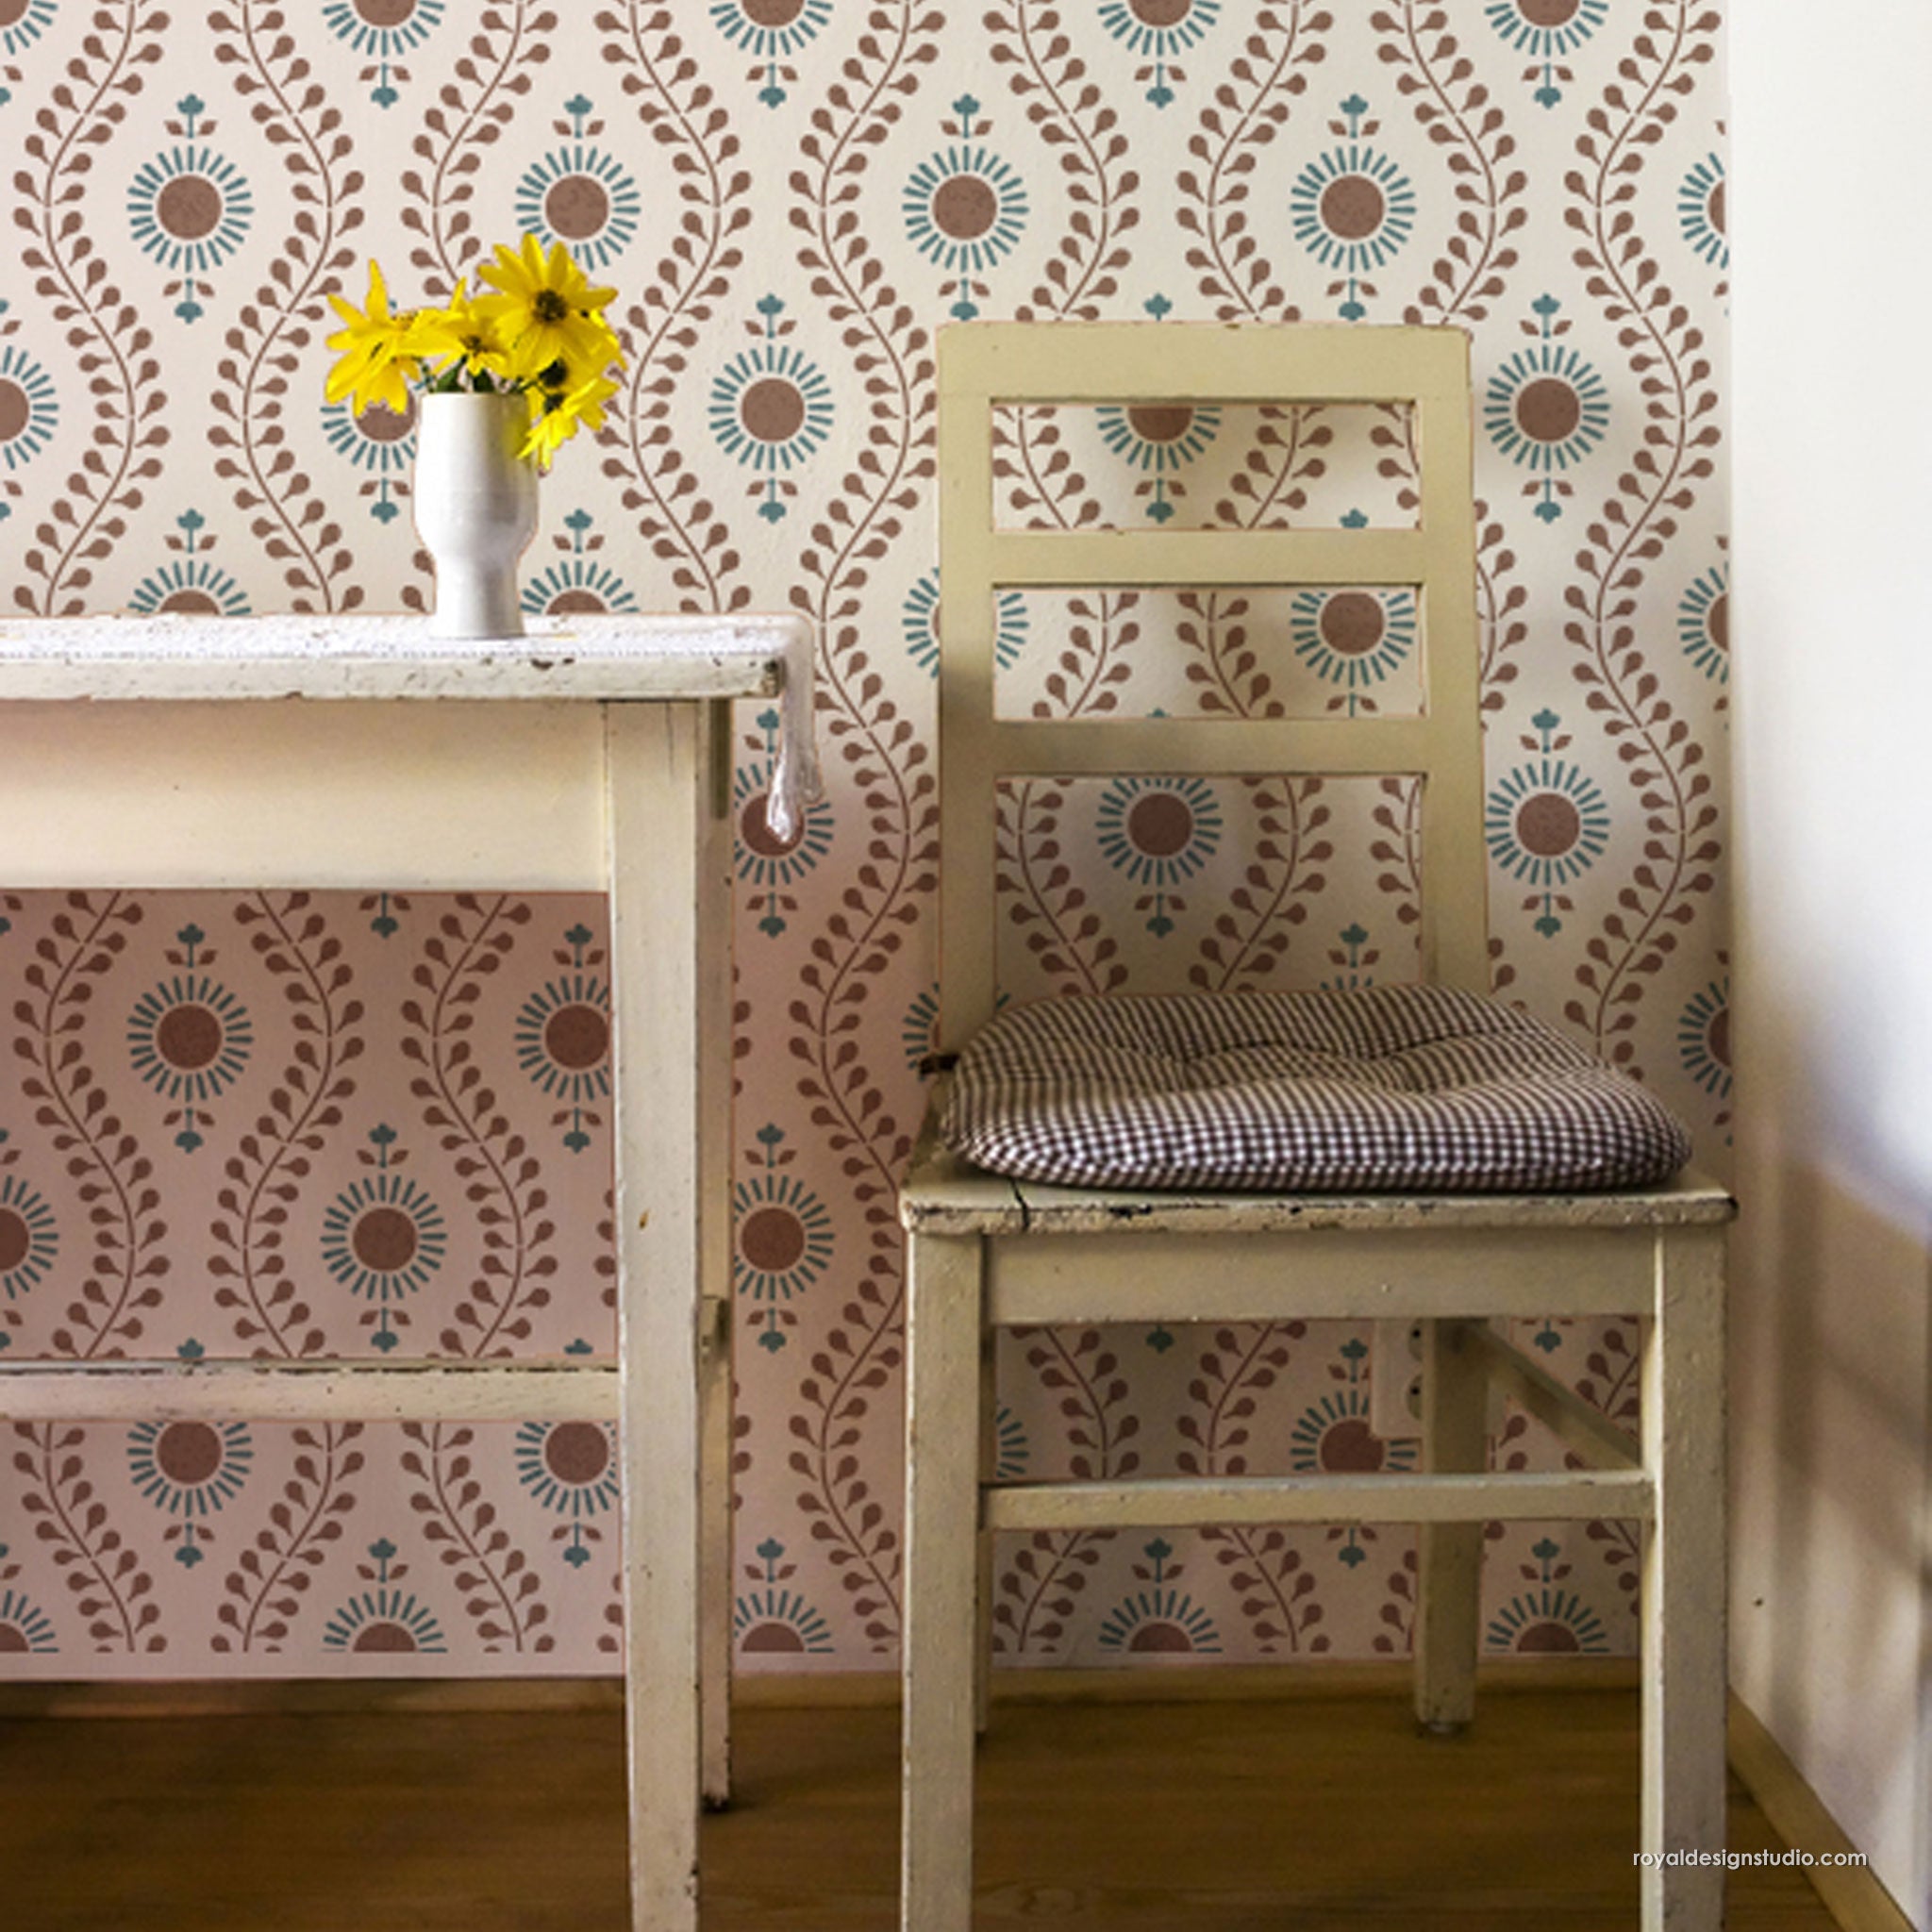
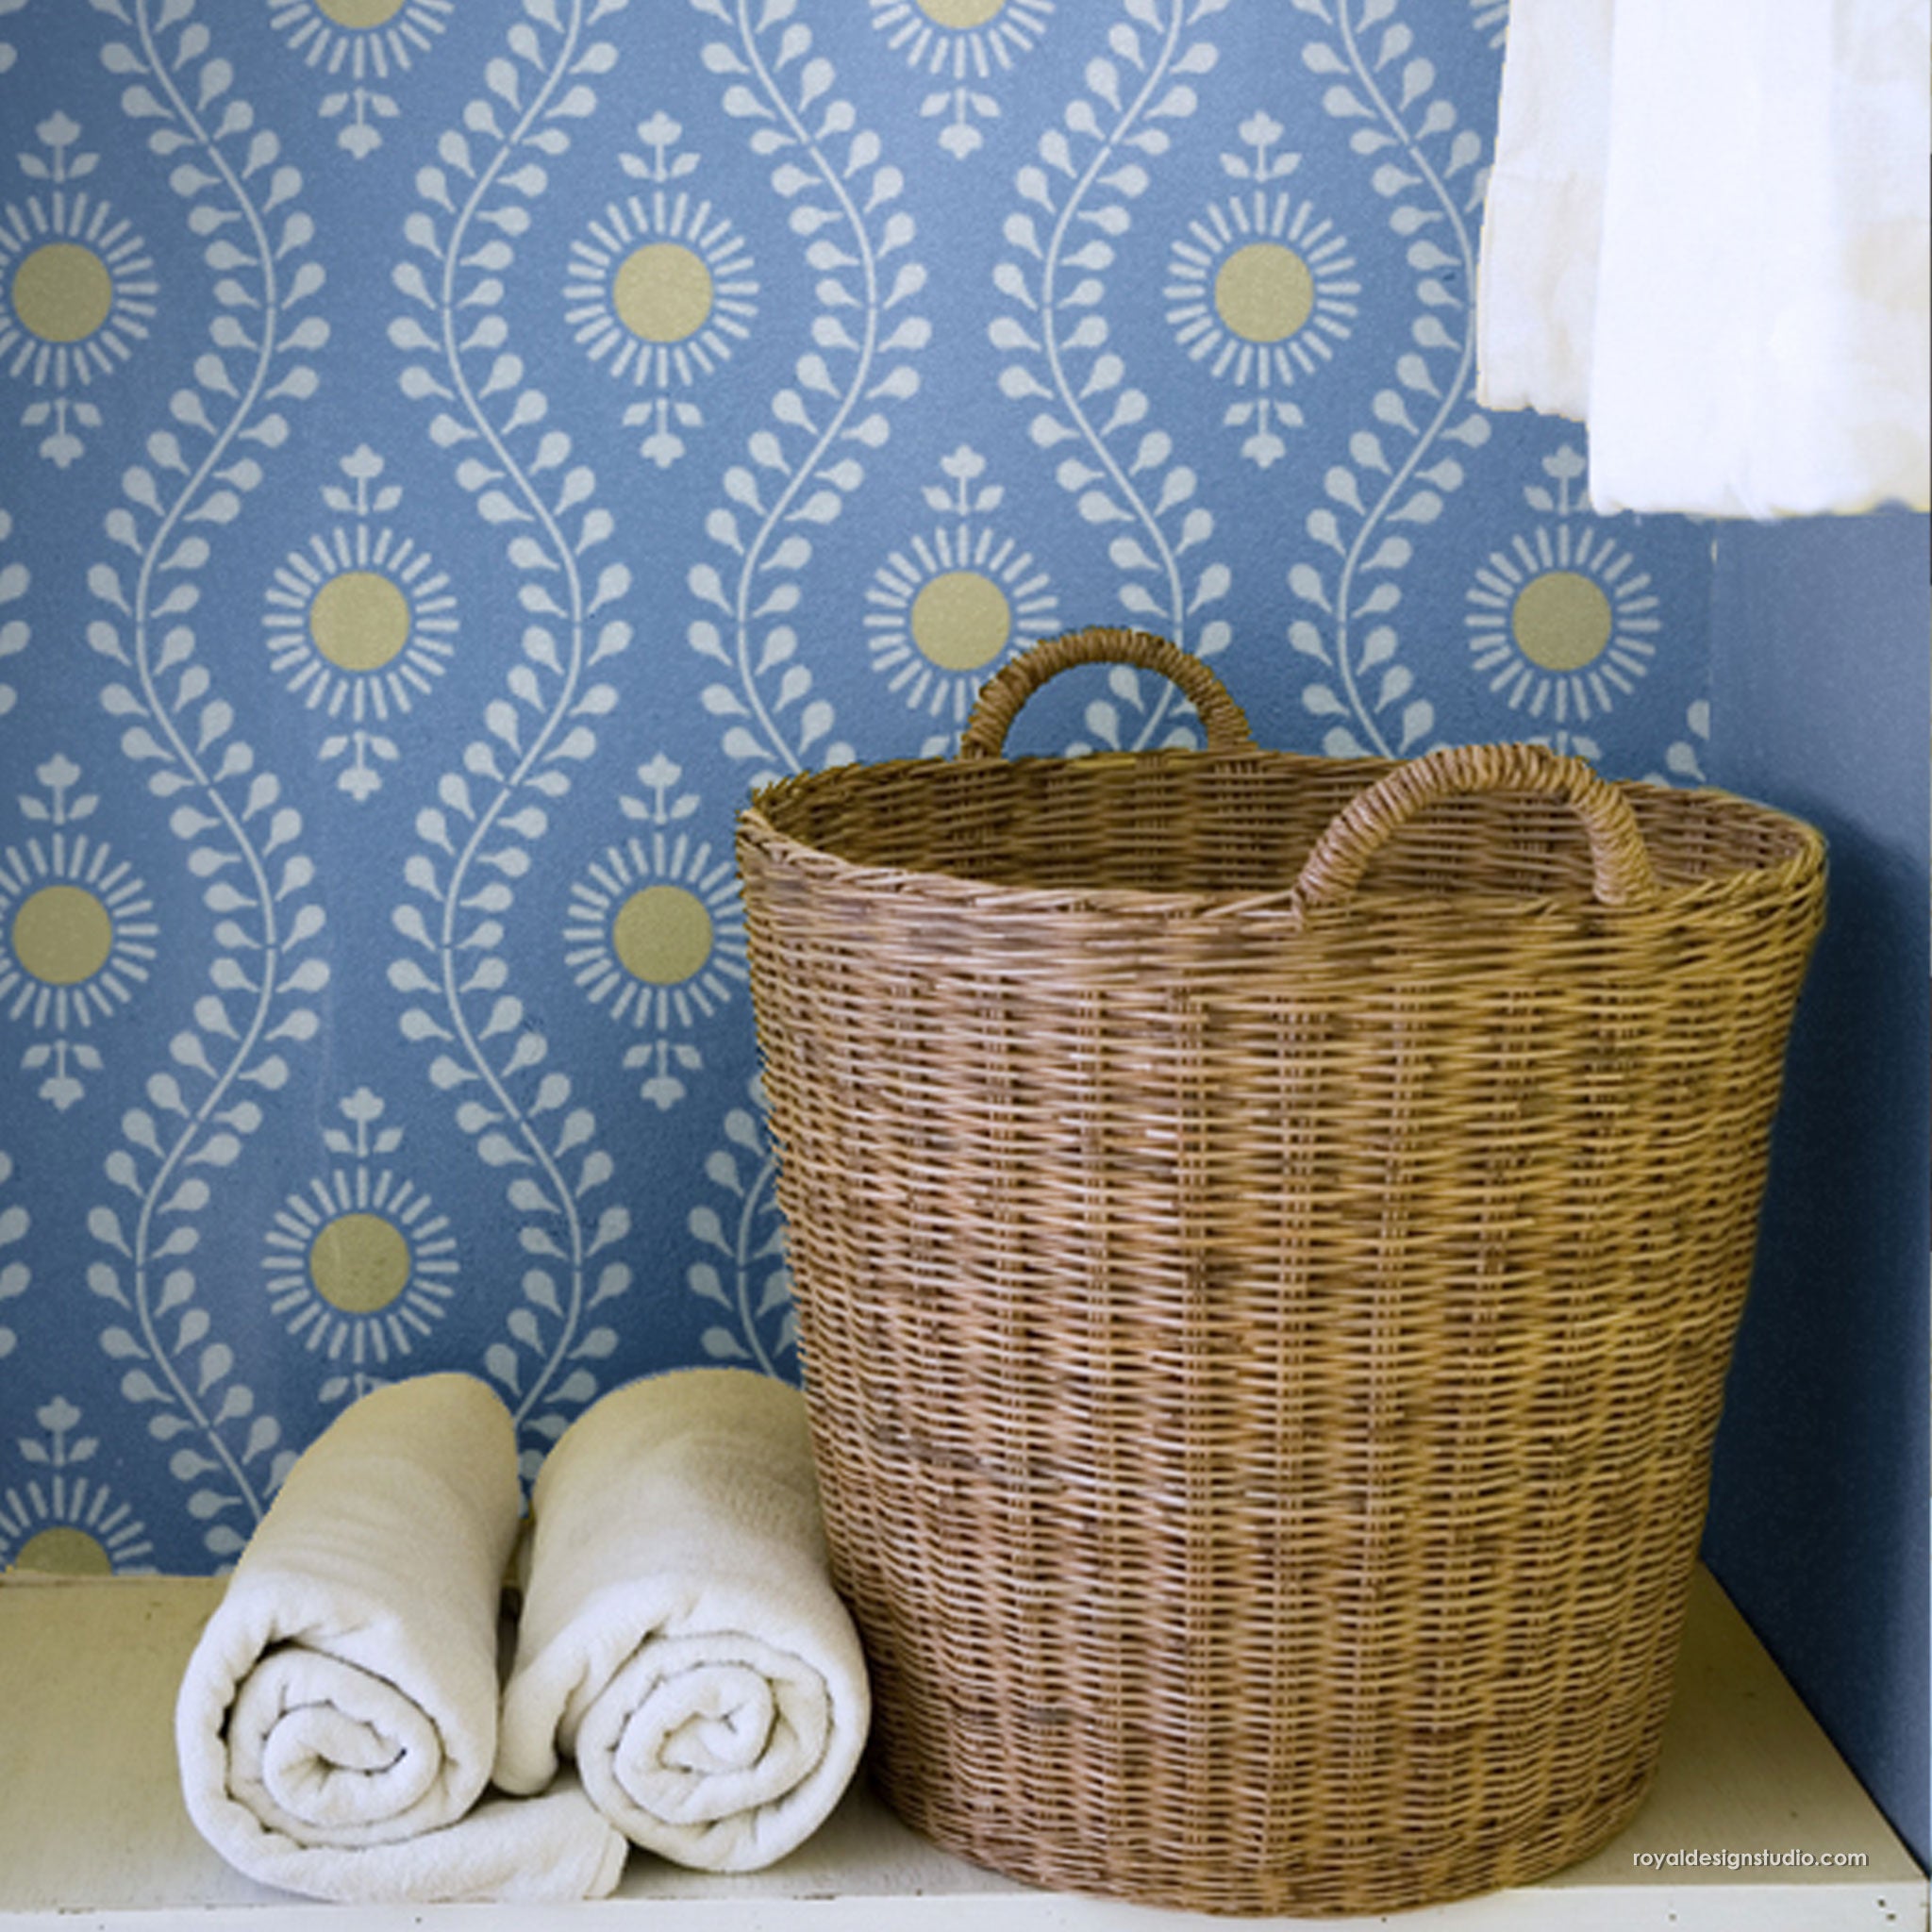
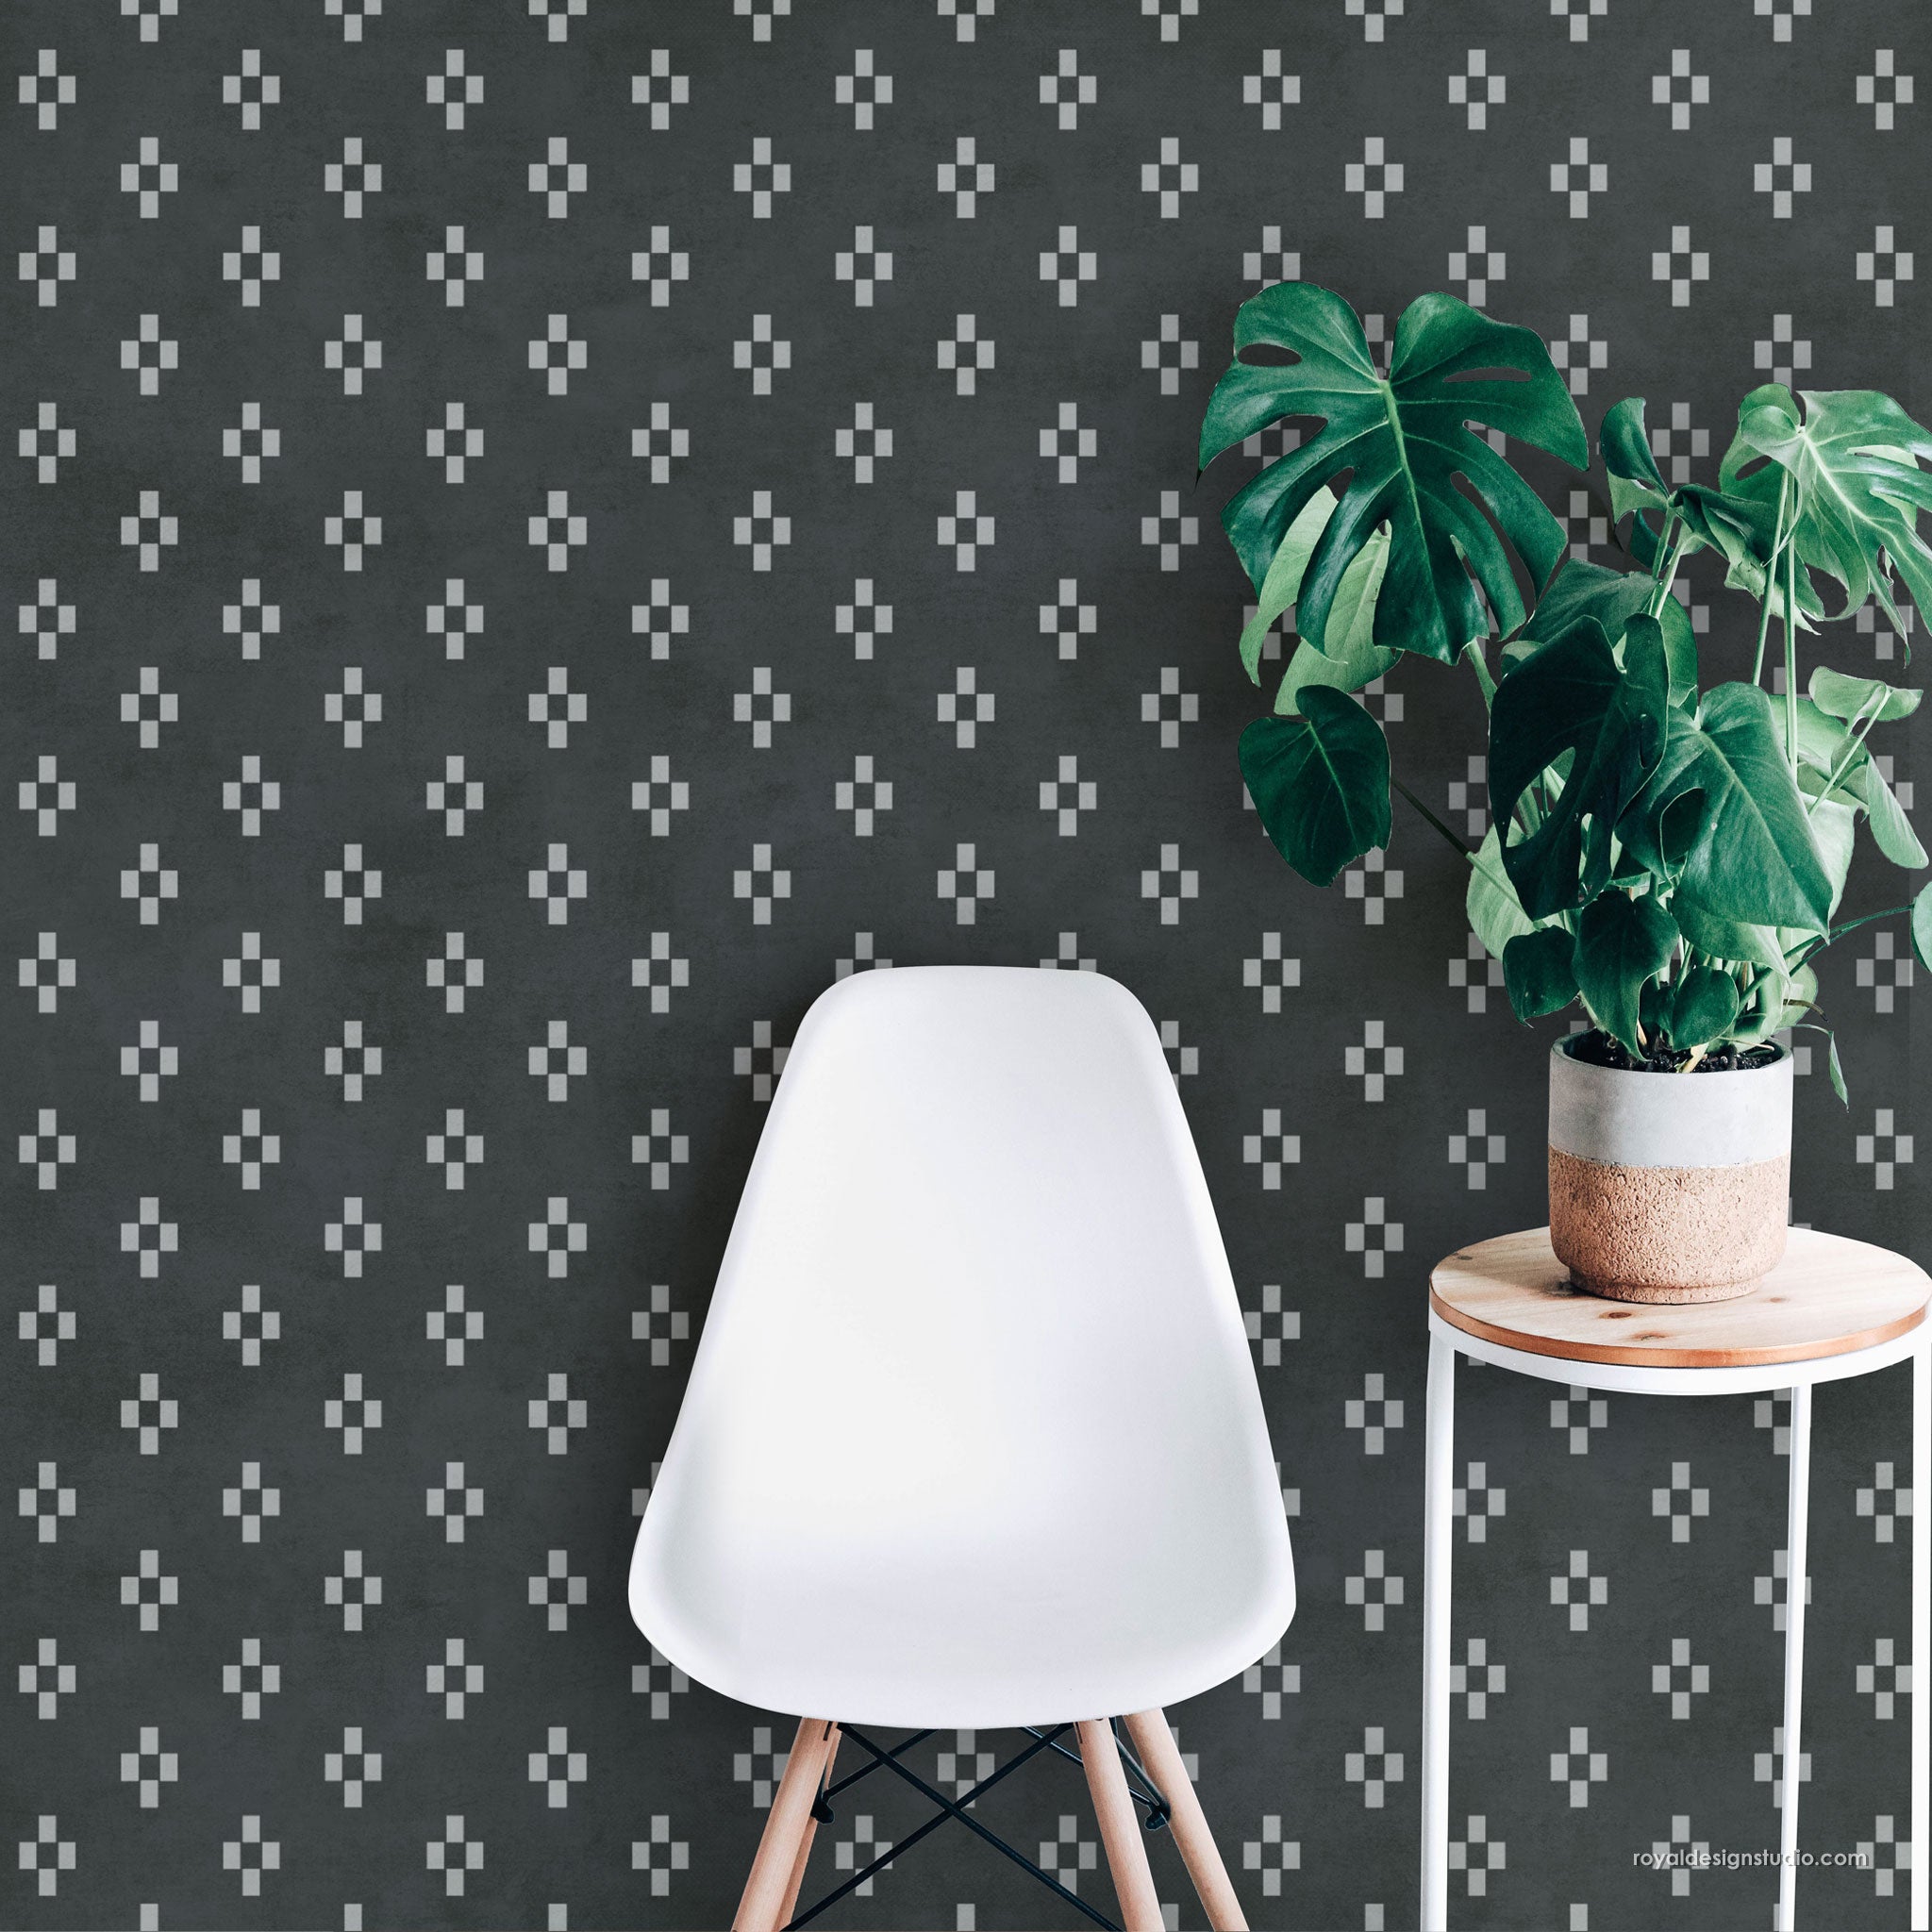
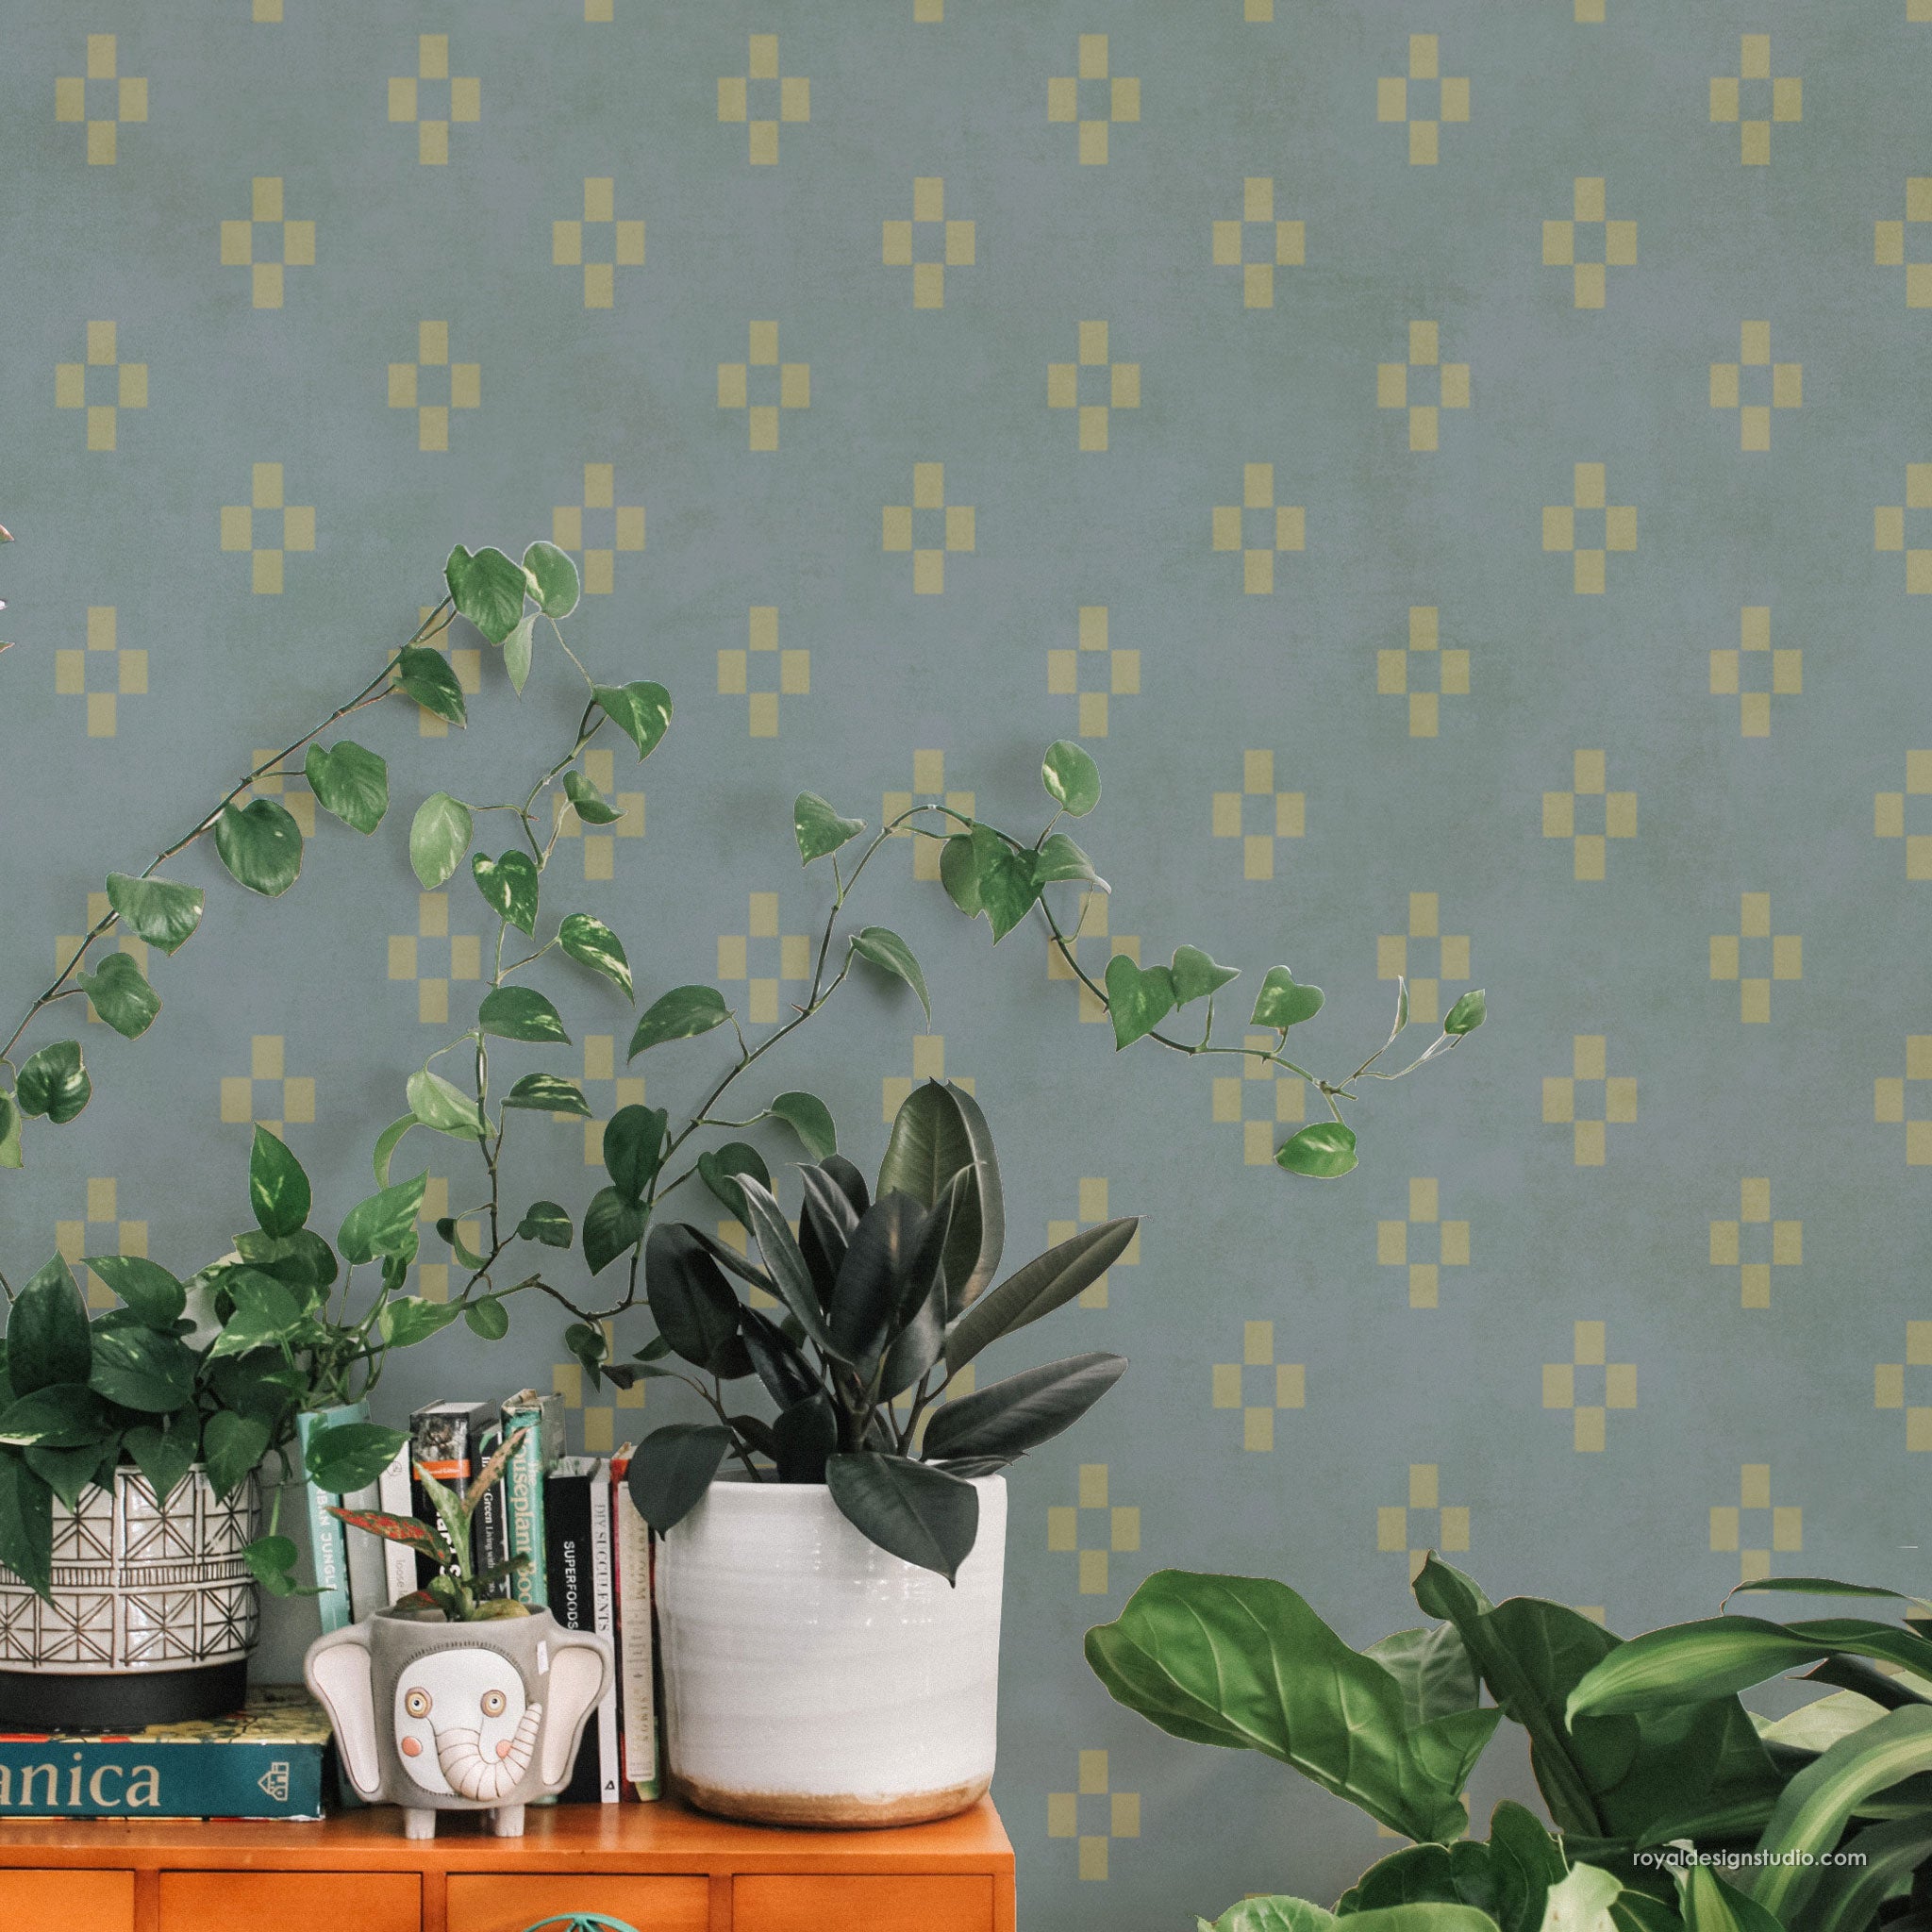
Are you looking for a fast, fun, and easy stencil wall finish? This Stencil How-to offers just that-and it provides a totally custom fabric effect that you can easily switch up by trying different color combinations! We have found that Chalk Paint® decorative paint by Annie Sloan is ideal for this finish. This heavy, fast-drying, opaque paint has the perfect amount of body that helps to keep the colors from muddying too much and bleeding excessively under the stencil edge, even when using a healthy amount of paint.
This is a very forgiving, organic roller-stencil finish, as all the inconsistencies that are naturally created only serve to help with the overall effect-so relax and have fun with this stencil effect!
Stencil Supplies You Will Need for This Finish: We chose a blue color scheme over a soft gray-blue basecoat
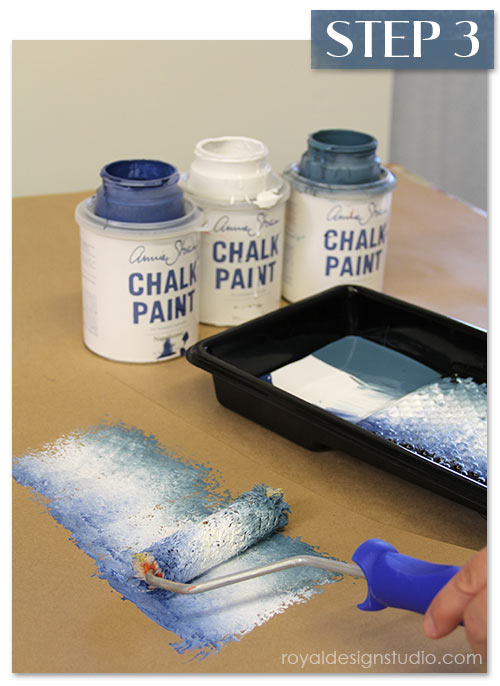
- Chalk Paint® Decorative Paint: Aubusson Blue, Pure White, Napoleonic Blue
- 4" Nylon Rollers for Stenciling, 11" Roller Handle, 8" Roller Tray
- Blue Painter's Tape, Paper Towels
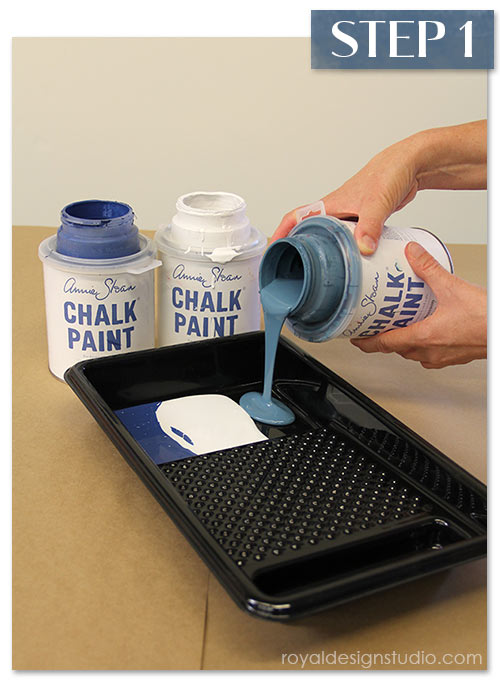
Step 1: Pour all three colors of Chalk Paint® decorative paint side-by-side in an 8" roller tray, taking care not to mix the colors together. Note the we placed the Pure White Chalk Paint® in the middle to add more contrast to our finish.
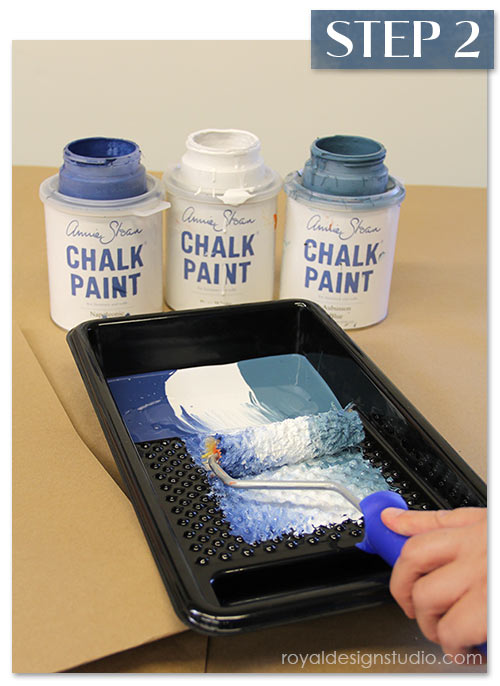
Step 2: Carefully load a 4" nylon nap roller by rolling through the paint and up onto the textured portion of the roller tray. Make sure to pull your roller straight so that the colors stay separated on the roller.
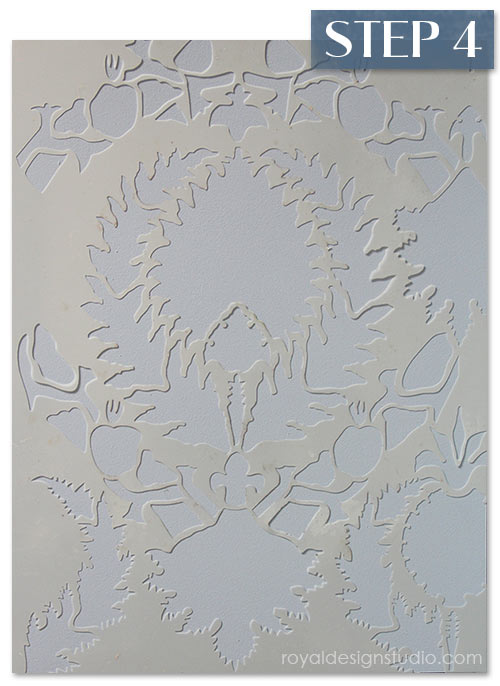
Step 3: Even though the Chalk Paint® decorative paint features a very thick consistency that makes it ideal for roller stencil techniques, you will want to remove some of the excess paint and allow the colors to blend a bit at the edges. Roll the wet roller gently over a stack of paper towels or onto contractor's heavy butcher paper.Step 4: Begin with your Silk Road Suzani stencil centered on your feature or focal point wall (so that the pattern ends the same at the left and right edges). There is no need to use stencil spray adhesive with this technique. It is very forgiving and if a little paint seeps delicately under the stencil here and there it will only add to the authenticity of the finish.
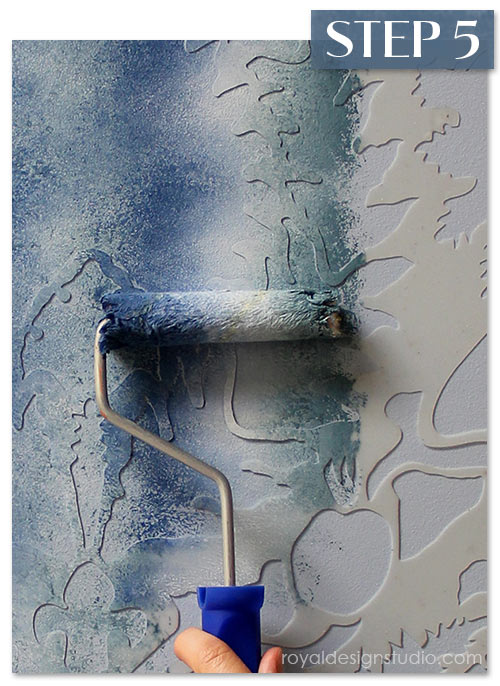
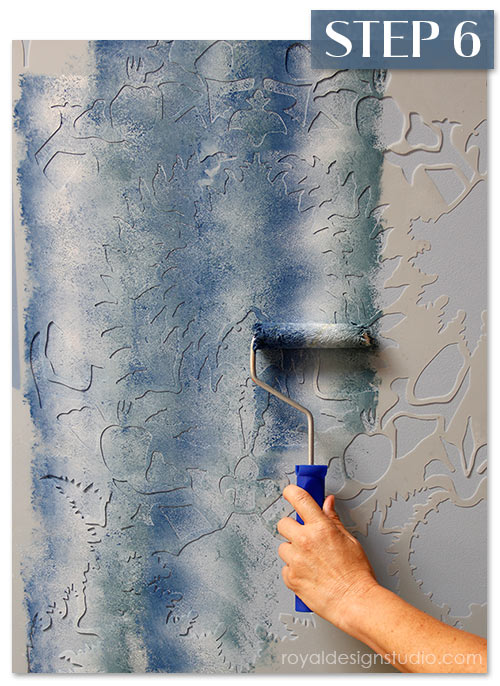
Step 5: Begin with a light pressure and roll the loaded paint roller straight up and down over the open stencil areas. Roll up and down in a small area until you get the coverage you desire.Step 6: Use the window and laser cut registration marks in the stencil to easily line up the pattern repeats as you work across the wall. When you begin a new section overlap the roller slightly on the previous pass. The Chalk Paint® will dry very quickly, so you don't have to worry much about smearing your previous prints. Over a large surface area, you will want to stop periodically to clean your stencil with Motsenbocher's Lift Off #5. We also recommend that you switch out to a new roller now and then to keep you colors from muddying too much and refill your paint tray carefully.
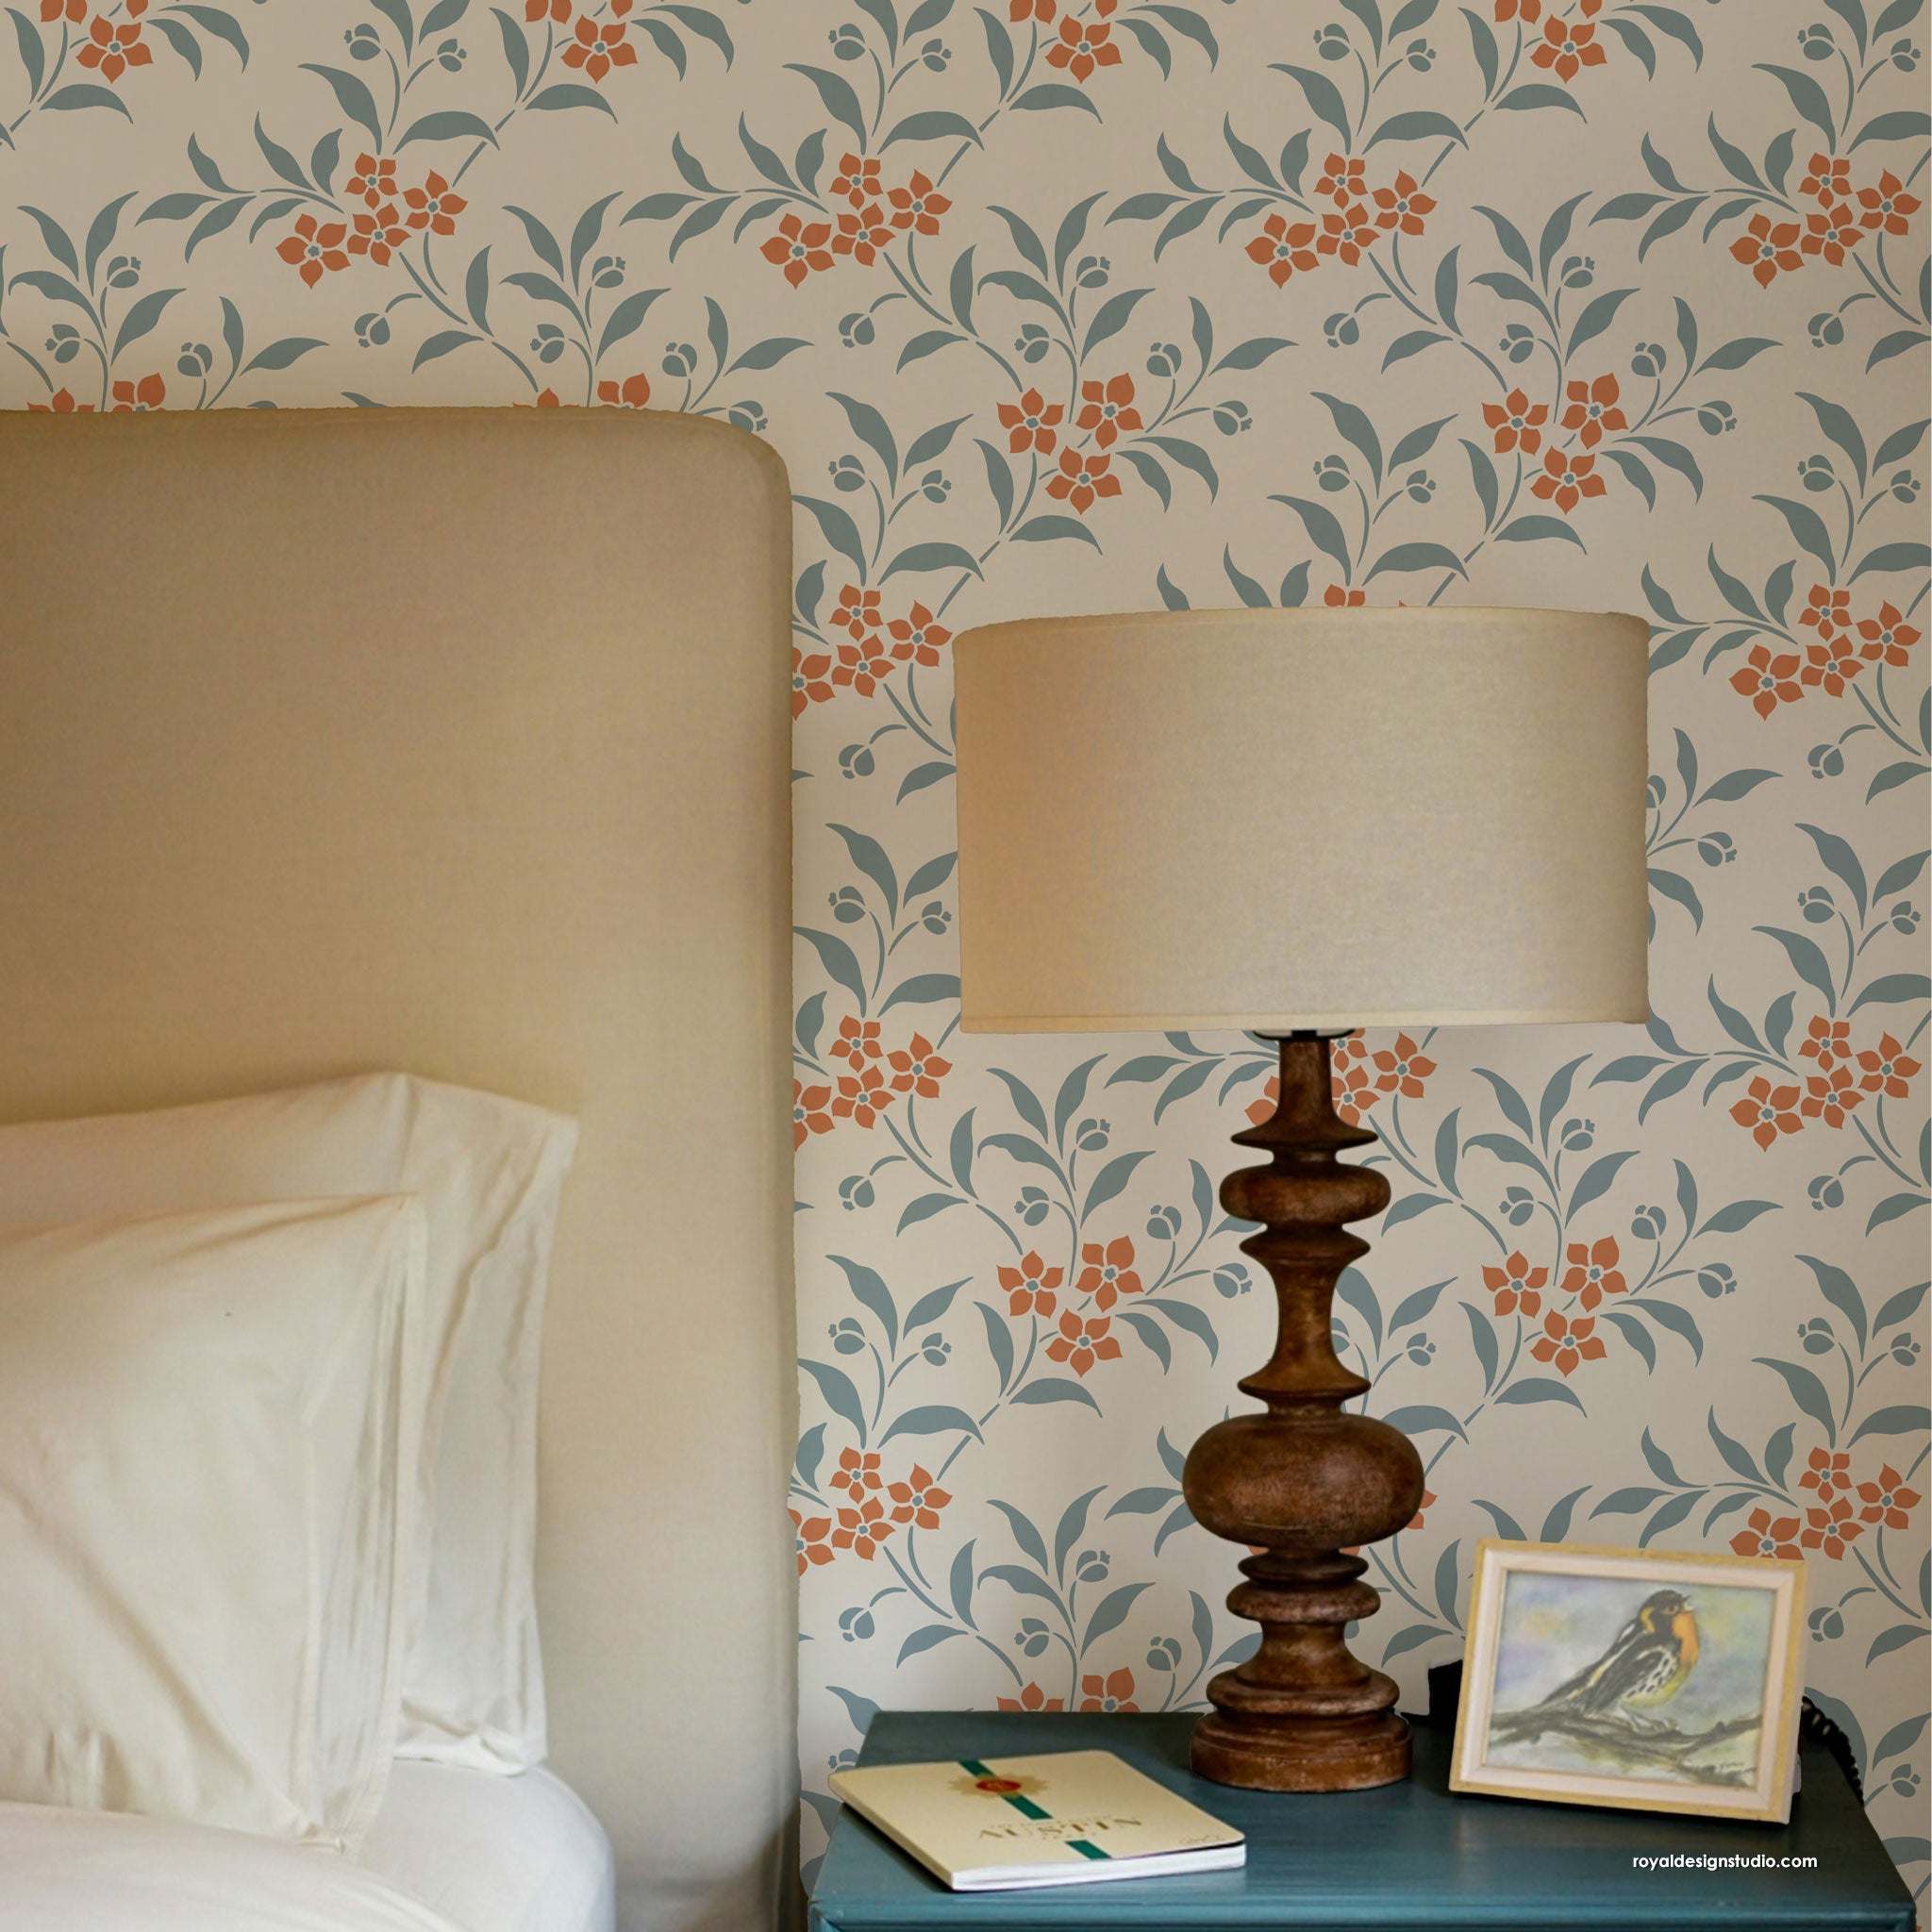
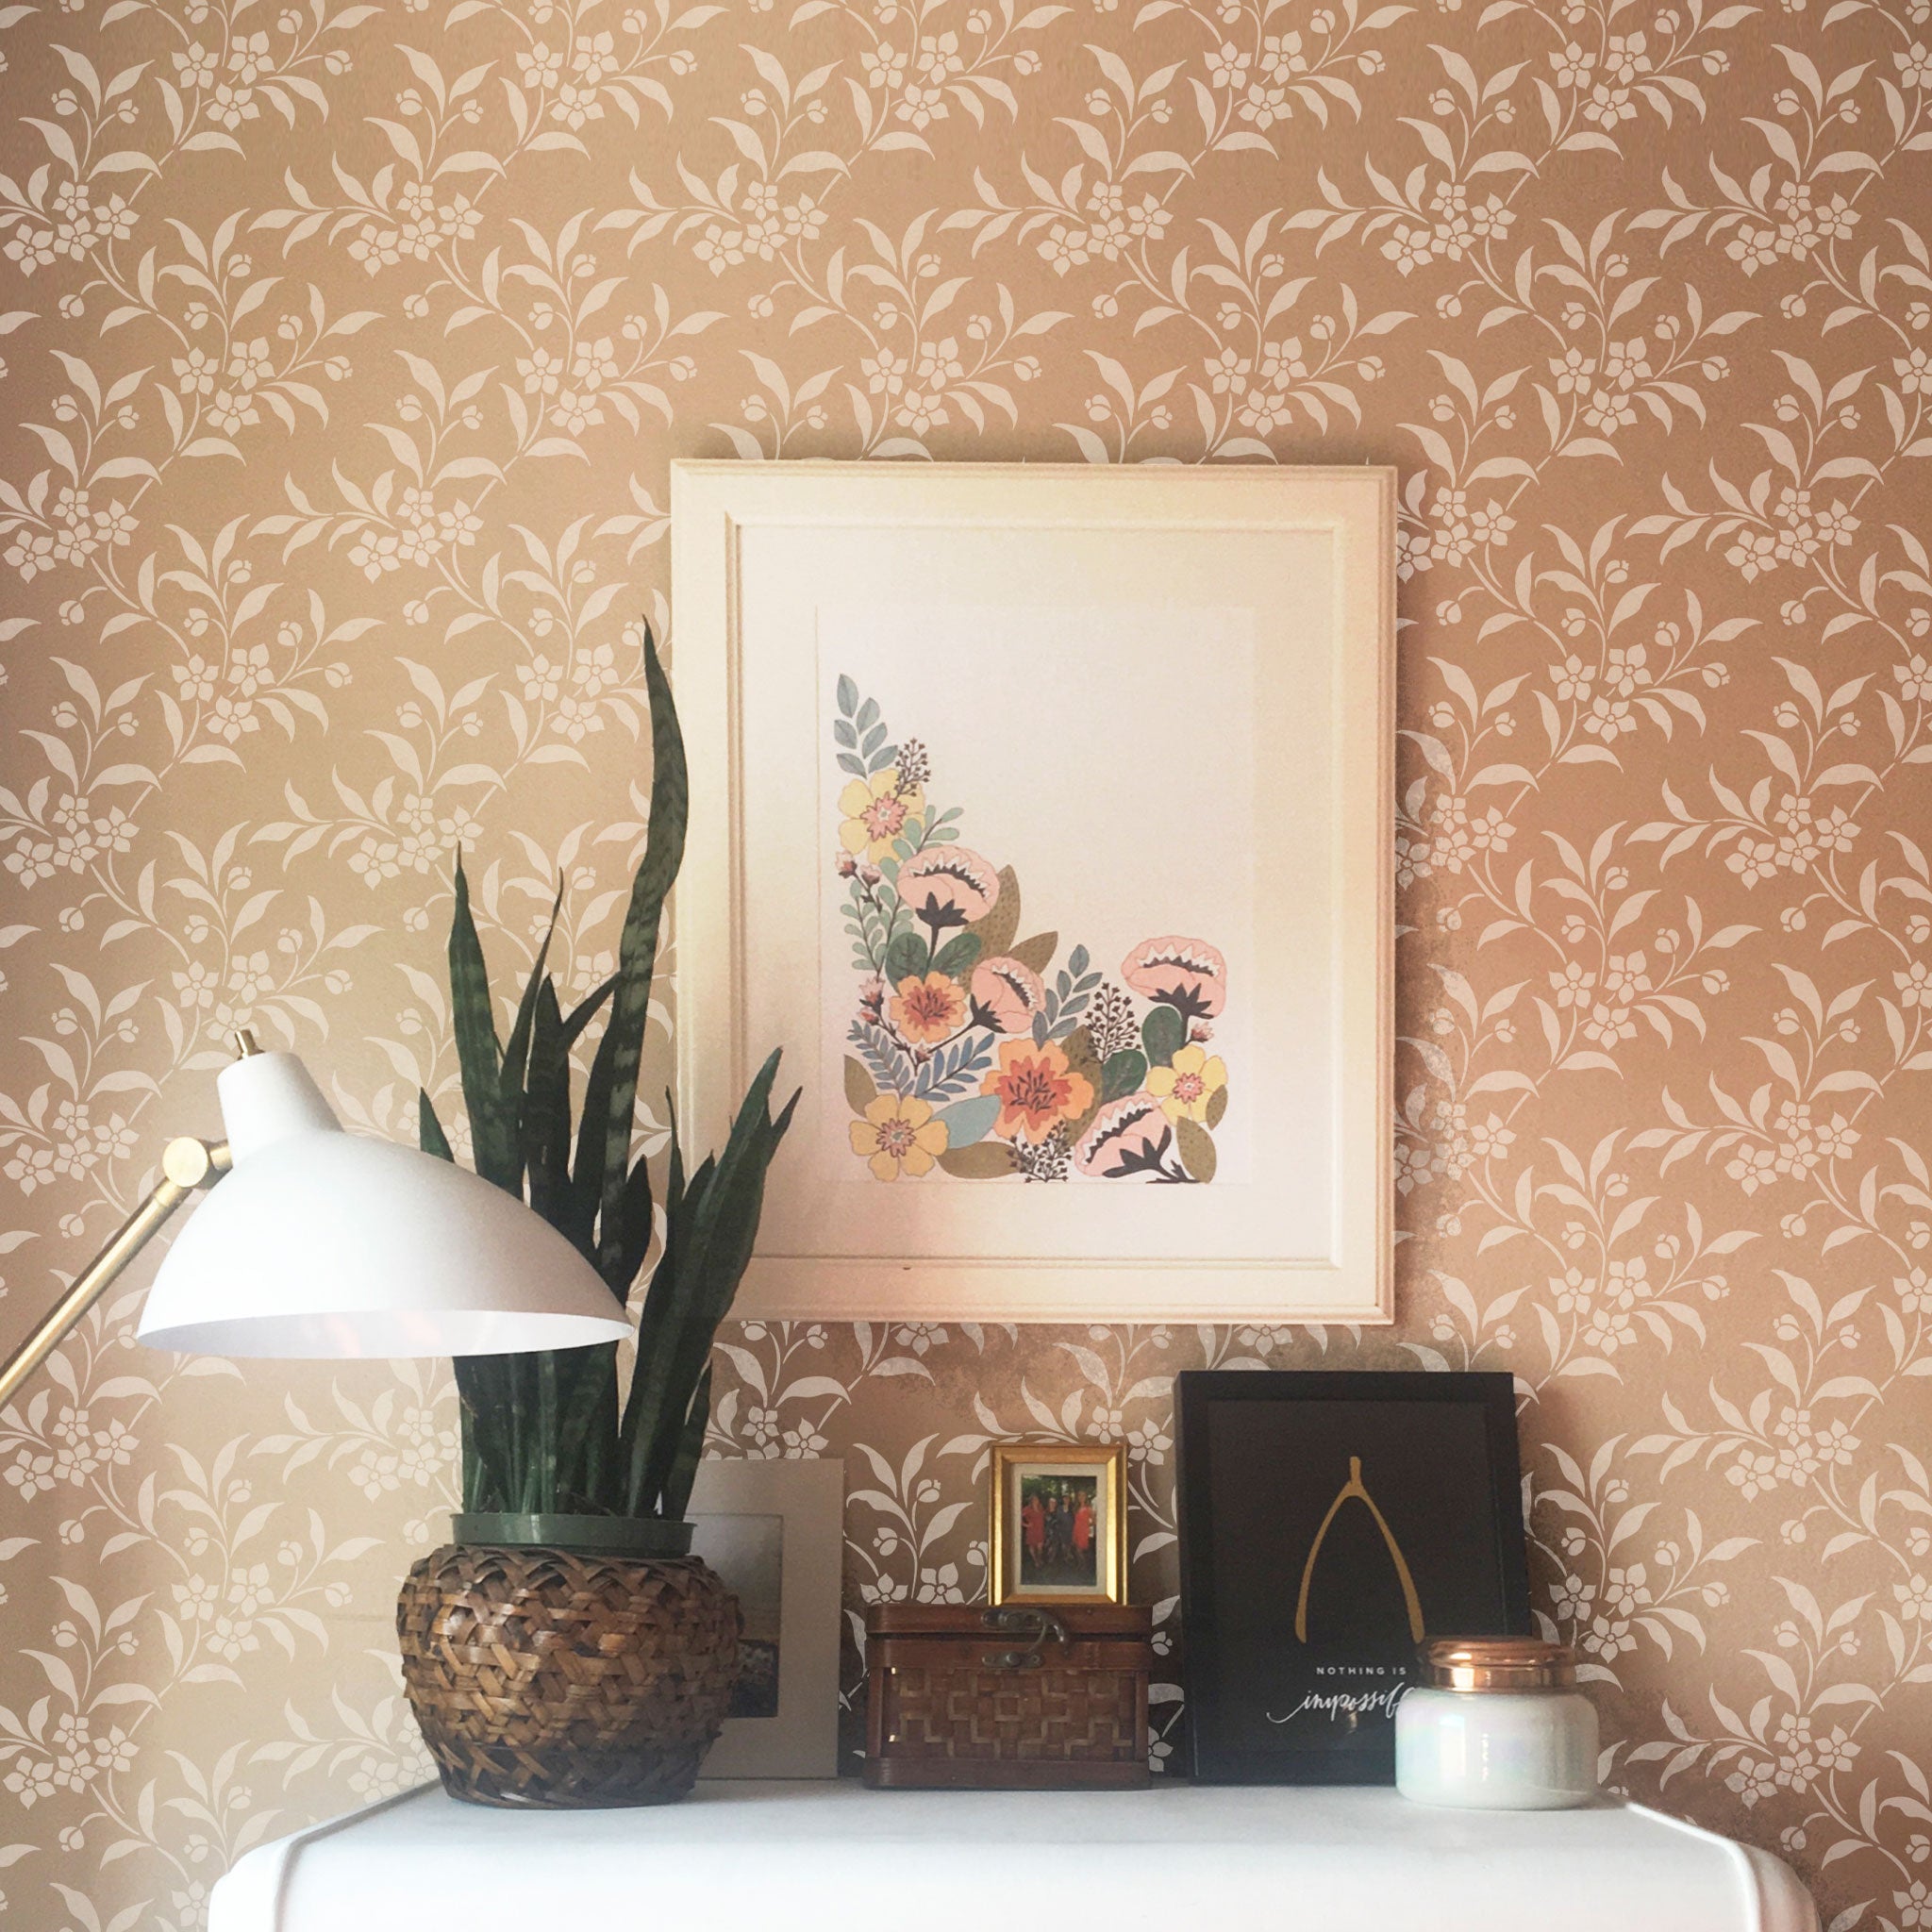
Like we said above, this stencil finish can be done in many different colorways, according to your taste and decorating style. Some other lovely color dramatic color combinations with Chalk Paint include:
Cream Chalk Paint / Arles Chalk Paint / Barcelona Orange Chalk Paint on a soft white background
Old Ochre Chalk Paint / Old White Chalk Paint / Henrietta Chalk Paint on a Florence Chalk Paint background
For a softer, more neutral look:
Paloma Chalk Paint, Versailles Chalk Paint, and Old White Chalk Paint on a background of Old Violet Chalk Paint
Happy Stenciling!


