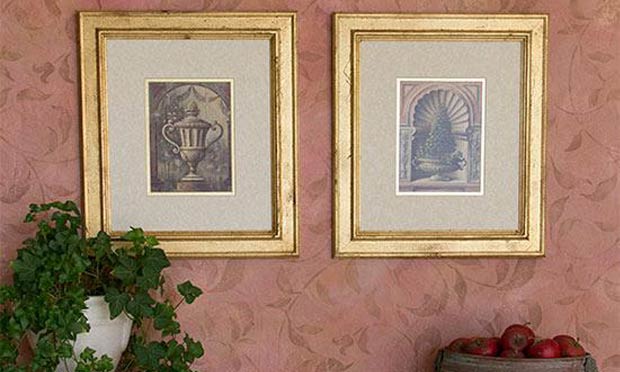
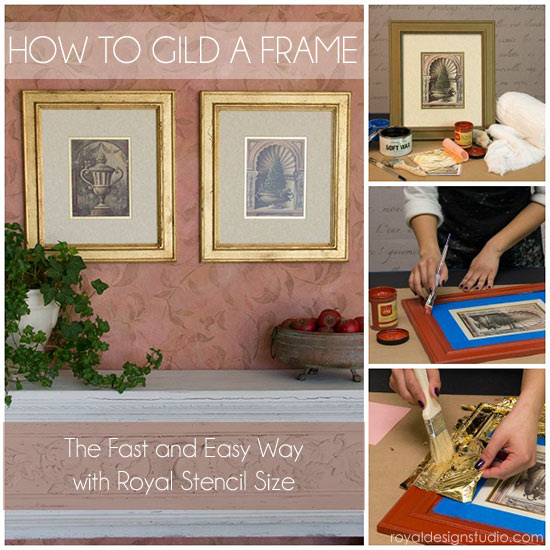
Our Royal Stencil Size medium is designed to allow you to add metal leaf or Metallic Foils to stencil patterns in way that is fast, fun, and easy! But, it is also PERFECT for gilding furniture, frames, and molding as well. Royal Stencil Size features a thick, creamy formula and it comes in Clear, Black, and Red. The Red Stencil Size is heavily pigmented in a red "bole" color, which is the classic color used behind traditional gold leafing. In this tutorial we show you how to transform a "blah" store bought picture frame with shimmery gold leaf in a matter of minutes. Really, it's THAT easy!! Read on to find out....
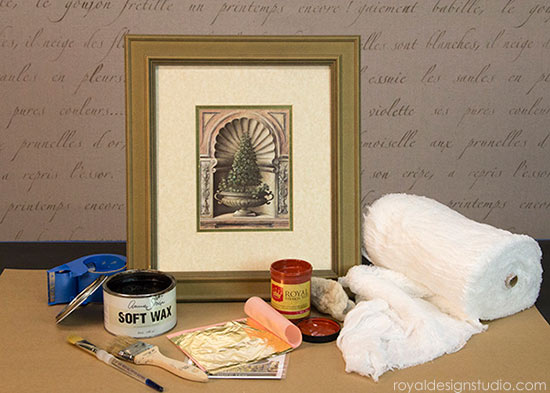
Supplies you will need for this project:
- Royal Stencil Size: Red
- Gold Metal Leaf
- Painter’s Tape
- Paper Towels
- Artist’s Brush
- Annie Sloan Soft Wax Dark
- Lambs Wool Pad
- Soft Natural Bristle Brush
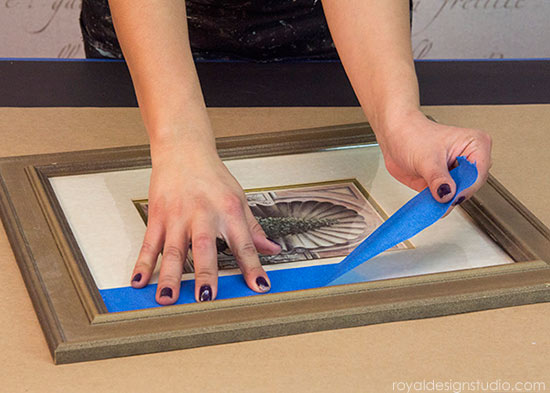
Step 1: If you are working on a frame that holds a print or image you want to keep and it is not easy to remove it, you can simply tape off the glass from your frame to protect it from the size.
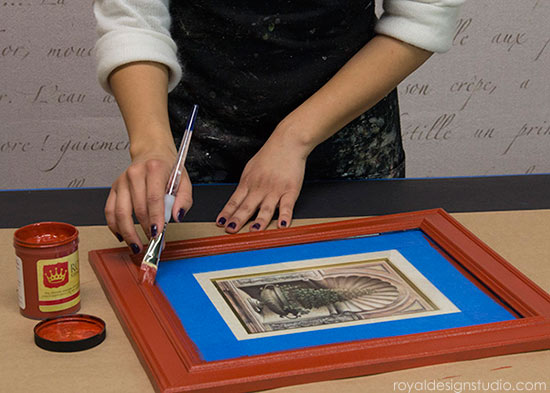
Step 2: Using an artist's brush, small bristle brush, or foam brush, paint the frame with a single, even coat of the Red Stencil Size. The tinted size provides excellent color coverage so one coat should be all that is necessary. Let it set for 15-30 minutes (approx.) until the size becomes "tacky", not wet. You can test this by pressing your finger onto the size and pulling away quickly. If you feel some resistance, and here a "pop", the size is ready to accept the gold leaf.
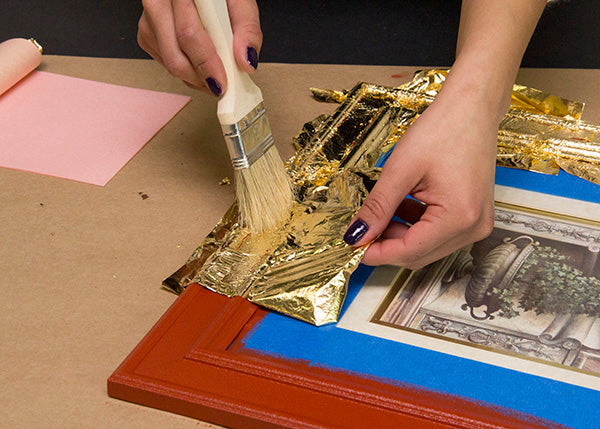
Step 3: This project uses imitation gold leaf, also known as Dutch Metal Gold Leaf. It comes in a "book" of 25 sheets of 5.5" squares. It is not as delicate as real gold leaf, and can be handled in your hands fairly easily, though some people prefer to wear cotton gloves to keep the oil from their fingers from transferring to the leaf. Here we show using a soft, natural bristle brush to tap the leaf into the recessed areas of the frame, and are applying the leaf intentionally to let some of the background show through. If you want to apply a solid layer of the gold leaf, you can do that by simply filling in any "gaps" with additional leaf.
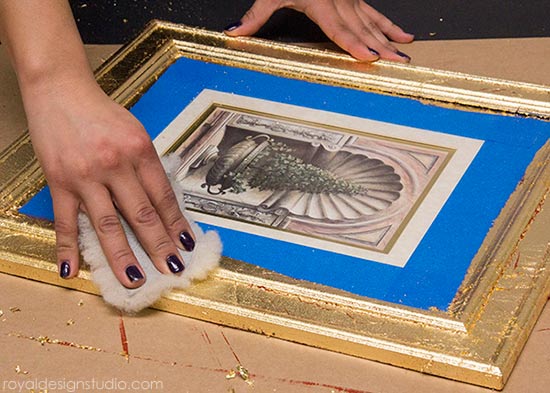
Step 4: Once you have achieved the coverage you want with the leaf you can burnish it with a soft cotton cloth or a piece of lambswool. You can usually find lambswool in the paint department at Home Depot or Lowes. Burnishing will adhere the leaf better to the size and also remove the excess bits of leaf. Note that as the leaf breaks down into smaller particles (even dust) it will fill in the open areas even more.
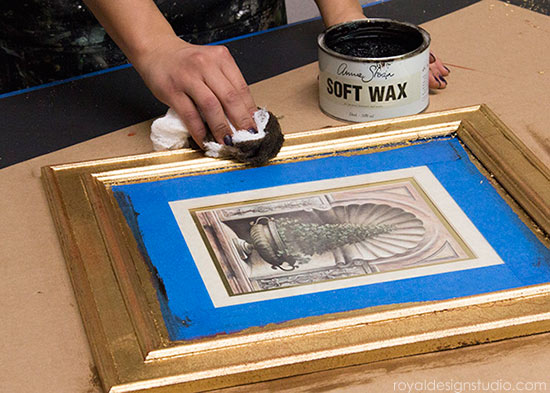
Step 5: Both composition Gold Leaf and Copper Leaf need to be sealed, not only for protection but to keep them from tarnishing over time. You can seal with shellac, oil-based polyurethane (spray or brush), or with clear or tinted wax. In this case we wanted to give the frames a more antiqued look, so sealed with a coat of Annie Sloan Soft Wax in Dark.
Apply a thin layer of wax overall with a wad of cheesecloth, and burnish with a soft cloth or lambswool after it has dried to the touch.
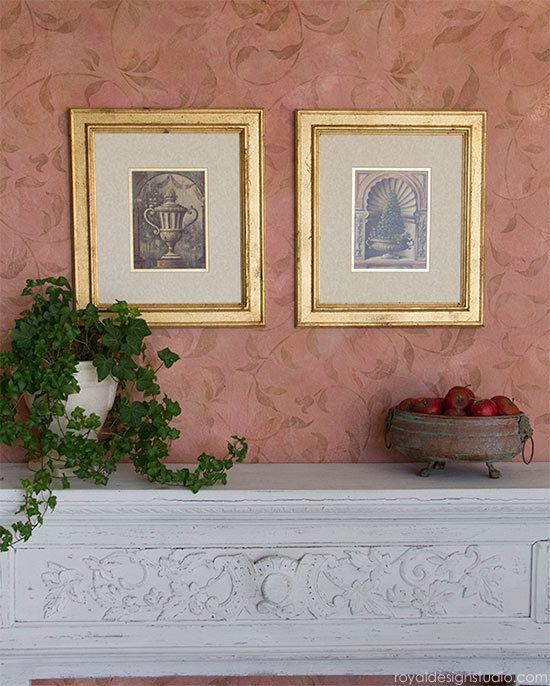
The finished gilded frames look SO much more elegant and interesting than the originals! Now that you know how simple it is to gild with Royal Stencil Size and Metal Leaf we're sure you will find MANY uses for this technique on craft and furniture projects around your house.
Find out how to use Royal Stencil Size for gilding with stencil patterns here:
Stenciled Cabinet Door with Antique Silver Leaf
Copper Leaf Floral Wall Finish
Reverse Stenciled and Gilded Glass


