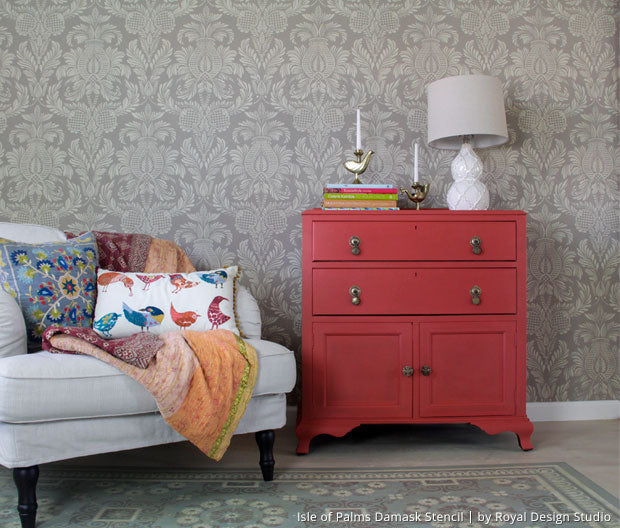
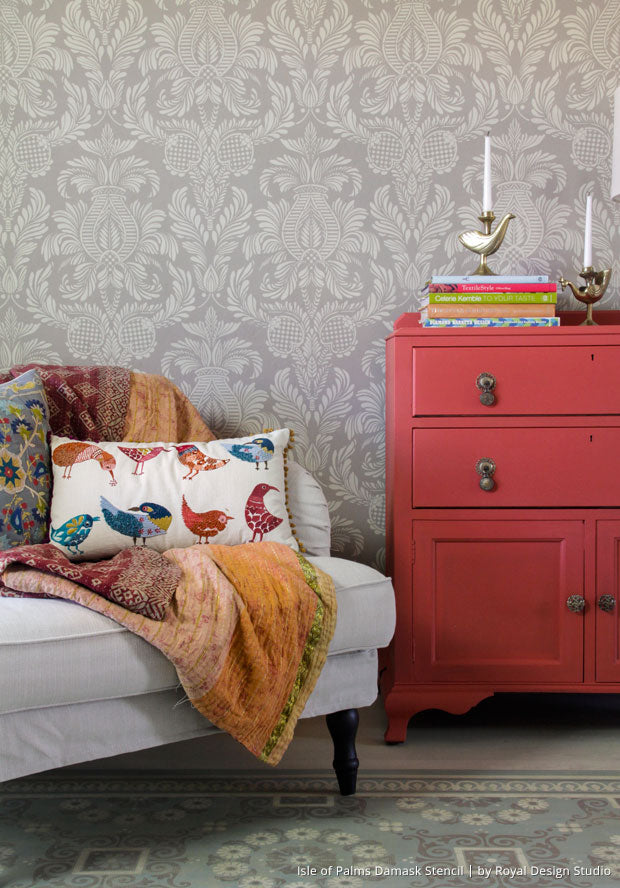
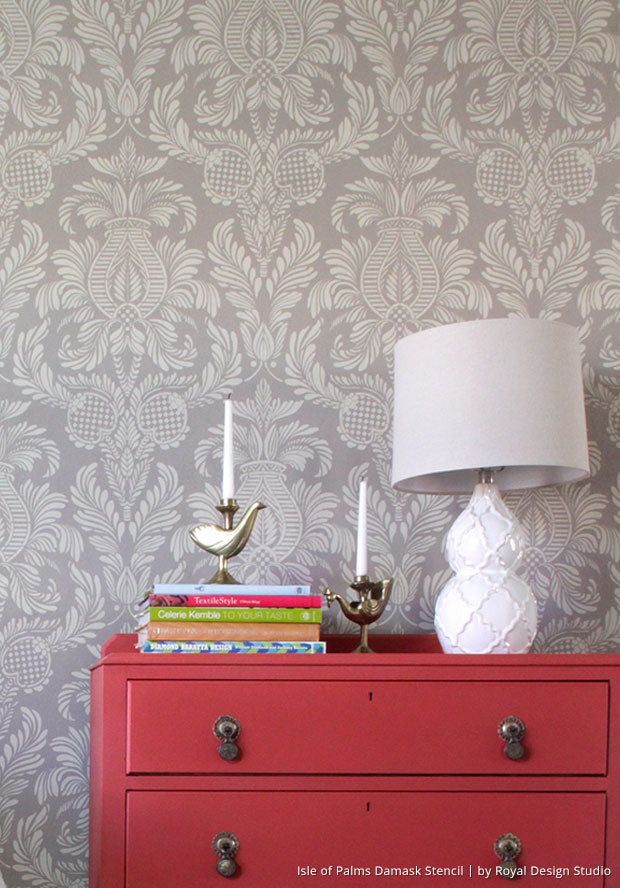
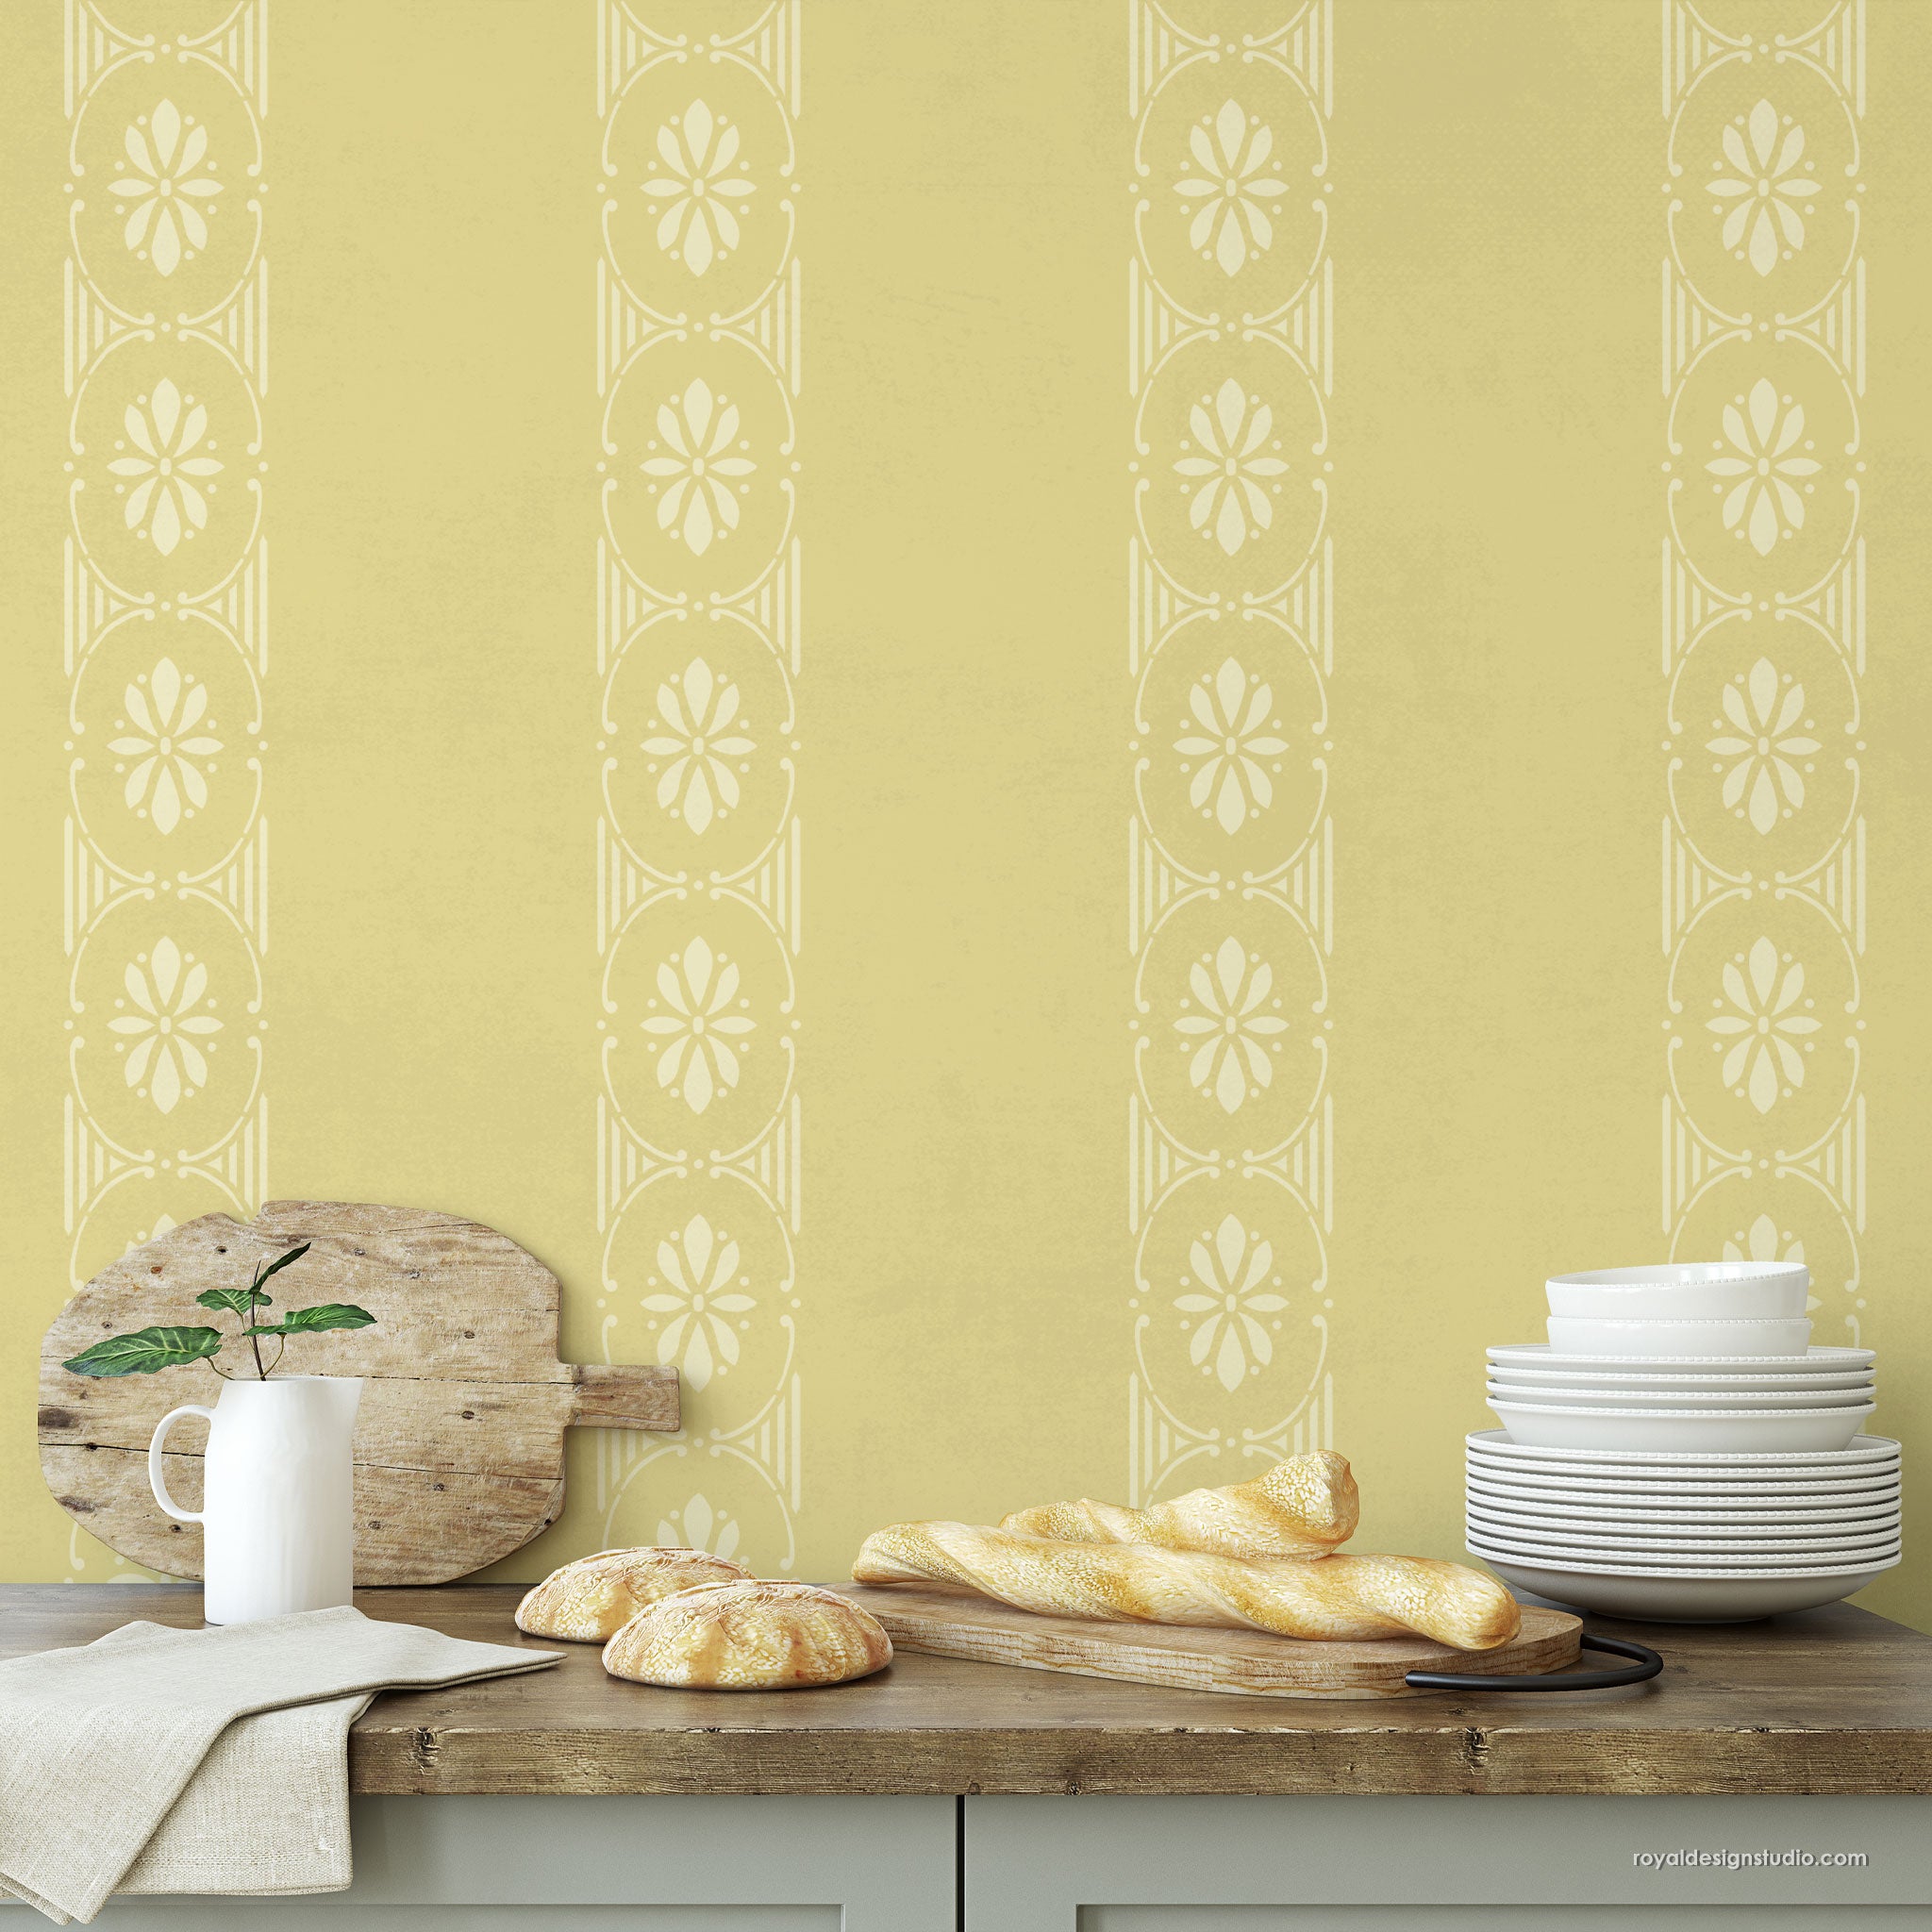
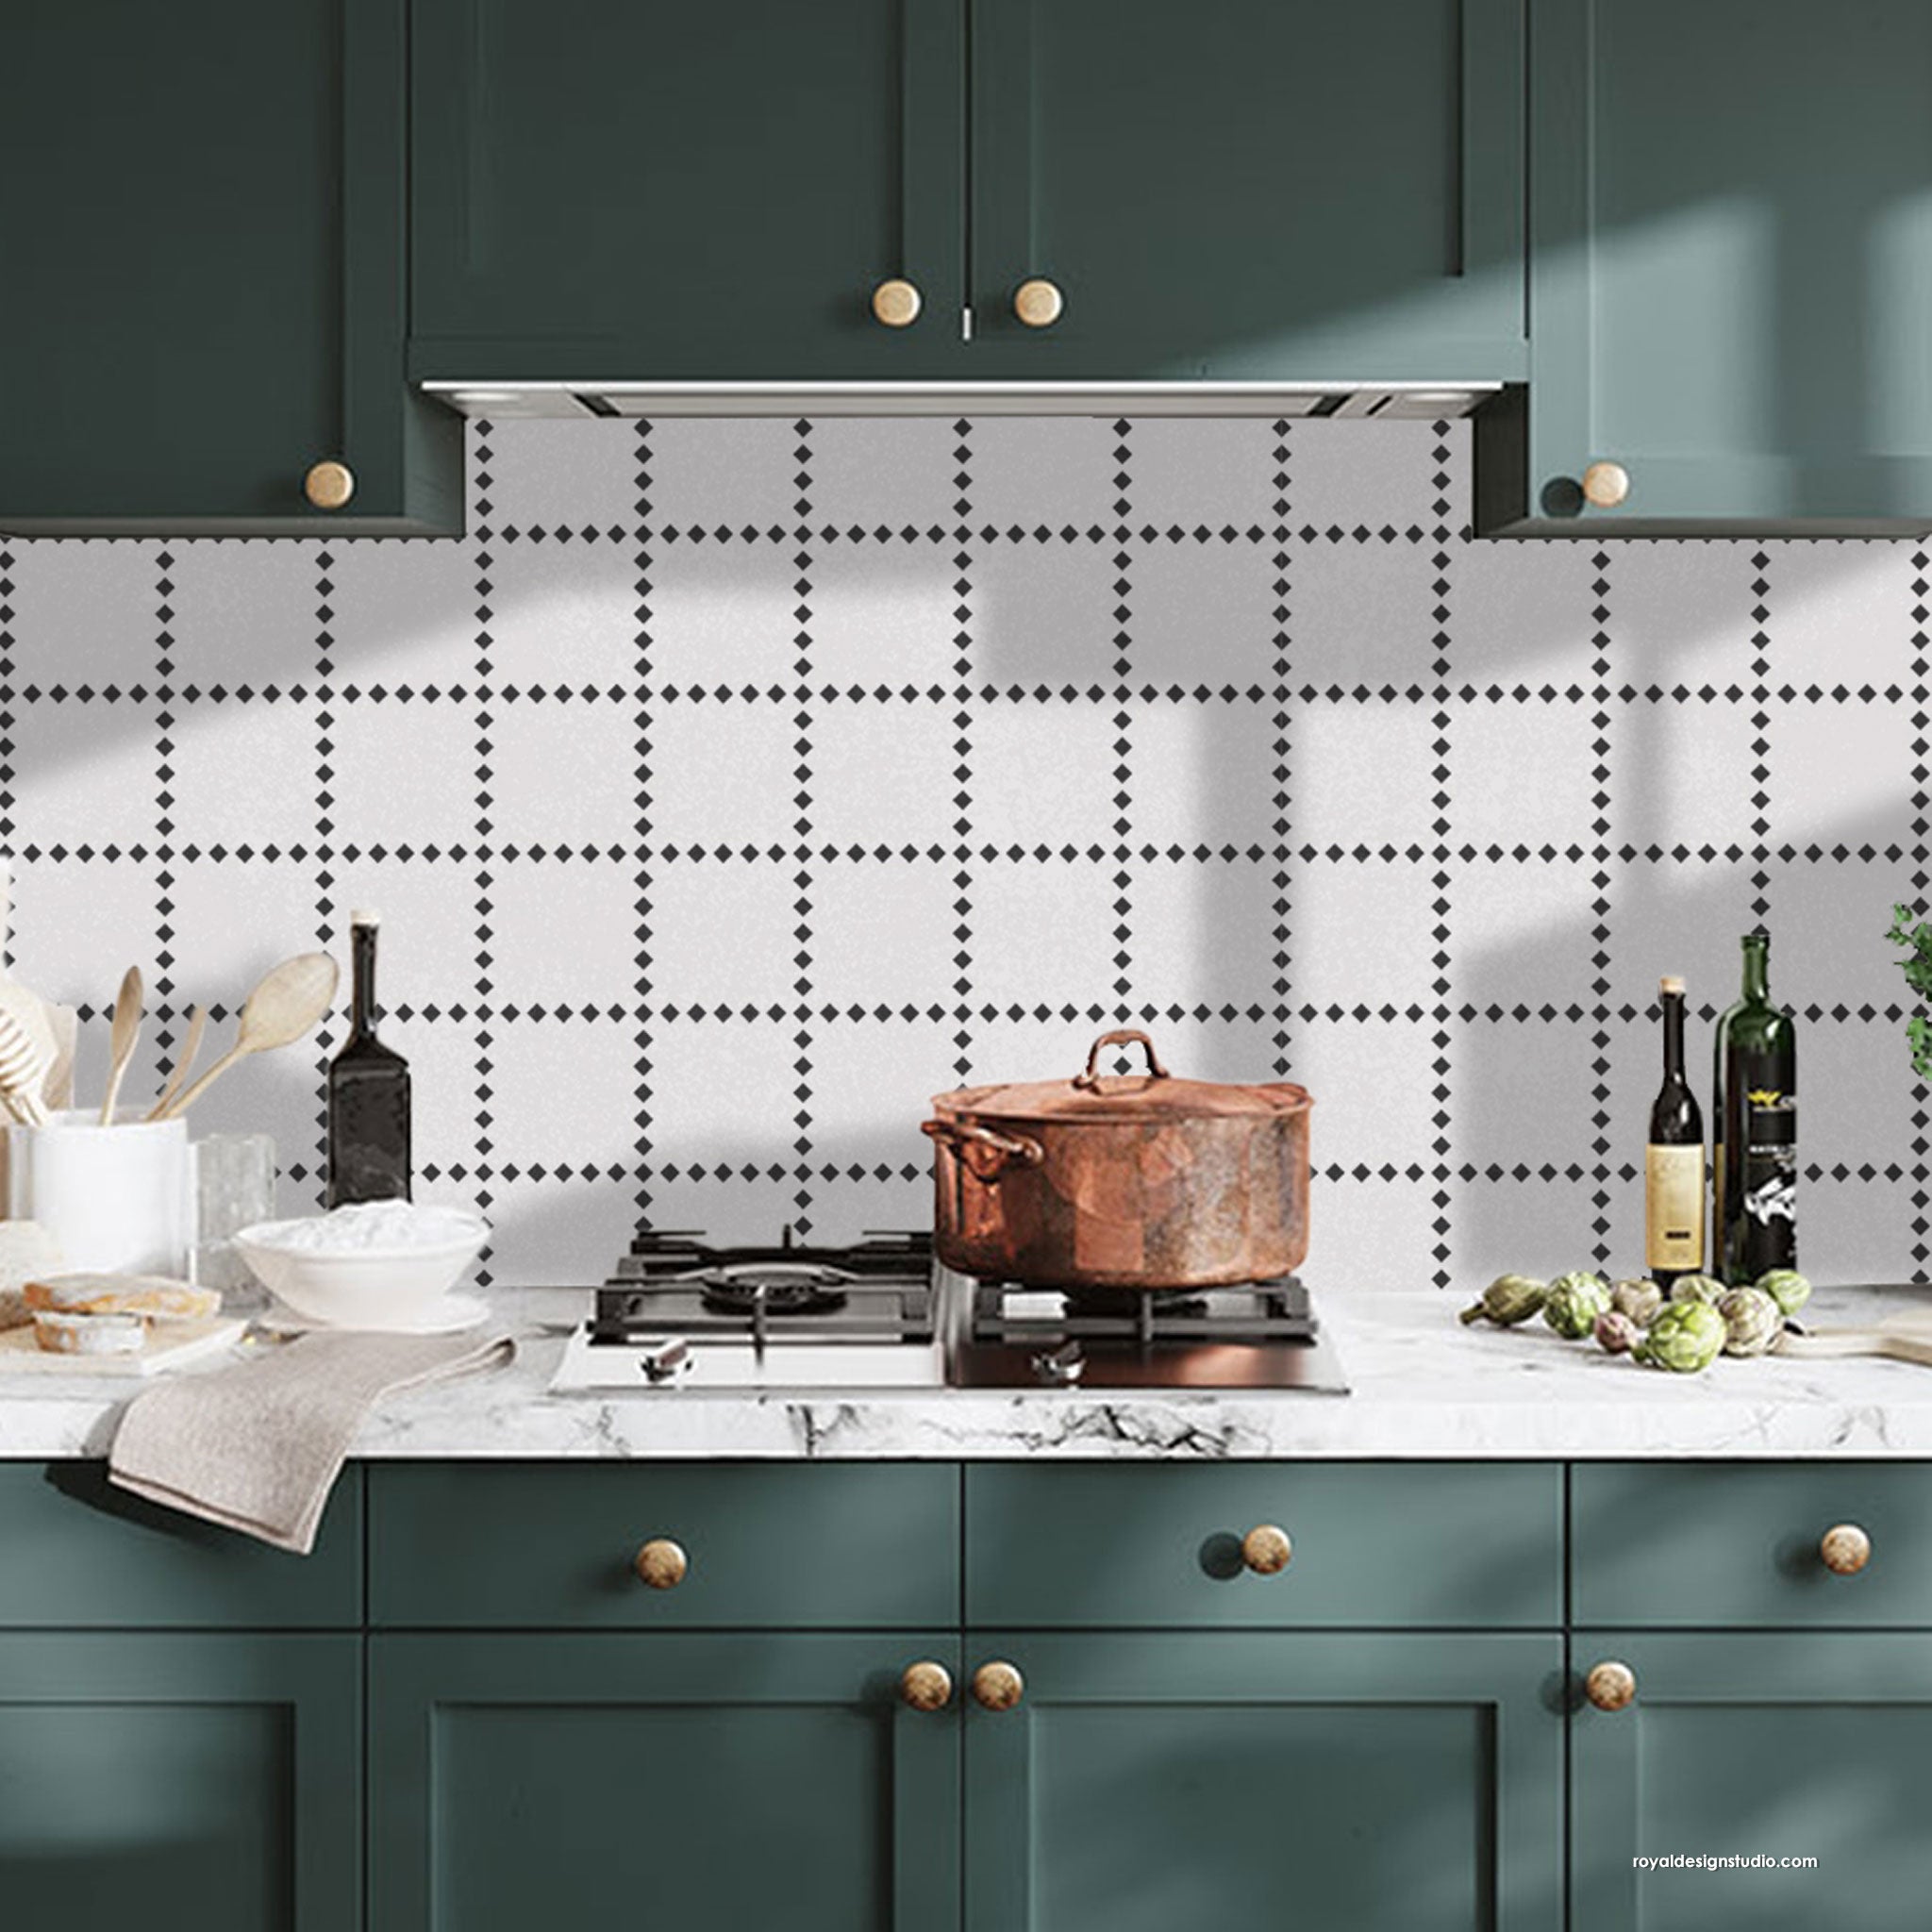
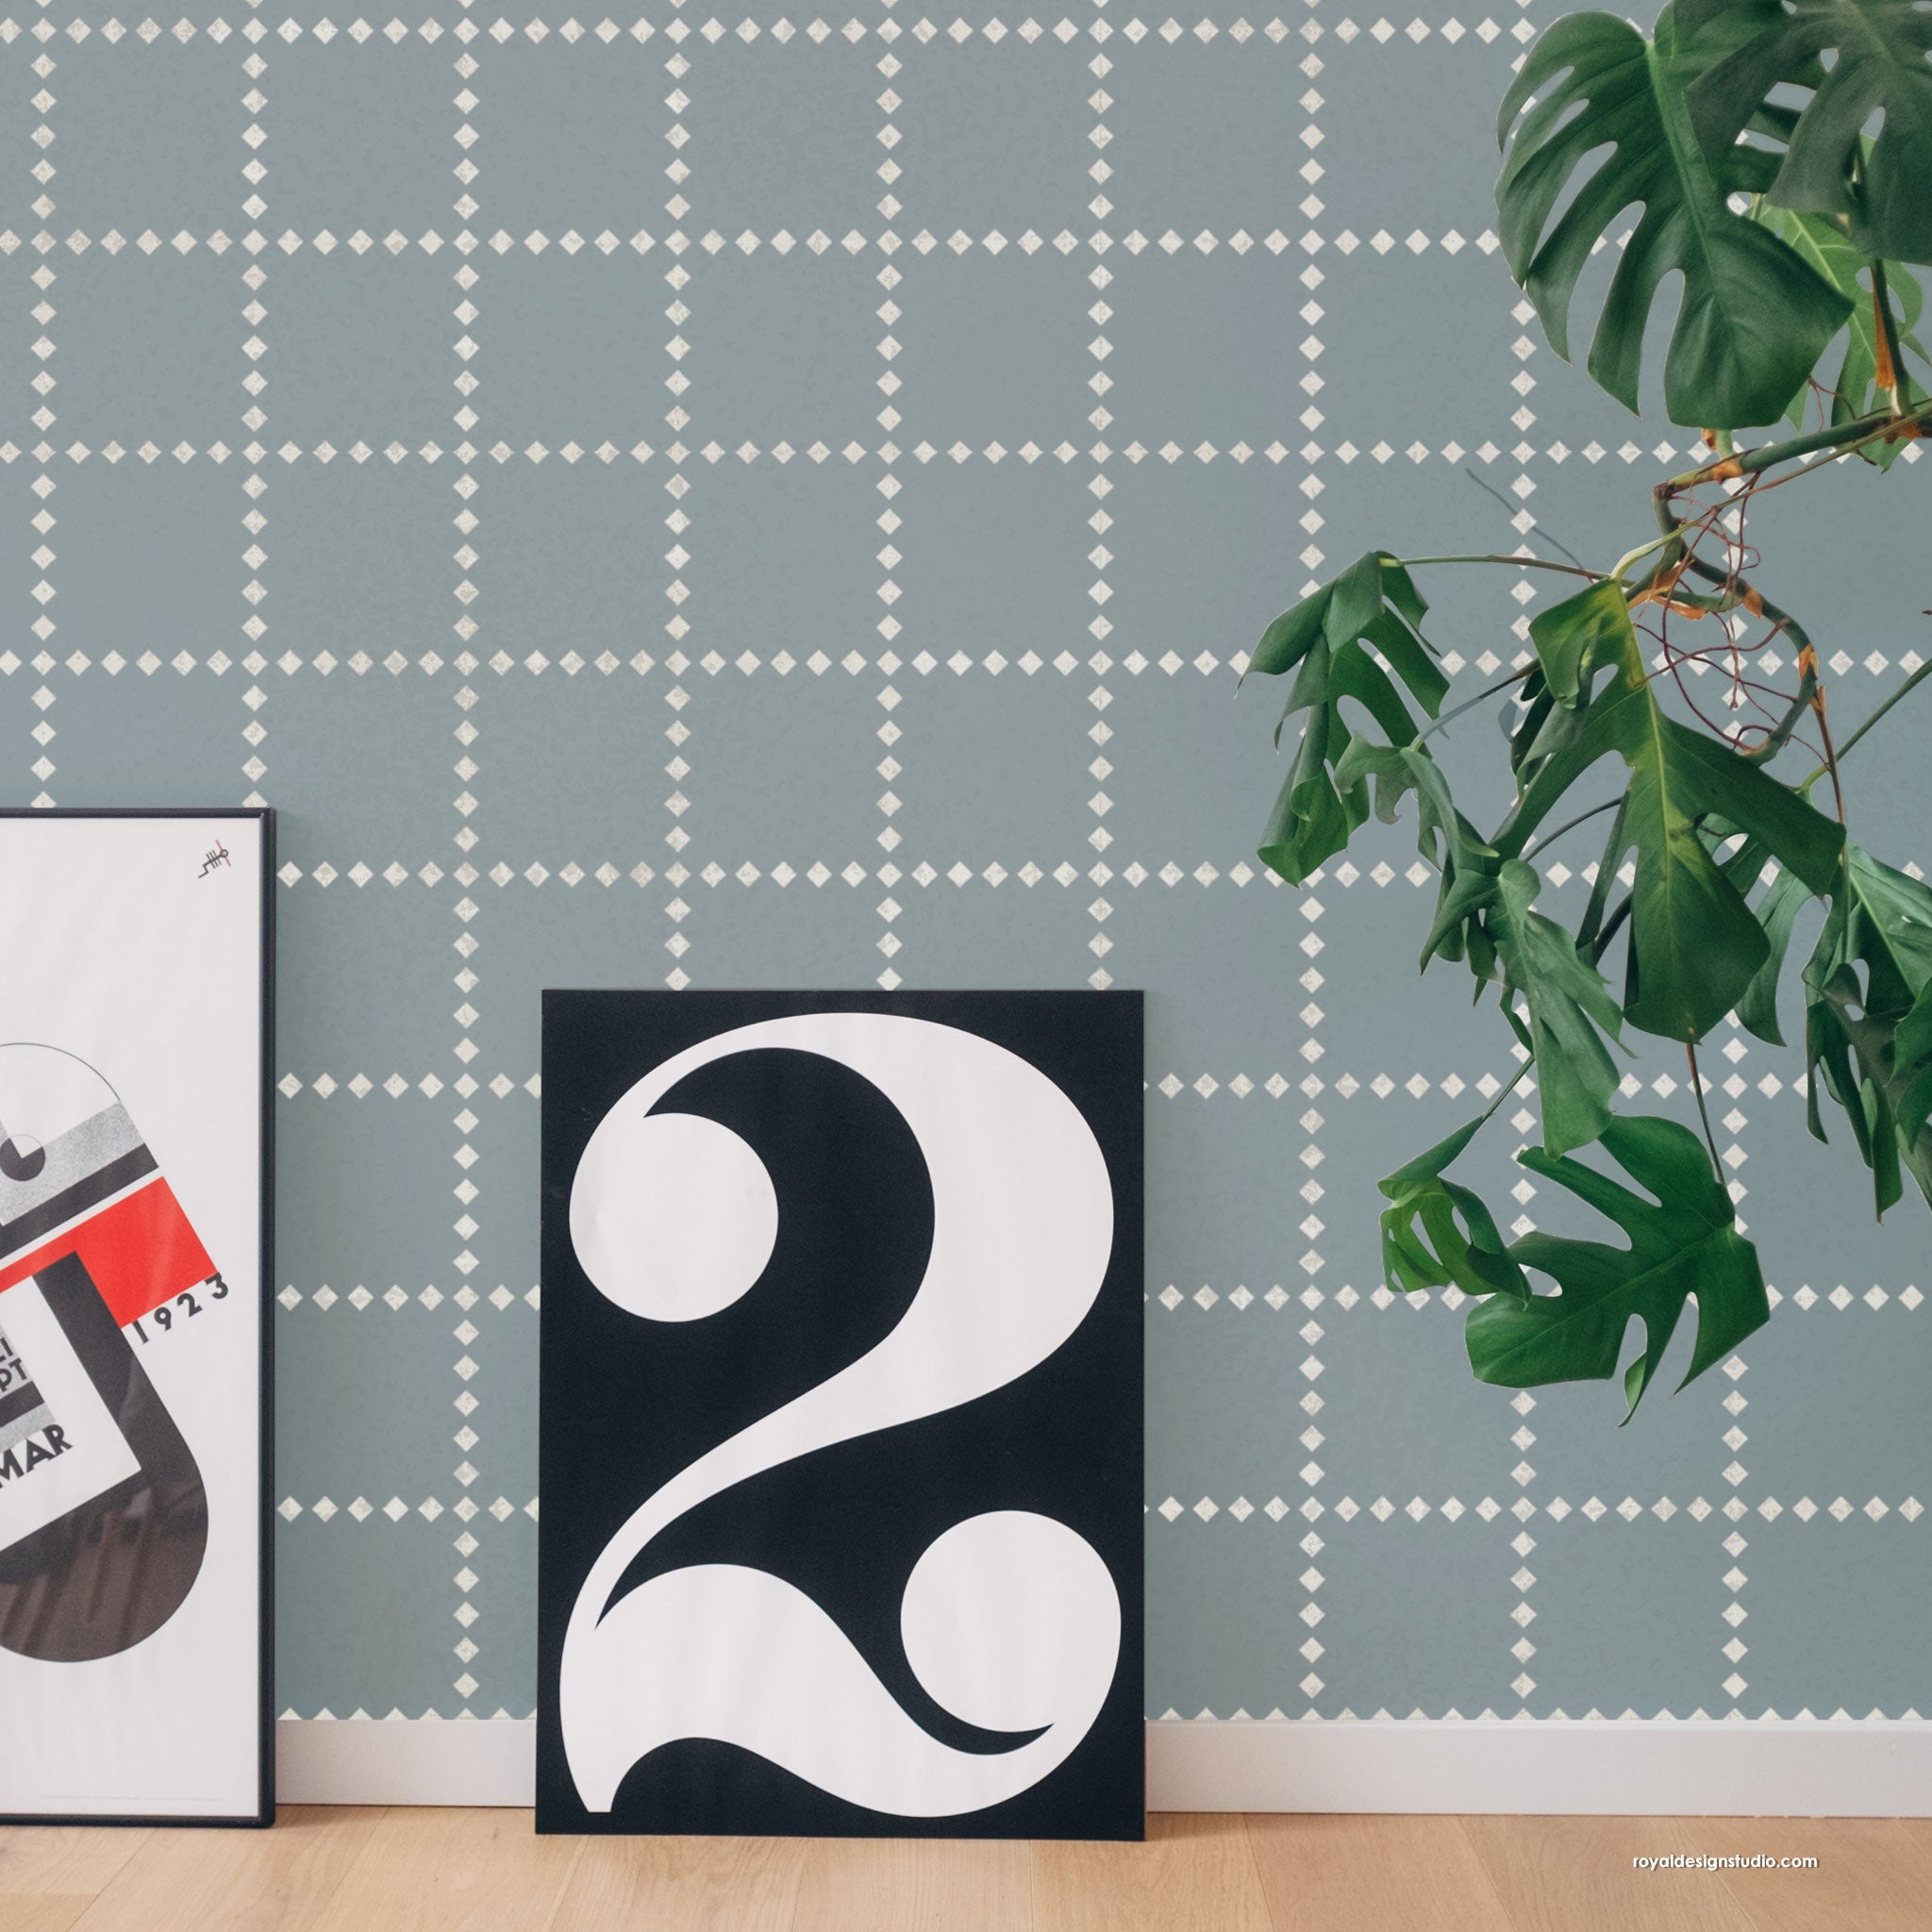
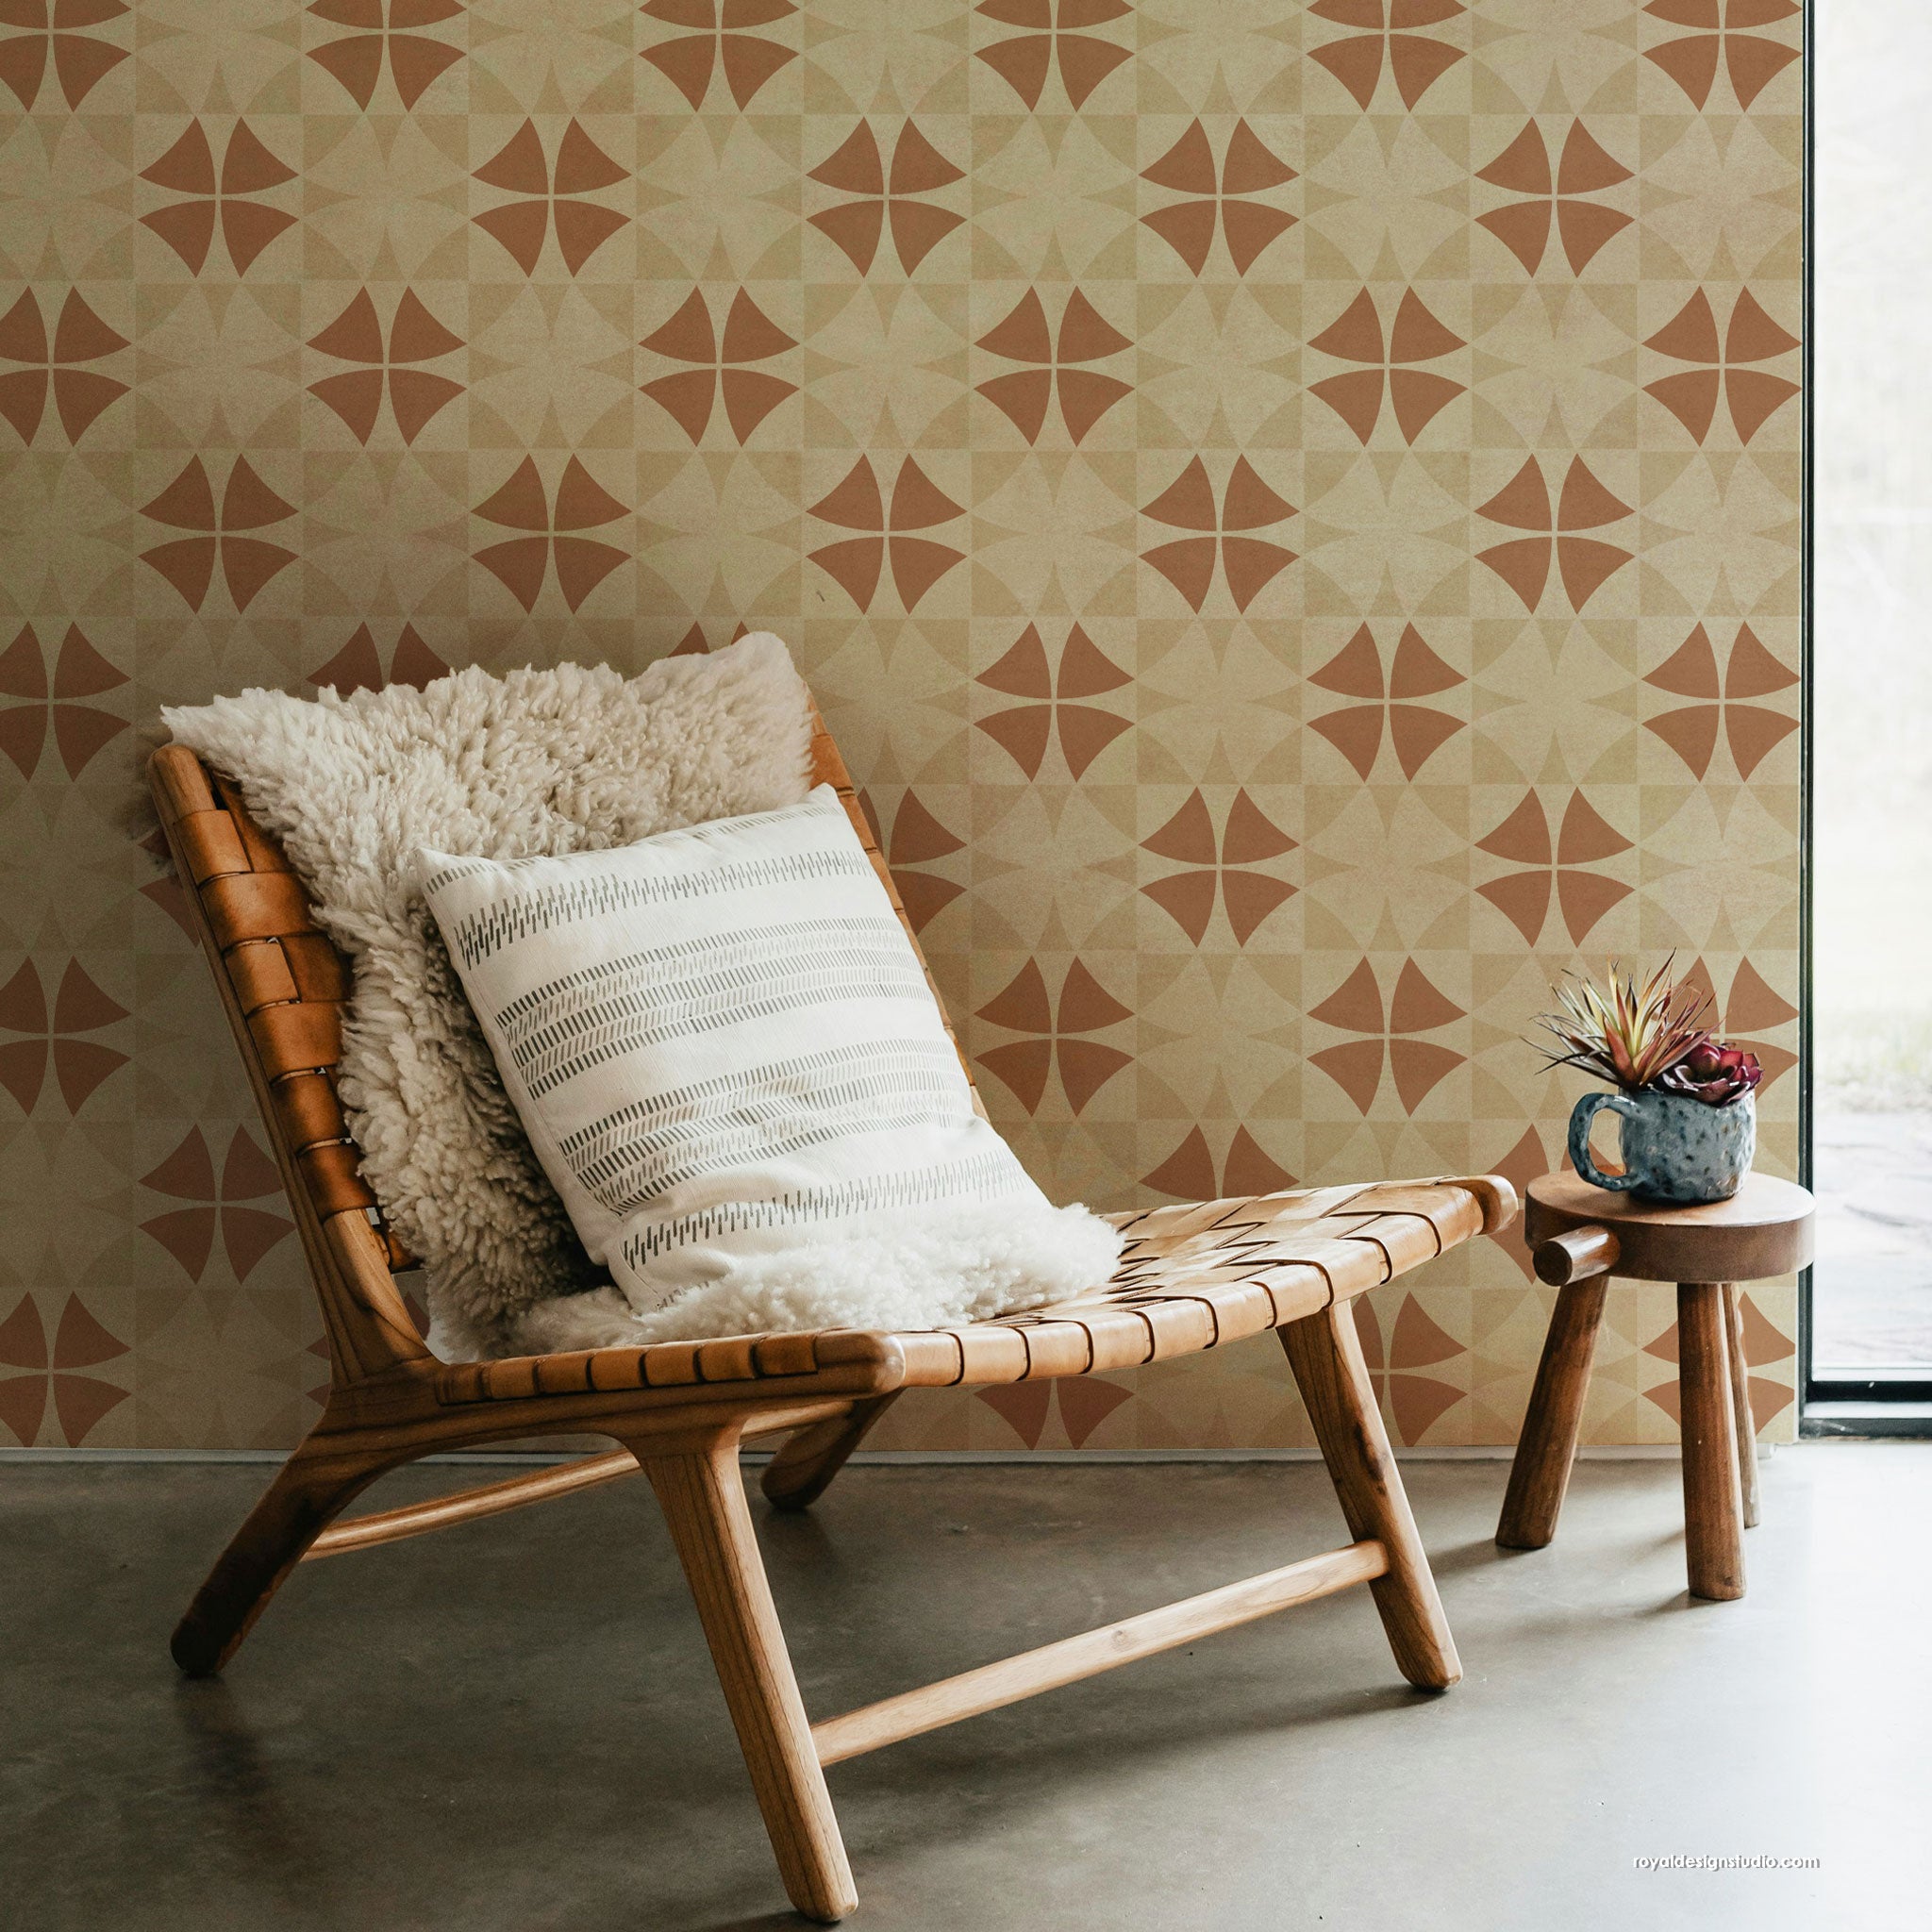
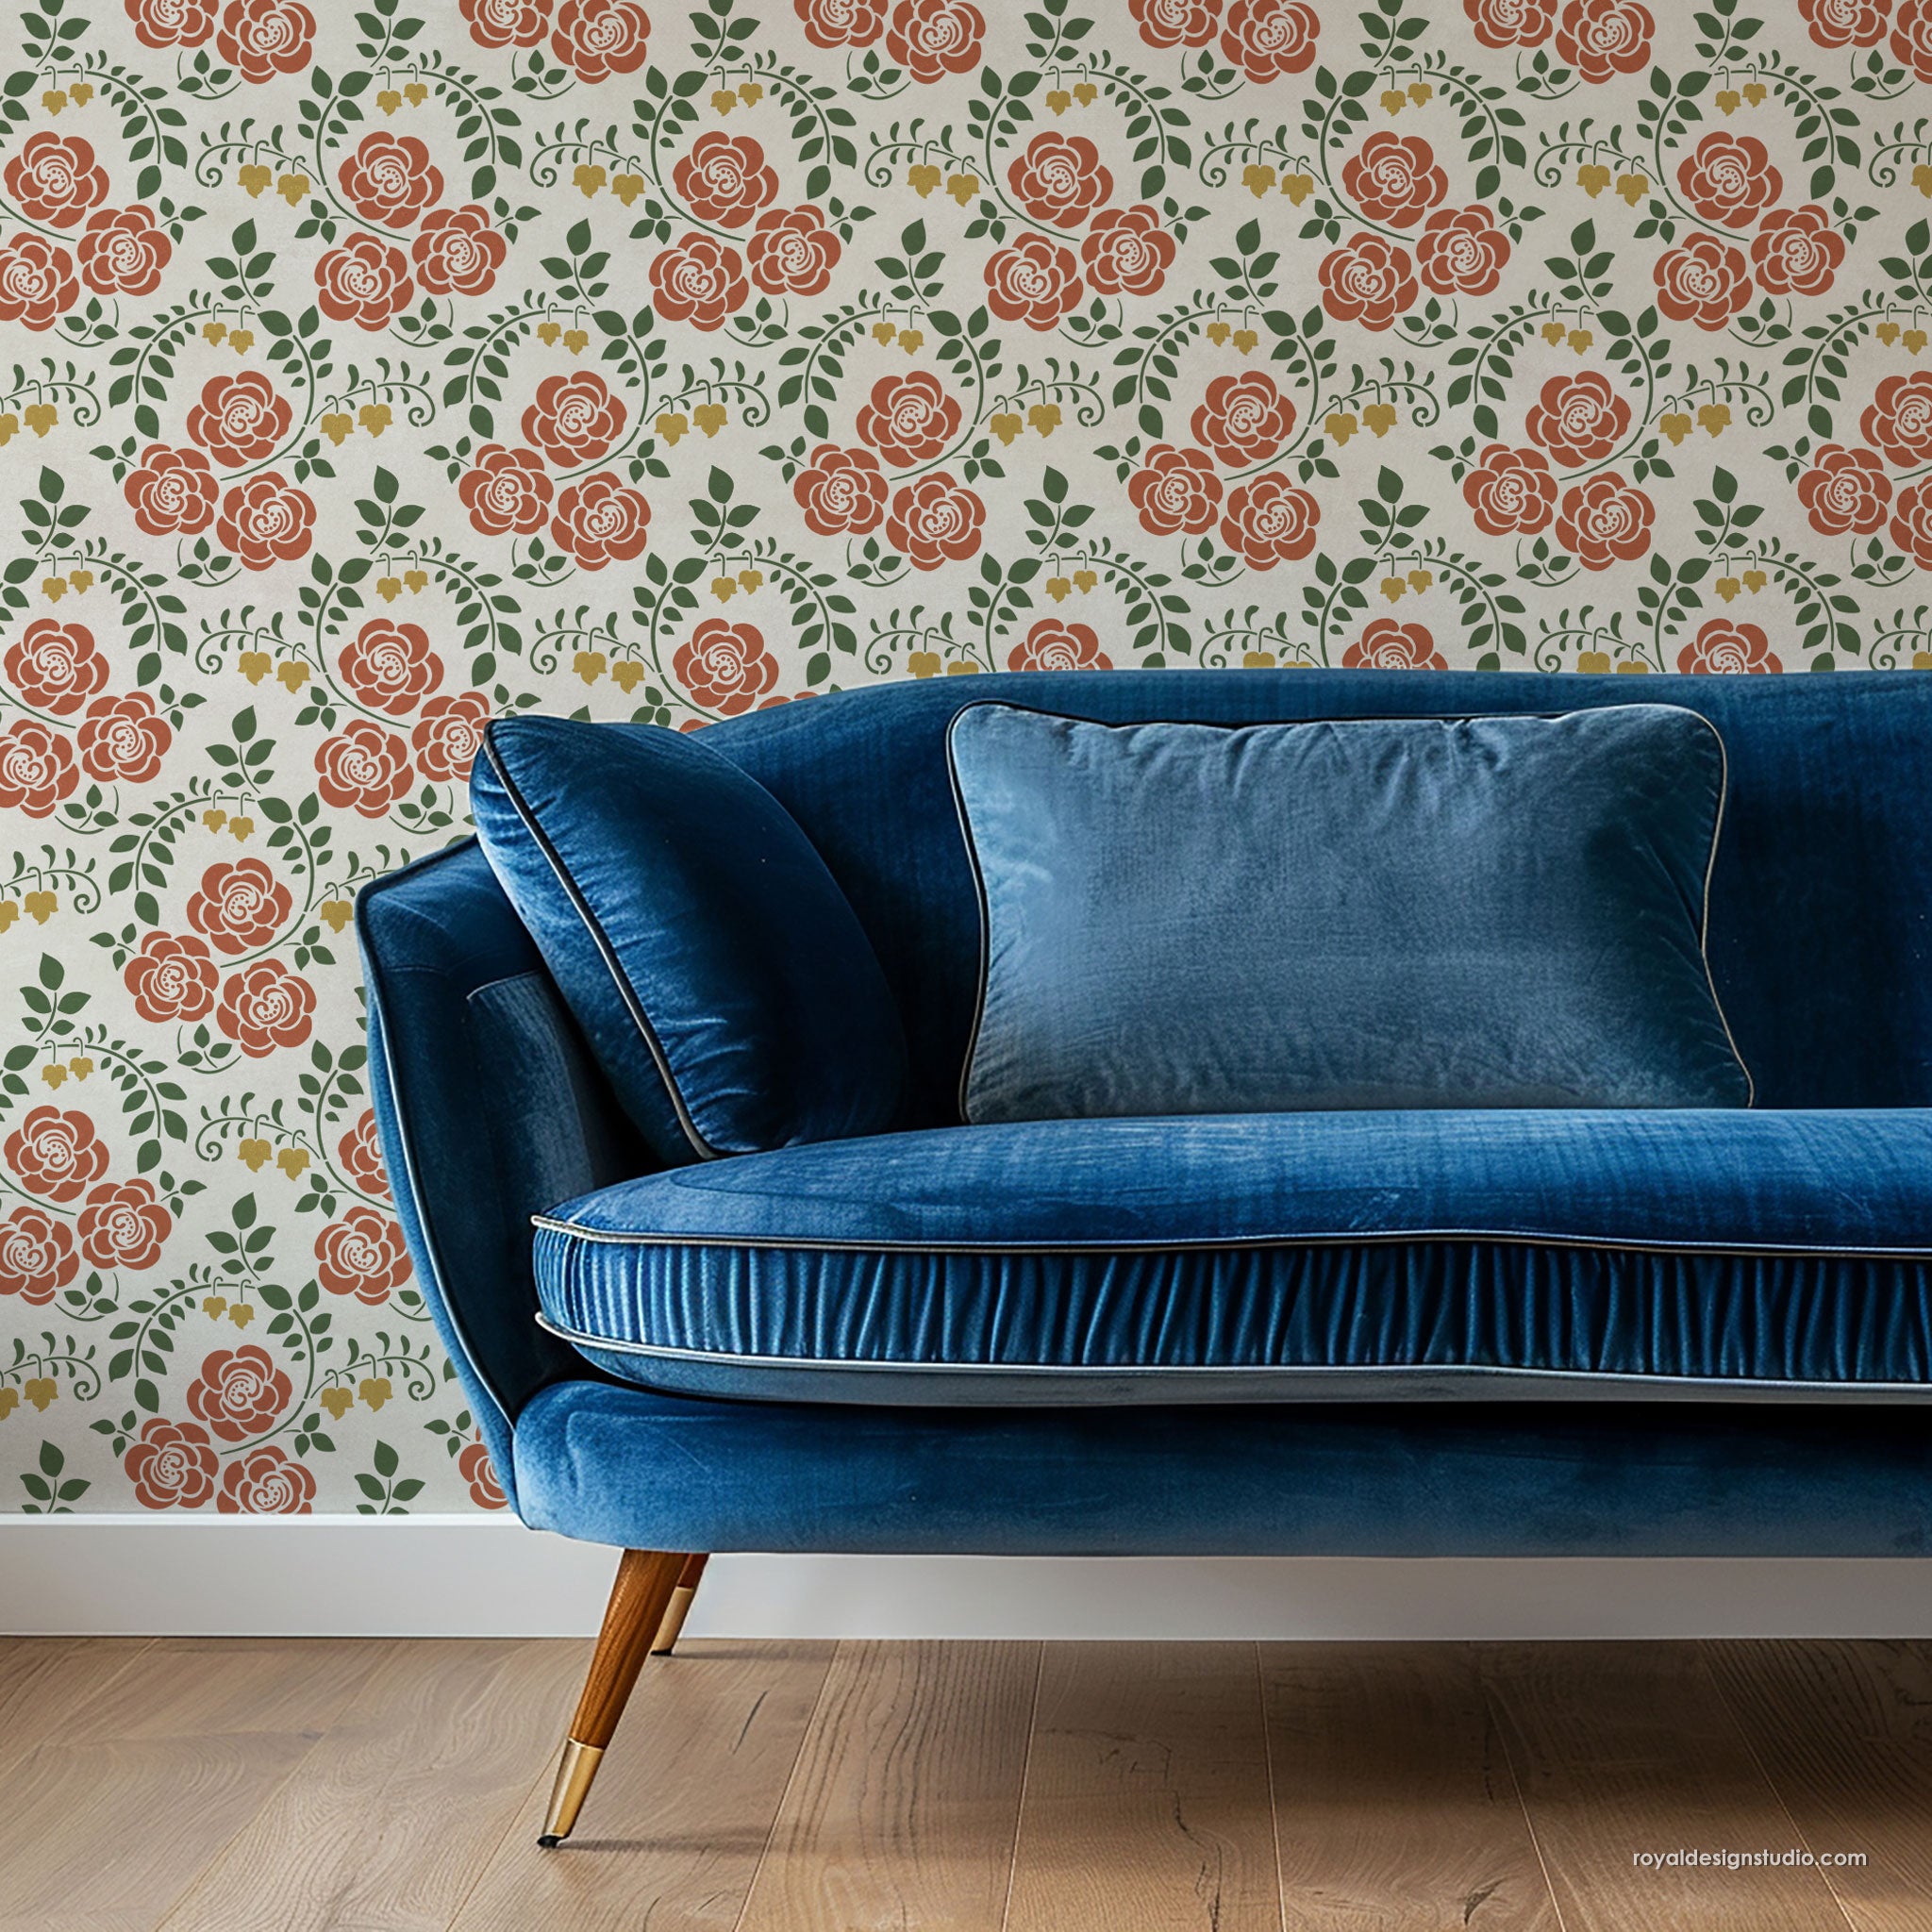
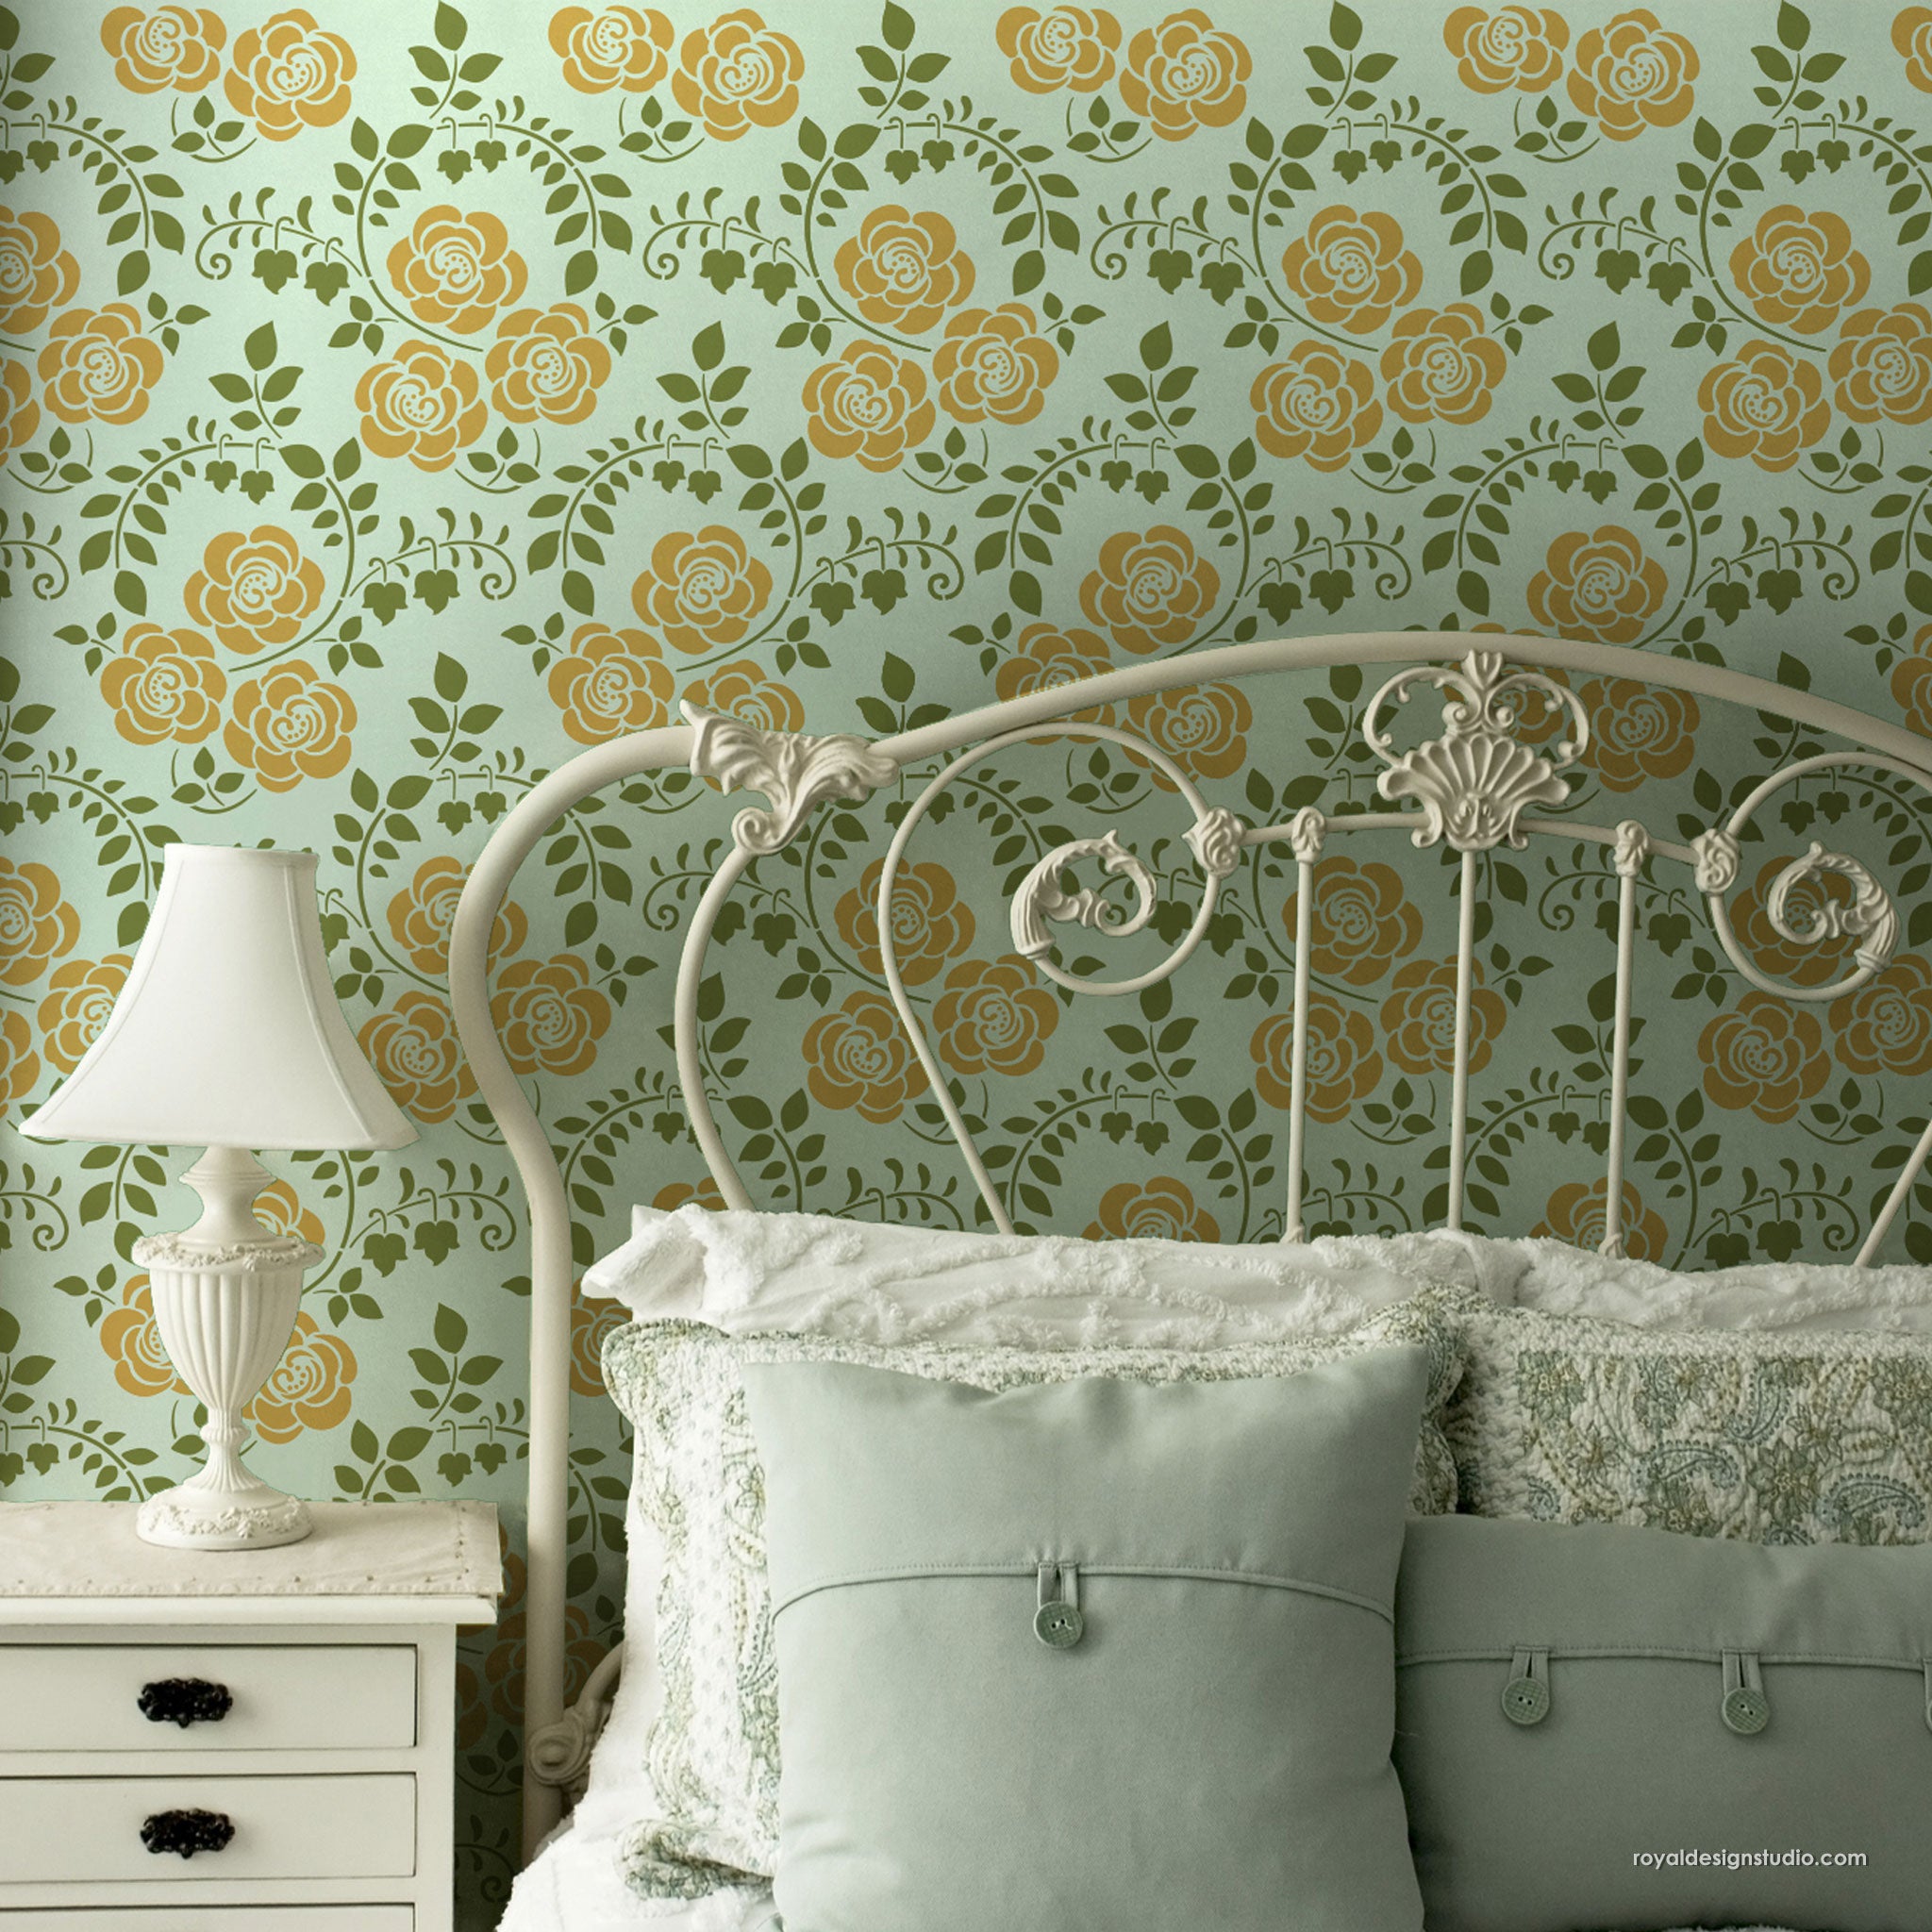
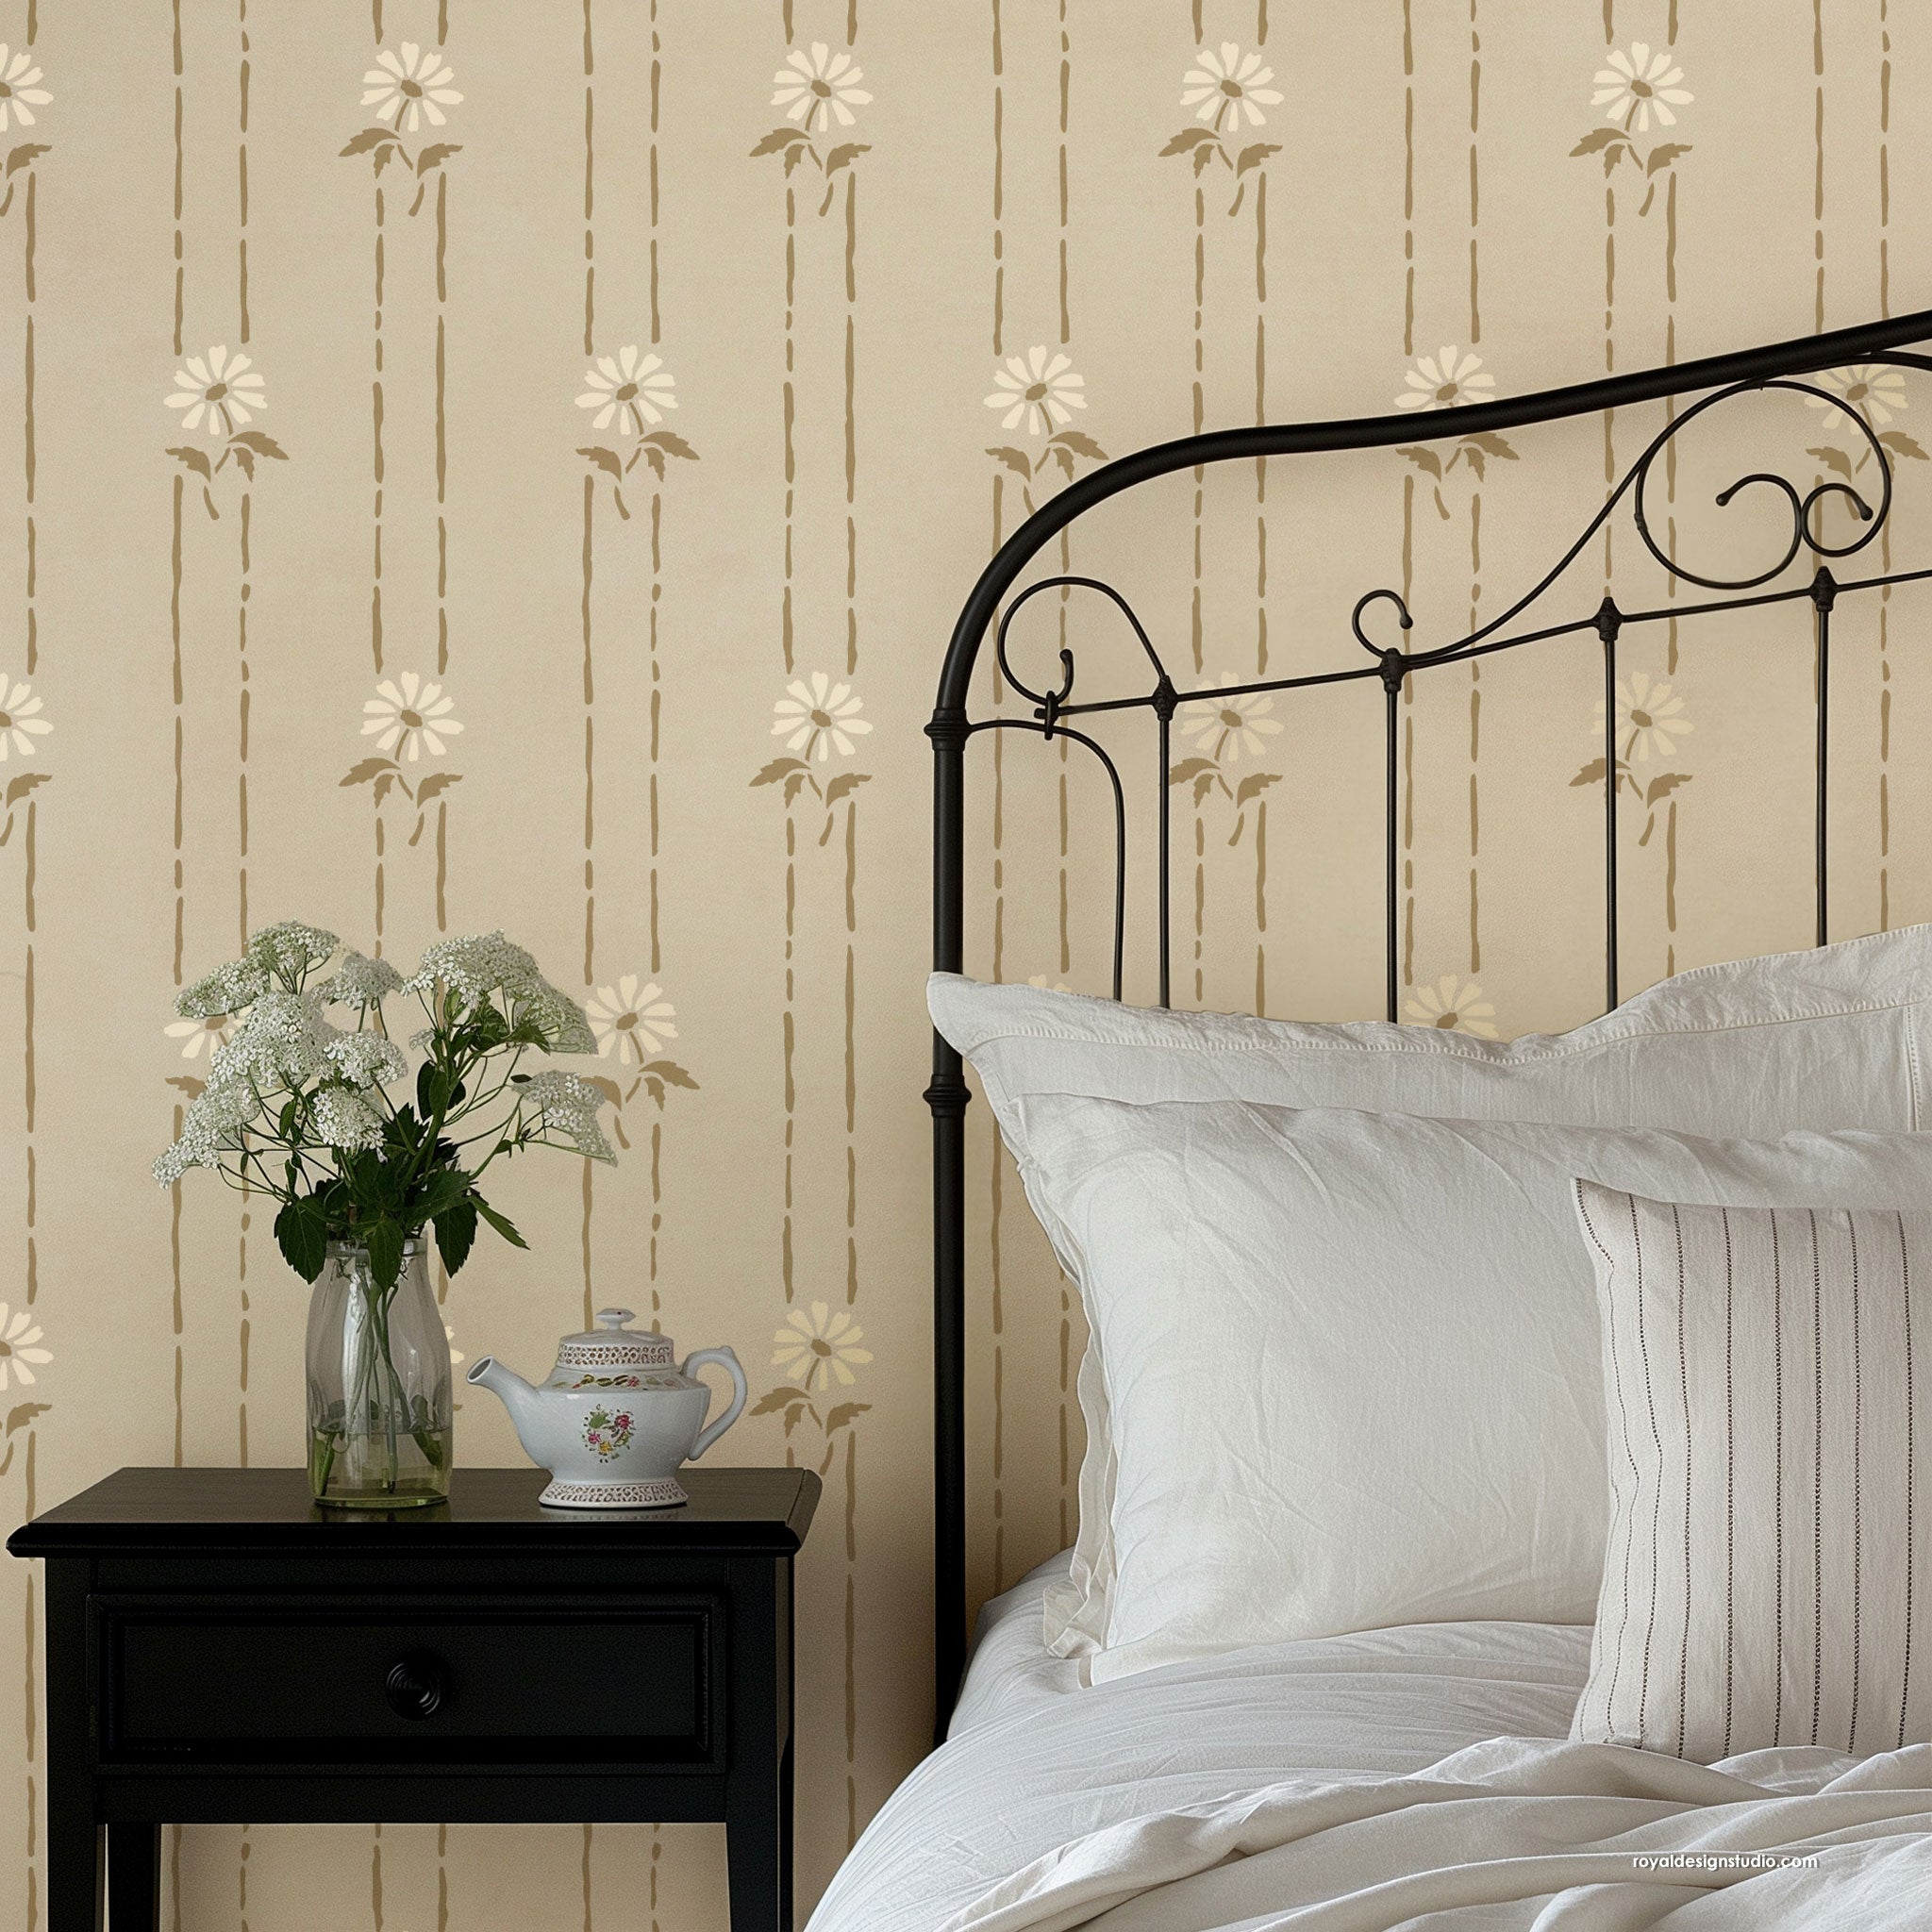
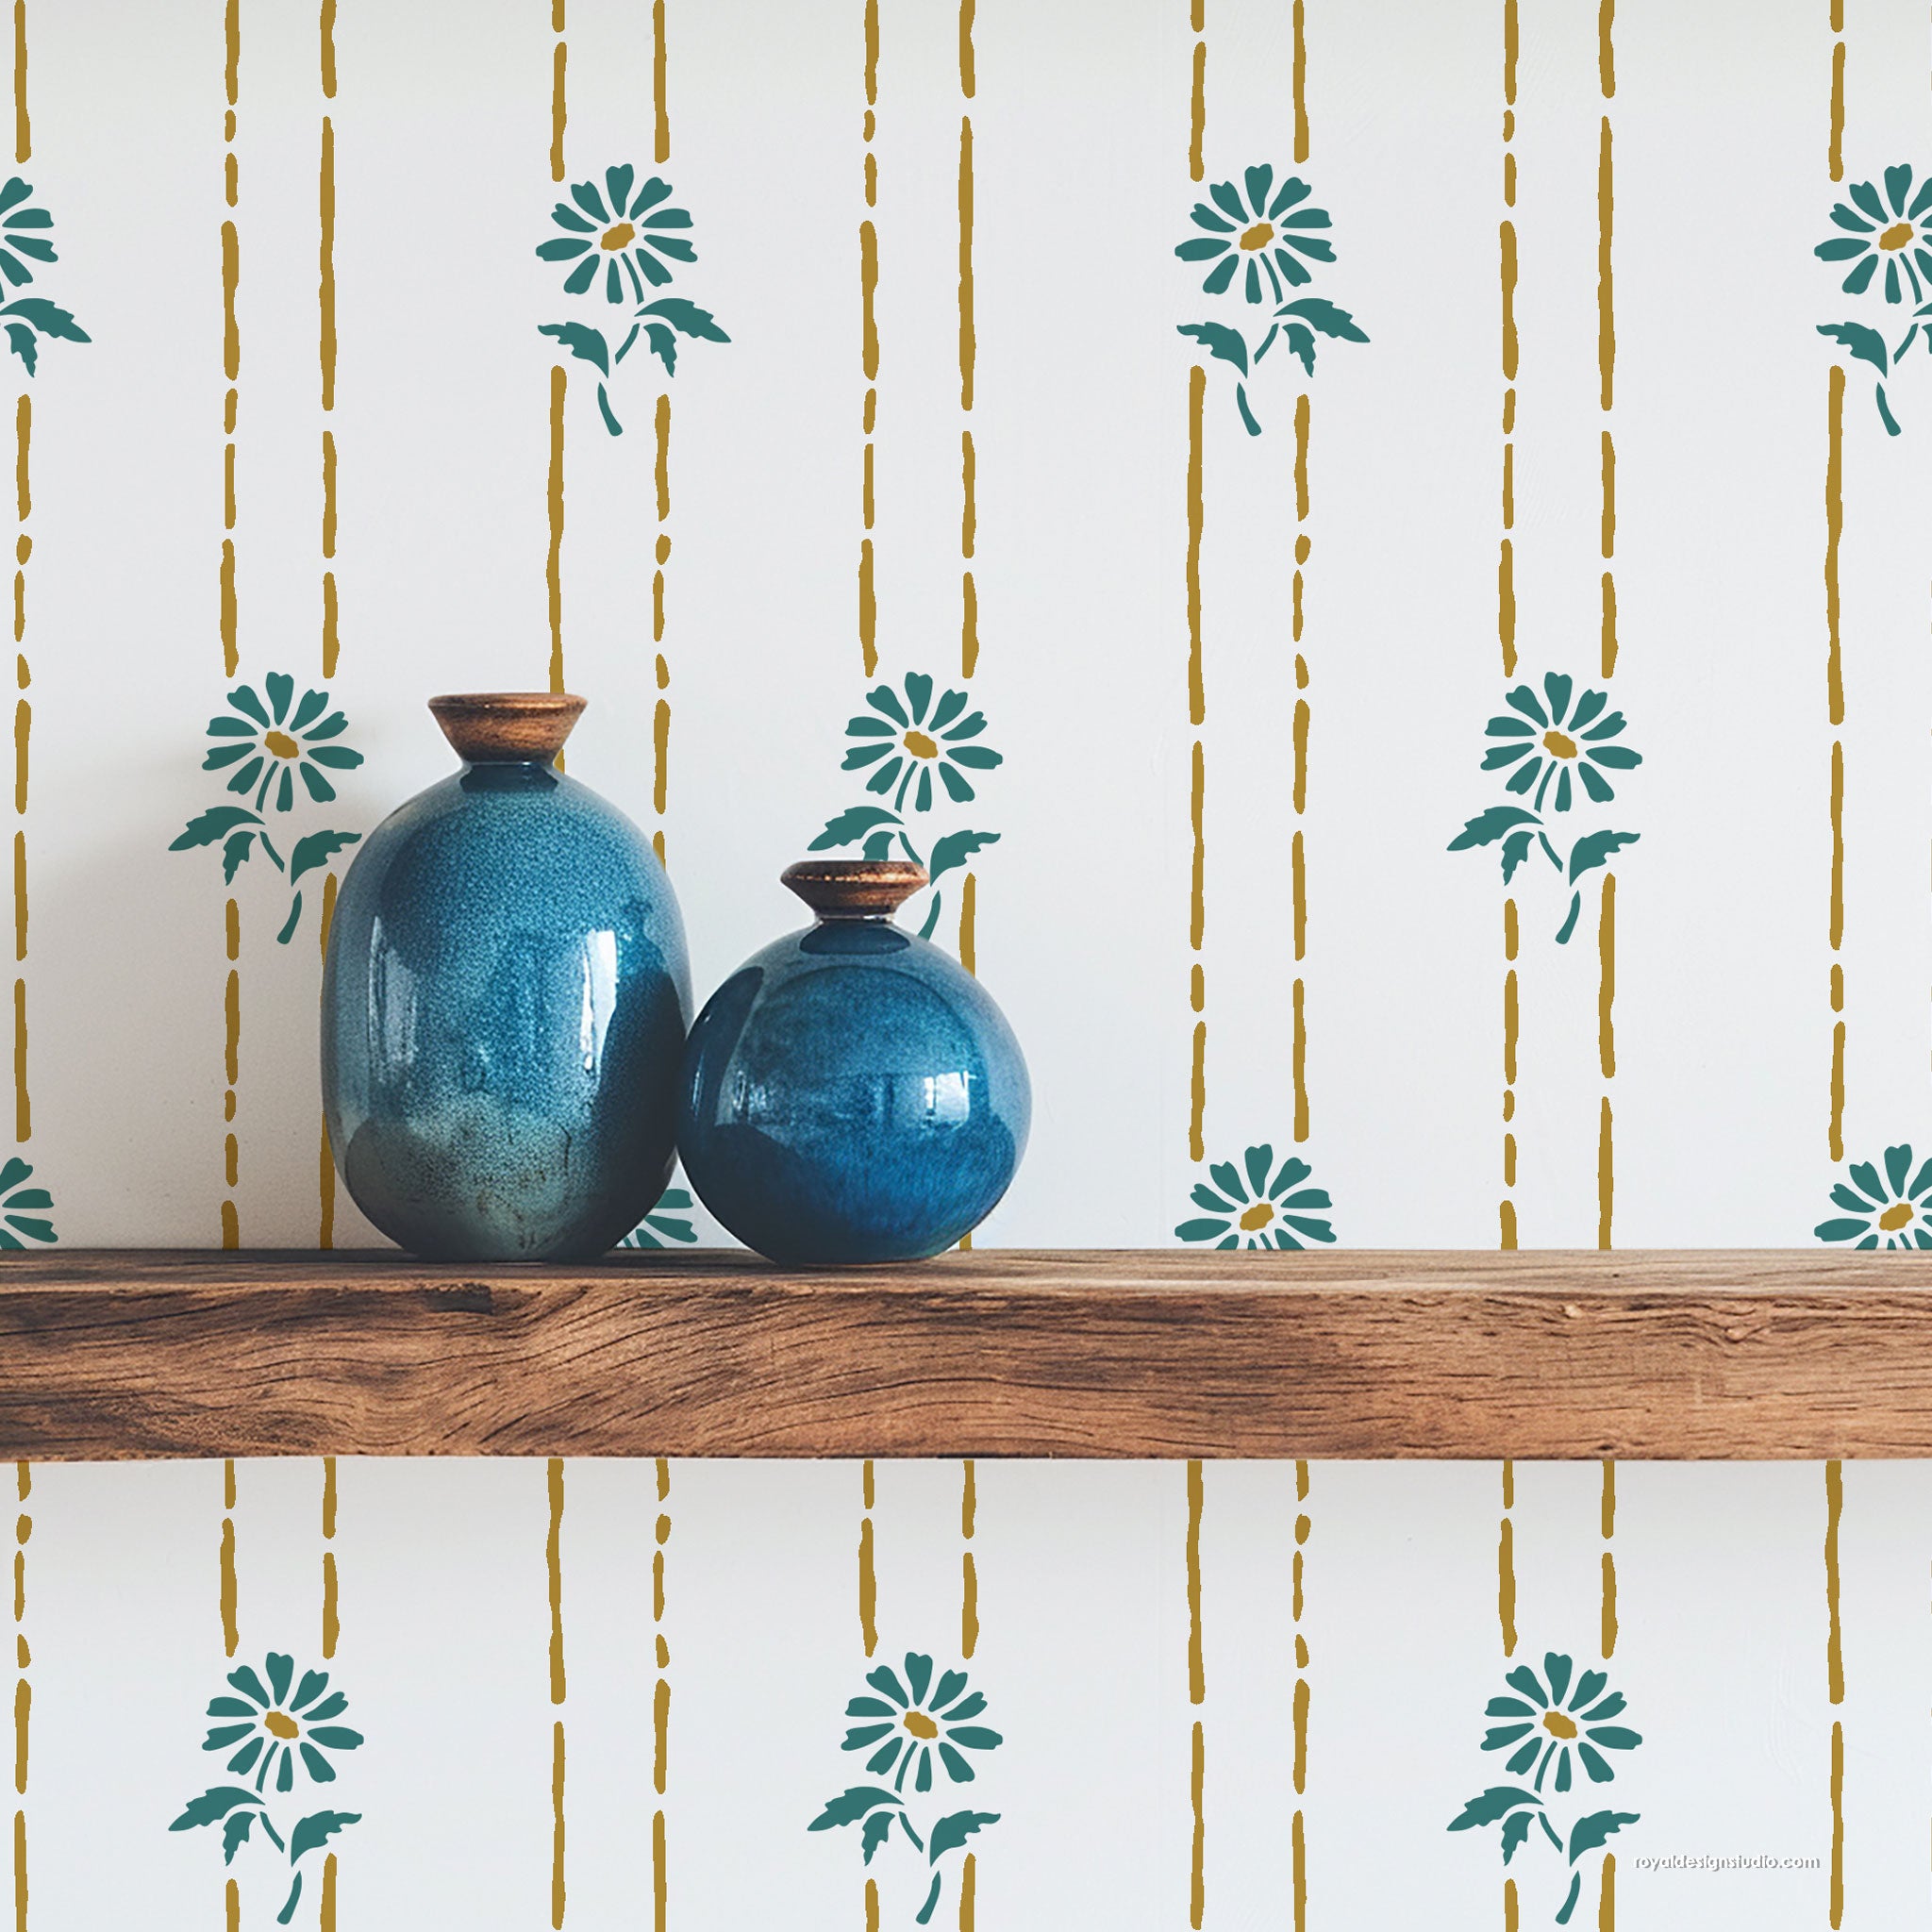
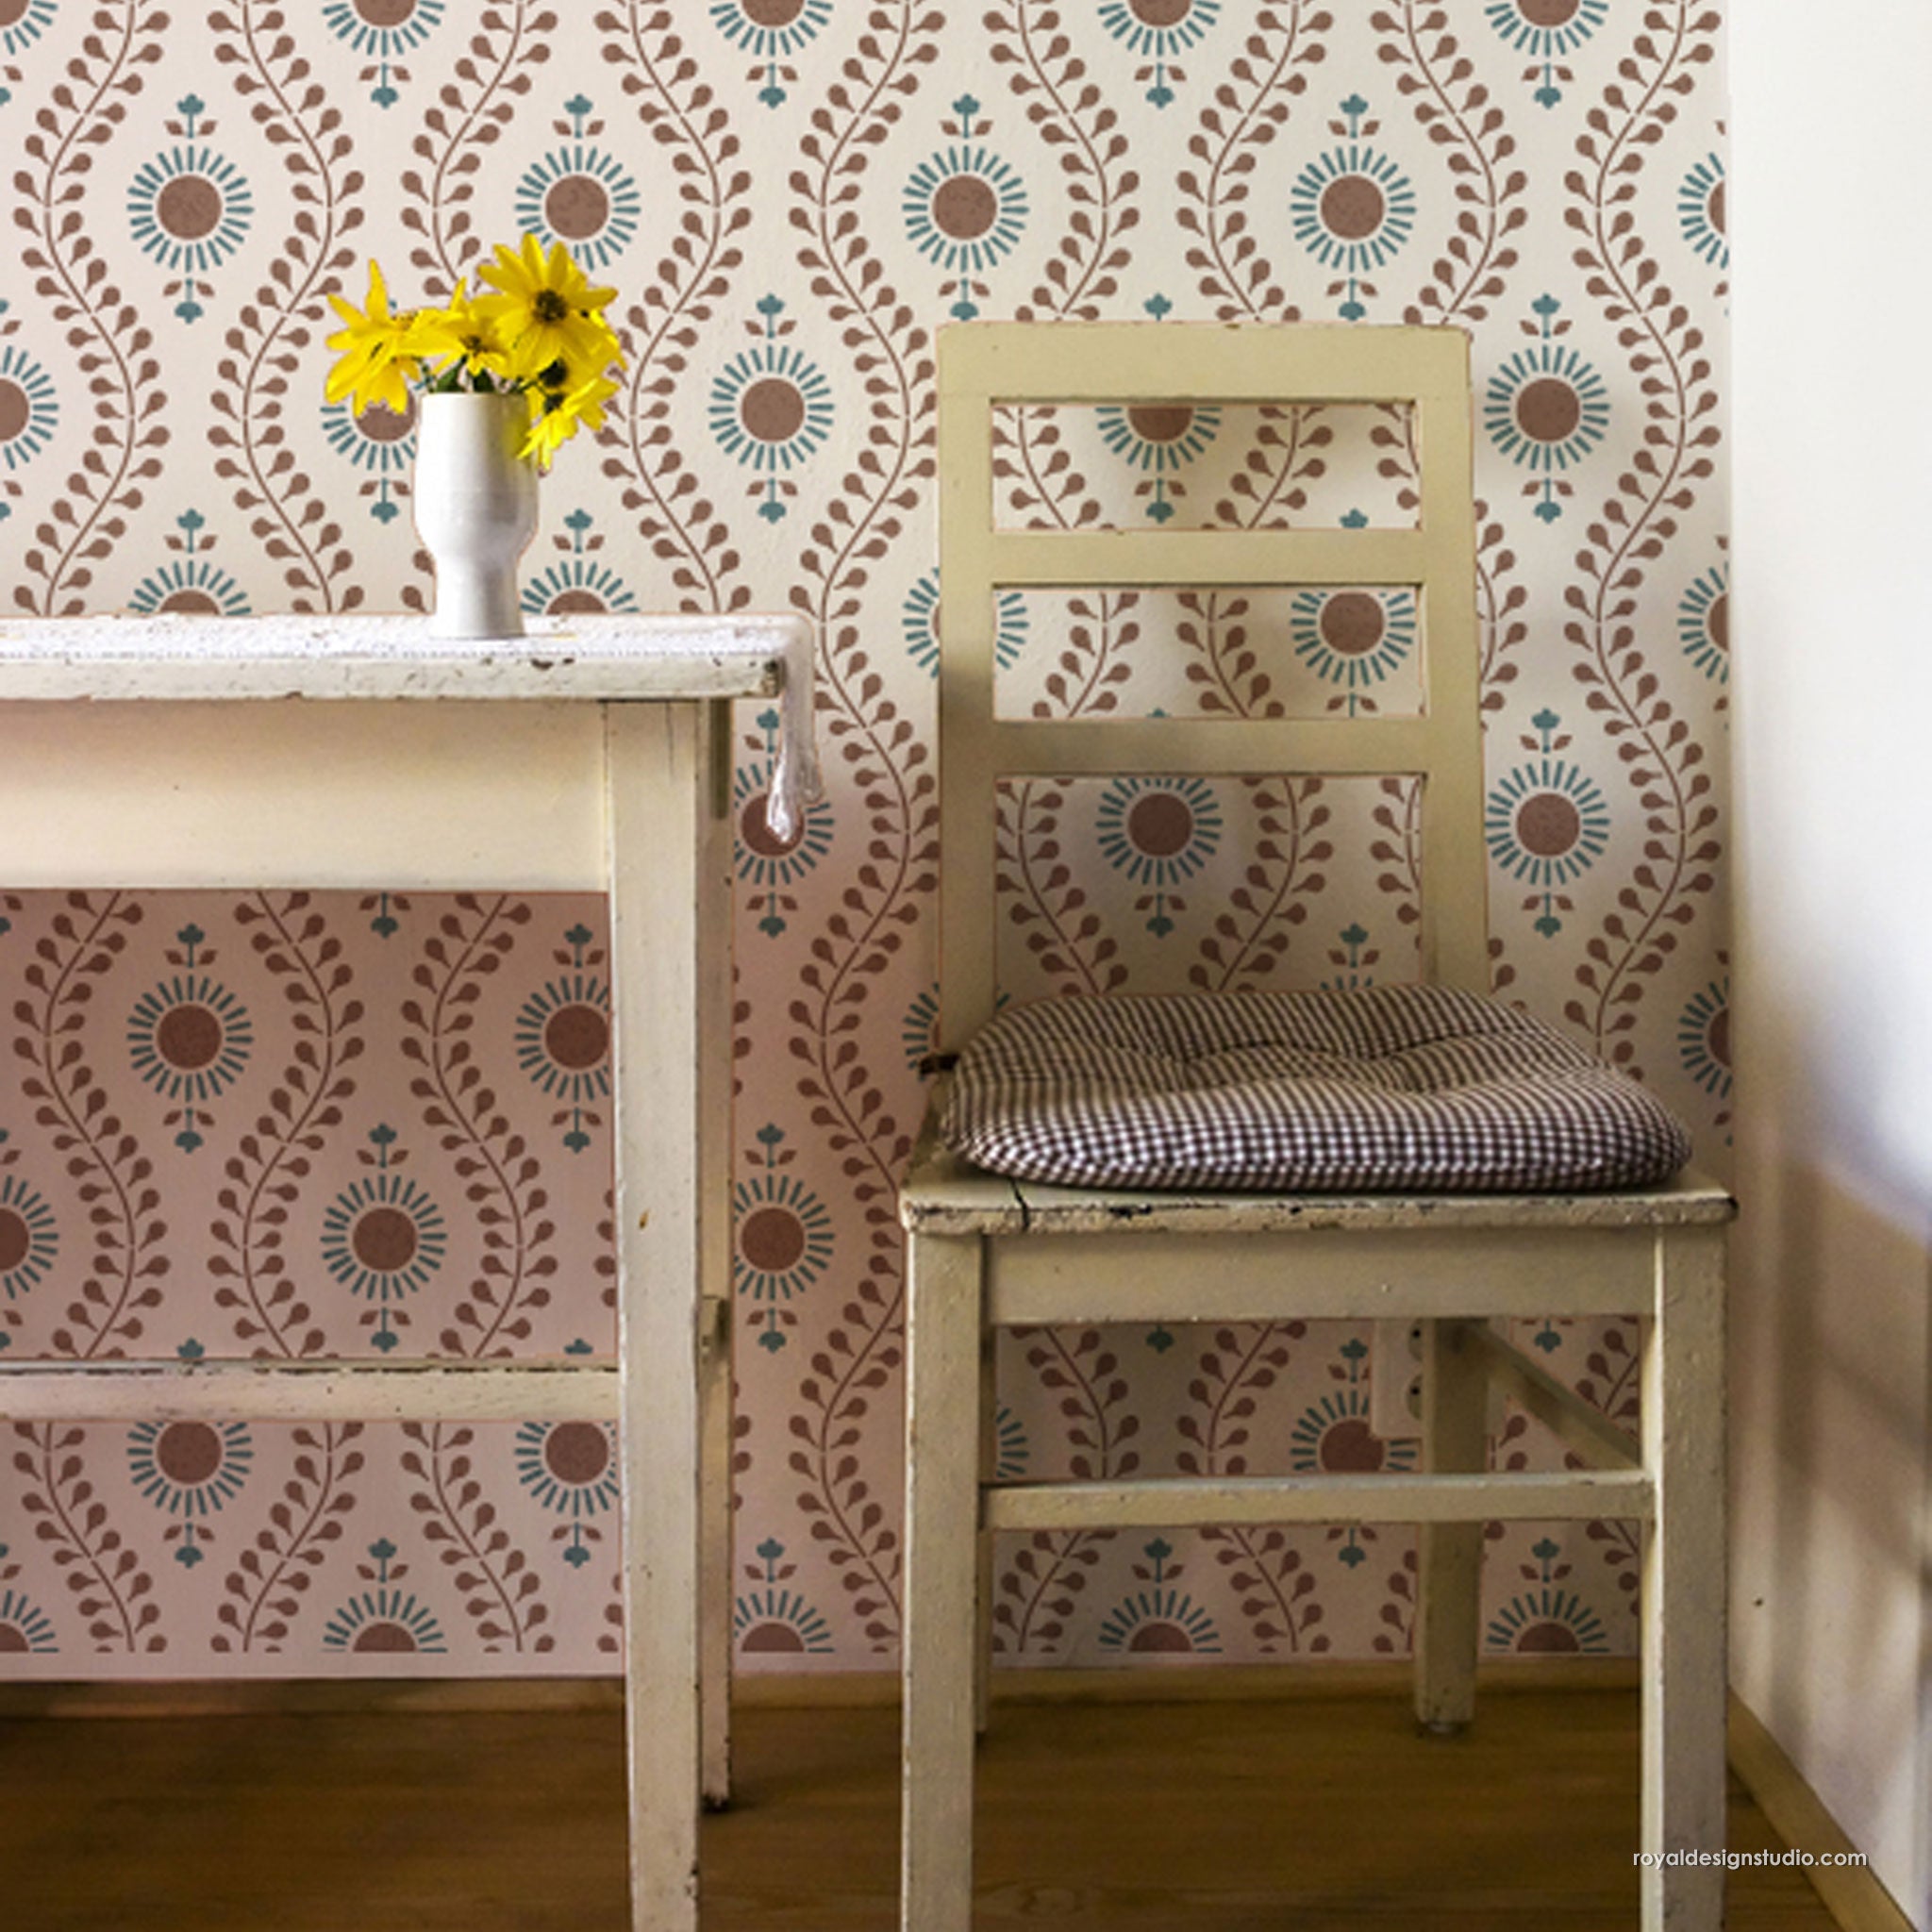
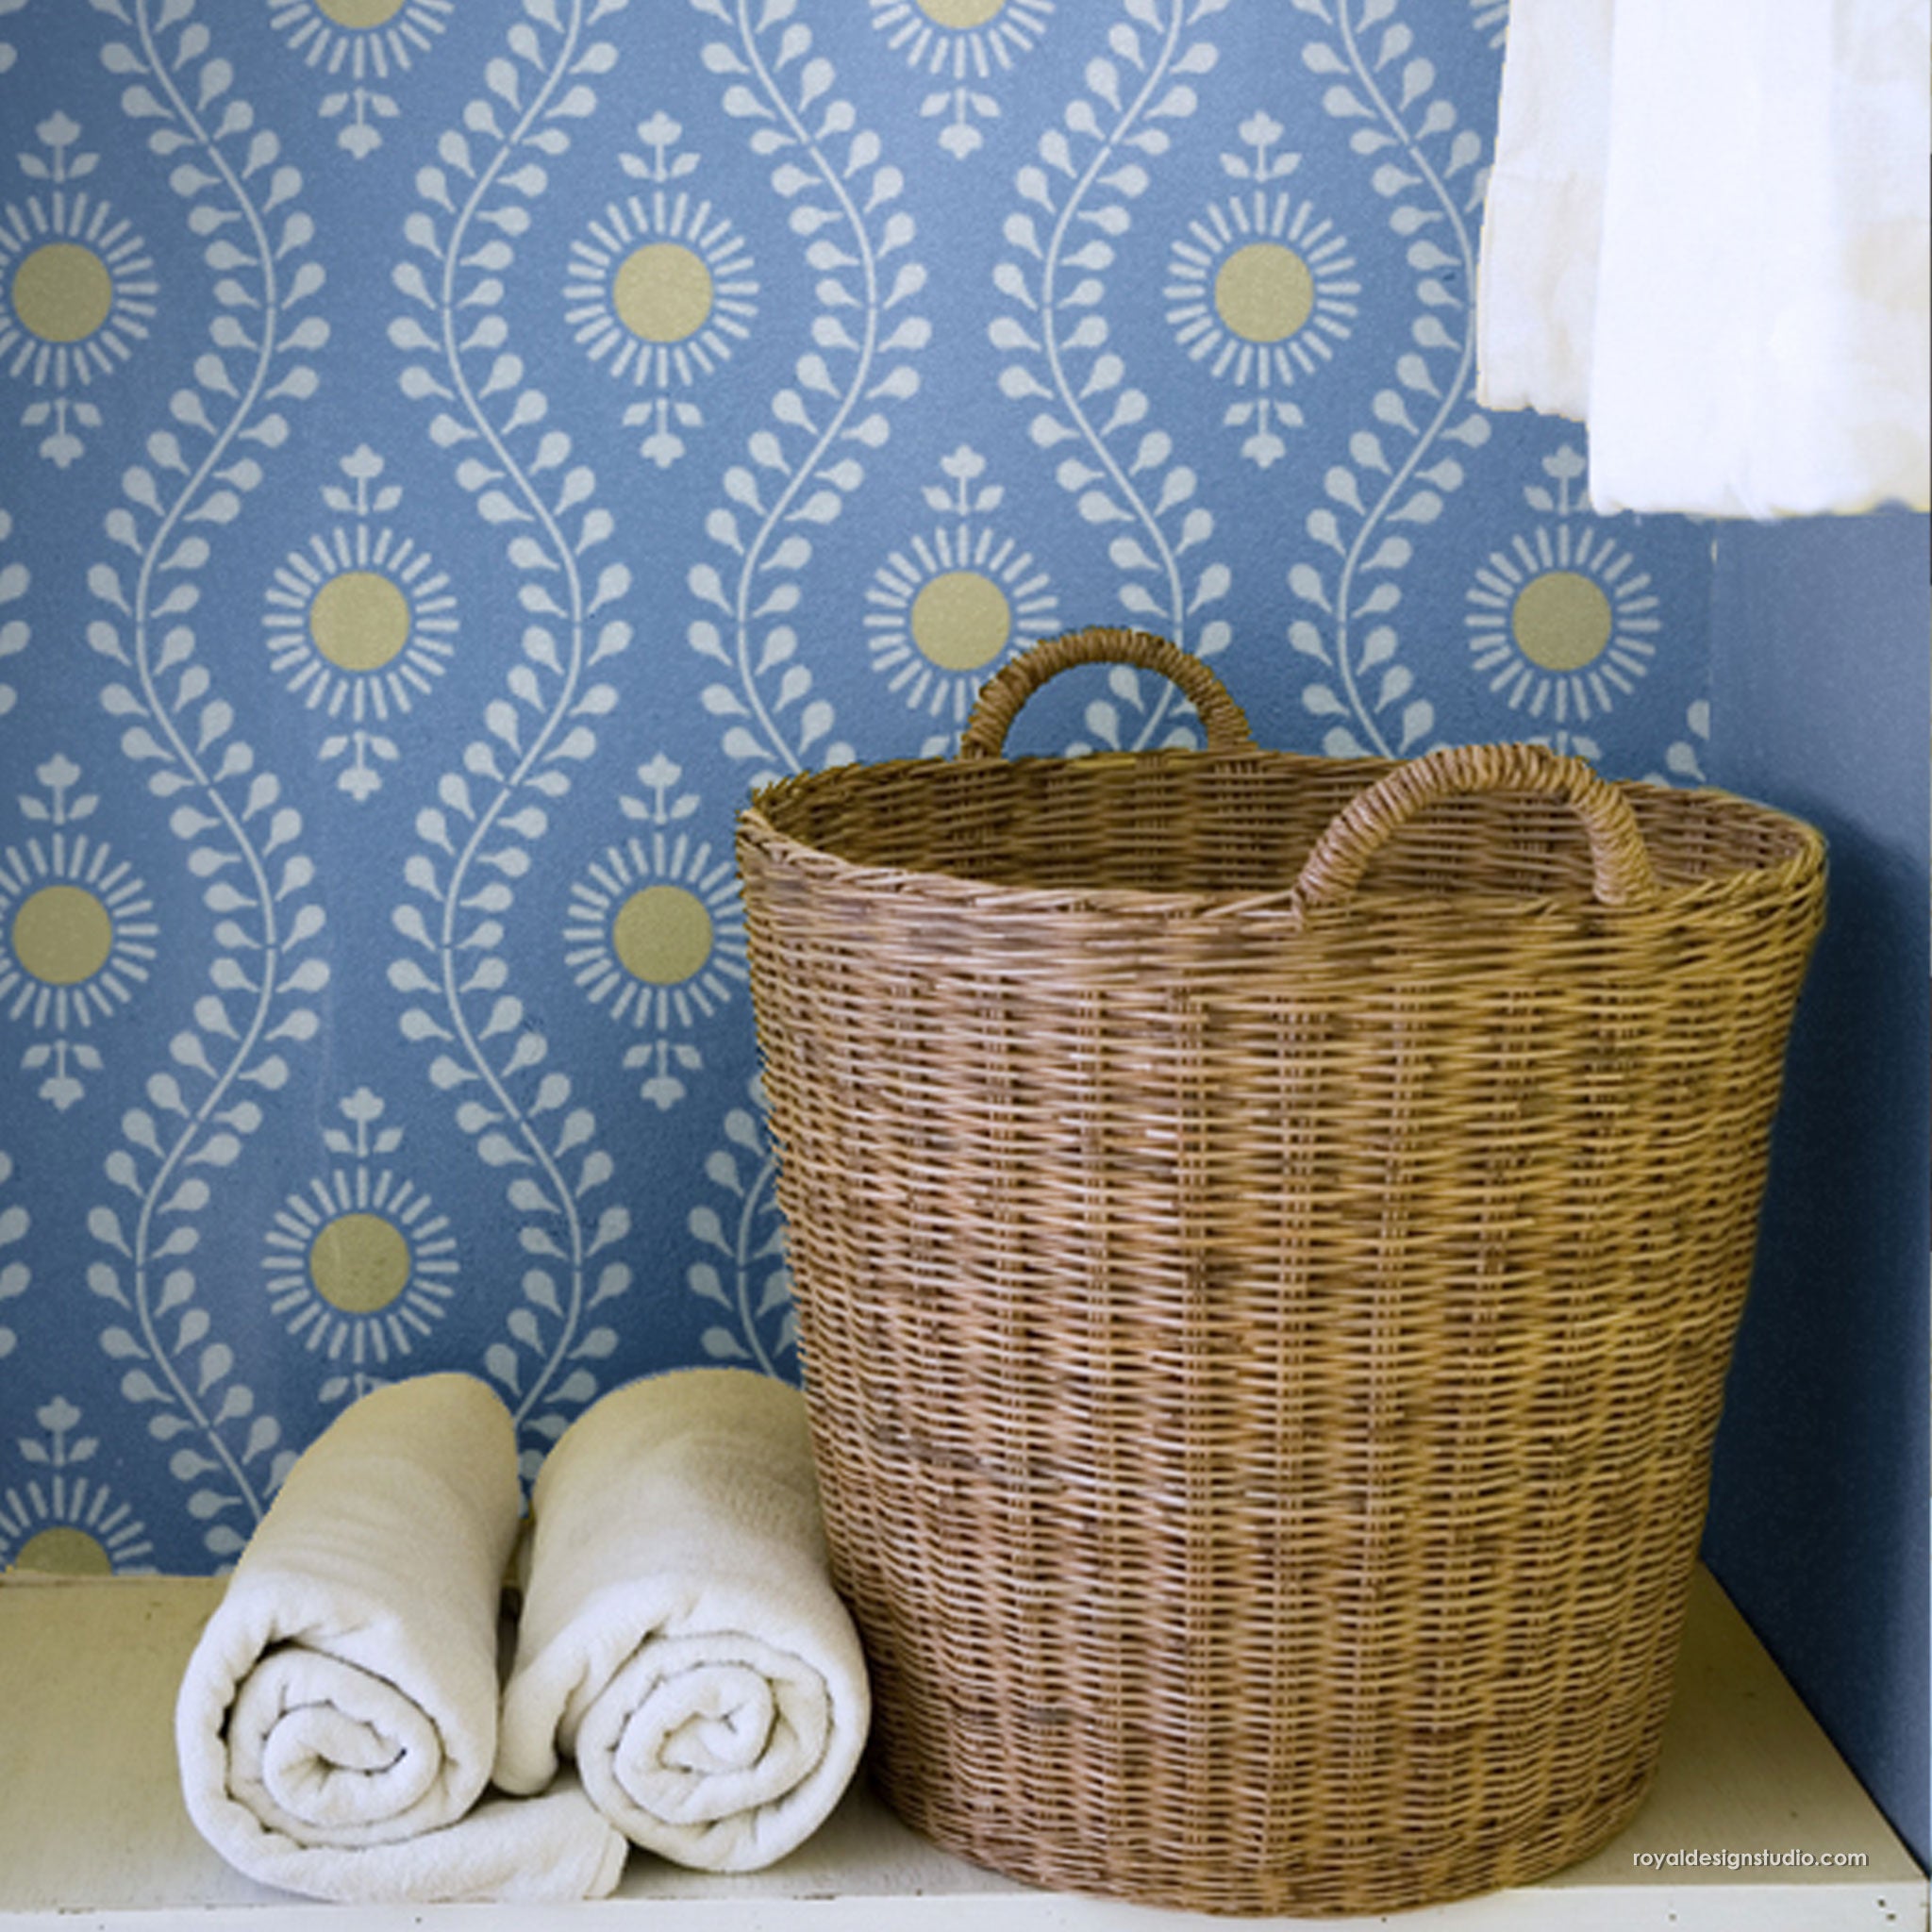
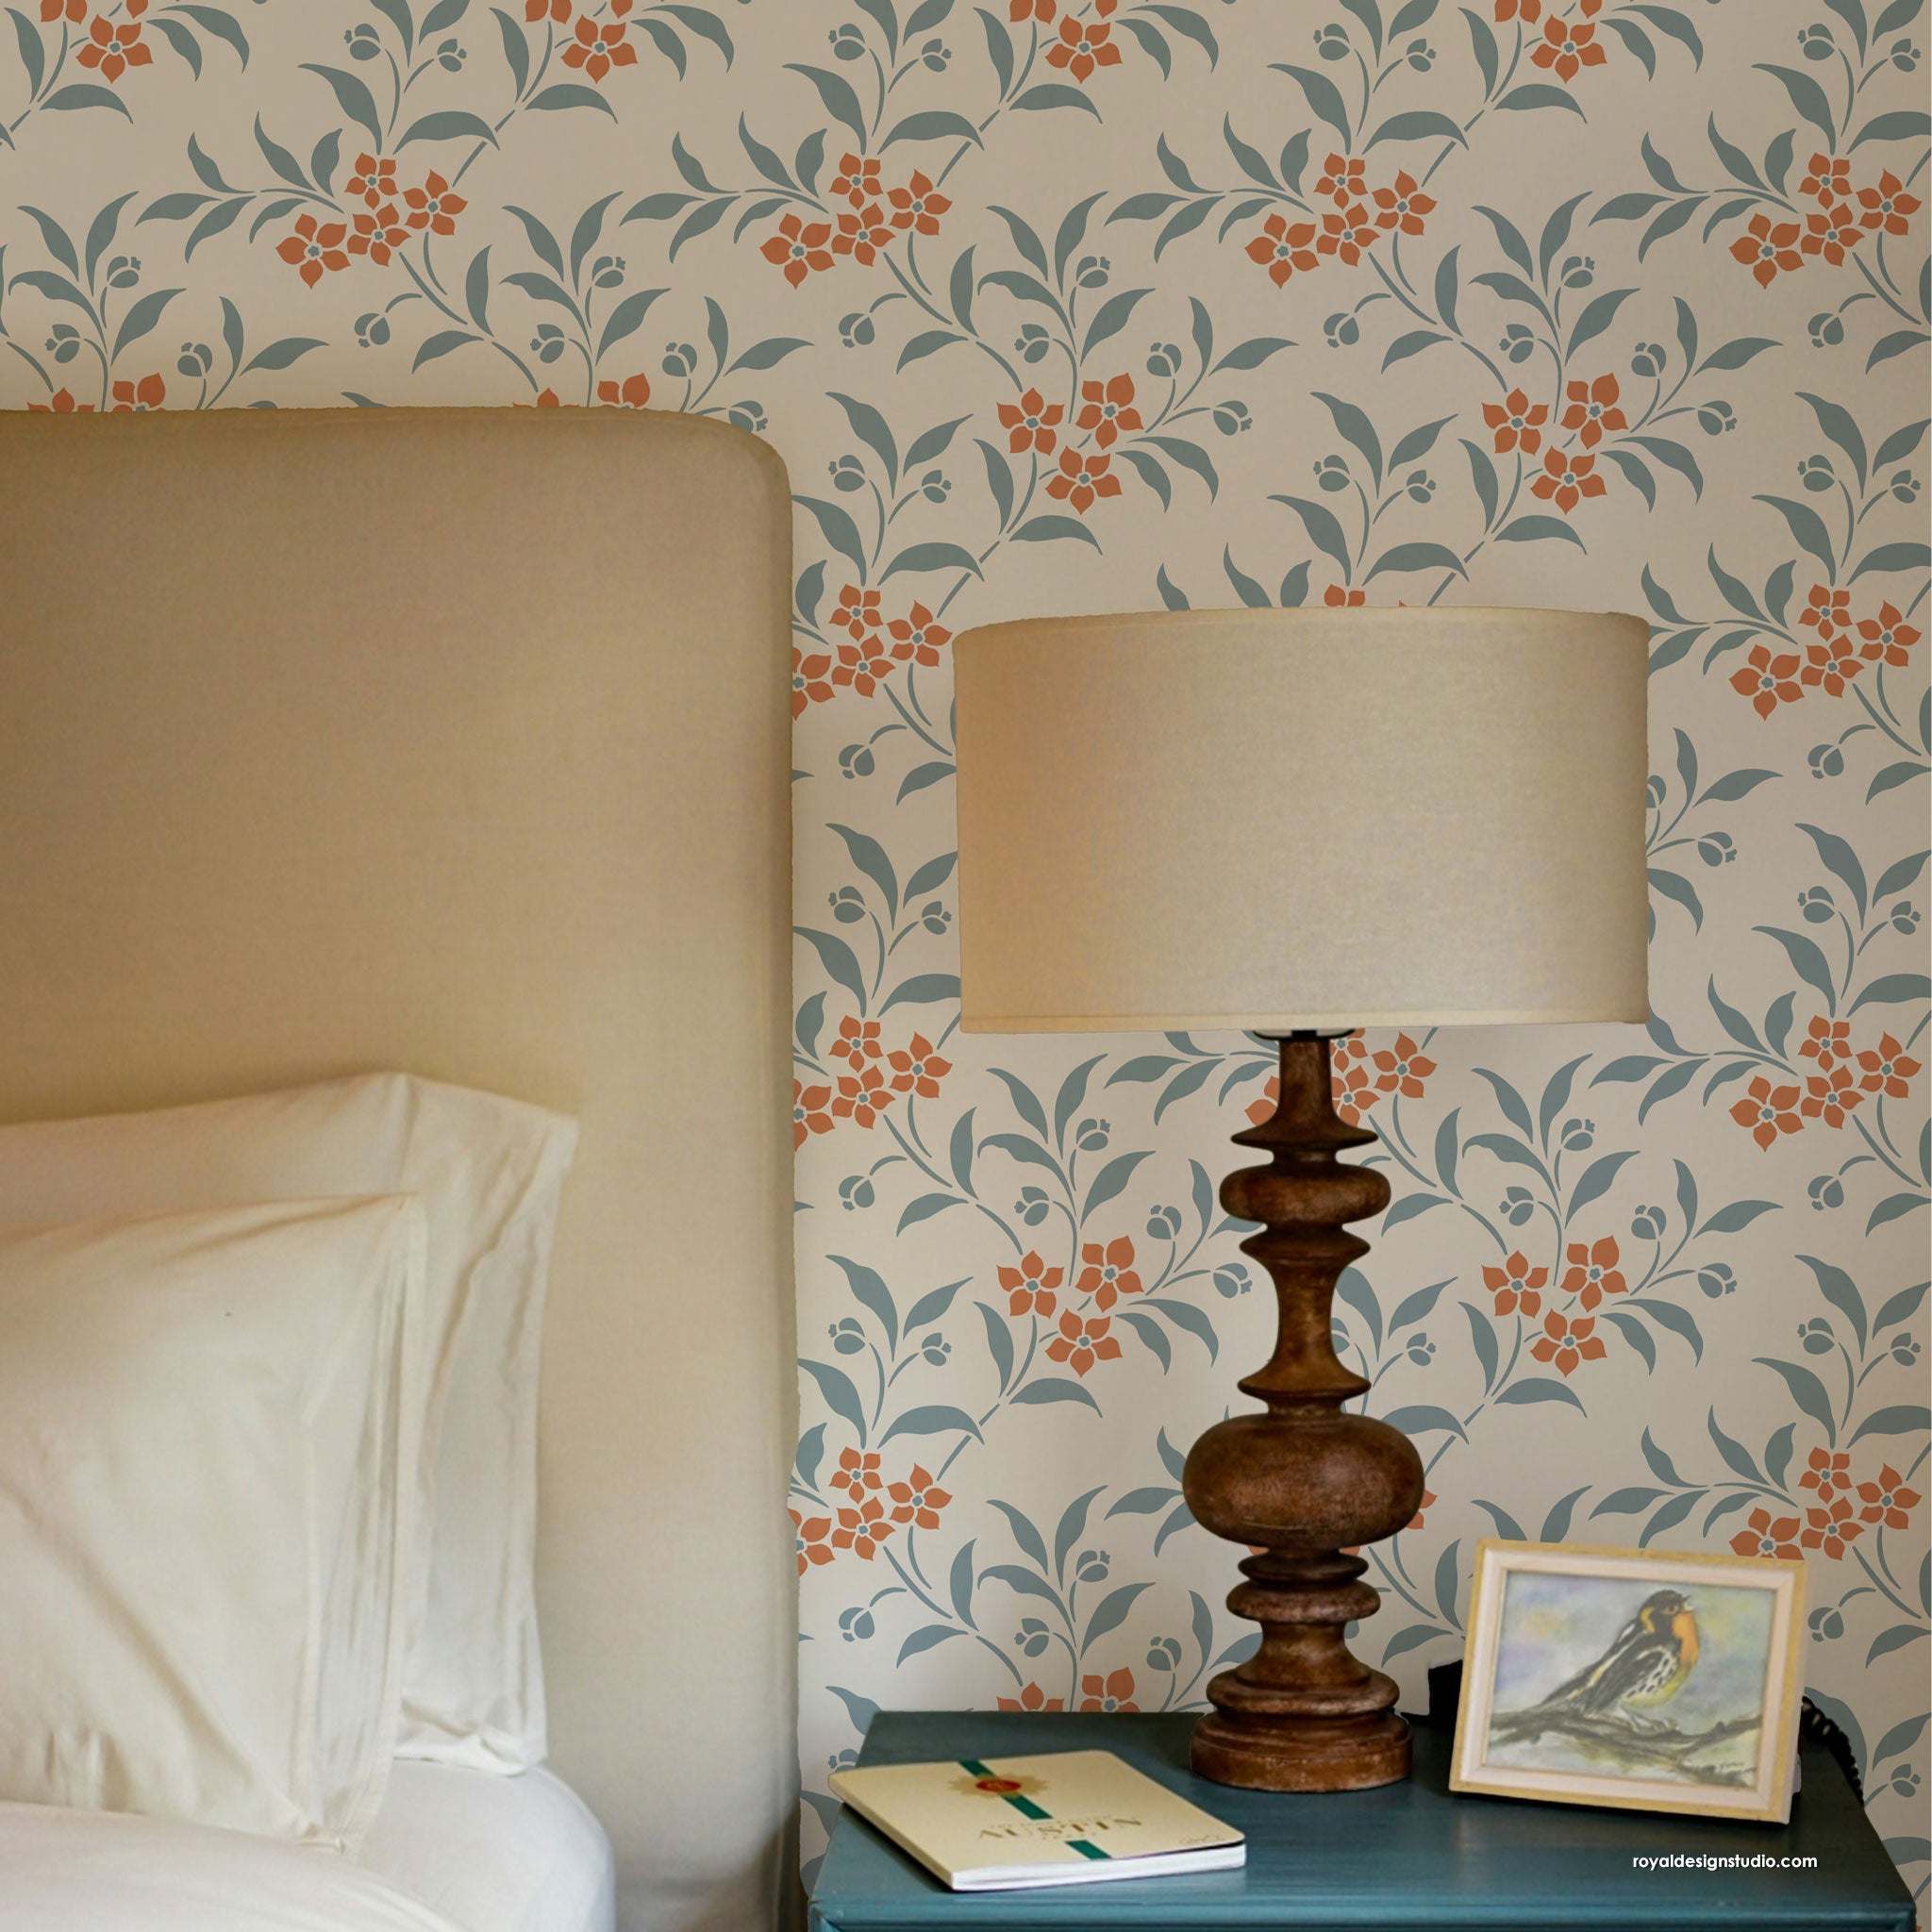
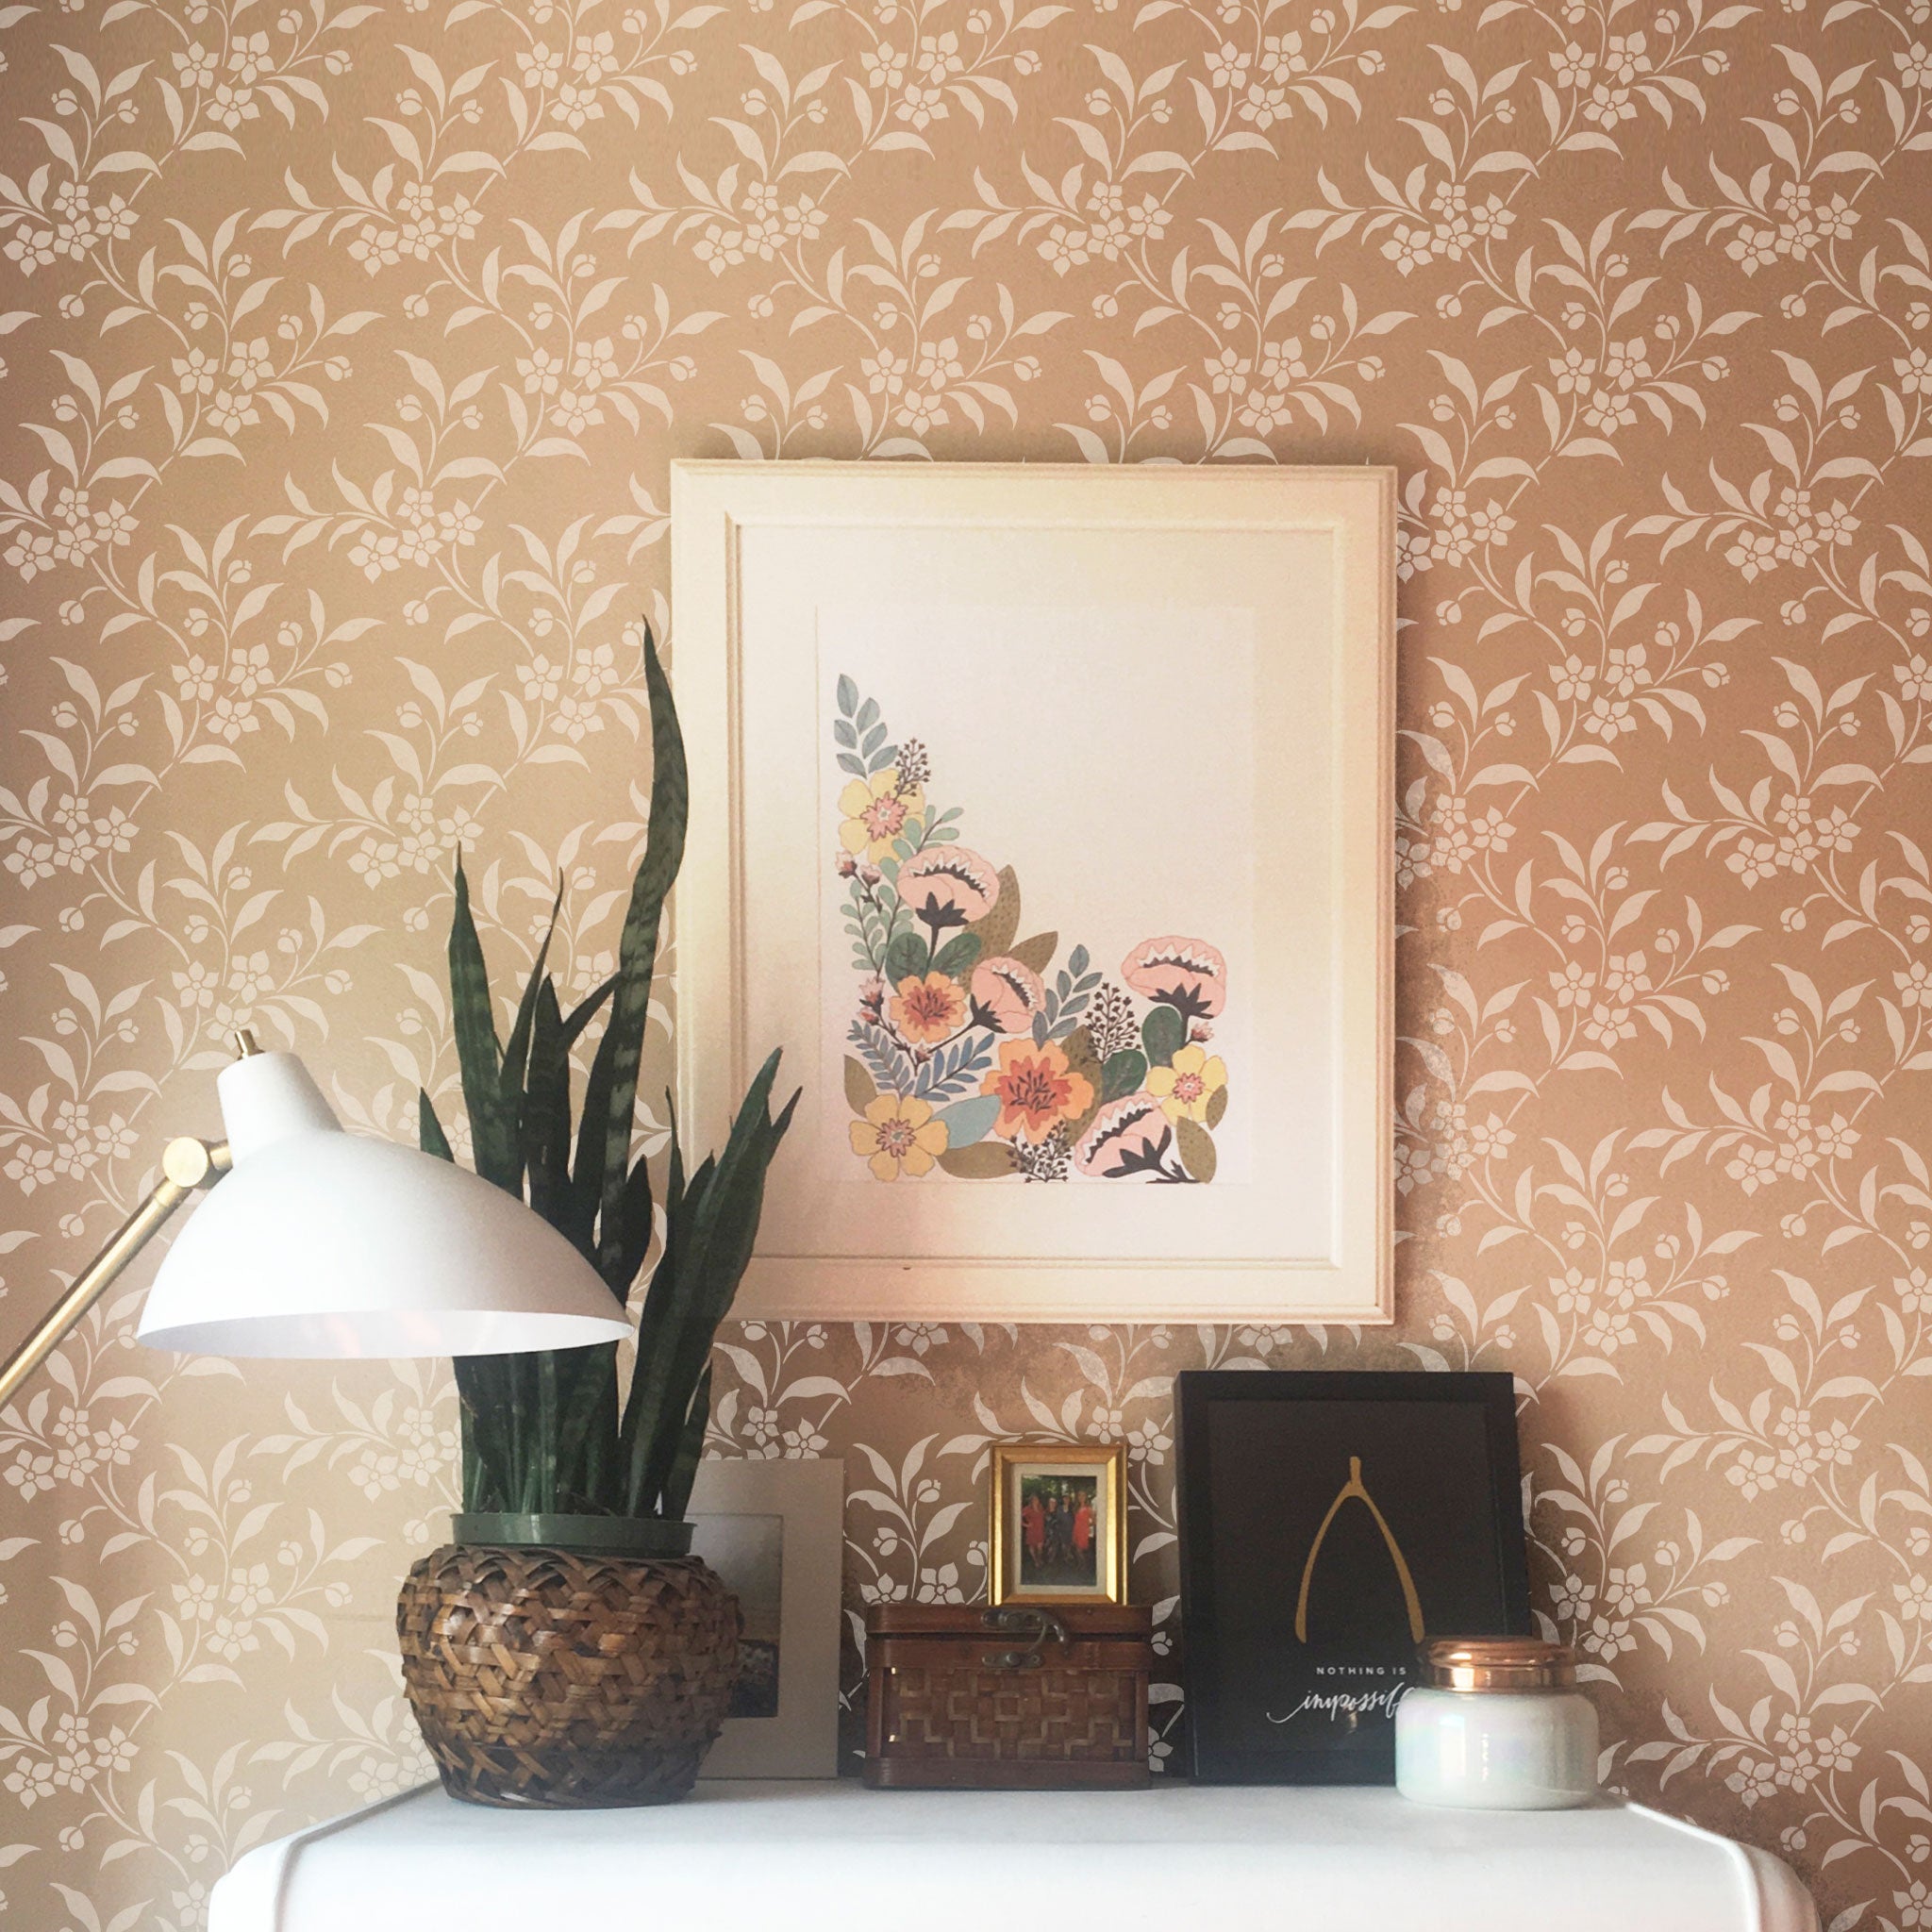
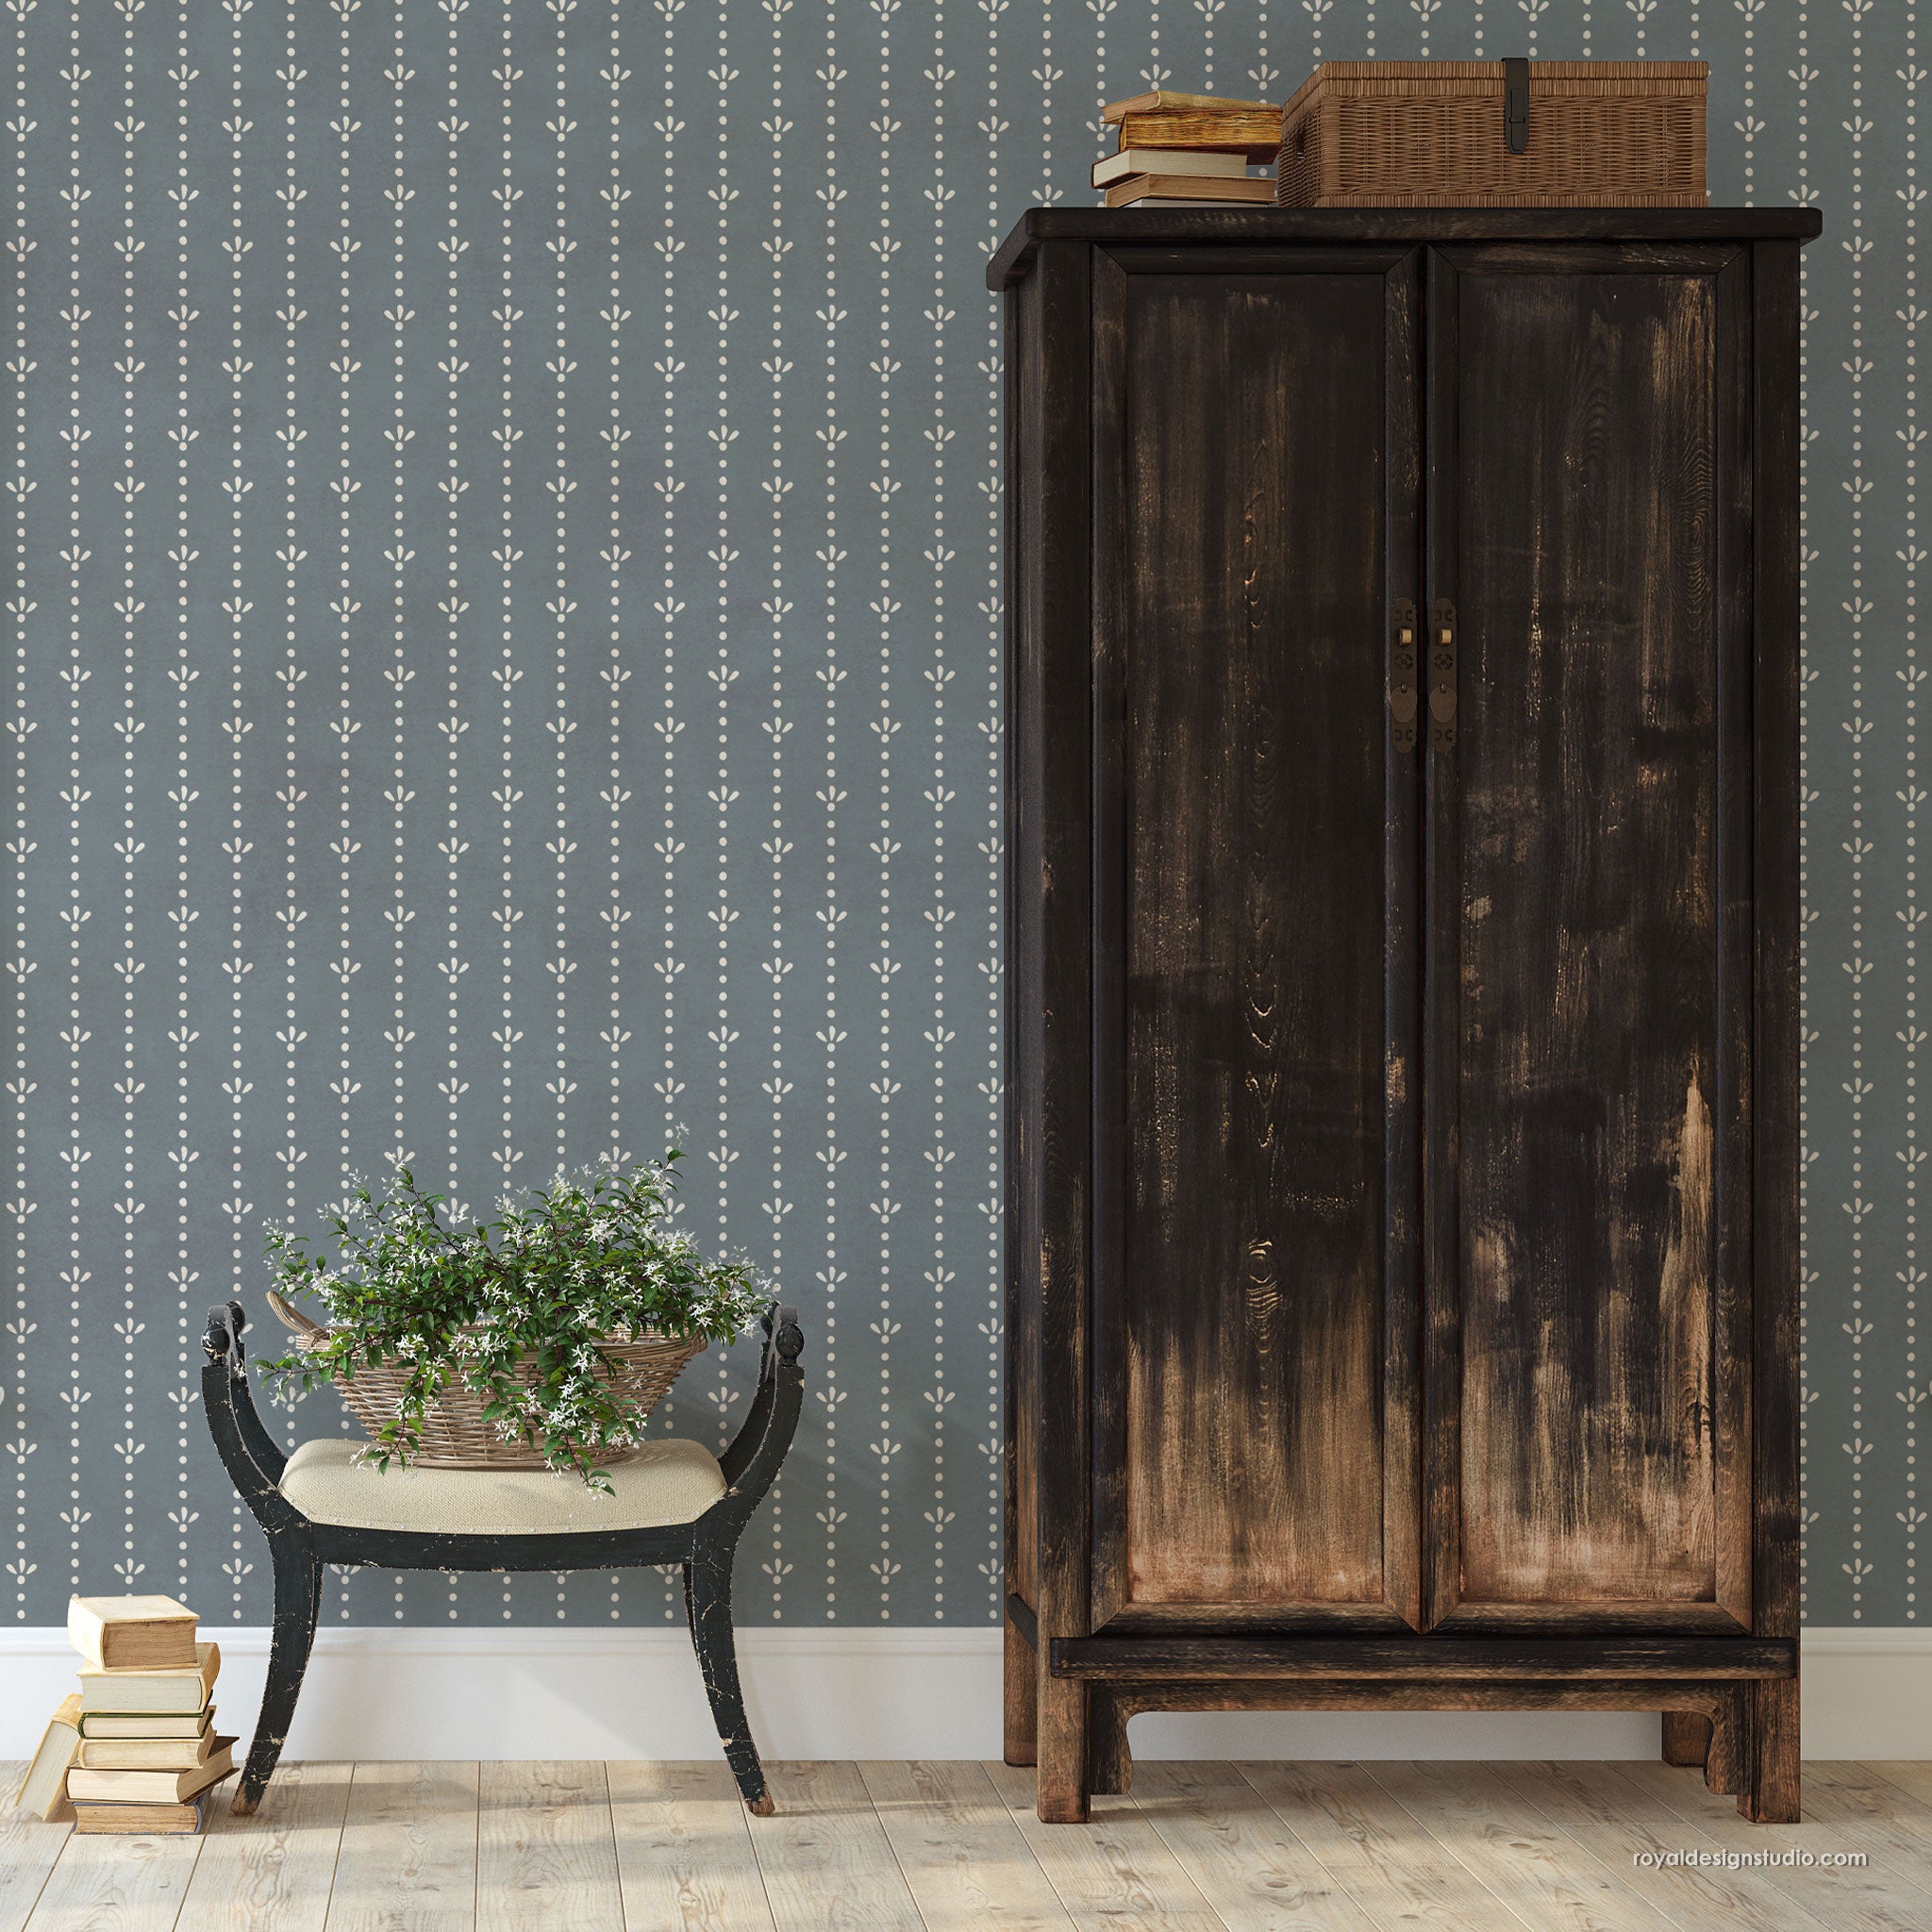
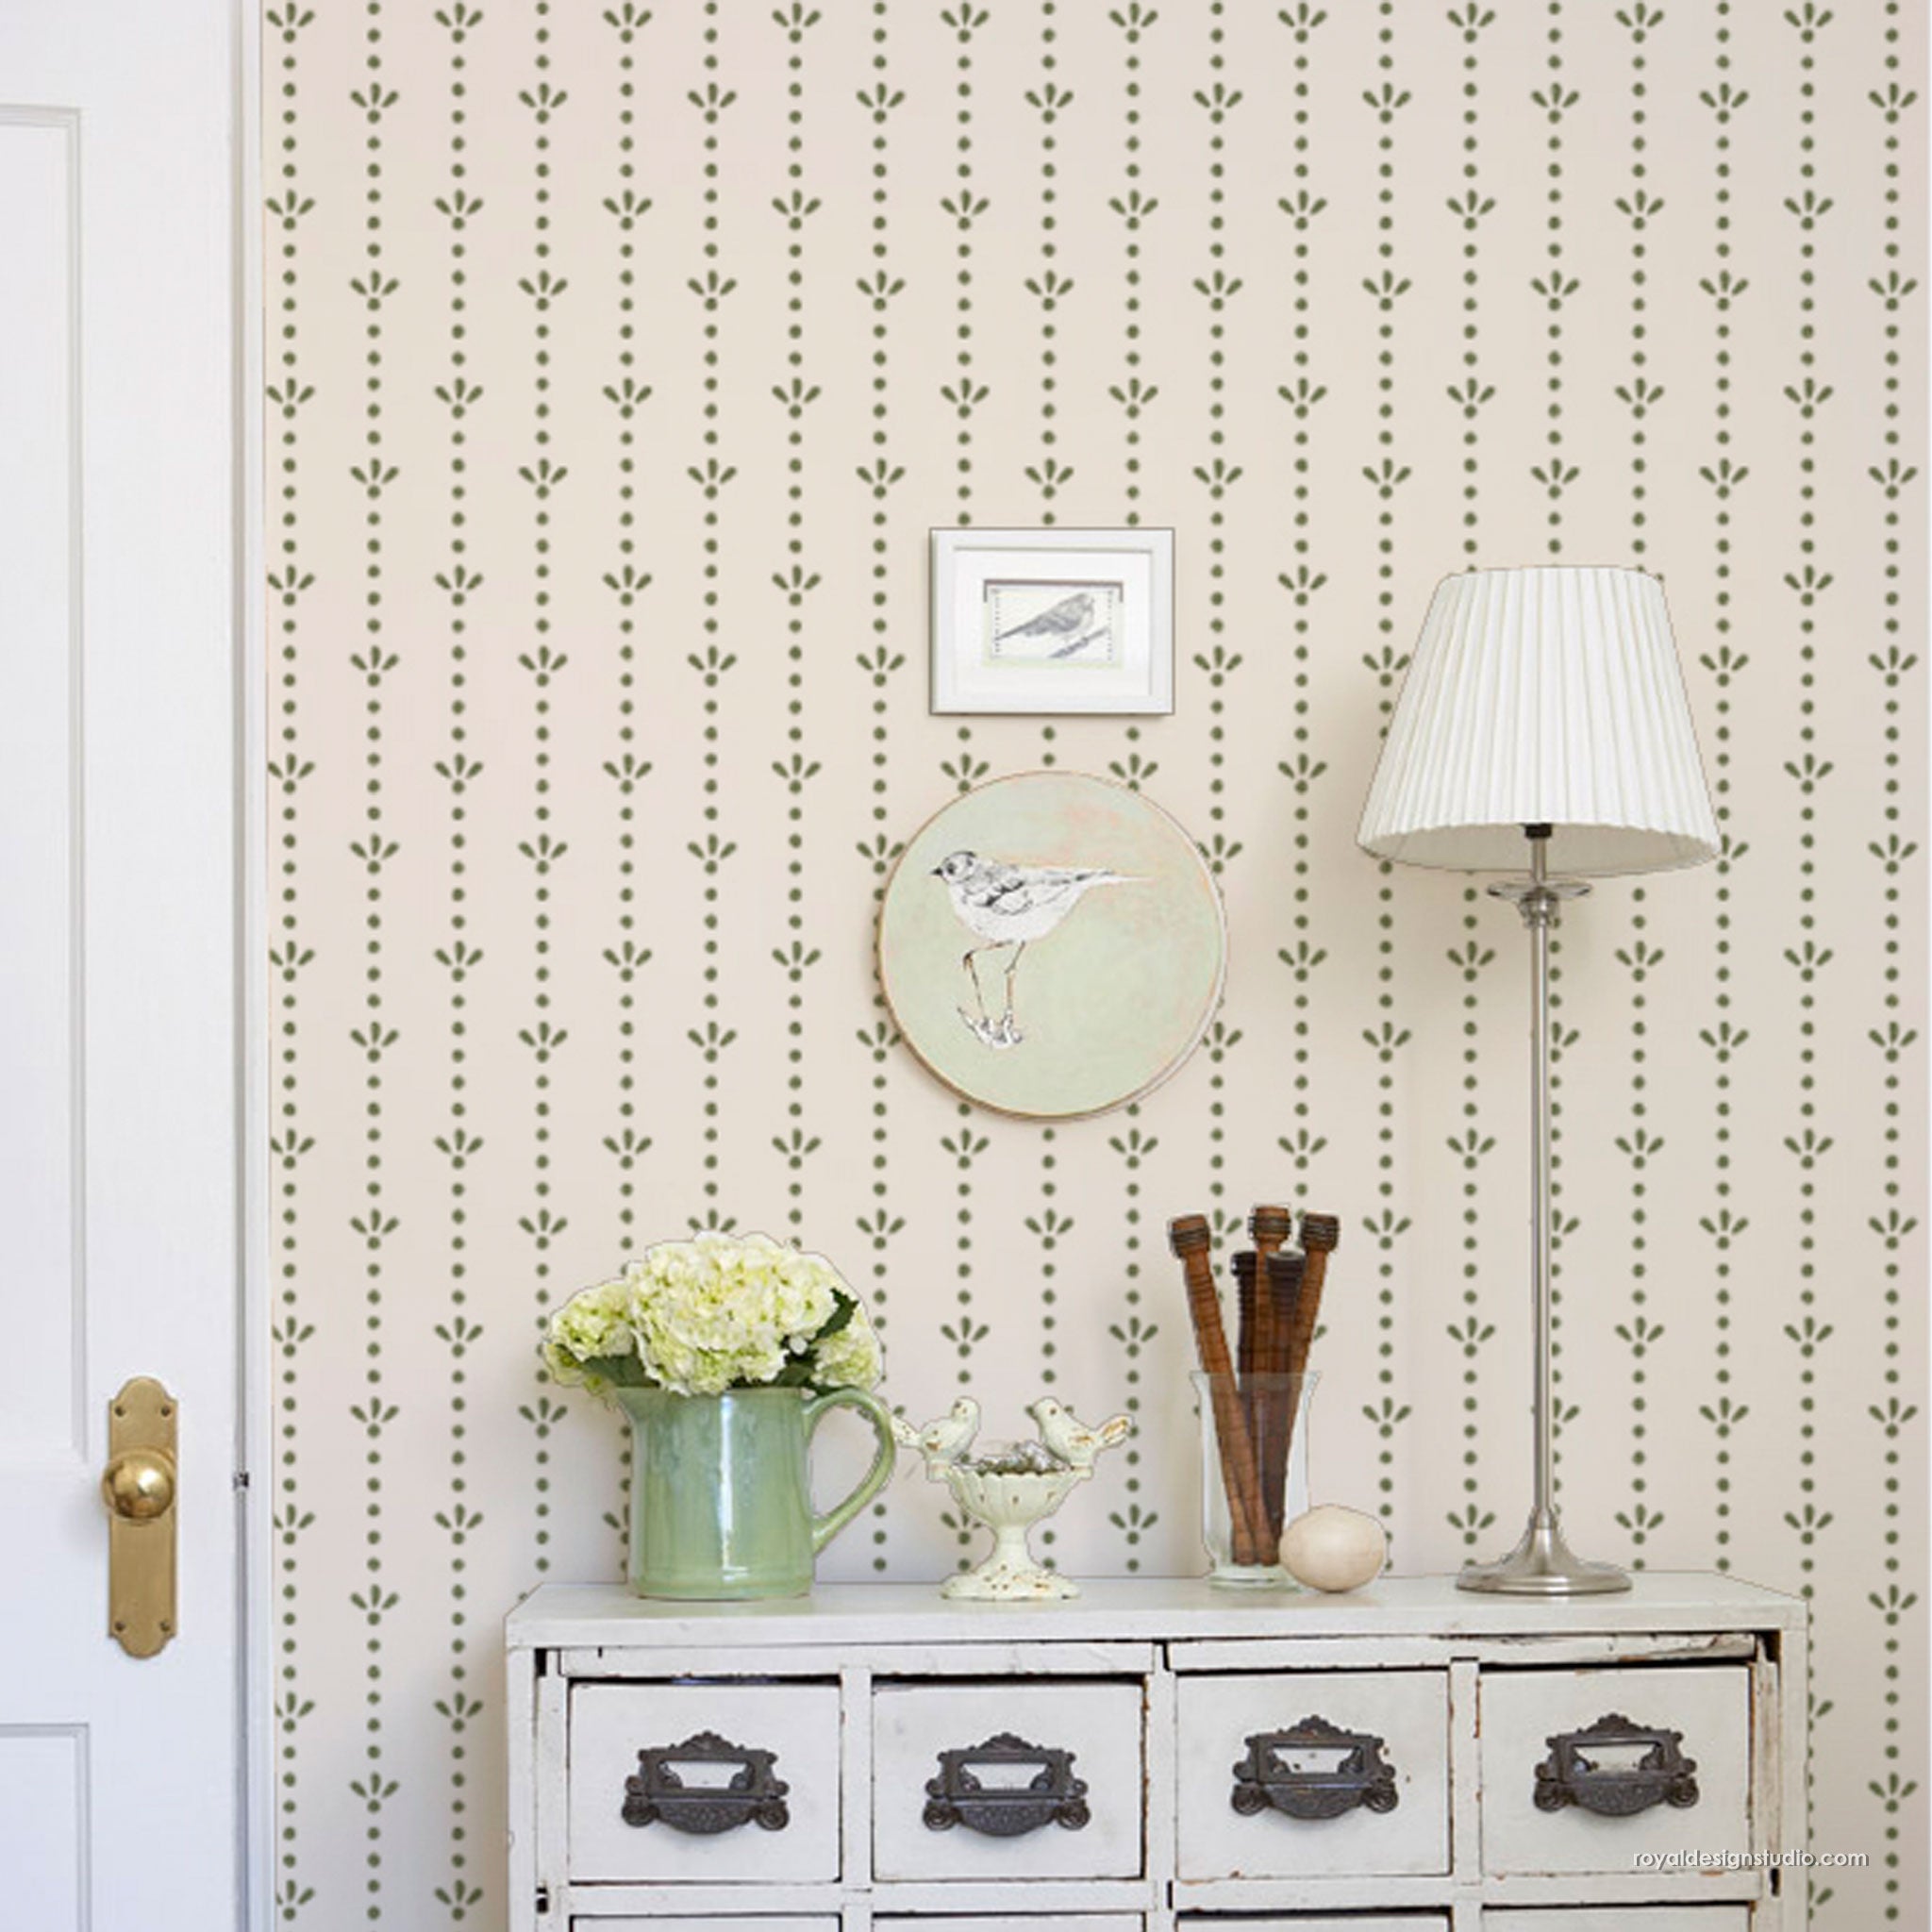
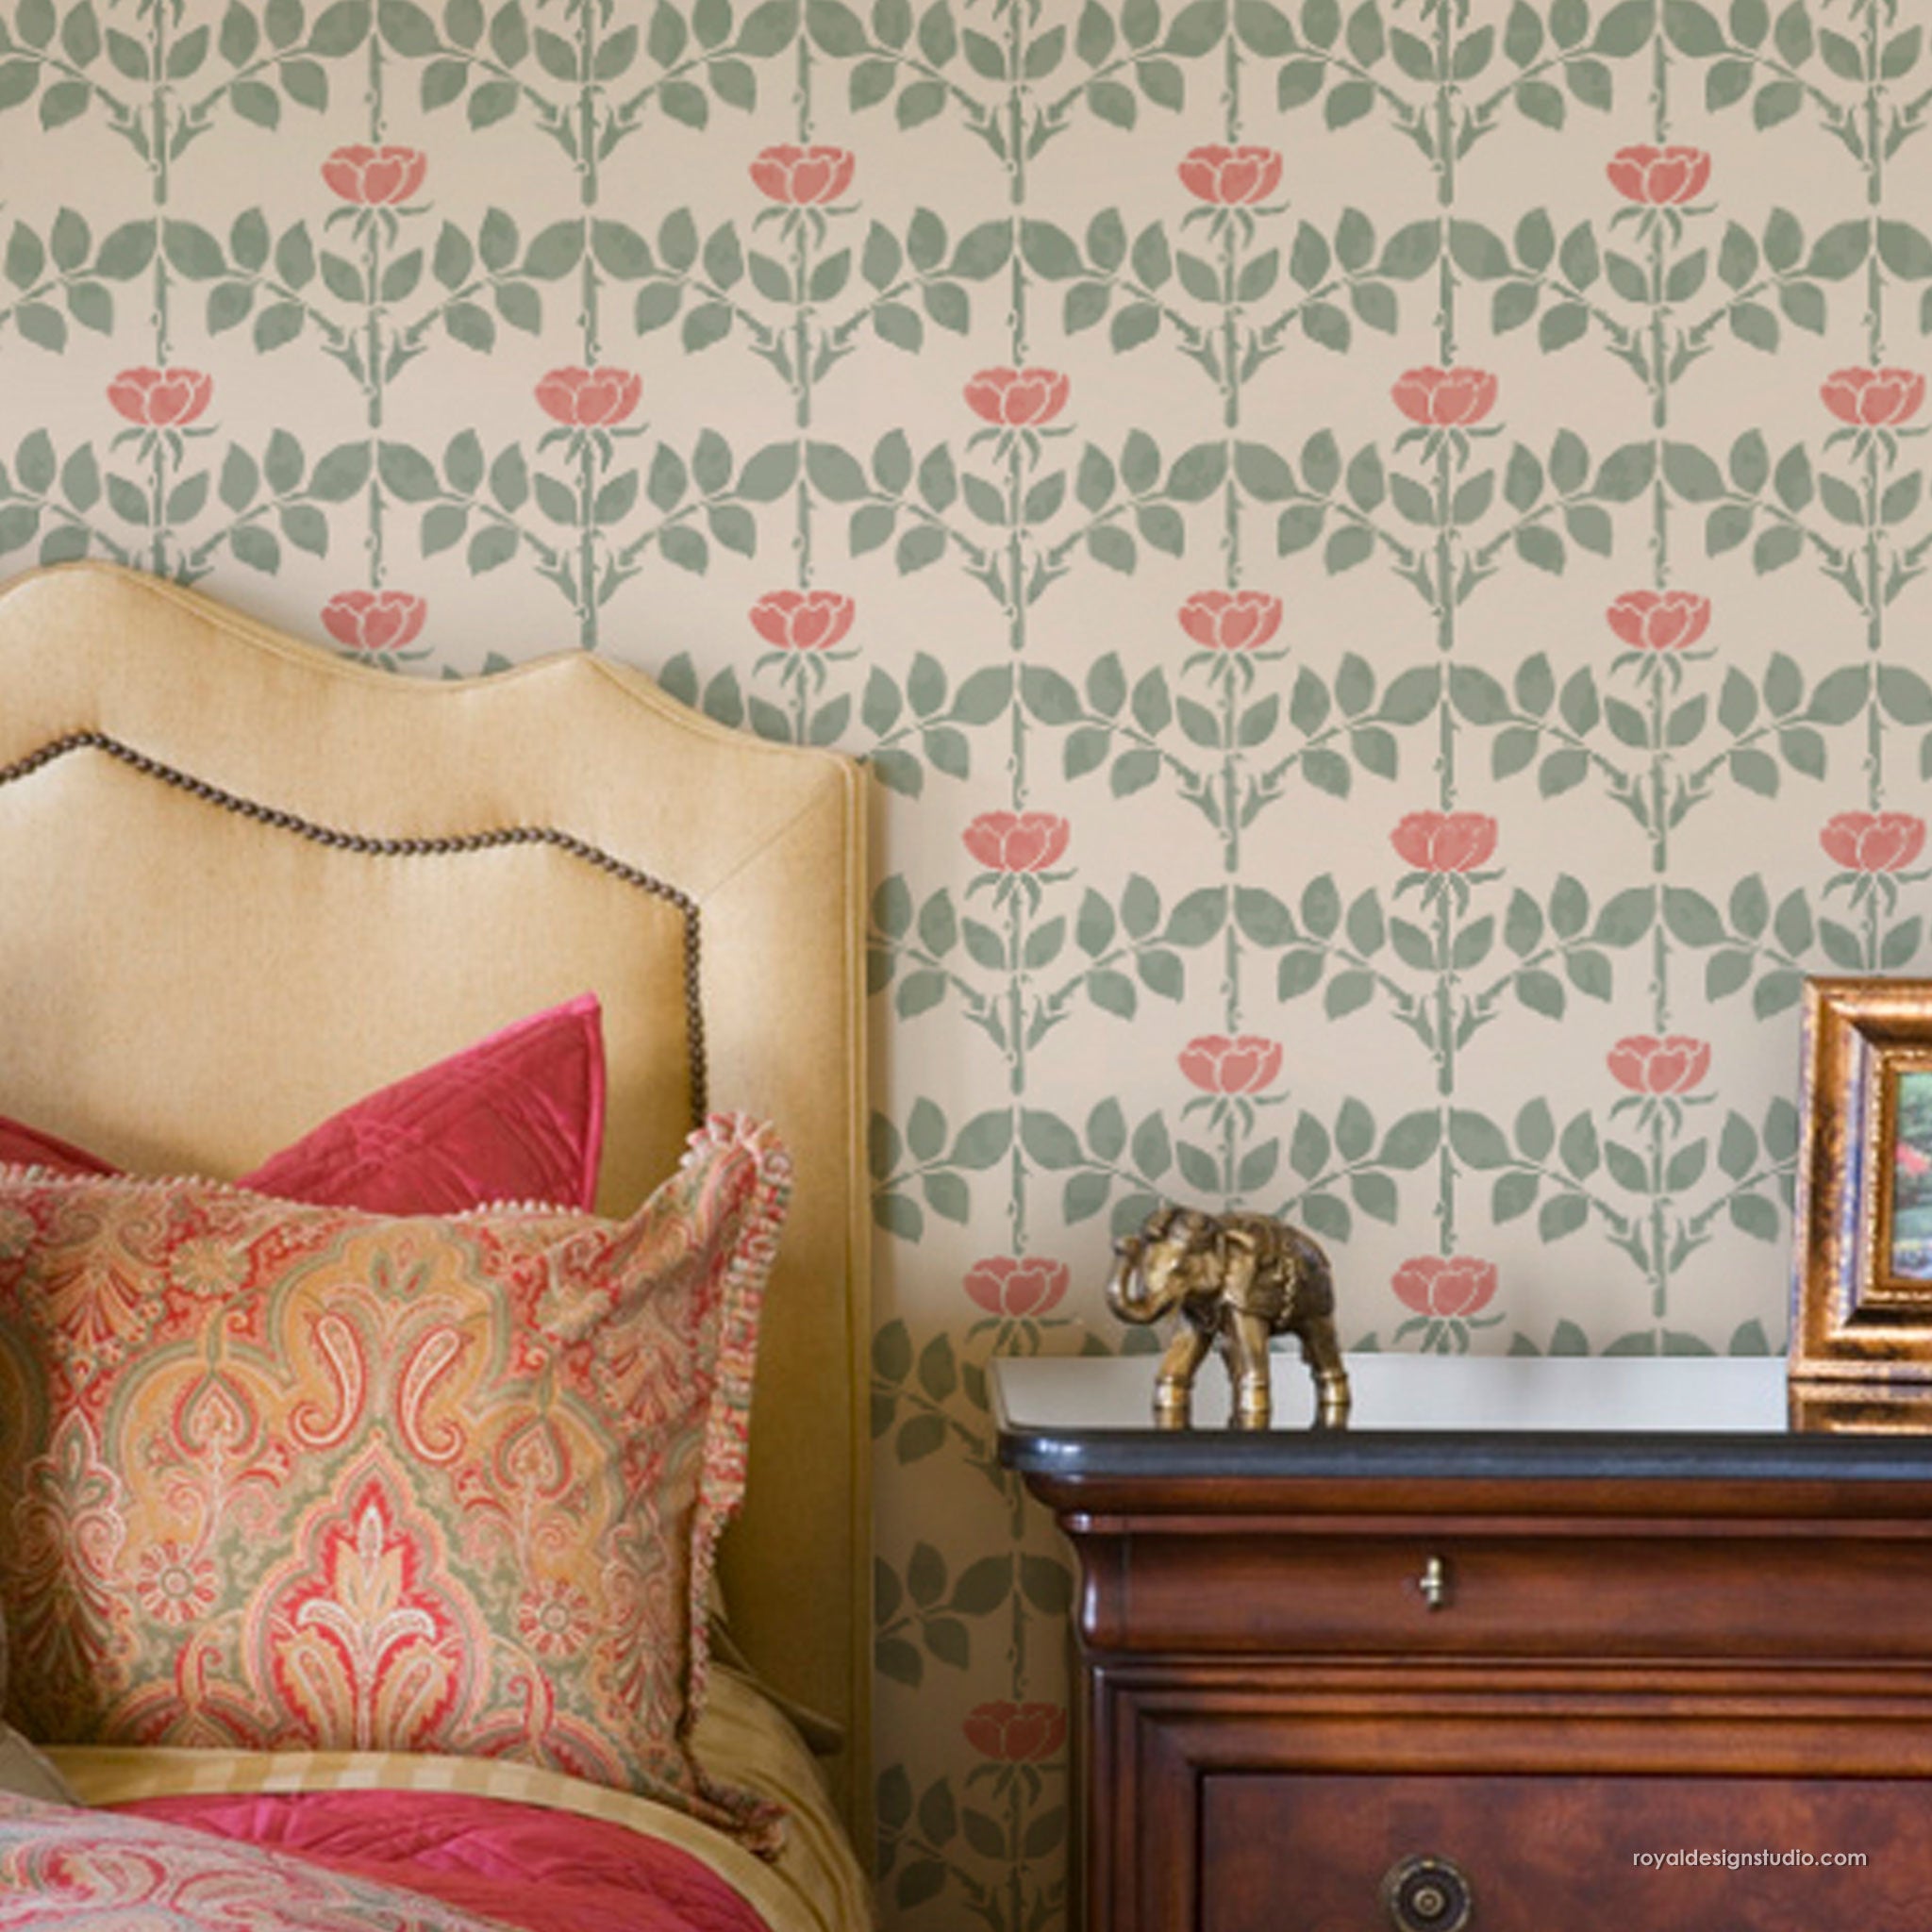
Are you longing to add a little more style to a room in your house? Melanie Royals shares how fast and easy it is to add pattern panache to any room with a stenciled accent wall. Using Chalk Paint® by Annie Sloan and our amazing large 3” stencil brush from Royal Design Studio you can create the look of expensive designer wallpaper in just a matter of hours- without the high cost and limited color choices!
Watch the video for the easy step by step process and get all the details below….
Stencil Supplies
- Isle of Palms Wall Stencil from Royal Design Studio
- Chalk Paint Colors: Country Gray and Coco
- 3” Large Stencil Brush
- 1” Stencil Brush
- Motsenbacker’s Lift Off #5
- Level, 1.5” Painter’s Tape, Chalk Line or Pencil, Paper Towels, Styrofoam Plate, Brown Contractor’s Paper, Scrub Brush
Stenciled Feature Wall Steps
Base coat your accent wall with two coats of a custom Chalk Paint® Mix. We mixed 2 parts Coco to one part Country Grey Chalk Paint and rolled on two coats. Allow the paint to dry between coats and before stenciling.
When you are stenciling an accent wall you will want to use a good quality painter’s tape to tape off and protect your ceiling line, the adjoining walls, and baseboards.
When stenciling a symmetrical design like a damask pattern in a defined space such as a feature wall you will want to start with the pattern centered on the wall. This way the pattern will end at the same place in each corner. Use an erasable chalk pencil and bubble level to draw a light plumb line on the center of the wall from ceiling to floor.
Position the stencil with the top edge butted right against the ceiling line. Be sure that your chalk line is running right through the center of the main design element of the stencil pattern. Use a small level to make sure that the edge of the stencil is level
Pour a small amount of paint onto a Styrofoam plate. Keep the can of paint covered so it doesn’t get too dry.
Load the paint brush by dipping just the tips of the brush straight into the paint and offload the paint onto paper towels using a hard circular motion. This will removed the excess paint and also help to distribute the paint evenly on the brush and work the paint into the bristles.
Use a circular motion again, now with a lighter pressure, to apply the paint evenly through the stencil.
Pro Tip! When you are first starting, you should stencil just a little bit, then lift the stencil to make sure you are getting a clean print-without any paint seepage. If you are getting paint seeping under the stencil, it means that you simply didn’t offload the paint well enough. Always remember-with stenciling less is more!
After stenciling the first repeat, reposition the stencil down and align it perfectly by lining up the design elements that are included in the window registration that is part of the stencil. Continue stenciling and repeating the stencil down your center line until you reach the floor line.
With your centerline finished you will continue to repeat the pattern to the right and left out towards the walls. It will be easier to maintain the registration of the pattern if you just continue to work in lines from the ceiling to the floor.
Stenciling at the Corners
On the left corner: Take the tape off the left side of the stencil and make sure you have good fresh tape on the right side. Position the stencil repeat as usual and add tape to the stencil on your accent wall. Leave the left side of the stencil hanging free.
Use the smaller stencil brush again to stencil the pattern into the corners while you push the stencil as much into the corner as you can with your free hand. Make sure you offload your stencil brush well so you don’t have paint bleed-unders. Repeat in the same manner on the opposite corners.
Touching Up
Use an artist’s brush to paint back in with the wall base color (Coco/Country Grey mix) in any areas where you might have had paint seep under the stencil. You can also use the artist’s brush to paint over any incomplete or faint stenciled elements at the corners using the Country Grey stencil color.
Stencil Cleaning
At some point or points during your stencil project the paint will start building up too much you should stop and clean your stencil. Yeah, it’s a bummer to interrupt your paint groove but you’ll be happy you did it, and here’s how we do it.
Lay the stencil out on a flat surface on heavy plastic (like a garbage bag) and Spray it with Motsenbackers Lift off # 5-a latex paint remover.
After a few minutes scrub the paint off both sides of the stencil with a stiff bristled scrub brush.
Rinse it off….
Pat dry….and you’re ready to continue with a fresh stencil.
Looking for more Stencil Techniques like this? Check out these other stencil tutorials and videos:


