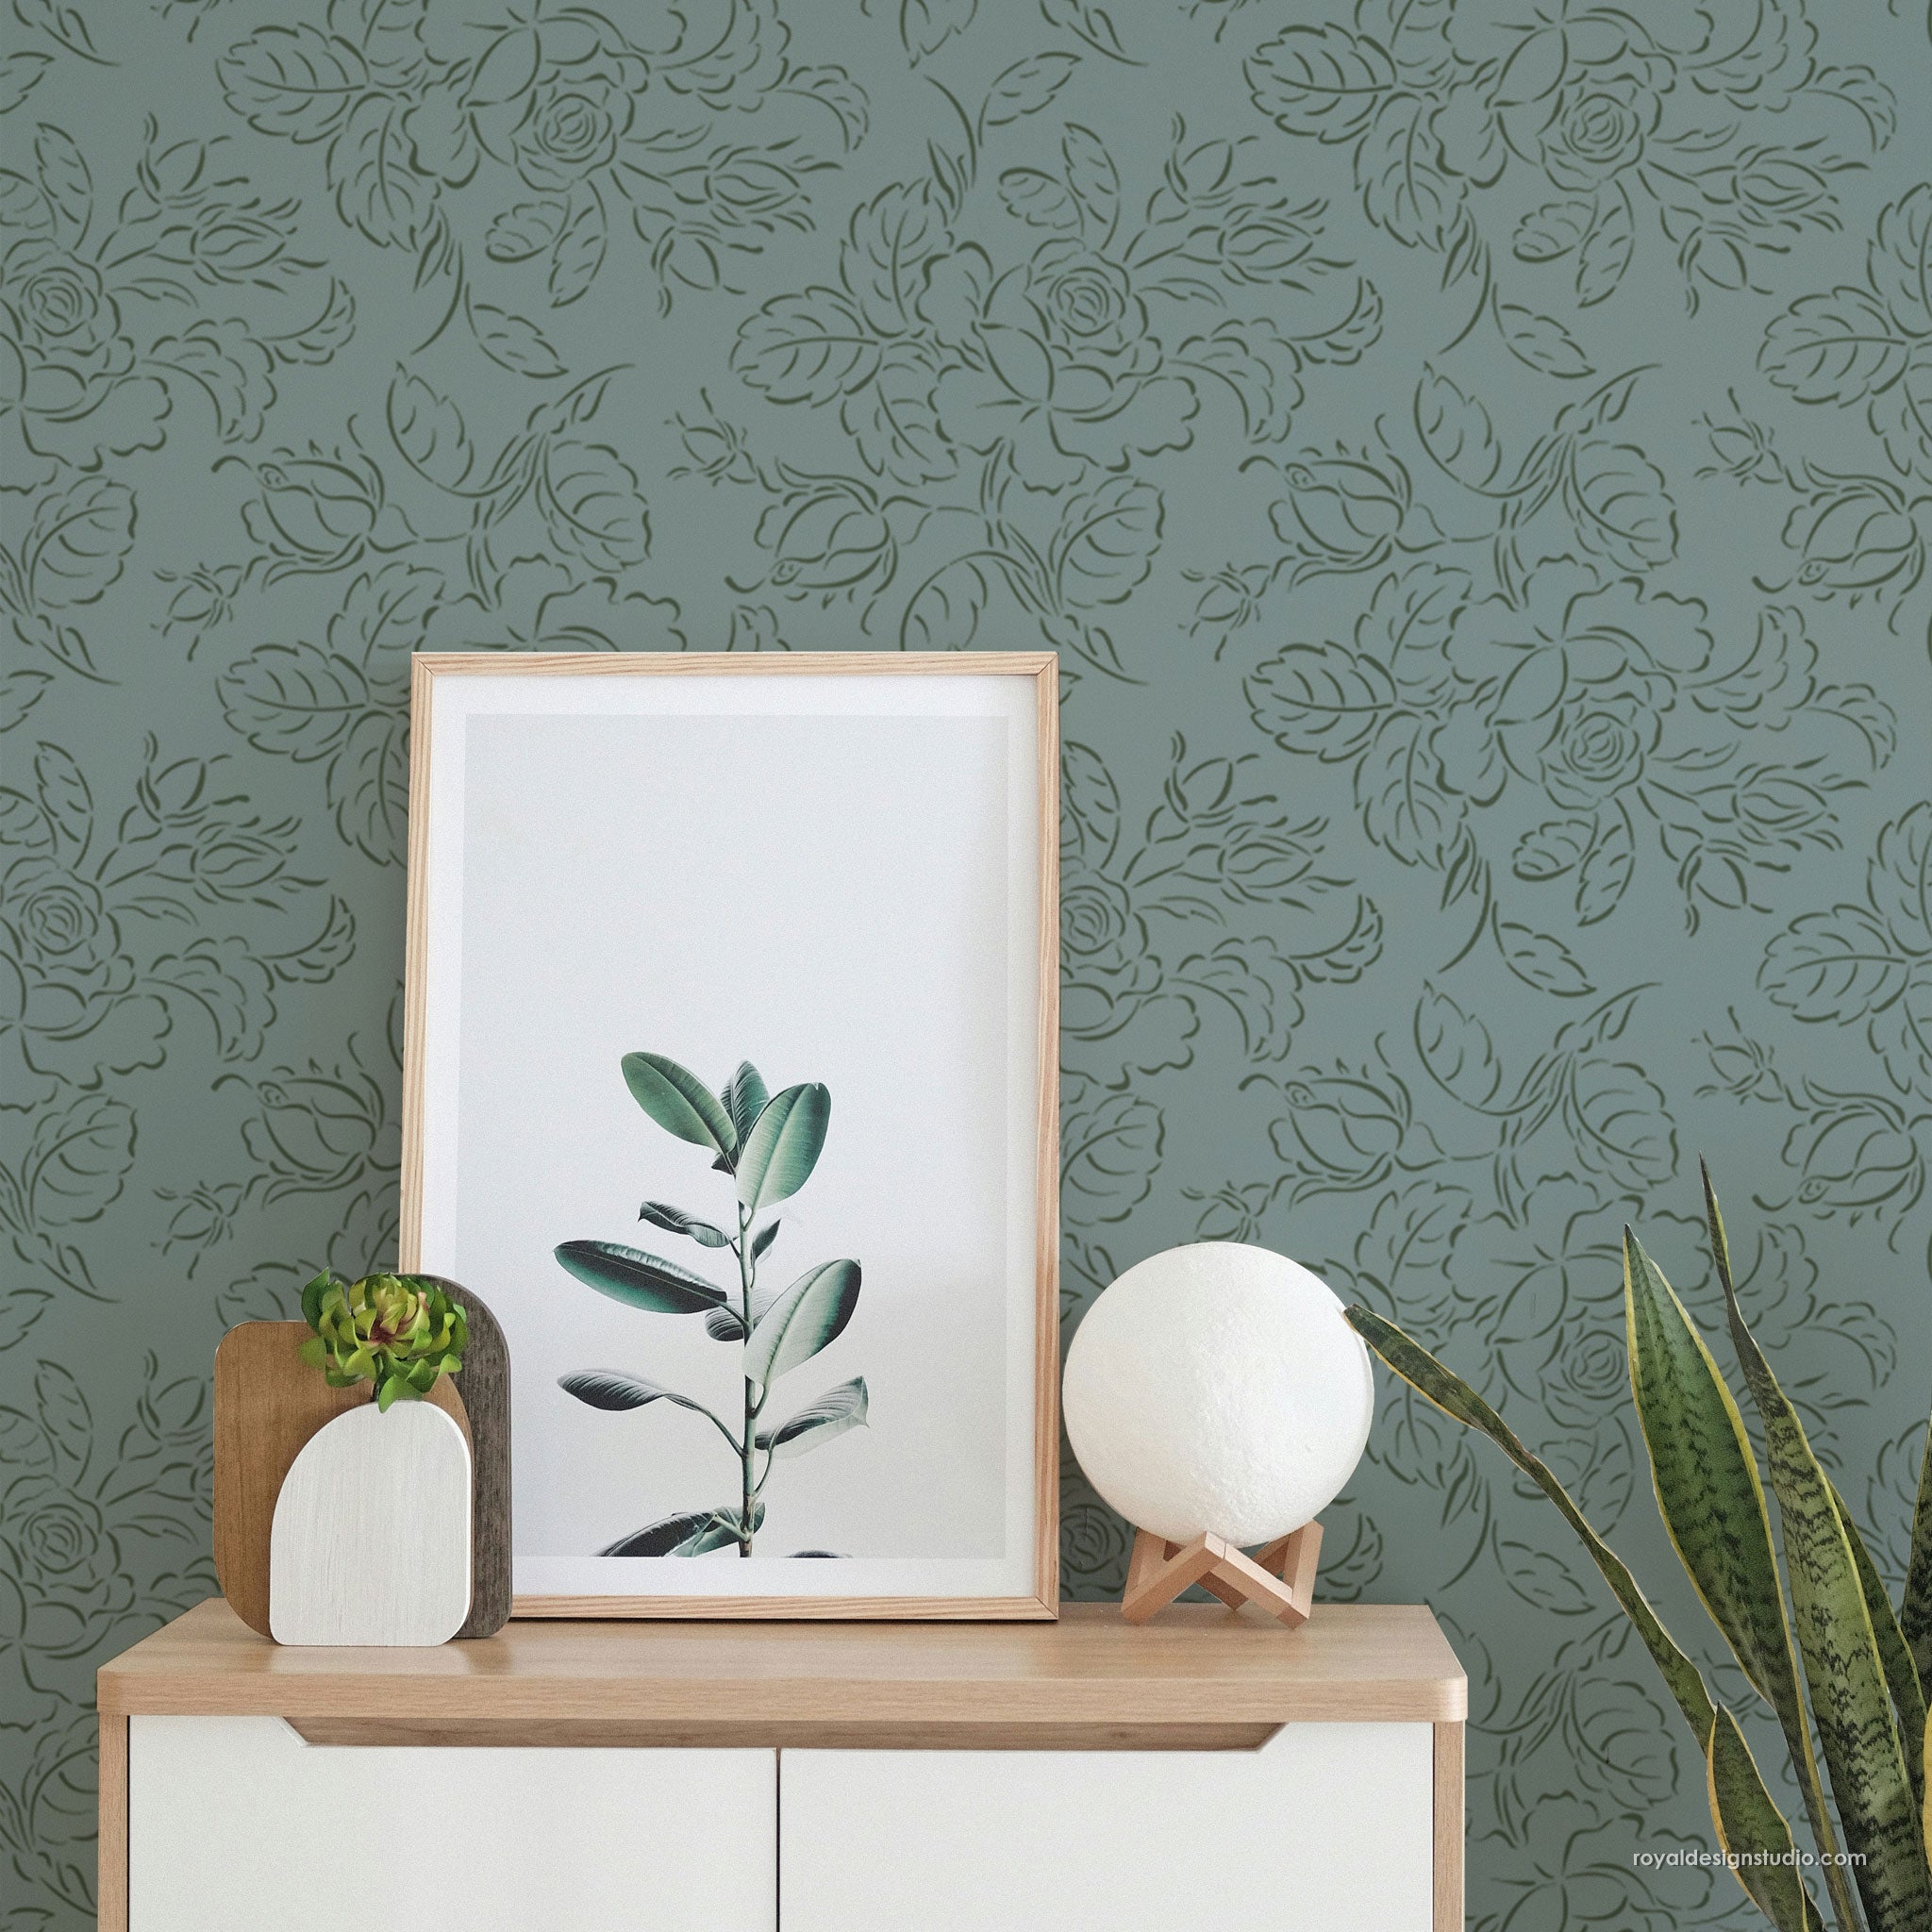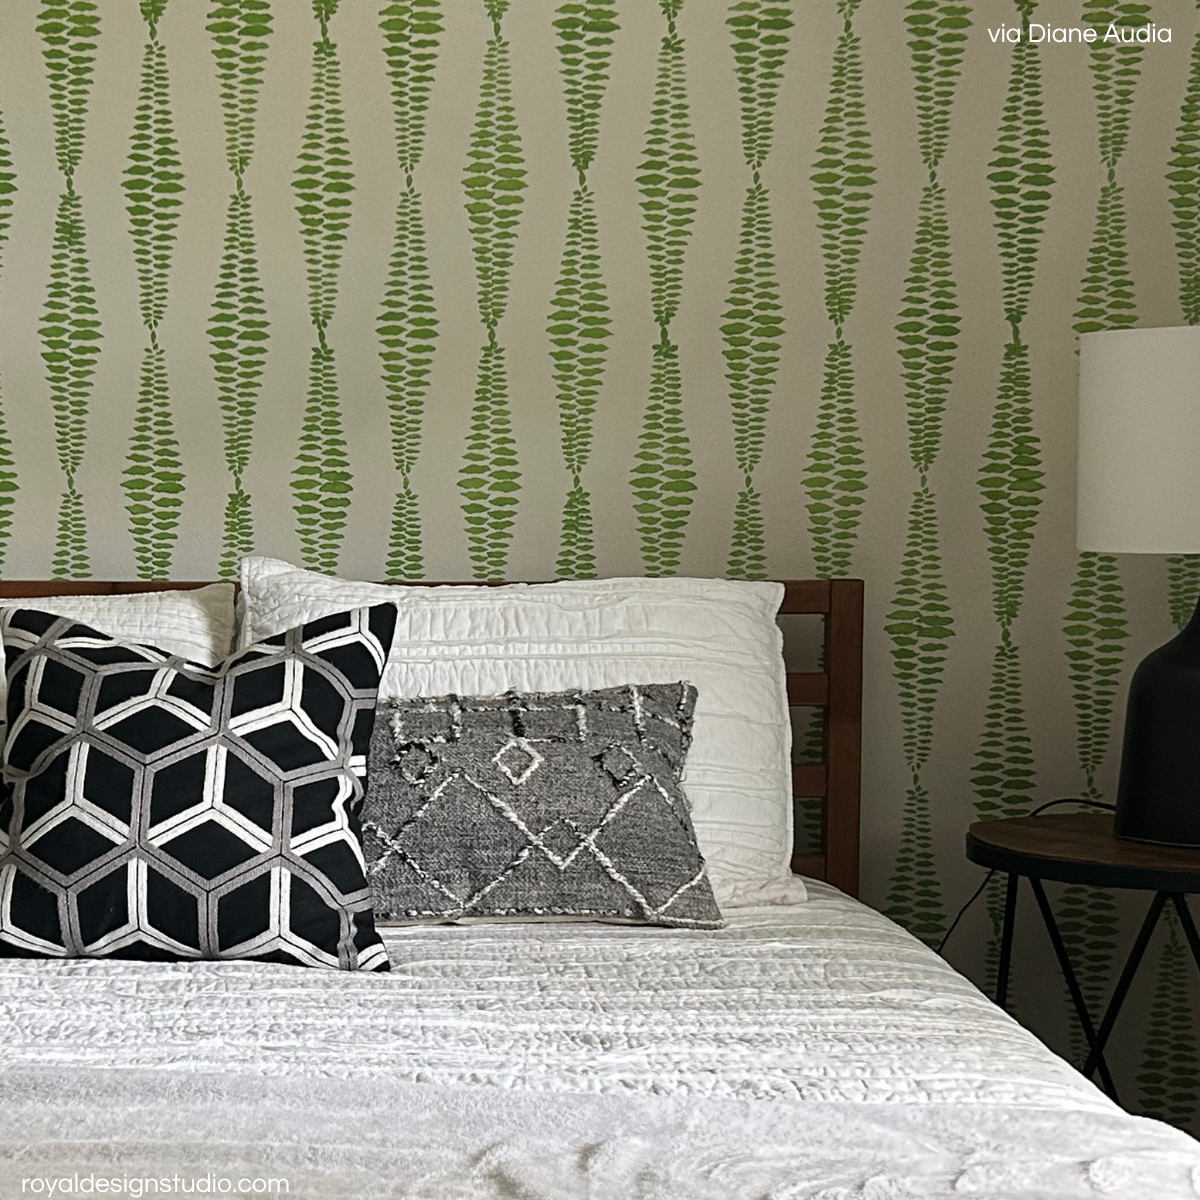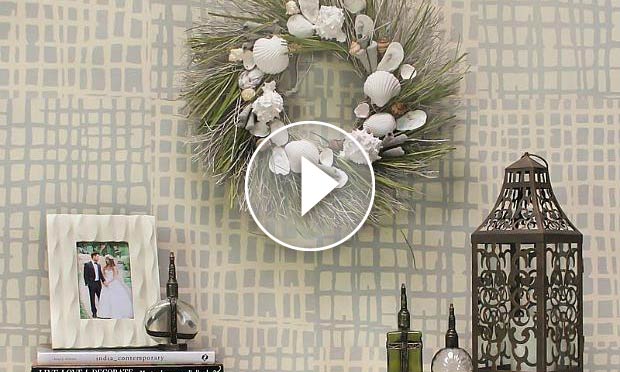
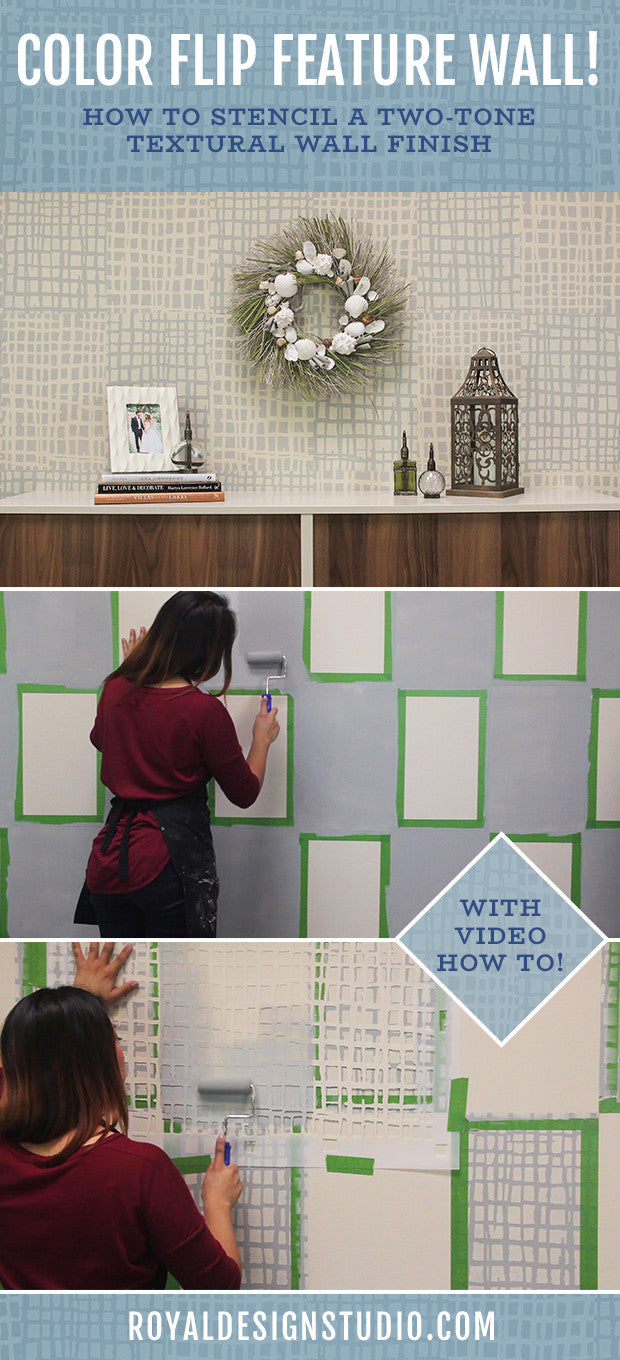
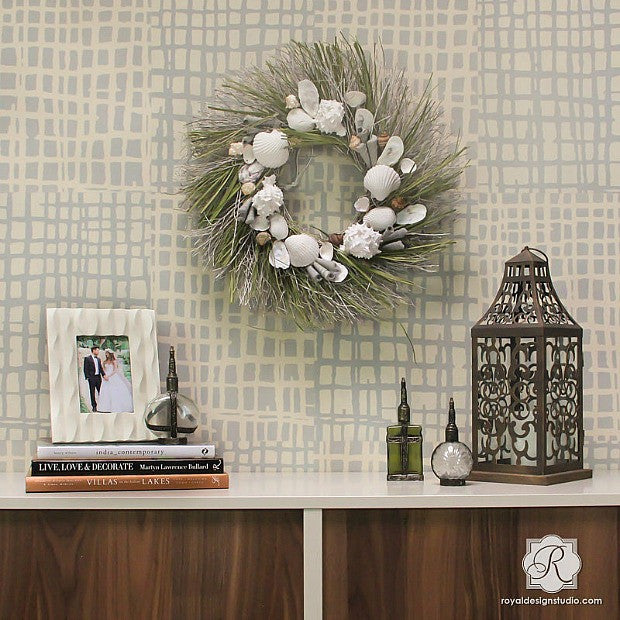
Two soothing paint colors combine to create a technique to wrap up a wall with color, pattern, and soothing texture. This DIY painting technique looks especially awesome with a stencil pattern from our Woven Textures Stencils Spotlight Collection. These wall and furniture stencils emphasize the natural intricacy of woven textures and can help you turn your space into a restful retreat when painted with soft, calming colors. Add in a simple taping technique to create a unique accent wall that mimics the look of expensive wallpaper. It’s super easy when we show you how!
Click play and watch this DIY stencil tutorial to see how to paint a calming “color flip pattern” with texture-inspired wall designs.
Supplies:
- Loose Weave Wall Stencil from Royal Design Studio
- Annie Sloan Chalk Paint® in Old Ochre, Louis Blue, and Coco
- 3” Royal Stencil Brush
- Foam roller and tray
- Frog Tape Painter’s tape,
- Pencil, level, measuring tape, metal edge ruler, sharp blade, paper towels
Step 1: Paint your wall with 2 coats of Old Ochre Chalk Paint® and allow to dry.
Step 2: Starting from the center of your wall, use a level and pencil to trace straight vertical lines every 12 inches. Work your way from the center to the left and right corners of the wall.
Step 3: Measure 18 inches from the ceiling and trace a horizontal line across the wall using a level and pencil. Repeat down every 18 inches until you reach the floor line.
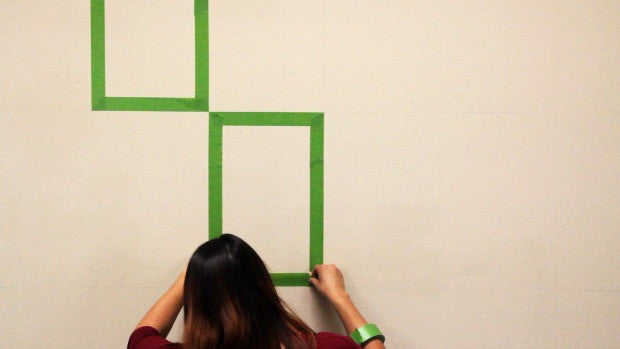
Step 4: Use painter’s tape to mask off inside the line of every other traced rectangle. Cut the excess tape with a metal ruler and sharp blade to create a nice, clean outside corner. Then use a credit card, gift card, or squeegee to make sure the tape is burnished to the wall. Frog Tape is good for this because it has a self sealing edge that prevents paint from bleeding under-so you get nice crisp lines.
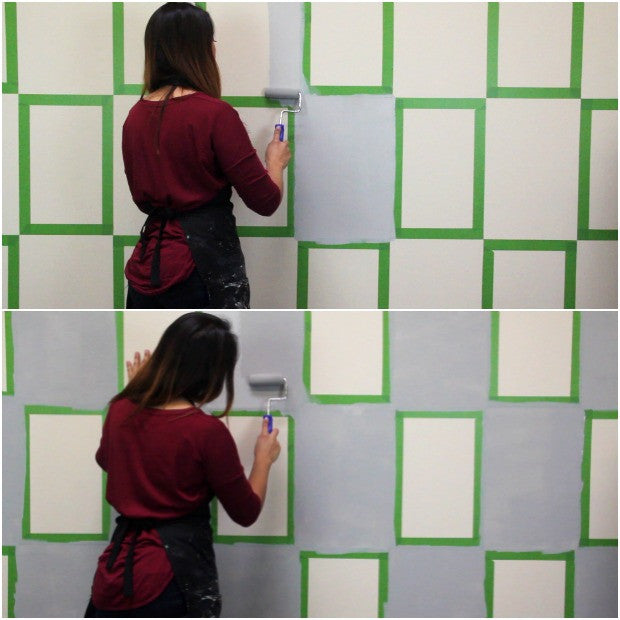
Step 5: Paint the masked rectangles with 2 coats of a custom Chalk Paint® color mix (1 part Coco + 1 part Louis Blue + 1 part Old Ochre) and a foam roller. Allow to dry.
Step 6: Randomly place and secure the Loose Weave Wall Stencil with painter’s tape on top of one of the rectangles you just painted.
Step 7: Load the Royal Stencil Brush with Old Ochre Chalk Paint® and then offload excess paint onto a paper towel. Offloading and using minimal paint helps to prevent bleeding under the stencil.
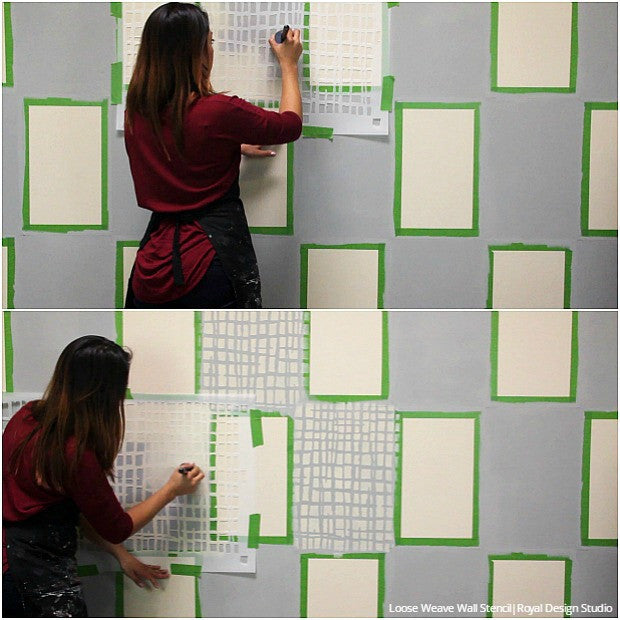
Step 8: Stencil only over the painted blue-gray rectangles with the Ochre color. Randomly position the stencil in each blue rectangle and repeat until each of those rectangles are stenciled.
Step 9: Remove the painter’s tape and reuse these pieces to mask off around the edges of the now-stenciled rectangles to protect them.
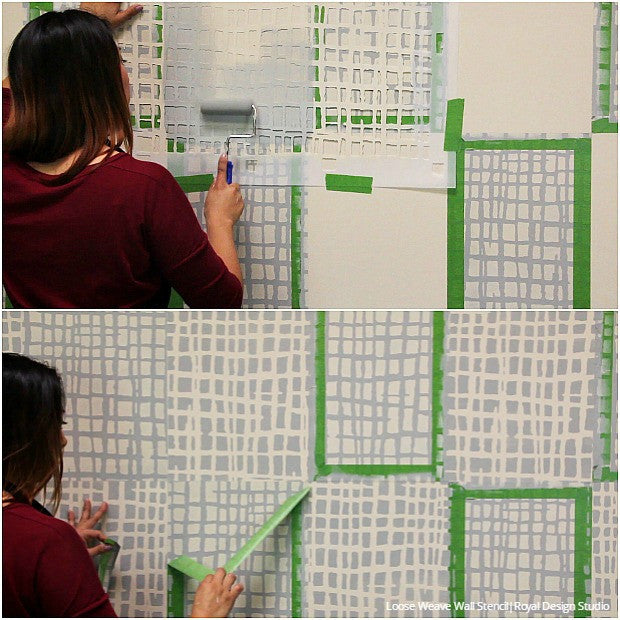
Step 10: Repeat Step 7 through Step 8 except you will be stenciling the remaining rectangles with the custom blue-gray Chalk Paint® mix. Note: We saved the foam roller we had used to basecoat the blue rectangles by wrapping it in plastic. Remove the tape once you are finished.
Ready to get started on your own stenciled wall? We’d love to see your own stencil projects! Email us at projects@royaldesignstudio.com, share them on our Facebook Page, or you can even Instagram your projects and tag us with #royaldesignstudio. If you’re inspired by this DIY tutorial, be sure to check out these Wall Stenciling Ideas: