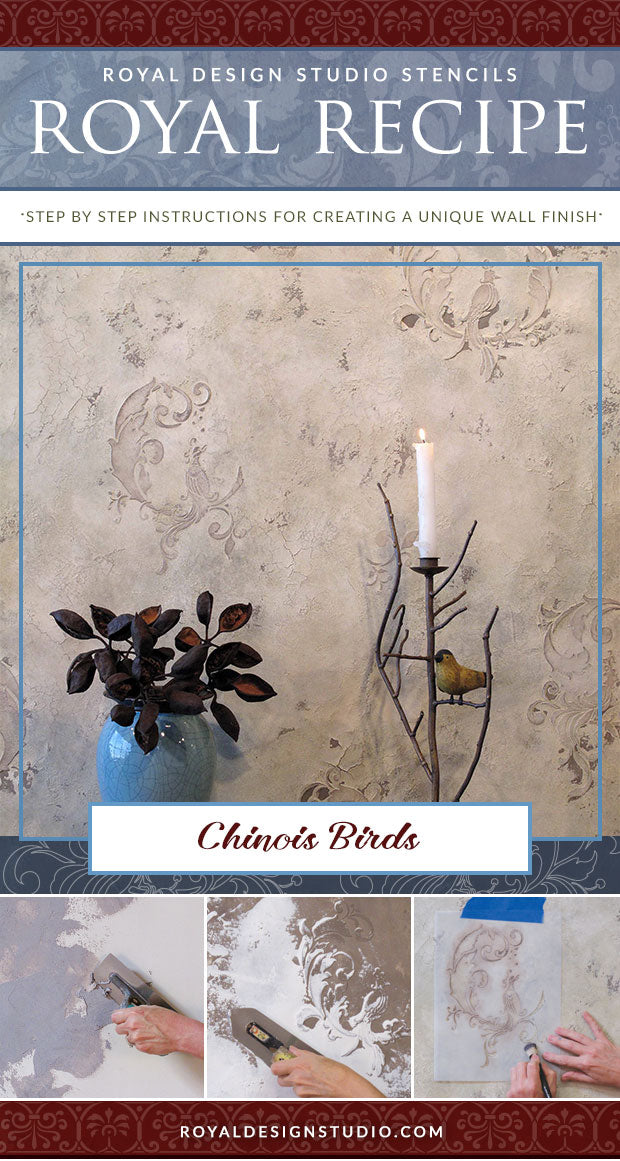
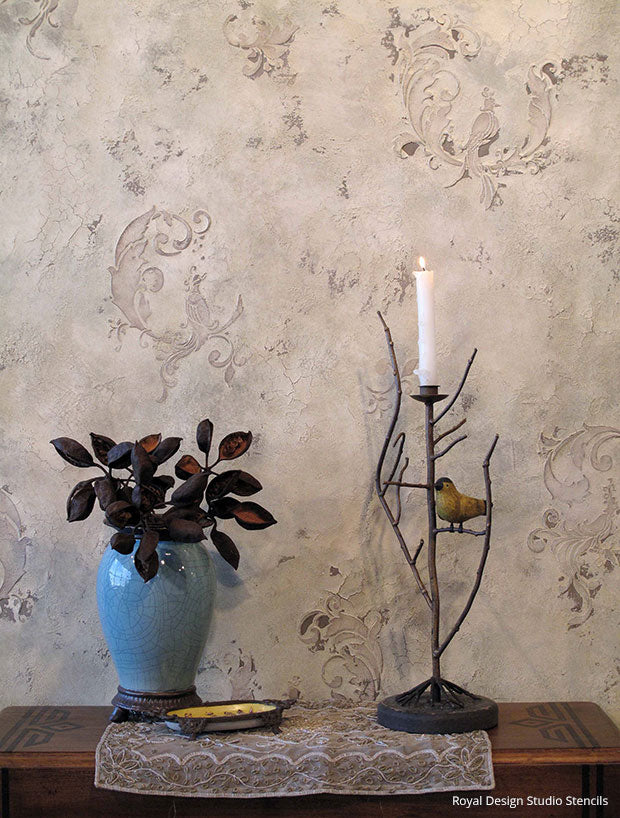
Here's a gorgeous stencil finish that's fit for a Chateau-but you can recreate it anywhere with great results. Embossed stenciled birds and a chippy crackled plaster finish create a gorgeous Old World ambiance that works perfectly with our Chinois Birds stencils but you can substitute any Classic Stencil or Damask Pattern Stencils from Royal Design Studio.
Like all of our Royal Recipe Professional Finishes Stencil Tutorials, this finish is designed for the experienced DIYer or professional decorative artisan. This is not a "beginner" faux finish and a basic understanding of artisan finishing techniques is required.
Supplies:
- Royal Design Studio Stencils: Chinois Birds Wall Stencil, Chinois Elements Wall Stencil
- Van Dyke Brown Stain & Seal
- Modern Masters Metallic Paint:Teal and Warm Silver
- Antique Silver Mica owder,
- Faux Effects® Products: Untinted Plastertex, Aquasize Crackle Size, Aquacreme/Mastercreme, Earth Brown Faux Creme Color, White on White and Tint Base Venetian Gem Bellisimo
- Tools: Assorted Stencil Brushes, 4" Roller and Tray, Japanese Trowel, Trowel, Chip and Foam Brushes, Large Stipple Brush
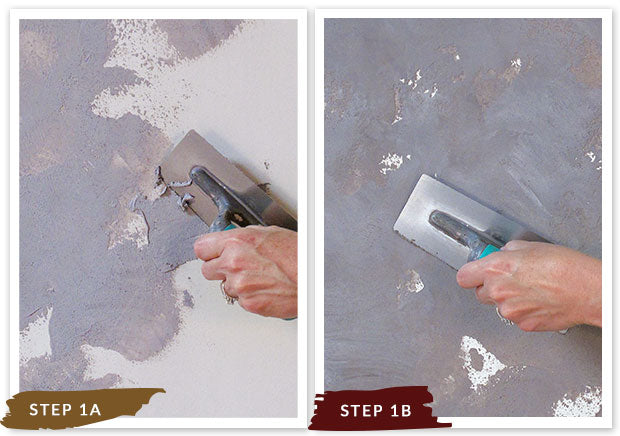
Step 1: Tint the Untinted Plastertex at a rate of 2 teas. Van Dyke Brown Stain and Seal to 1 pint of Untinted Plastertex. Use a Venetian trowel to trowel this over the entire surface using a light skip trowel application for about 80% coverage. Allow to dry and repeat, filling in some open areas to end up with about 95% coverage overall. Allow to dry.
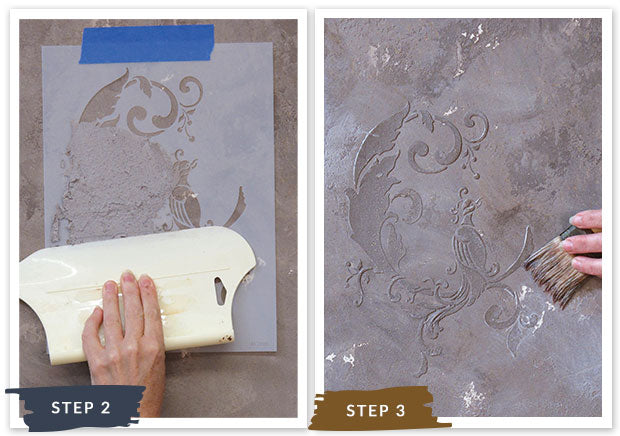
Step 2: Use the same Plastertex mix to stencil-emboss the Chinois Birds and Elements randomly over your surface. Do NOT do a veryhigh relief embossing. Simply trowel the material a little more than the thickness of the stencil. Allow to dry.
Step 3: Use a chip brush apply the Aquasize in random thin patches, aiming for about 40%-50% coverage overall. Allow the Aquasizes to set up for about 30 minutes. The Venetian Gem Bellisimo plaster crackles VERY easily, so do not apply too thickly. Do a sample!
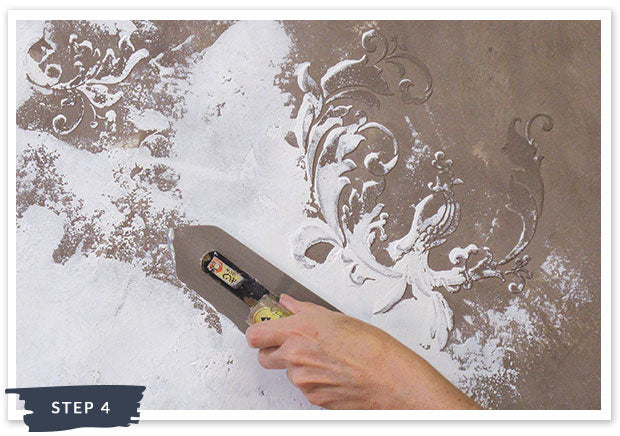
Step 4: Mix the two Venetian Gem Bellisimo colors, White on White and Tint Base, at a ratio of 1:1. Use a Japanese trowel to skip trowel this across the surface, applying it in a thick and thin manner and covering about 90% of the surface. Pull it tightly across the raised stencil images so that you can dark edges around the design where the underlying layer shows through. Allow to dry.
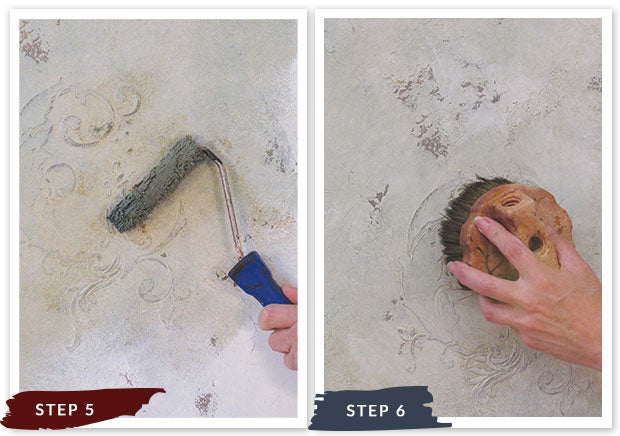
Step 5: Create three separate Aquacreme mixtures. Mix Earth Brown Faux Crème Color at a rate of 1 teas. color to 1 C. Aquacreme. Mix the Teal and Warm Silver at a rate of 1 part color to 4 parts Aquacreme. Roll on a layer of the Earth Brown Aquacreme overall in a workable area, keeping a wet edge with the glaze as you go.
Step 6: Working wet-on-wet as you progress across the surface, drop the other colors in with large foam brushes and blend with a round nylon brush.
Step 7: Soften and dry brush as you work with the cheesecloth and/or a large softening brush. Allow to dry.
Step 8: Use Antique Silver Royal Stencil Creme to highlight the raised stencil images. Load a stencil brush and remove excess paint from the brush by rubbing in a hard, circular motion on good quality paper towels. Replace the stencils over the embossed designs and apply the color in a thin layer, concentrating your color more around the edges while leaving the centers of each design element with less color.
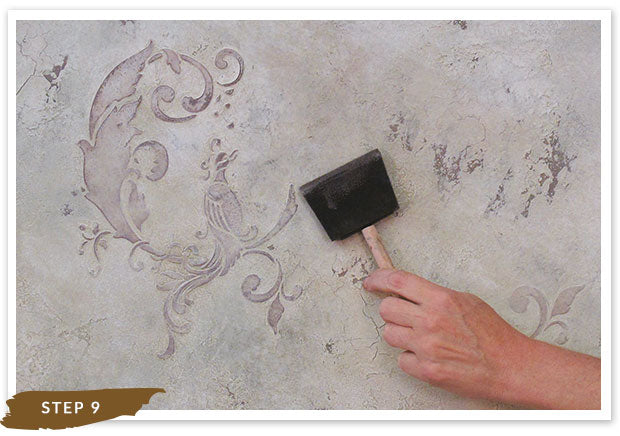
Step 9: Optional: Add more of the Warm Silver color mix using a large, clean, dry foam brush. Dry brush this on in random areas to add a warmer overall look to the finish.


 Here's a gorgeous stencil finish that's fit for a Chateau-but you can recreate it anywhere with great results. Embossed stenciled birds and a chippy crackled plaster finish create a gorgeous Old World ambiance that works perfectly with our Chinois Birds stencils but you can substitute any Classic Stencil or Damask Pattern Stencils from Royal Design Studio.