Learn how to give your stenciled walls a pretty hand painted watercolor look by stenciling with a large flower stencil, acrylic paint, extender glaze, and a large stencil brush from Royal Design Studio Stencils. Adding Folk Art extender glaze to the paint gives it a more translucent, watercolor look. Stenciling with a stencil brush gives you more control over the finished look of your painted wall finish.
Read on and watch to see how easy it is to stencil your walls in a DIY watercolor style floral pattern…
DIY Stencil Project Supplies:
- Floral Fireworks Wall Stencil
- 1 ½” Royal Stencil Brush
- Acrylic Craft Paint: Midnight Blue
- Folk Art Extender Glaze
- Painters tape and paper towels
*Your wall should be clean and recently paint with flat or eggshell-sheeted latex paint
Step 1: Mix a few drops of Extender Glaze for every teaspoon of acrylic paint in a small cup or plate and stir well. This paint/glaze mix will create a translucent "watercolor look" on your feature wall.
Step 2: Load just the tips of your stencil brush into the stencil paint mix and offload your stencil brush well onto paper towels. This offloading technique helps ensure the paint is evenly dispersed onto the brush and that you are using minimal paint to prevent paint bleeding under the stencil. For stenciling, especially with a paint/glaze mix, you will want to have a “dry” brush (i.e. very, very minimal paint on the brush!).

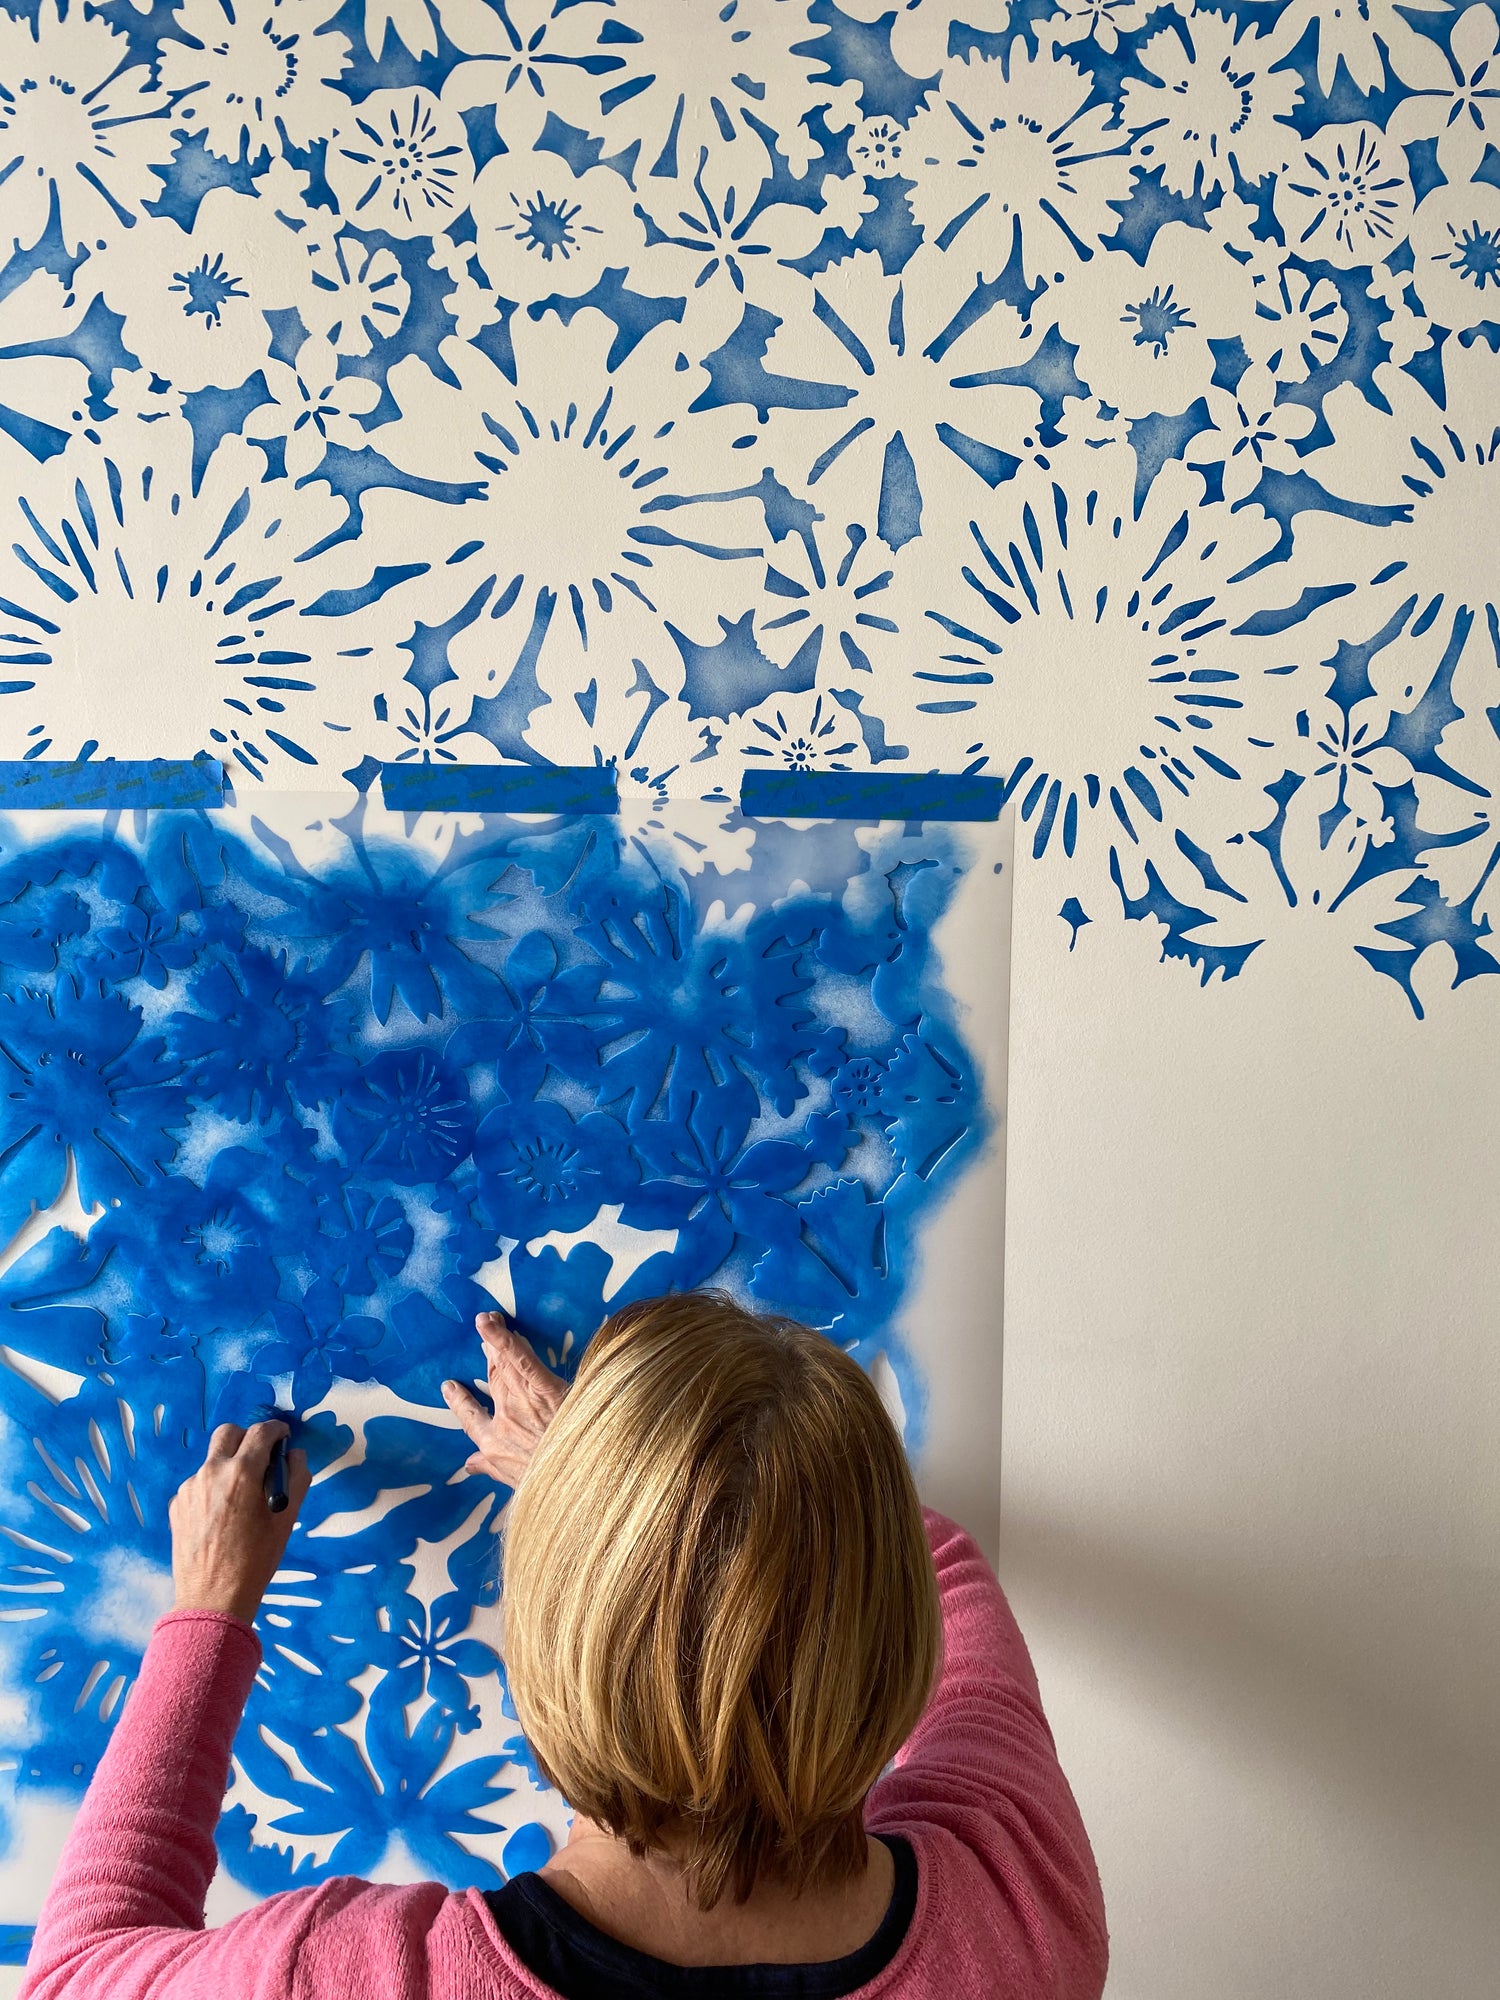
Step 3: Begin to paint the flower stencil design, focusing the most pressure and paint around the outer edges of the stencil design elements. This will naturally produce a soft, shaded effect.
Pro Stencil Tip! If this is your first time stenciling with glazes, you should practice this new stencil technique on paper first. You will find it’s very fast to get a feel for using the correct amount of stencil paint and pressure on the stencil brush.

Step 4: Aligning each stencil repeat is easy! Simply move the stencil left/right or up/down and position the stencil over previously stenciled elements in the pattern. There are built in registration marks on the wall stencil so that you can perfectly and easily align it in any direction. Because you are just using a small amount of stencil paint on the brush, the wall will dry almost immediately.

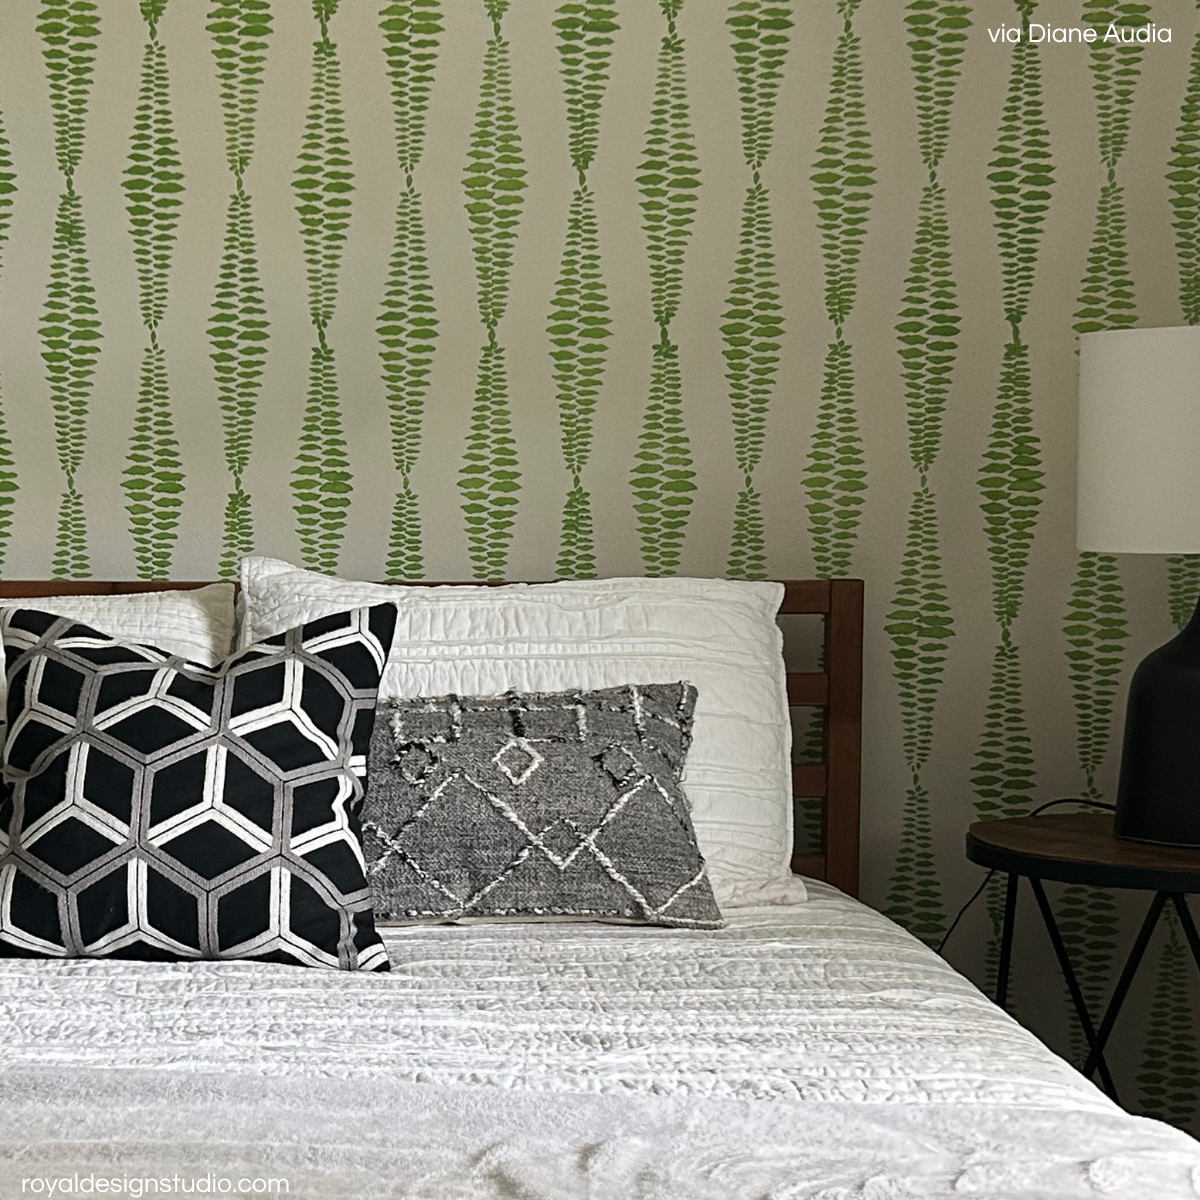
Step 5: Use your new watercolor stencil technique skills with any wall stencil from Royal Design Studio Stencils in the color of your choice.

Happy Stenciling!