


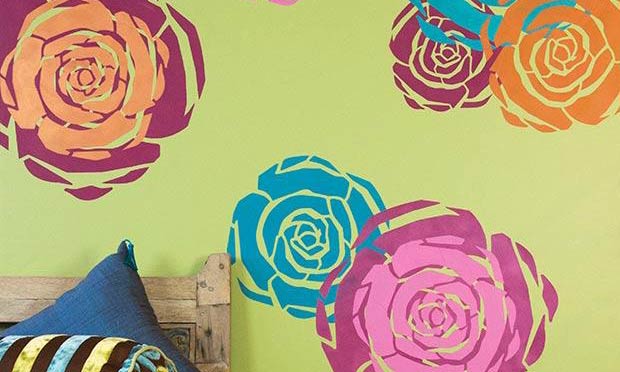
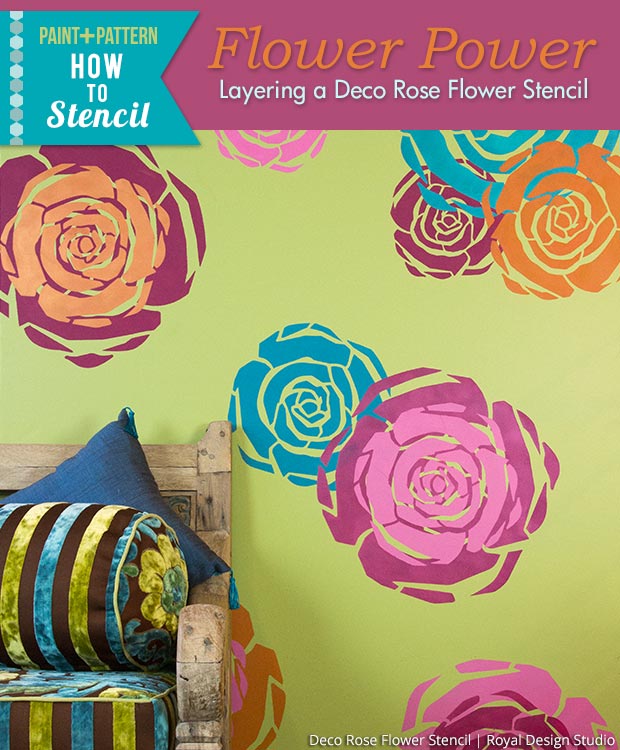
Everything’s coming up roses! We show you how to take some simple rose stencils and layer them to create a bouquet of colorful blooming flowers across your wall. This Deco Rose Flower Stencil from the Royal Design Studio Wall Art Stencil Collection is available in 3 sizes. For this stenciled finish we used all three sizes to create more variety and give some of our roses an extra layer of pretty petals. It’s a super easy stencil project with a totally custom look!
Stencil Supplies for this Project:
- Deco Rose Flower Stencil
- Royal Stencil Stencil Crème paint from Royal Design Studio: Shimmer Pink, Orange Ice, Peacock Fancy.
- Assorted Latex Paint Colors in: Bright Pink, Soft Pink, Orange, Green and Blue/Aqua.
- 3 – 1 ½” Stencil brushes from Royal Design Studio
- Stencil Supplies From Royal Design Studio: Flocked Foam Roller, Roller Tray and Handle.
- Contractor Paper, Blue Painters tape, Paper Towels.
Start by painting your wall with your favorite bright green latex paint color, or whatever color tickles your fancy and provides a nice background for your bed of roses.
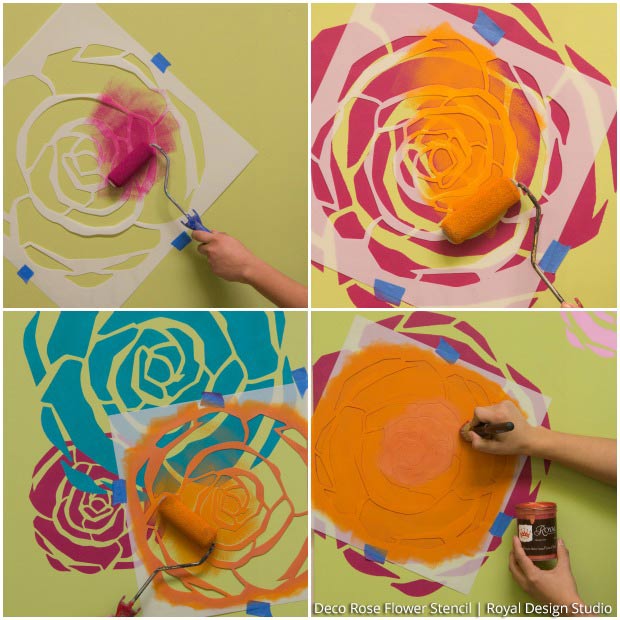
Step 1: When stenciling larger motifs, we like to use a Flocked Foam Stencil Roller. This is a foam roller that has a velour fabric coating which makes it easier to stencil on smooth surface without having paint seep under the stencil. Check out this detailed How to Stencil Post to find out how and why we LOVE stenciling with Flocked Foam Stencil Rollers. After evenly loading your roller with paint from your paint tray, be sure to use a stack of paper towels or a piece of contractors paper to off-load the excess paint from your roller before stenciling on your wall. Always use a very light pressure on the roller and build up the paint slowly
Step 2: To create layered roses, simply center the next smaller size of the Deco Rose Stencil on top of your previous motif. Rotate the stencil around until you get the look you like. Stencil it with a flocked roller using a contrasting color. You may have to go over the stencil 2 or more times with the roller to get even and complete paint coverage. Allow the paint to dry slightly between coats.
Step 3: Another way to layer the roses is simply to stencil the rose stencils randomly over each other. You will need to stencil the flowers that are “behind” first, and work your way forward. Avoid overlapping the roses too much, which will create a crowded look.
Step 4: (Optional) Use stencil brushes and Royal Design Studio’s Metallic Royal Stencil Crème paints to add some shimmer to the Deco Roses. You can repeat this step on all of the motifs, or just pick up a few like we did in this project. This will create even more variety as some roses will have flat sheen and others will have a metallic finish.
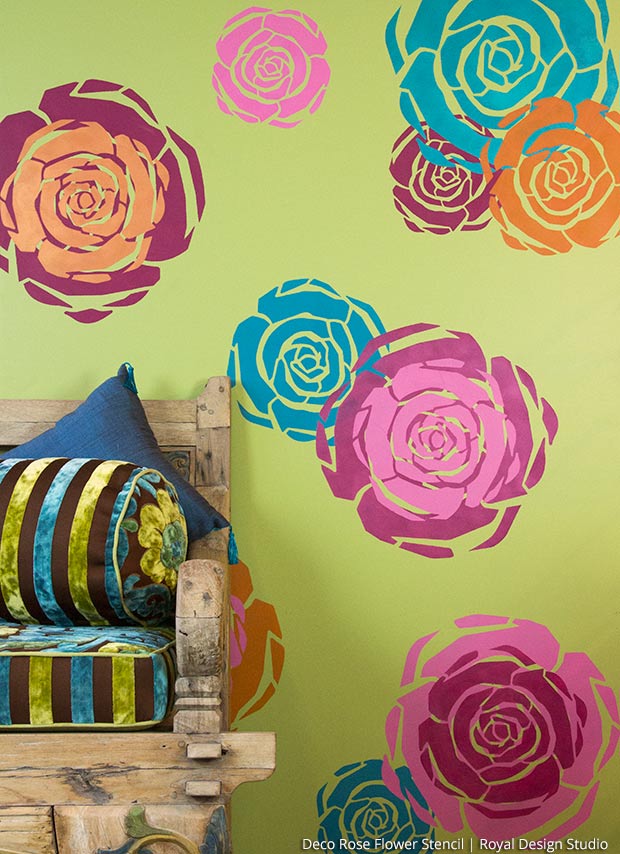
The beauty of stenciling a random rose treatment is that you can do as much or as little as you want! You have total creative control over the size, colors, and placement of your rose stencils, so BE creative and don’t forget to share your project photos with us at projects@royaldesignstudio.com.


