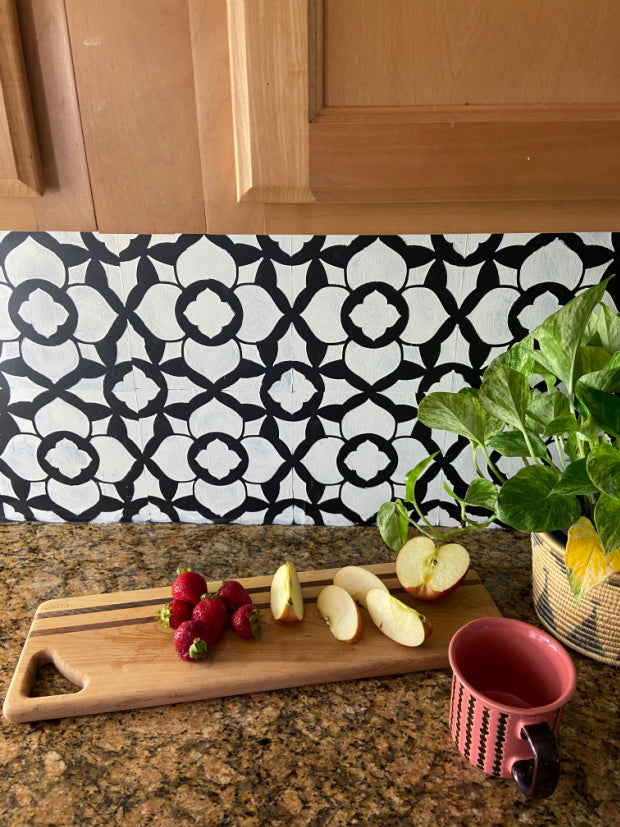
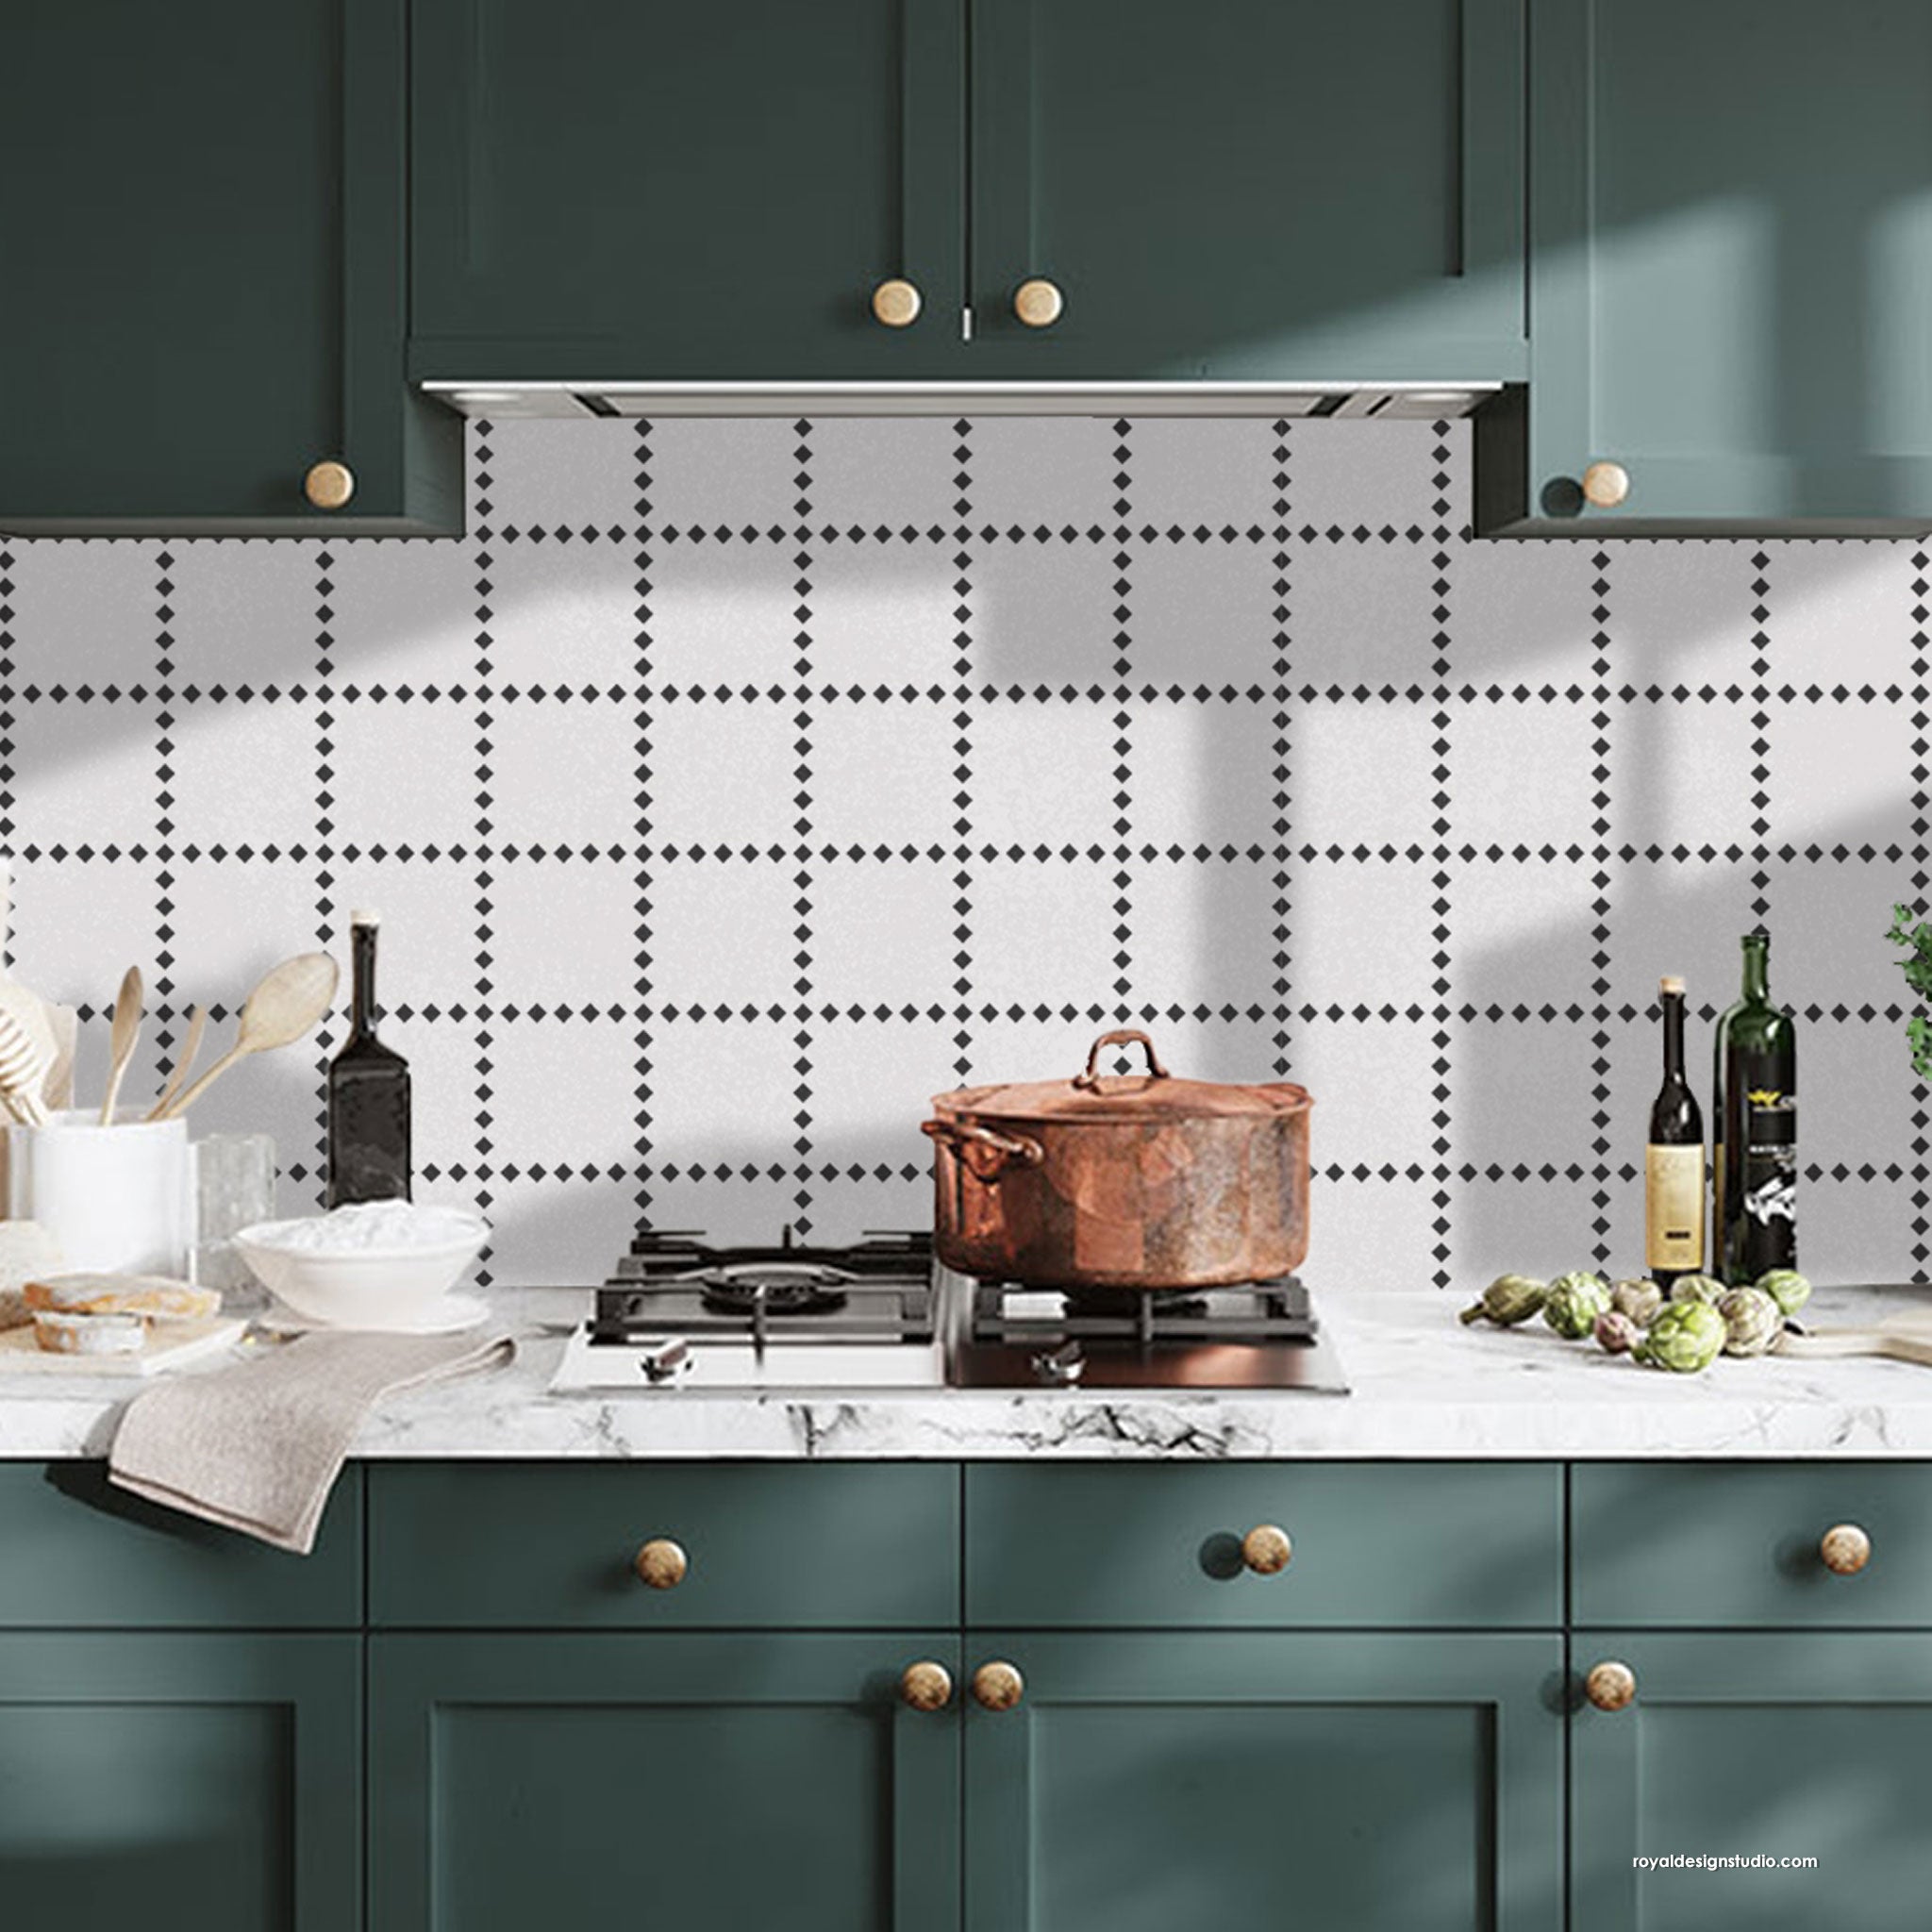
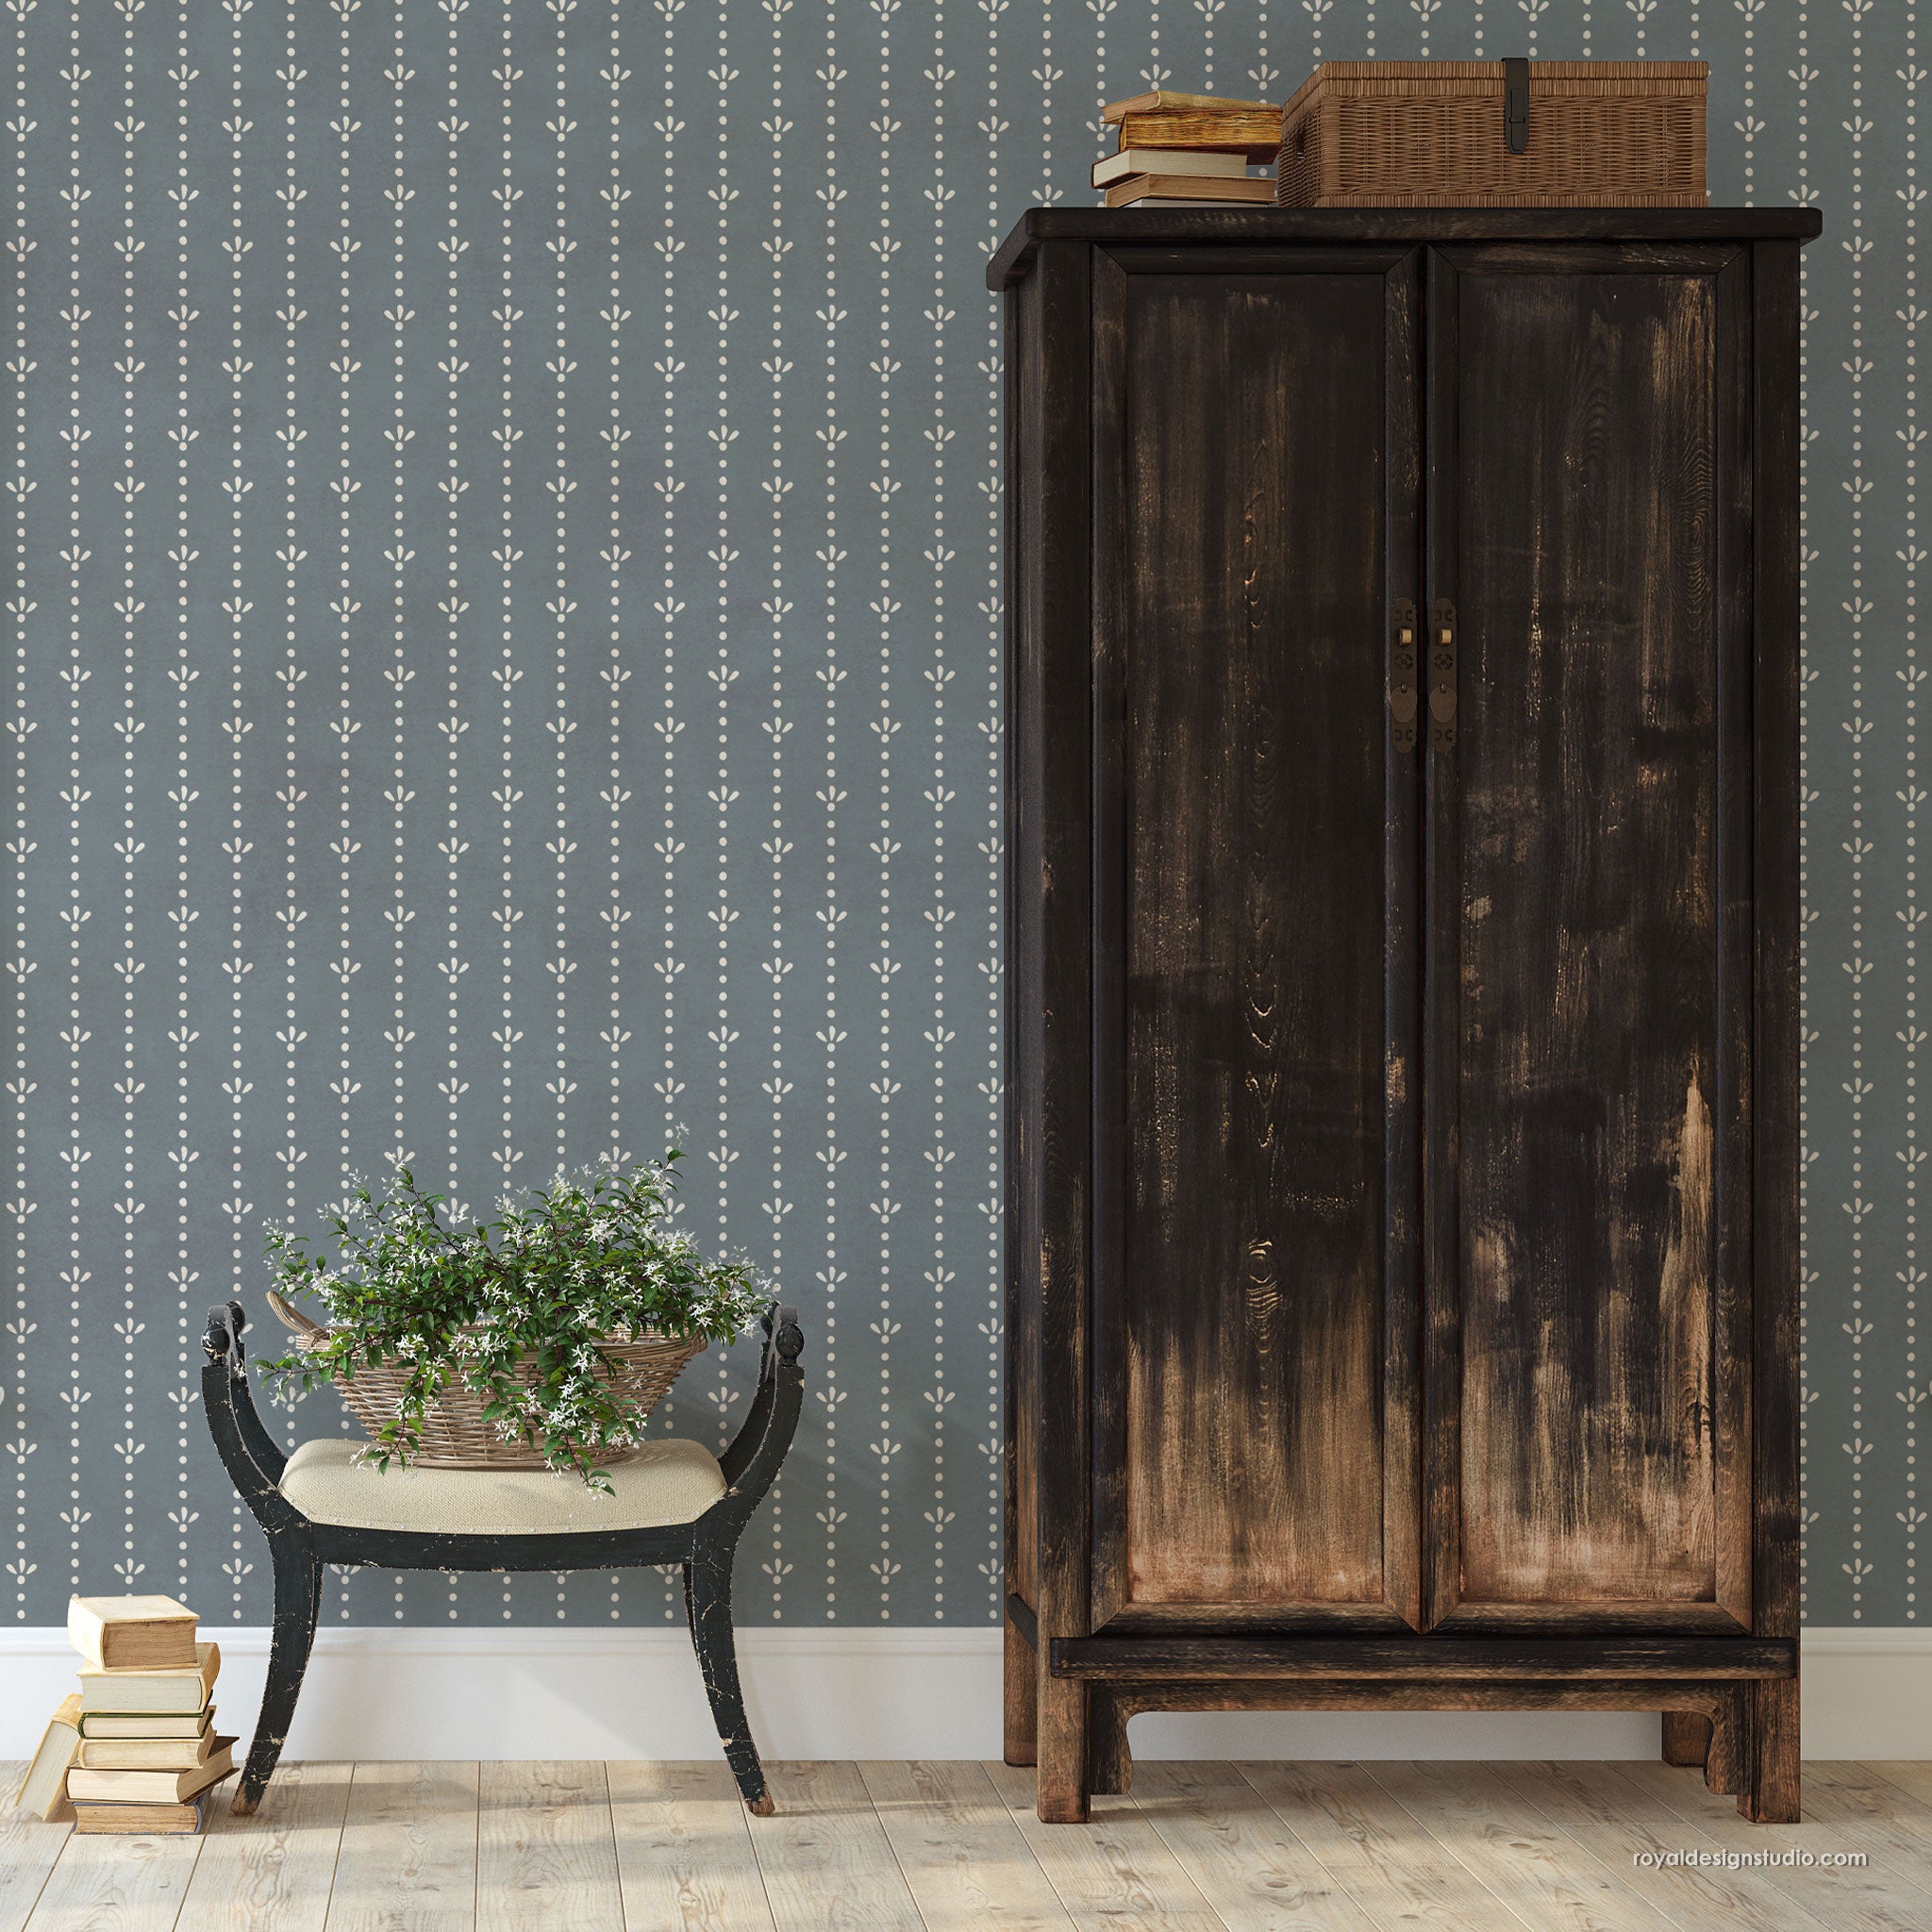
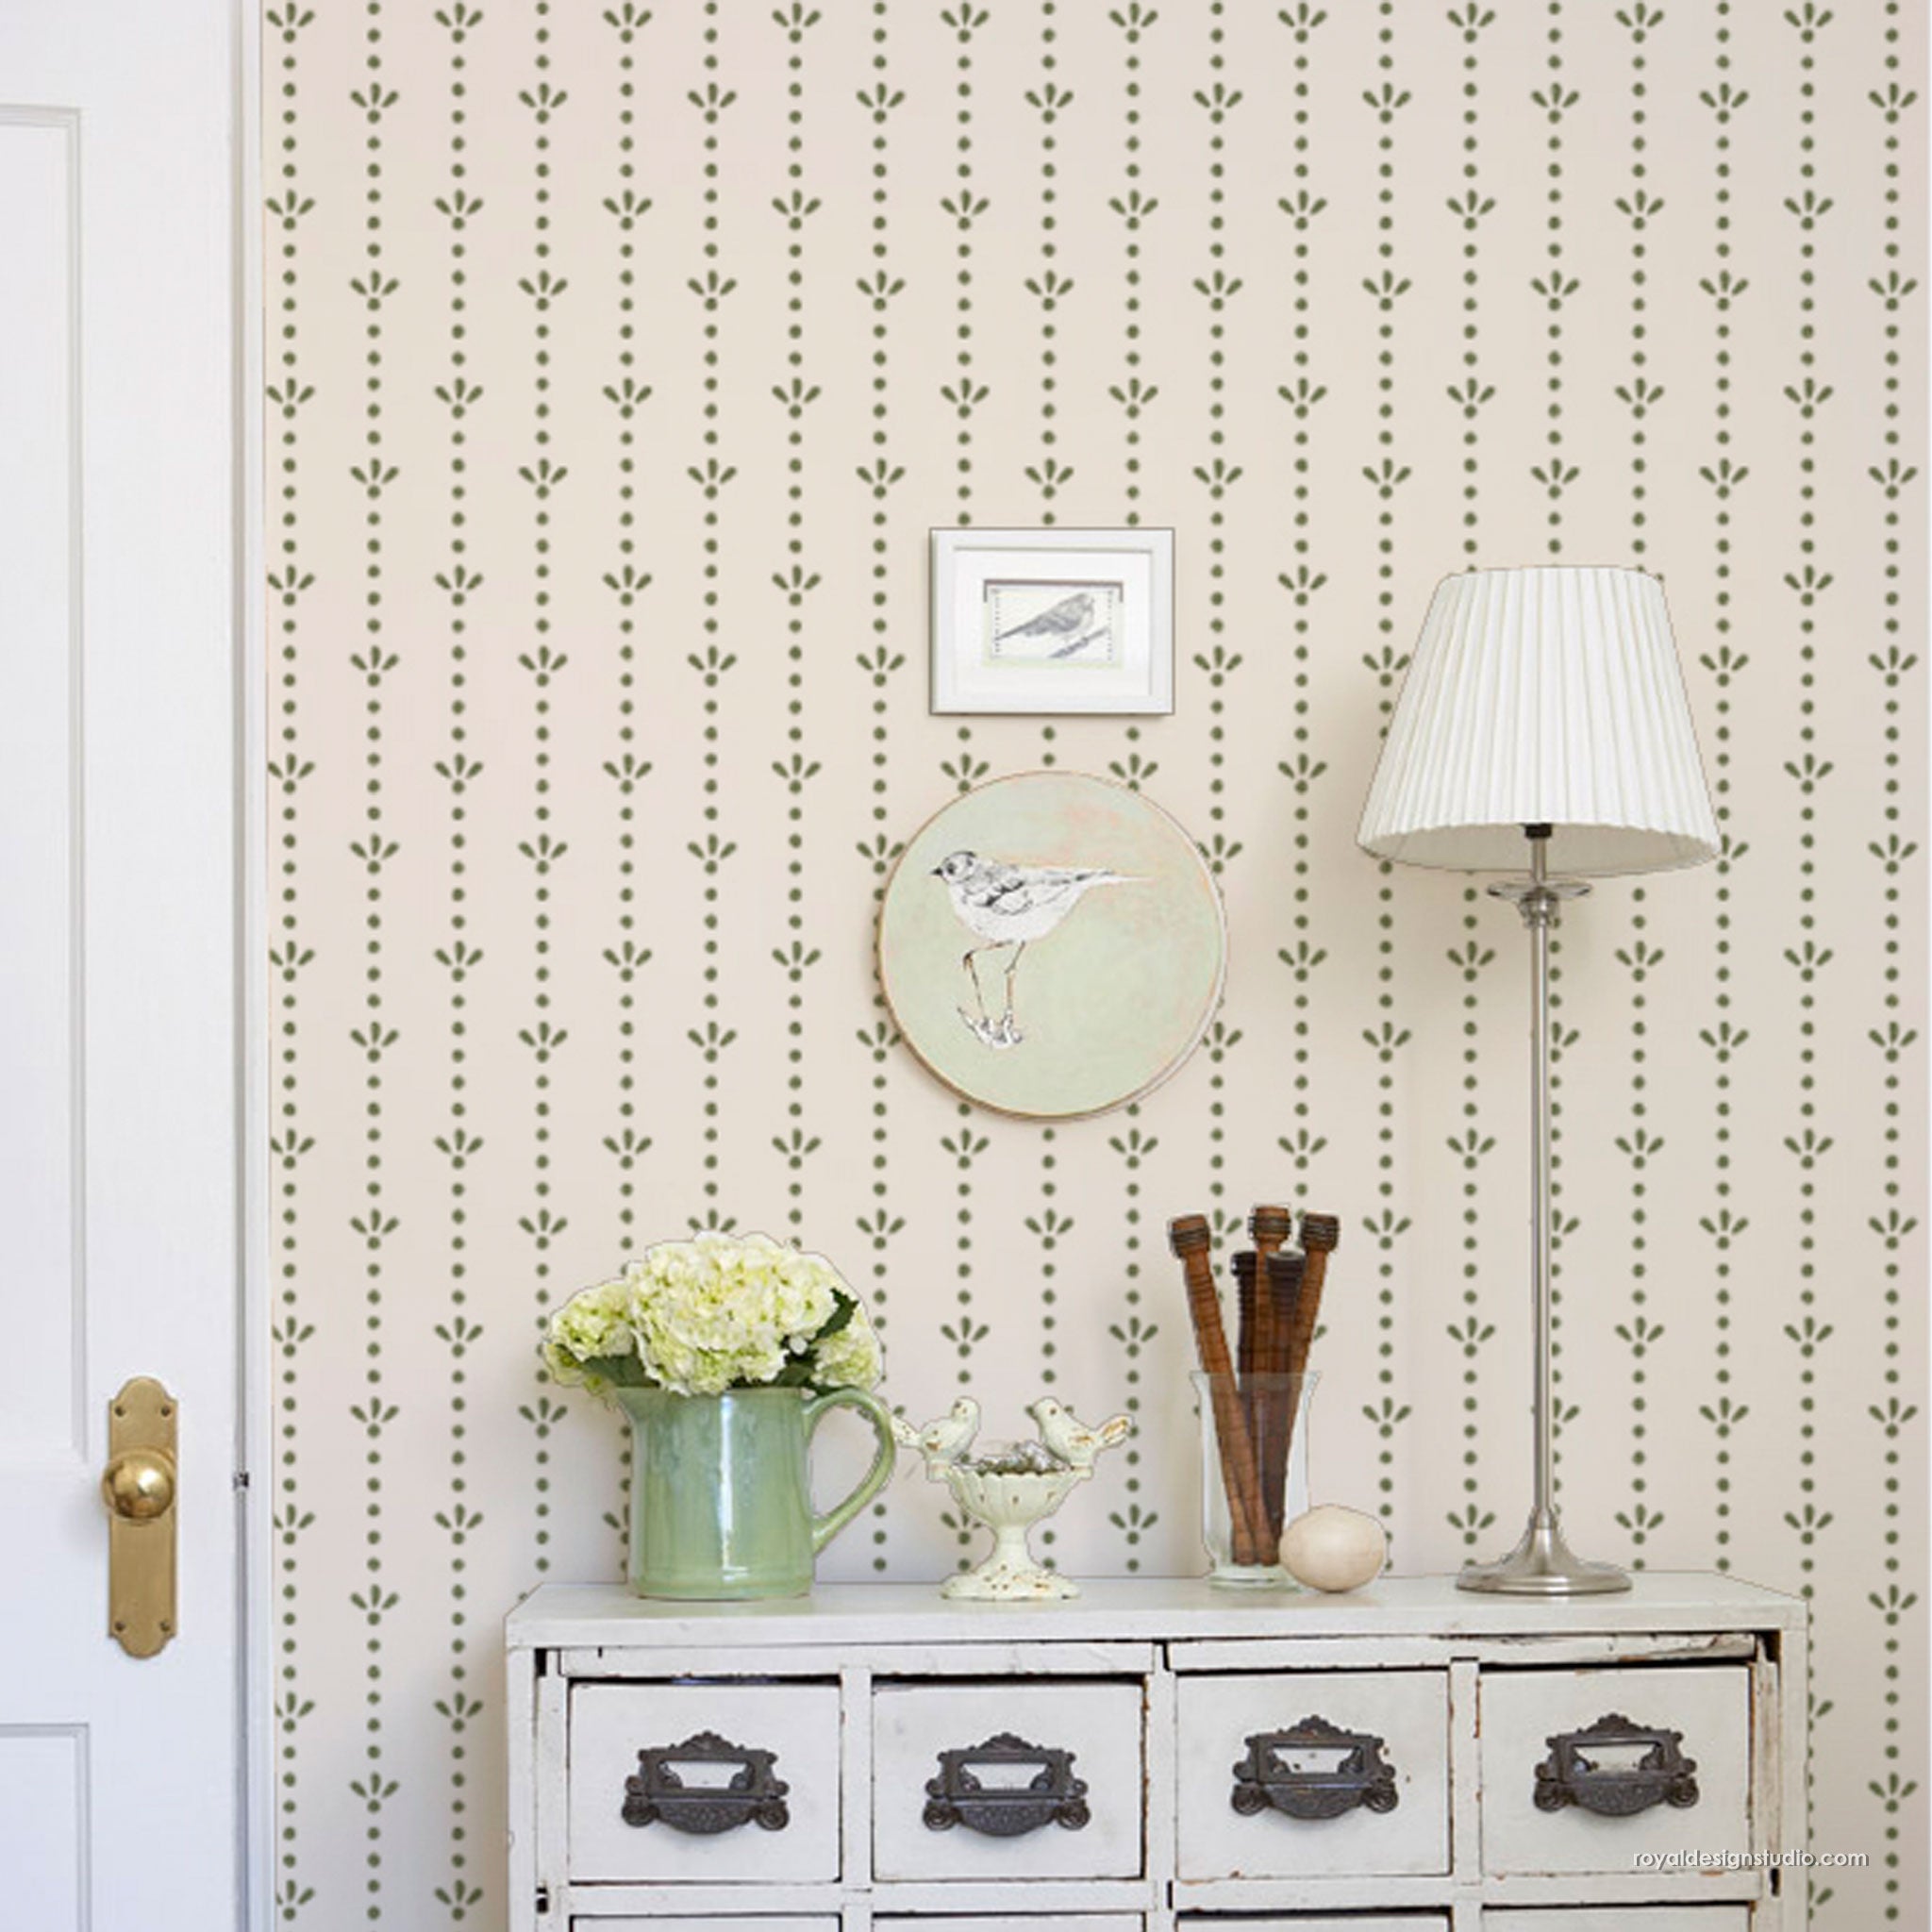
Kitchen Backsplashes not only protect your walls, they also add color, pattern and texture. However, the overwhelming amount of materials needed for a new kitchen or a kitchen remodel can quickly make your costs skyrocket. Save precious dollars by cutting down on costs while maintaining high style. We’ve been seeing a LOT of home decorators opting for Tile Stencils from Royal Design Studio to decorate their backsplash rather than pay for expensive tiles (plus the cost of installation and a professional!). Watch the video tutorial below to learn how to paint your own DIY kitchen backsplash in ONLY 5 STEPS!
Supplies:
- Duomo Tile Stencil from Royal Design Studio Stencils
- Royal Stencil Brushes
- Latex paint and water-based polyurethane
- Painter’s tape, paper towels, and paint tray
Step 1: After cleaning the wall, use painter’s tape to mask off and protect your kitchen cabinets, ceiling, and countertops. Secure the tile stencil onto the wall with painter’s tape.
Step 2: Load a stencil brush with interior latex paint that you can find at your local paint store. Offload the excess paint from the brush onto a paper towel. This will disperse the paint evenly on the brush as well as make sure you are using minimal paint. Using minimal paint is essential for preventing bleed under the stencil.
Step 3: Stencil the design using light to medium pressure.
[optional] Use minimal paint and a stippling technique to create the look of real distressed tiles.
[optional] Use multiple stencil brushes to use multiple paint colors.
Step 4: Remove the tile stencil and reposition it using the registration marks that are built right into the stencil. Continue stenciling the next repeat and repositioning the stencil up, down, and around the first repeat you stenciled until you have stenciled your kitchen backsplash. Let dry.

Step 5: Protect your painted tile kitchen backsplash with water-based polyurethane sealant.

Do you have a DIY kitchen backsplash project you’ve been working on? We’d love to share and show it off to our readers! Email us at projects@royaldesignstudio.com, share them on our Facebook Page, or you can even Instagram your projects and tag us with #royaldesignstudio

Looking for more Stencil Techniques like this? Check out these other stencil ideas and tutorials:
- 12 Stunning Ideas for Stenciling a Kitchen Backsplash
- Everything You Need to Know How to Stencil a Kitchen Tile Backsplash


