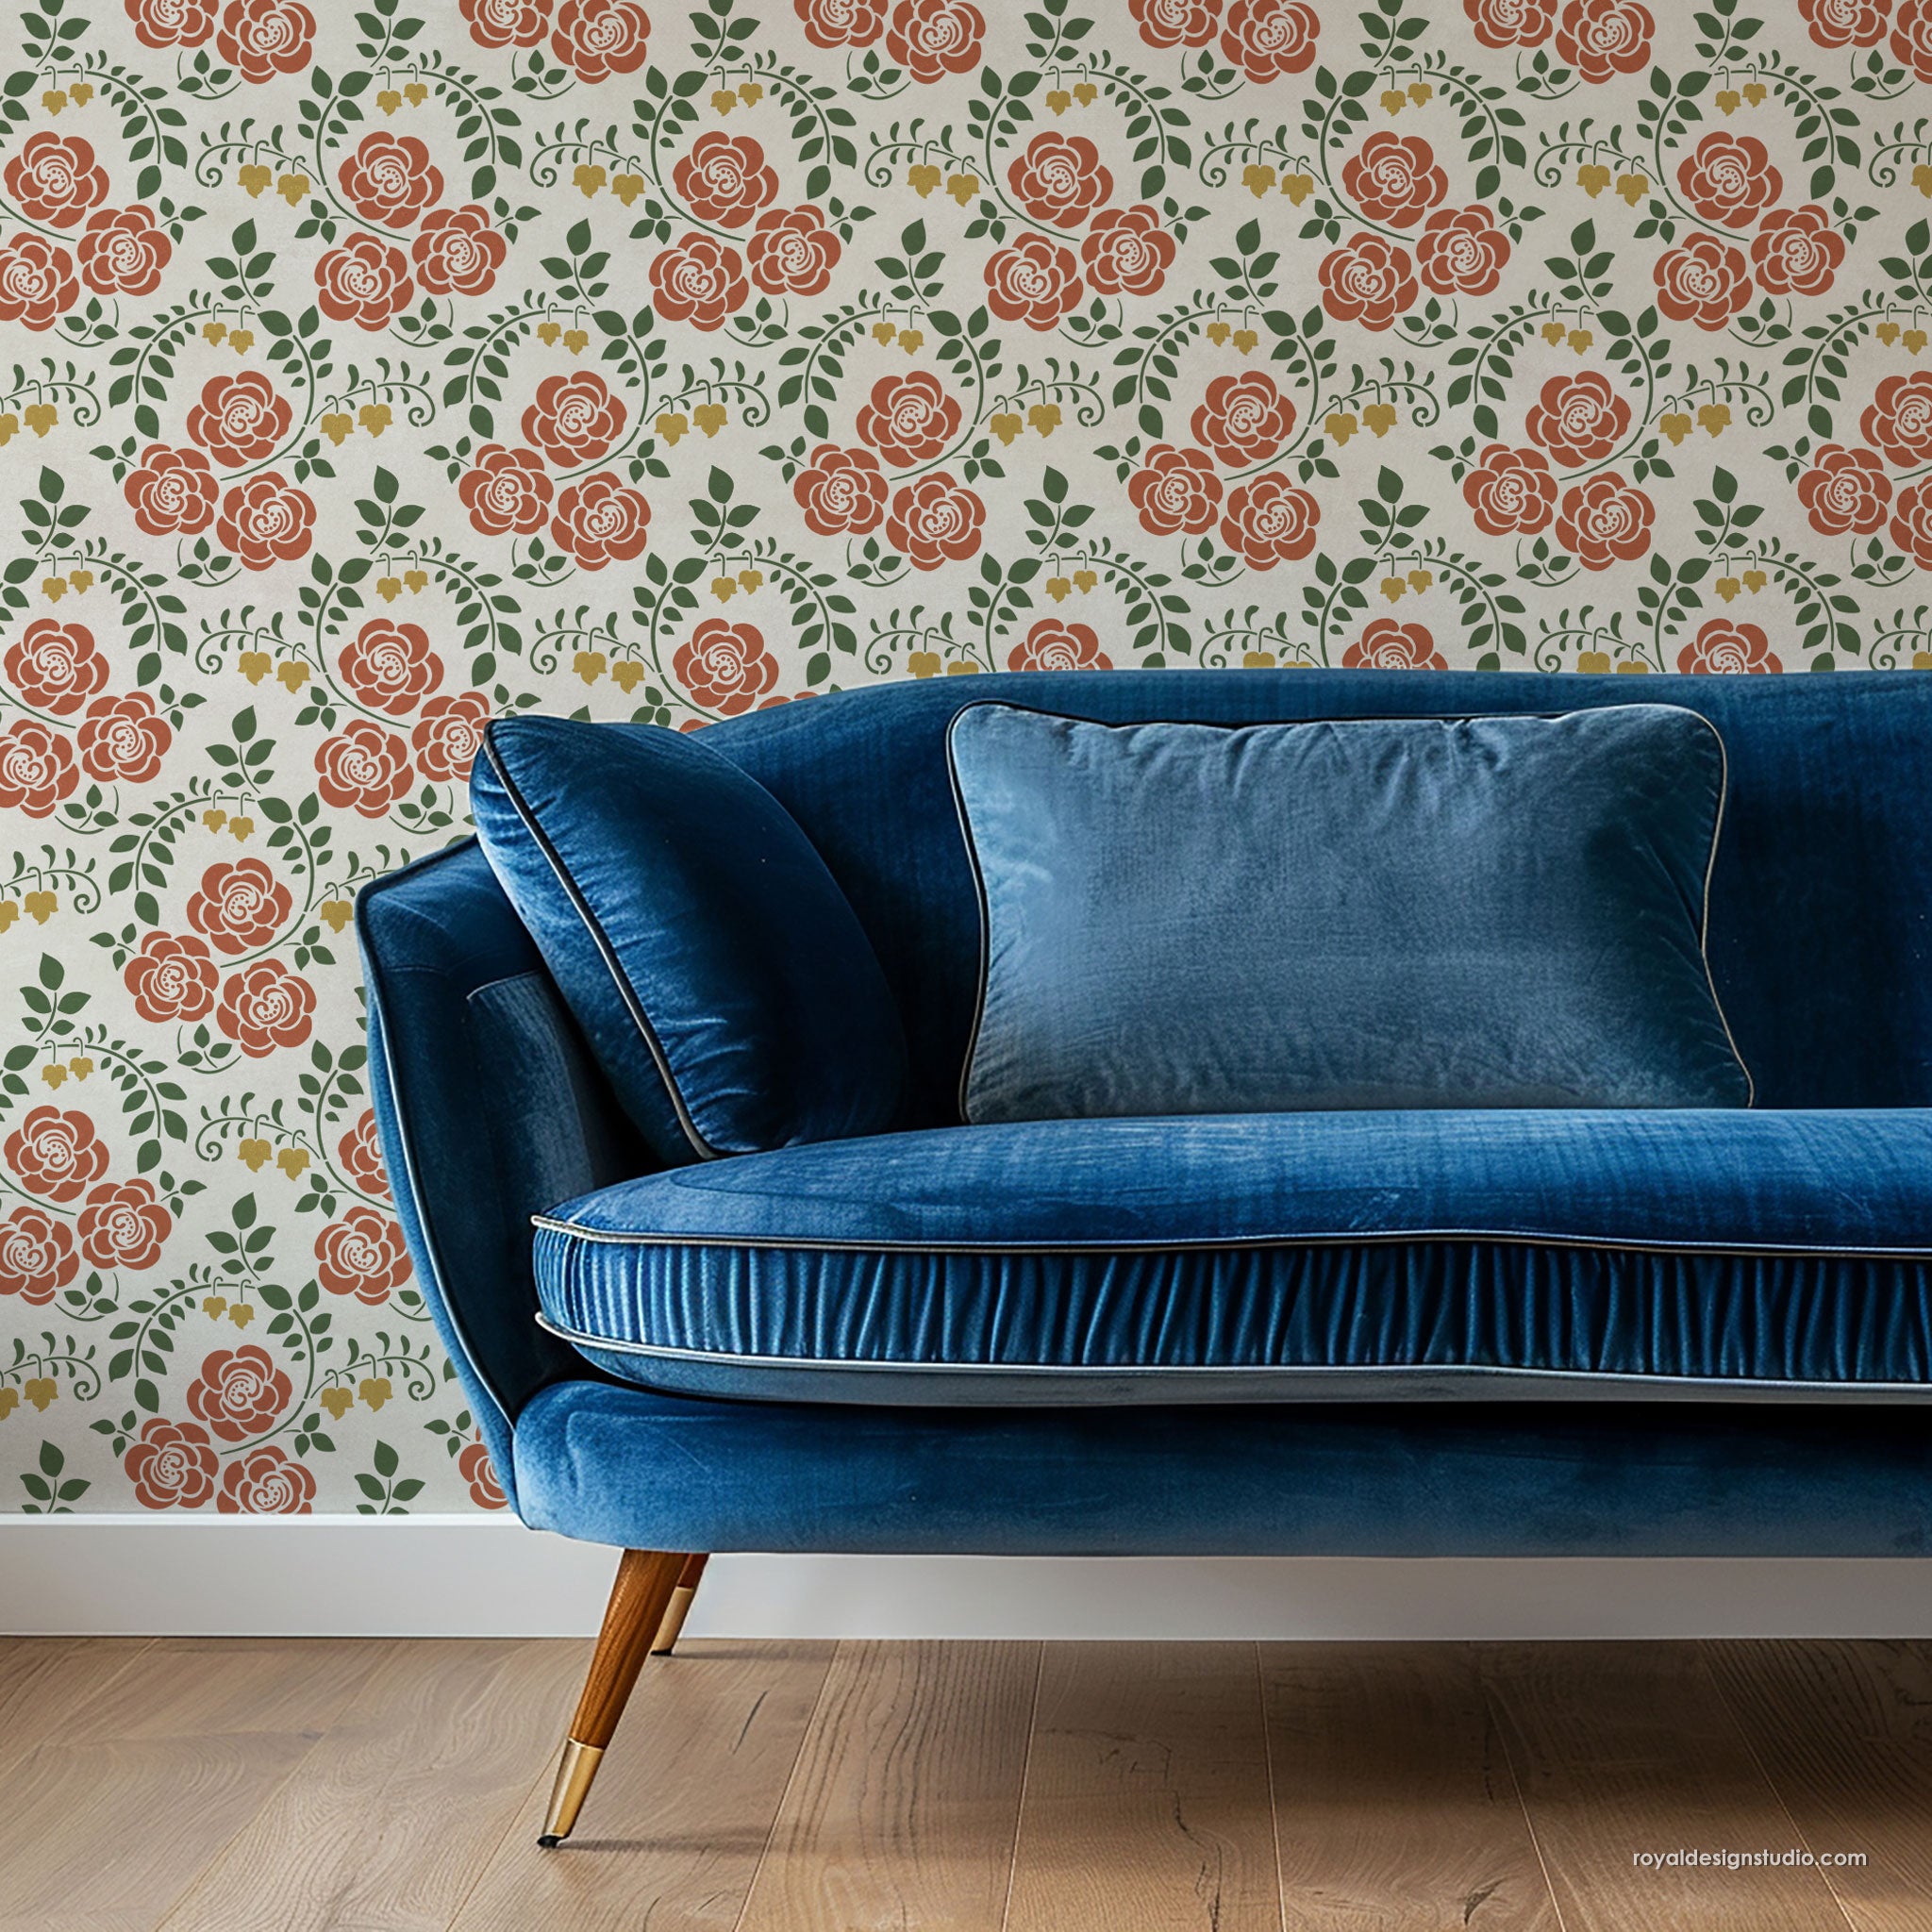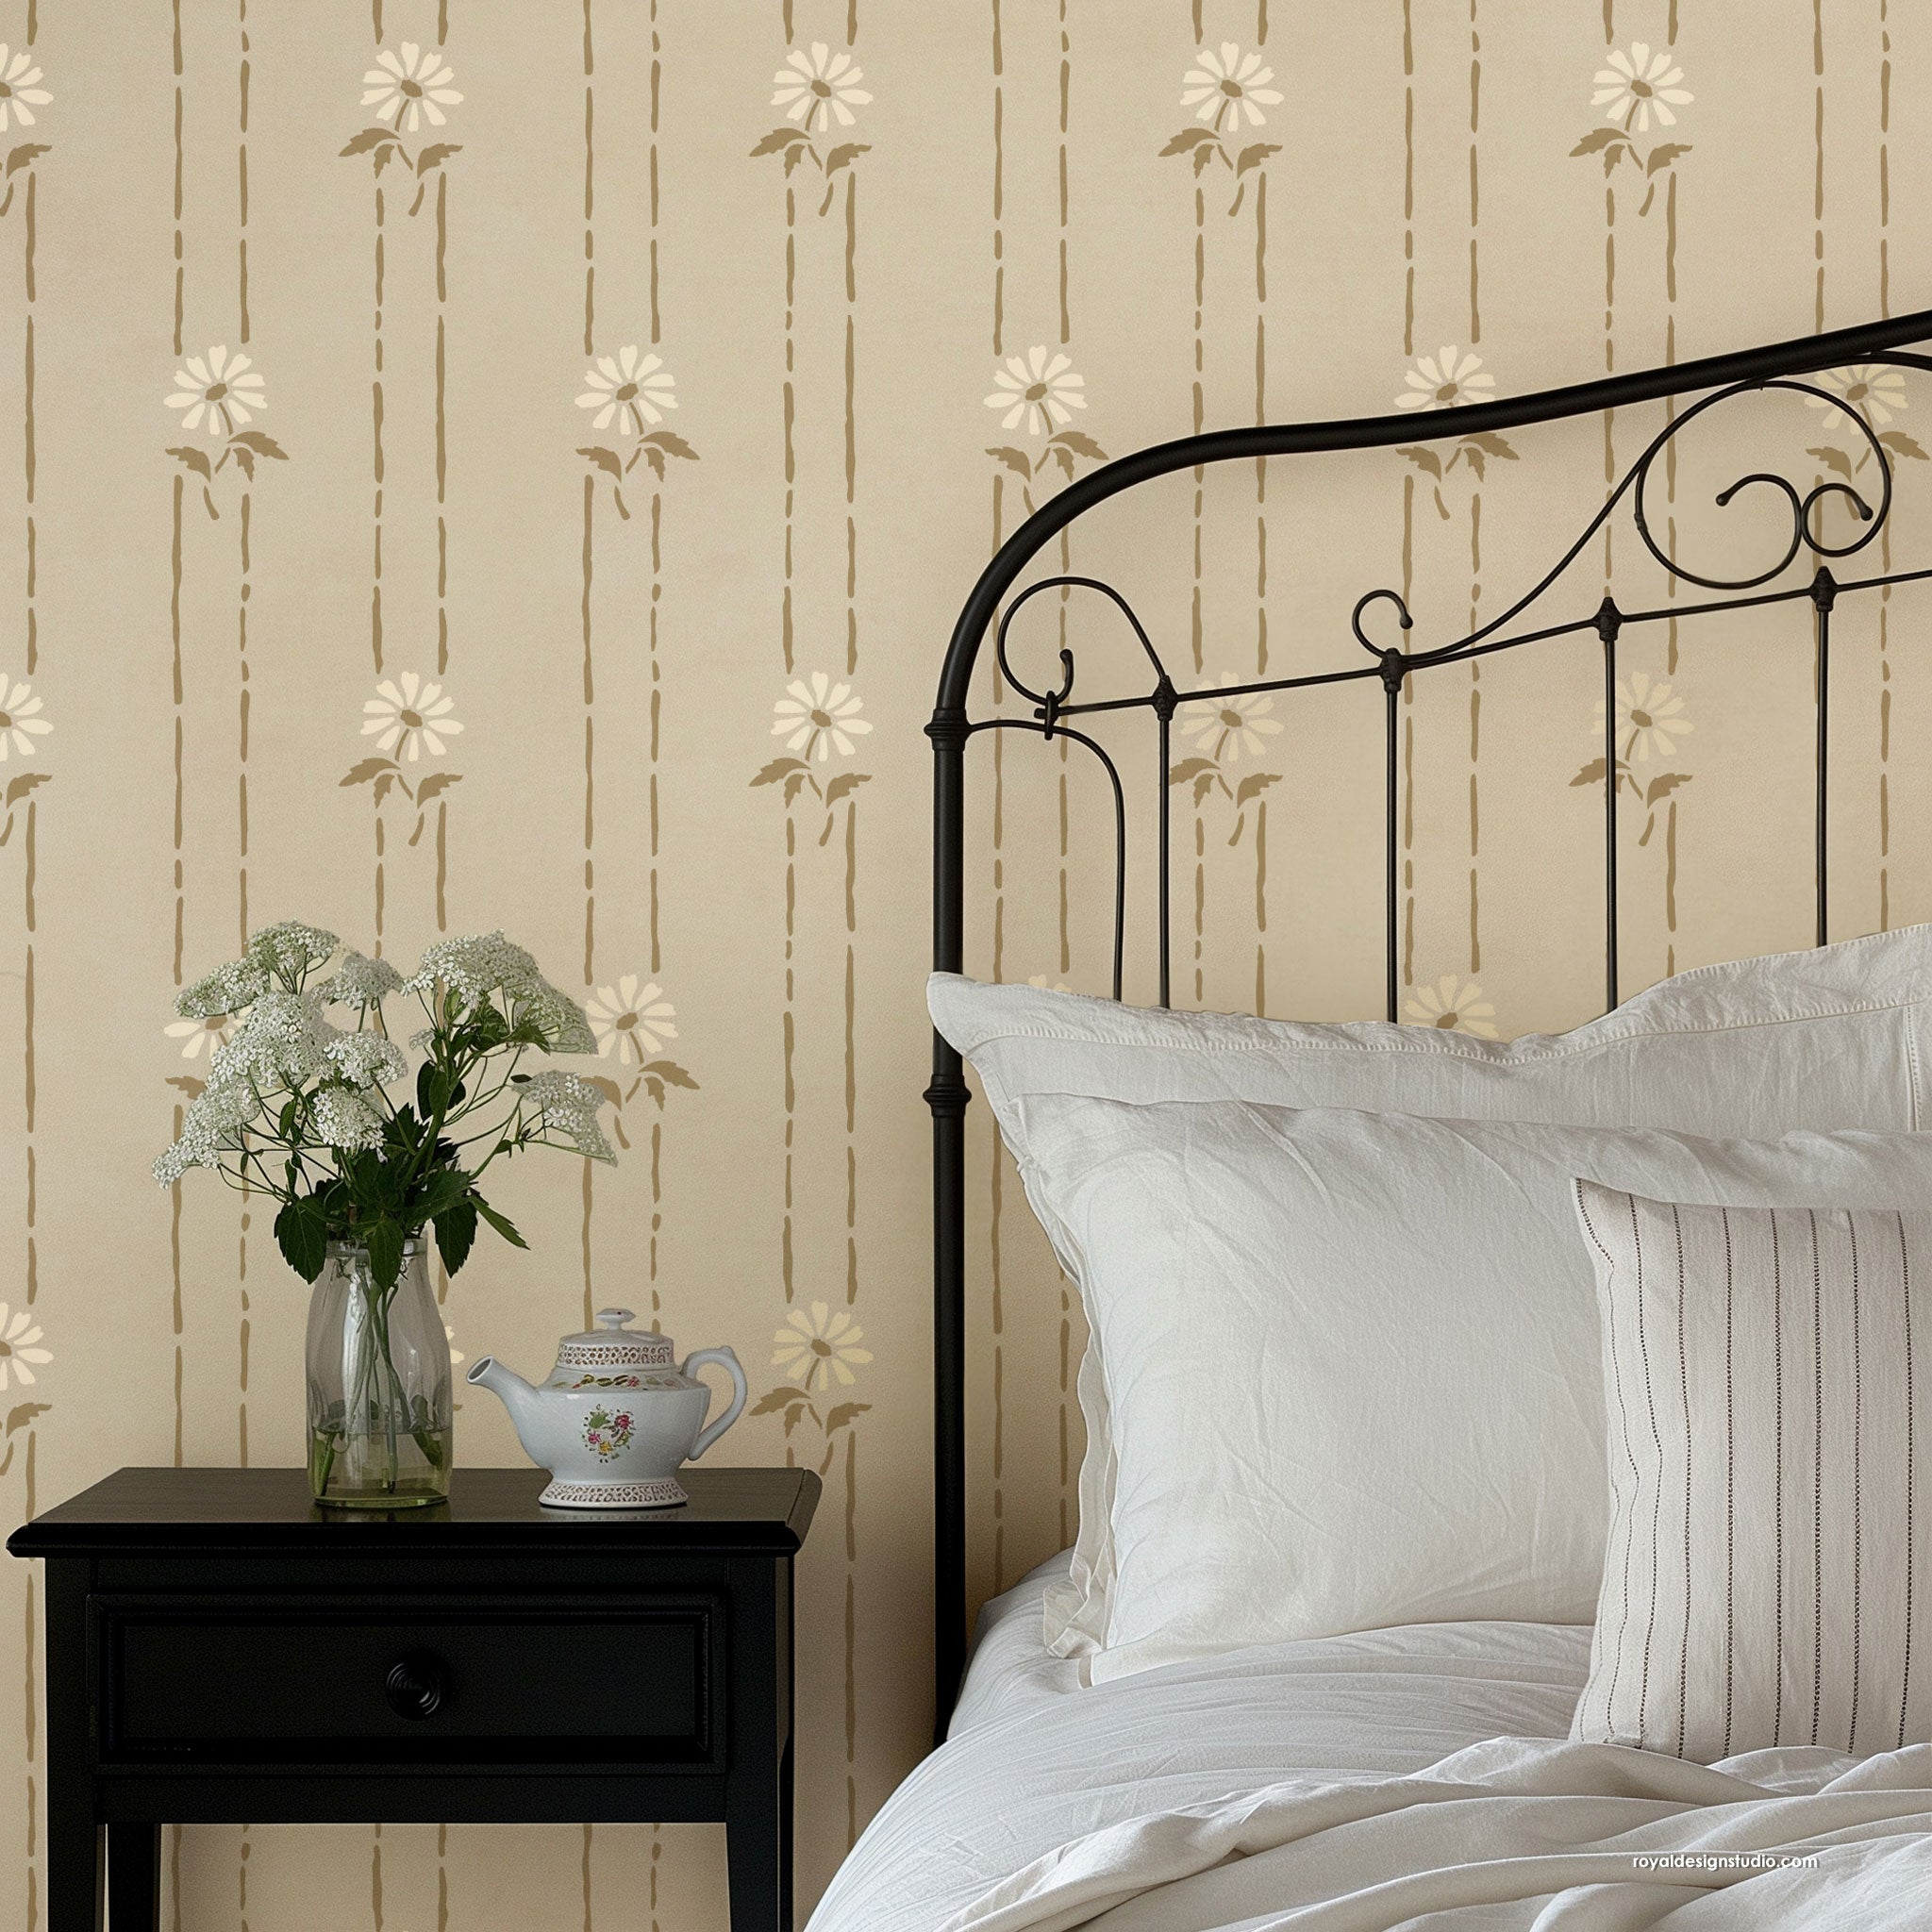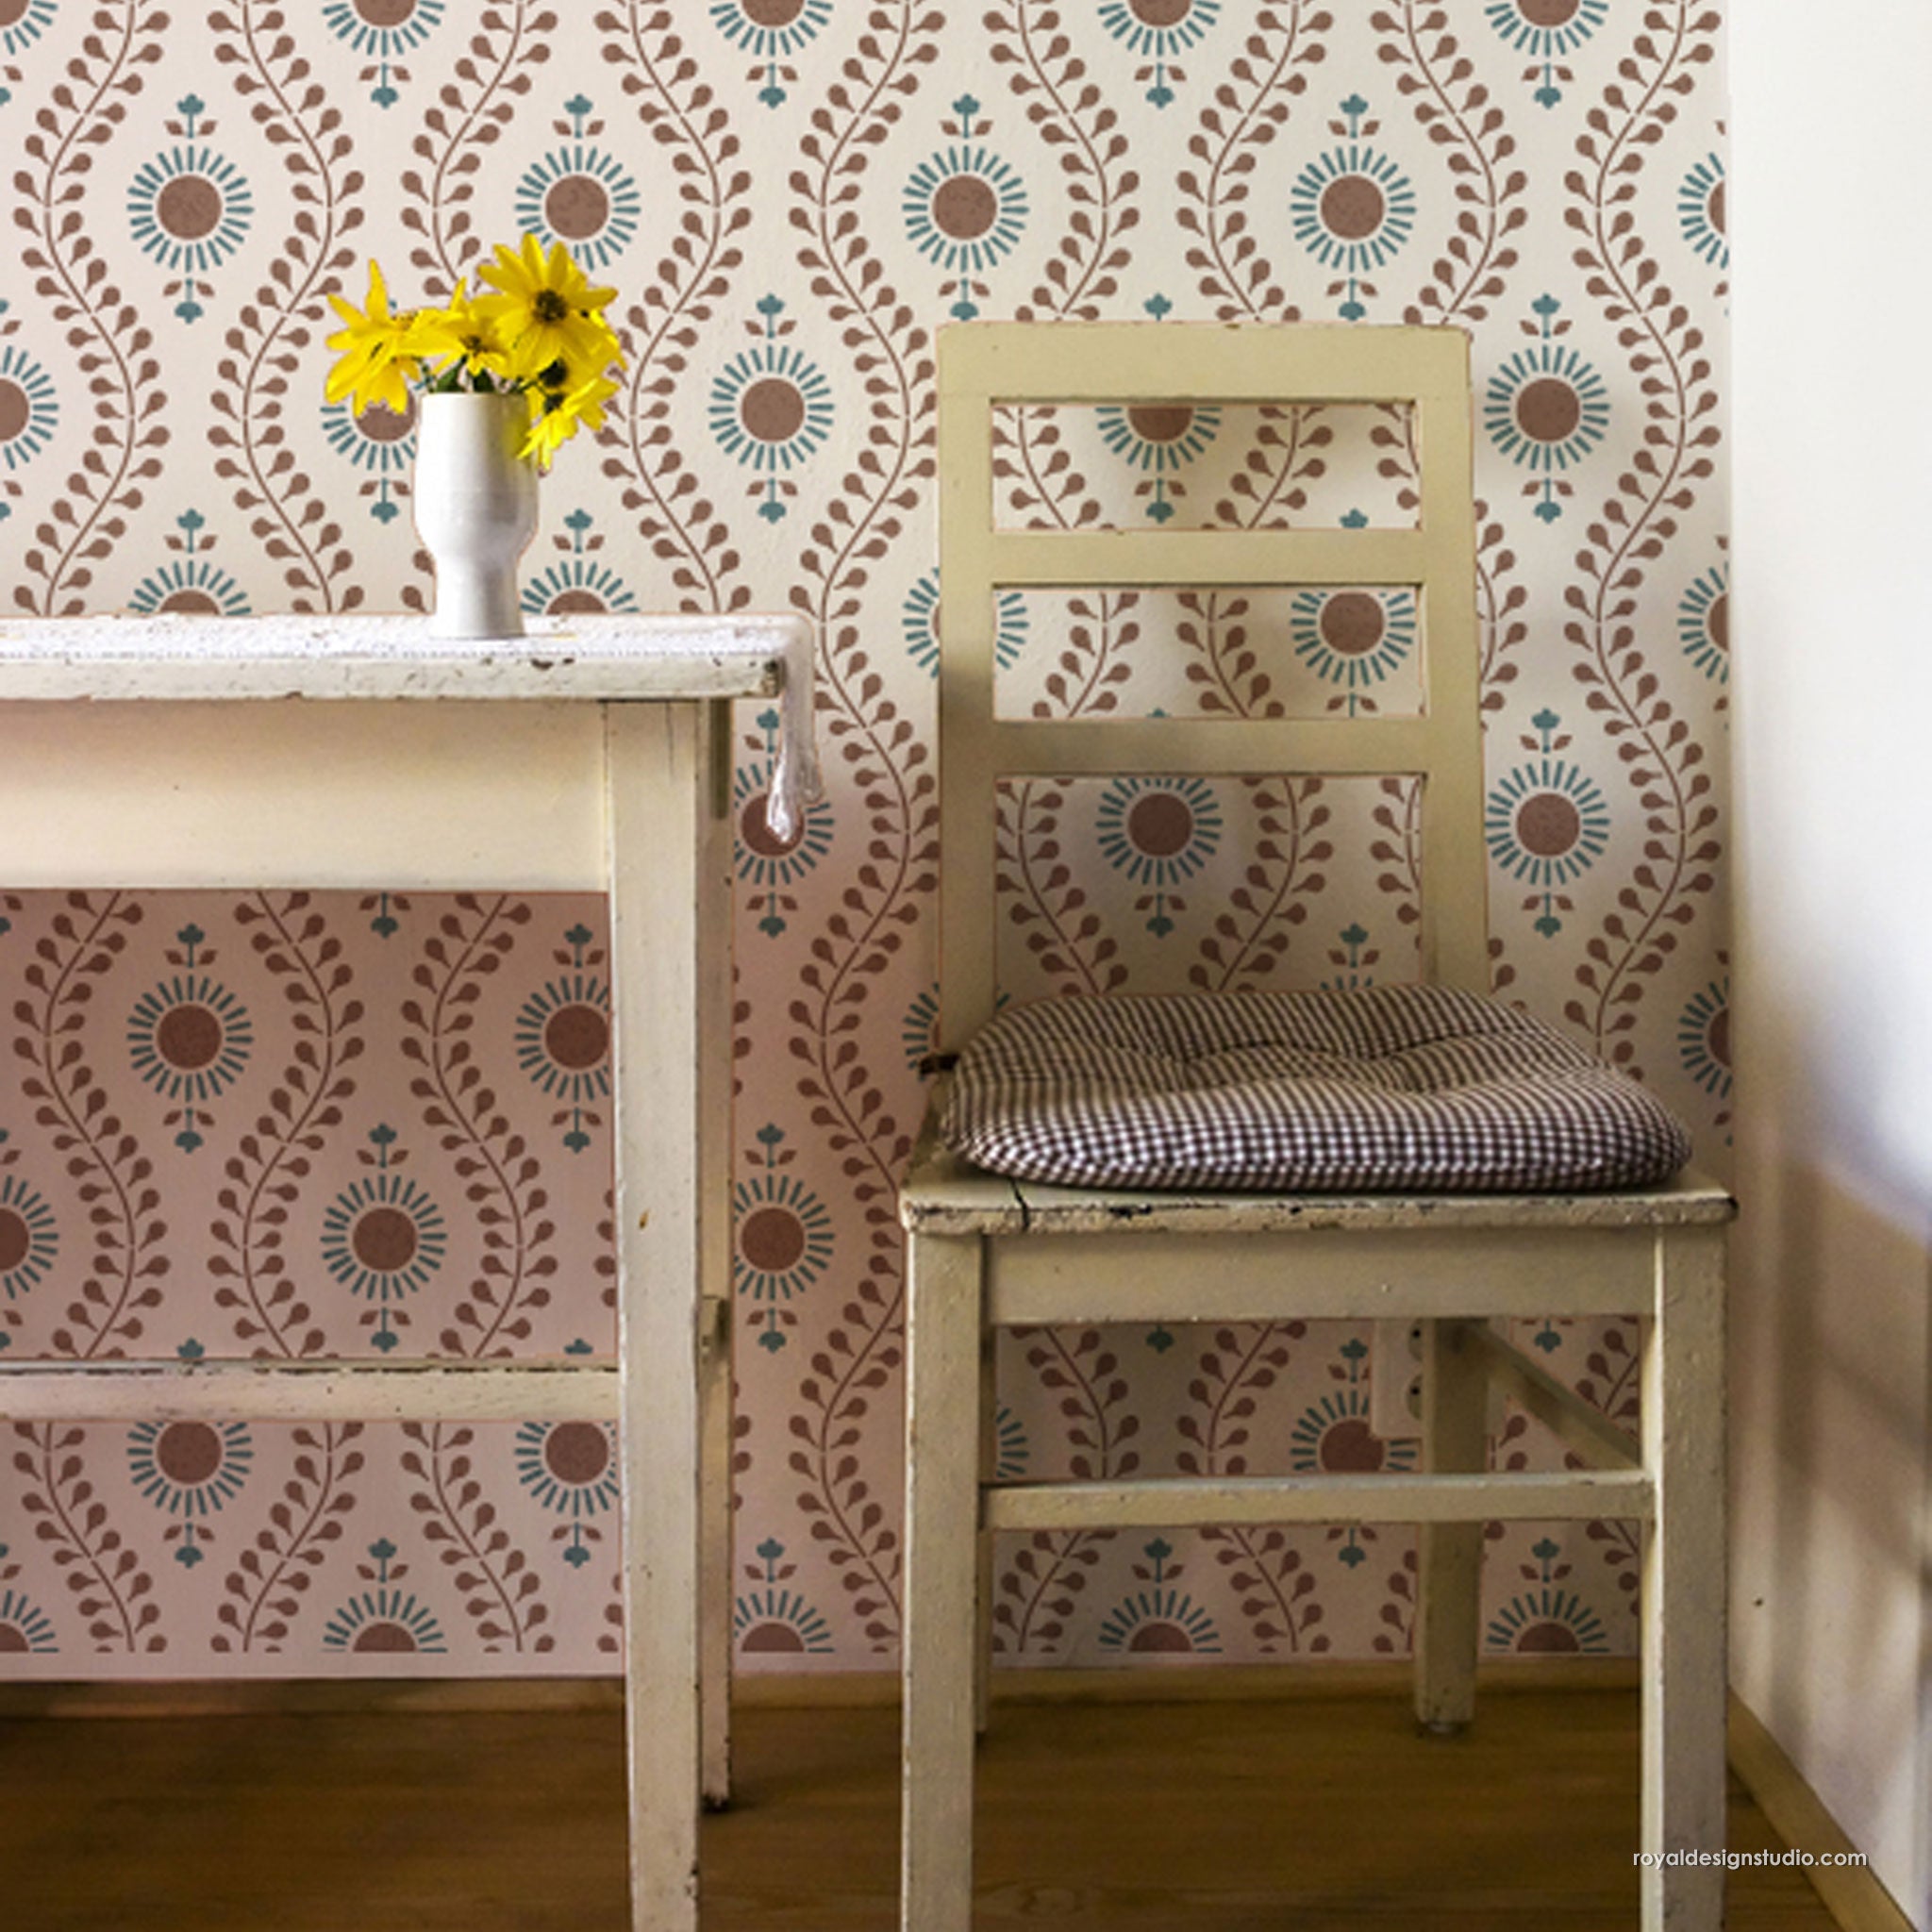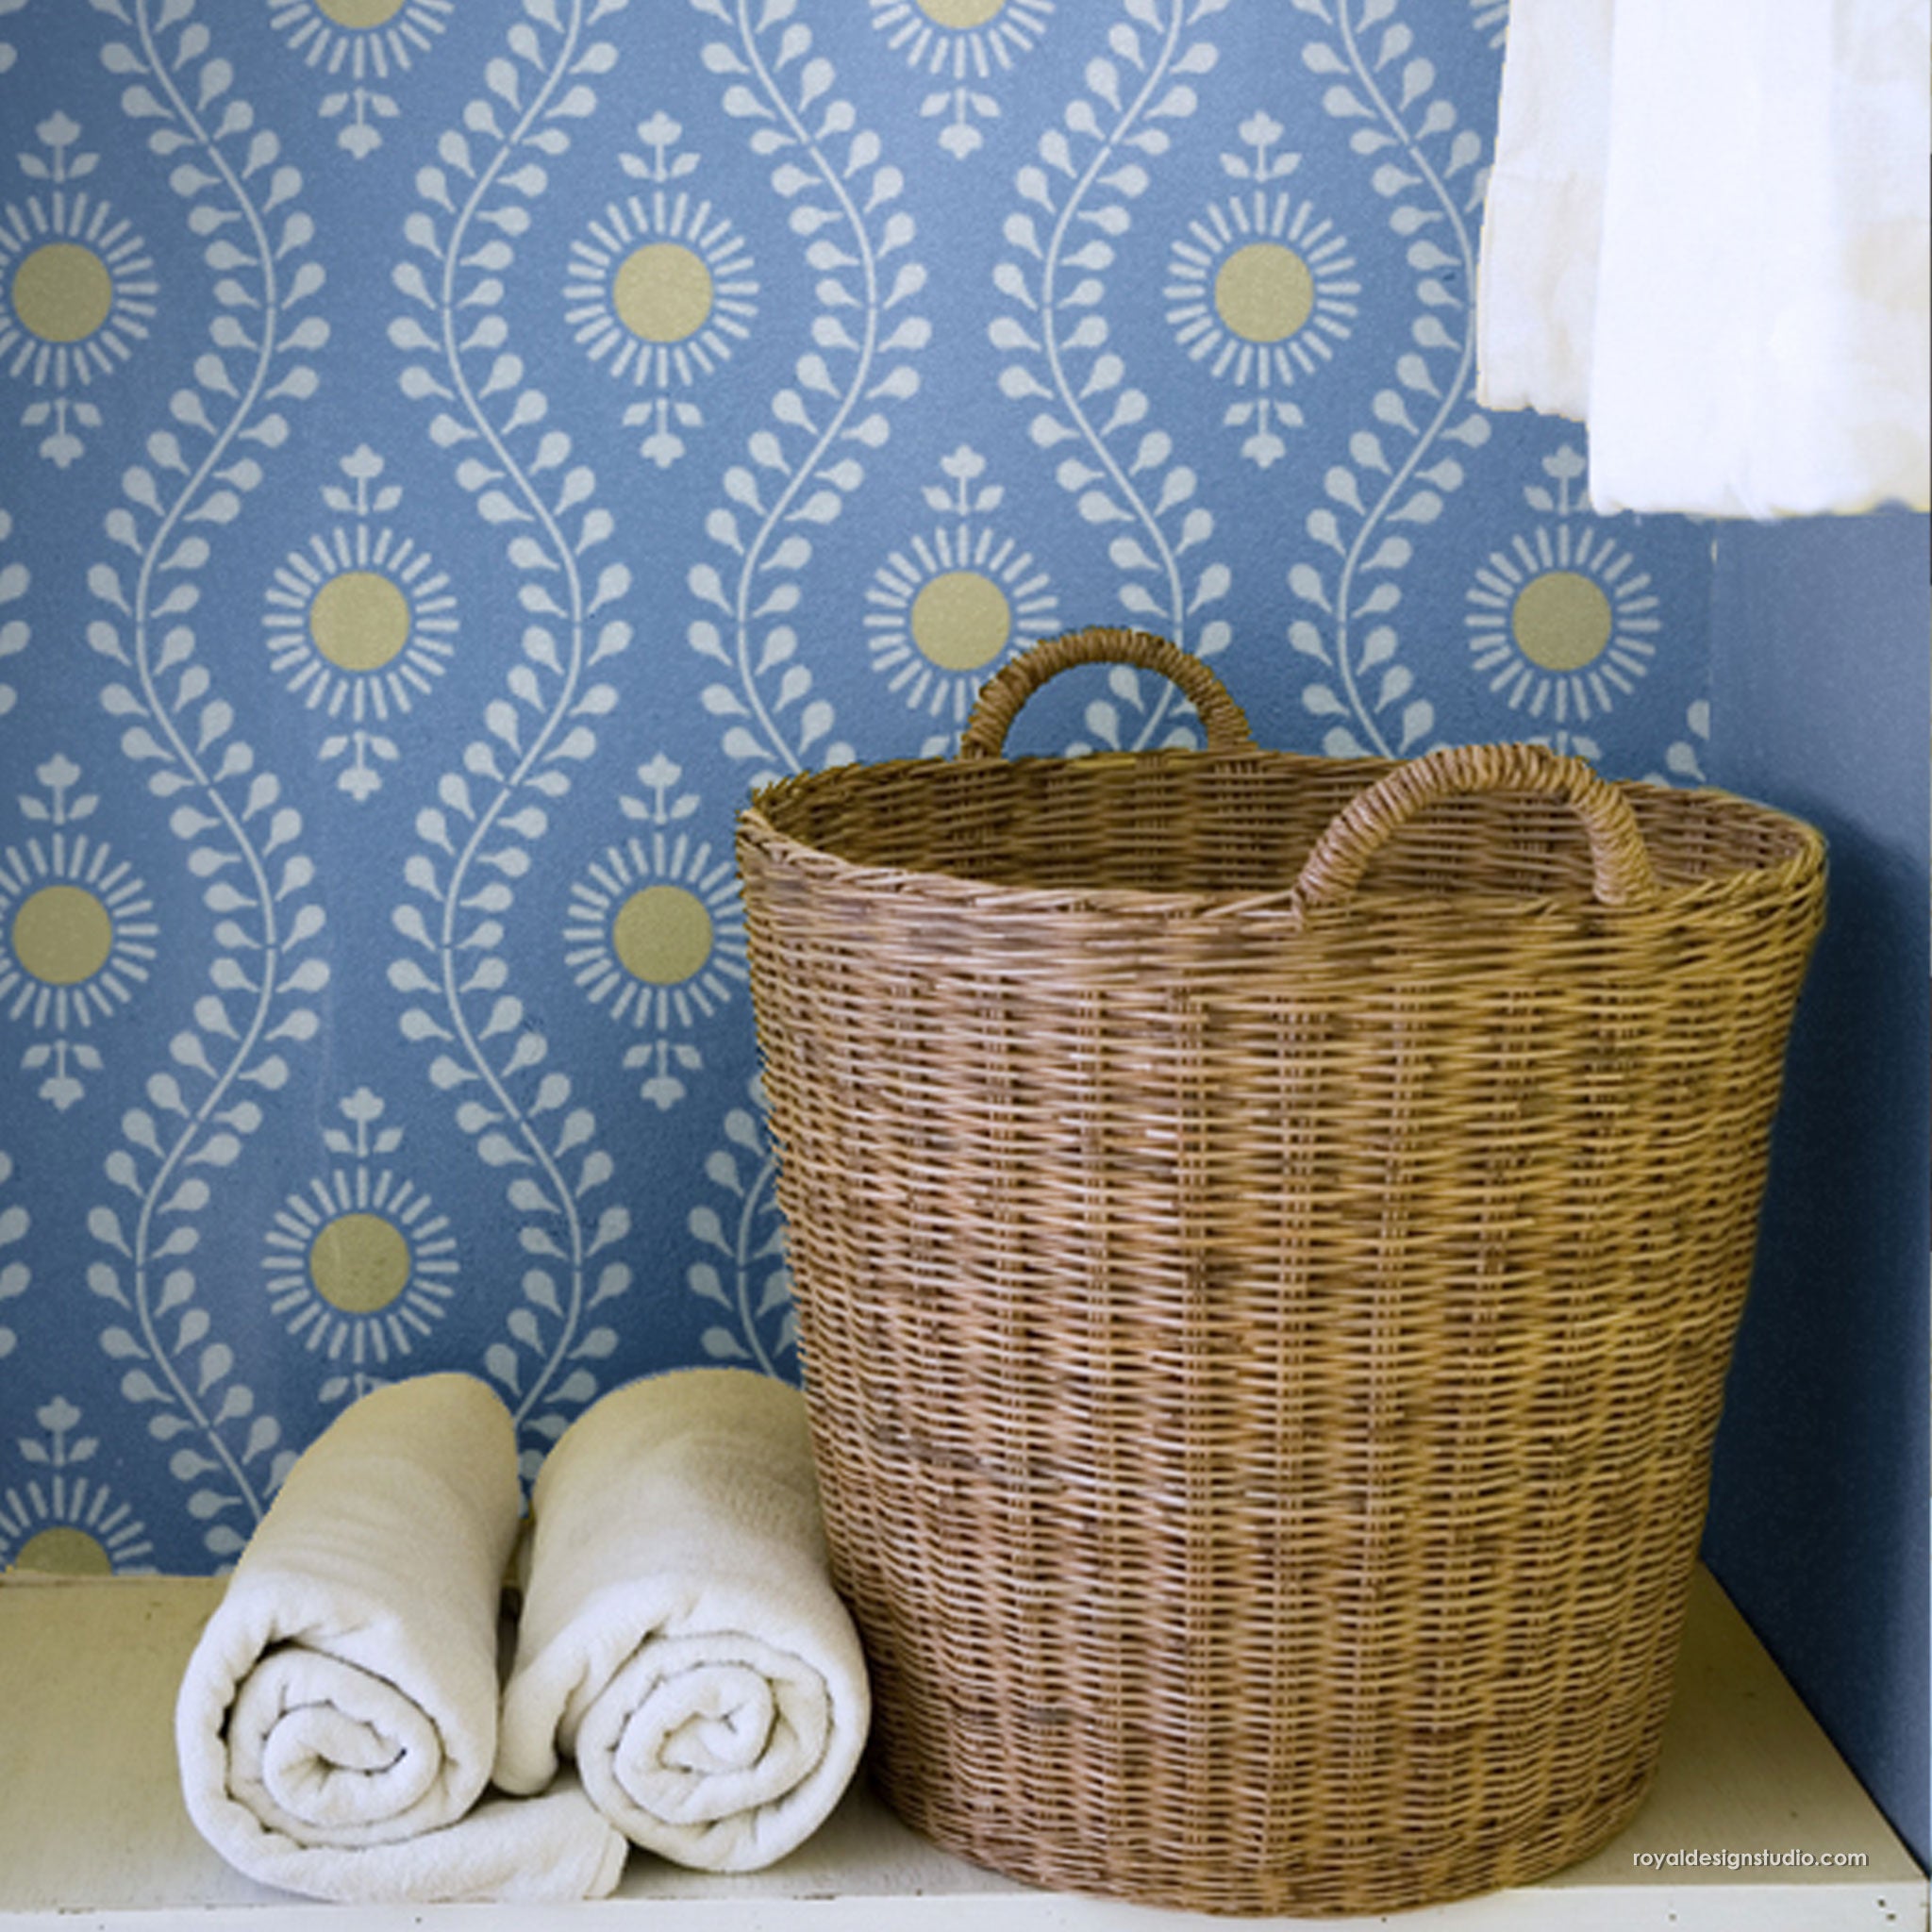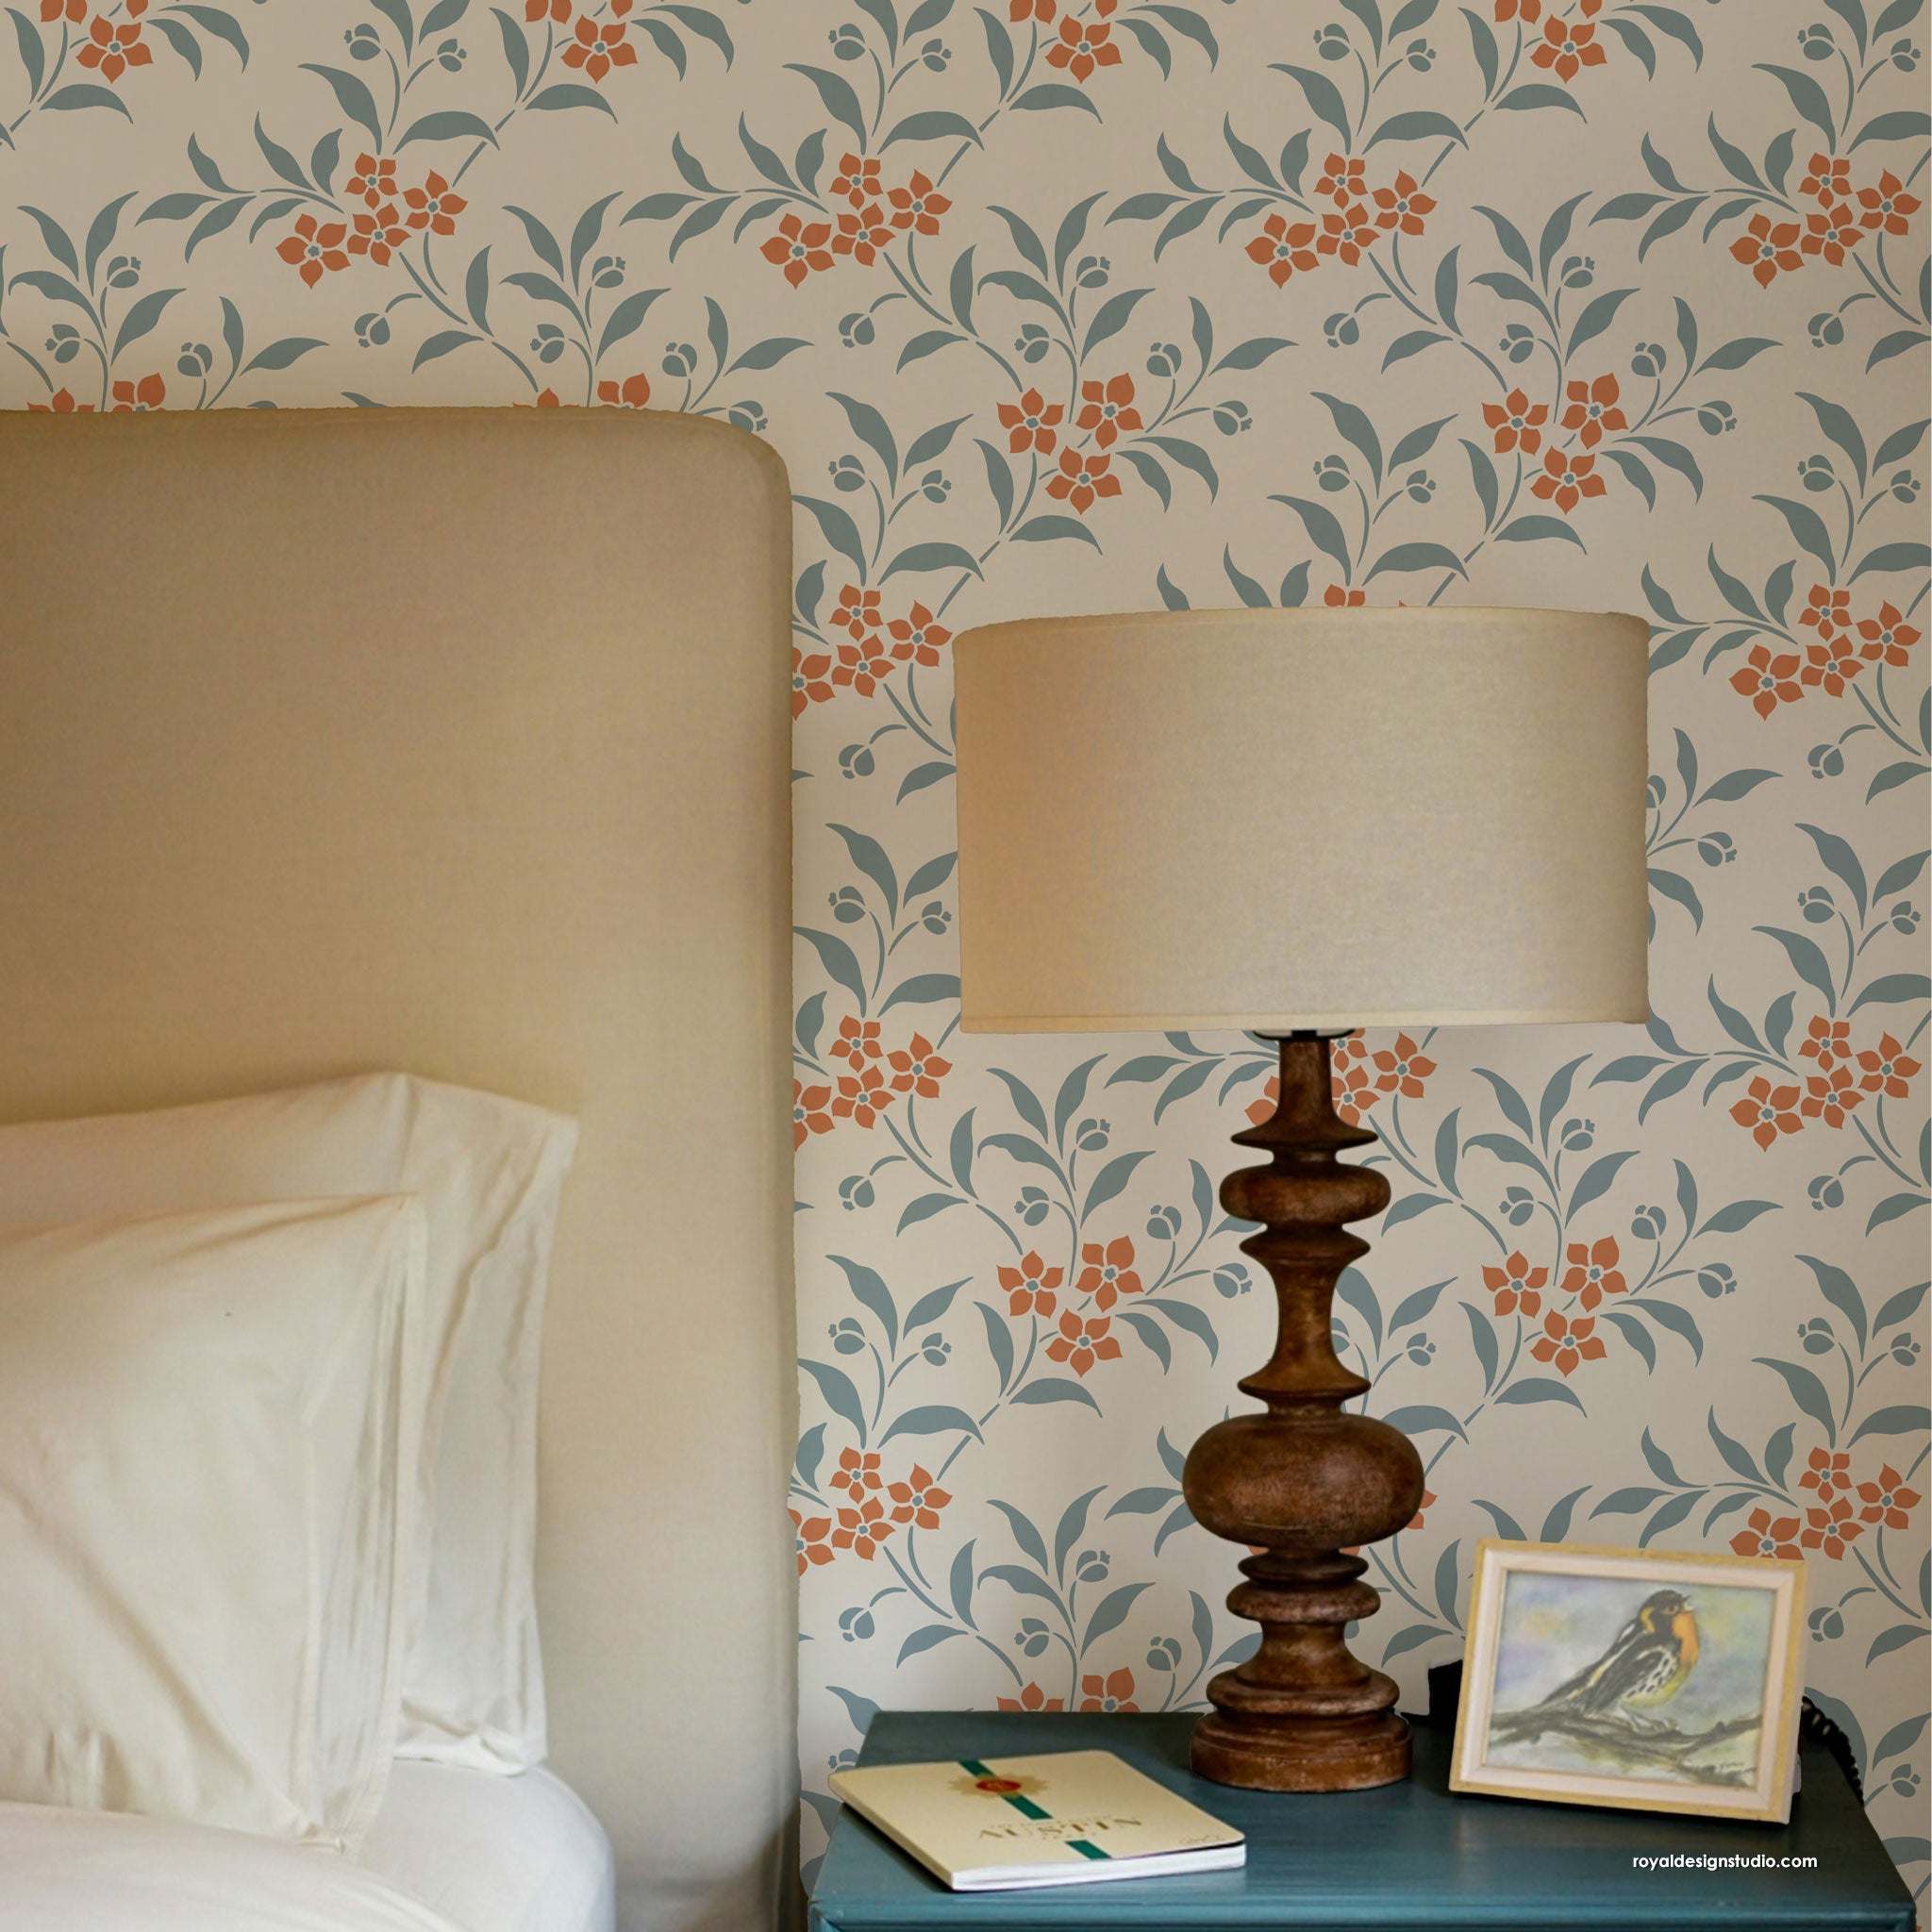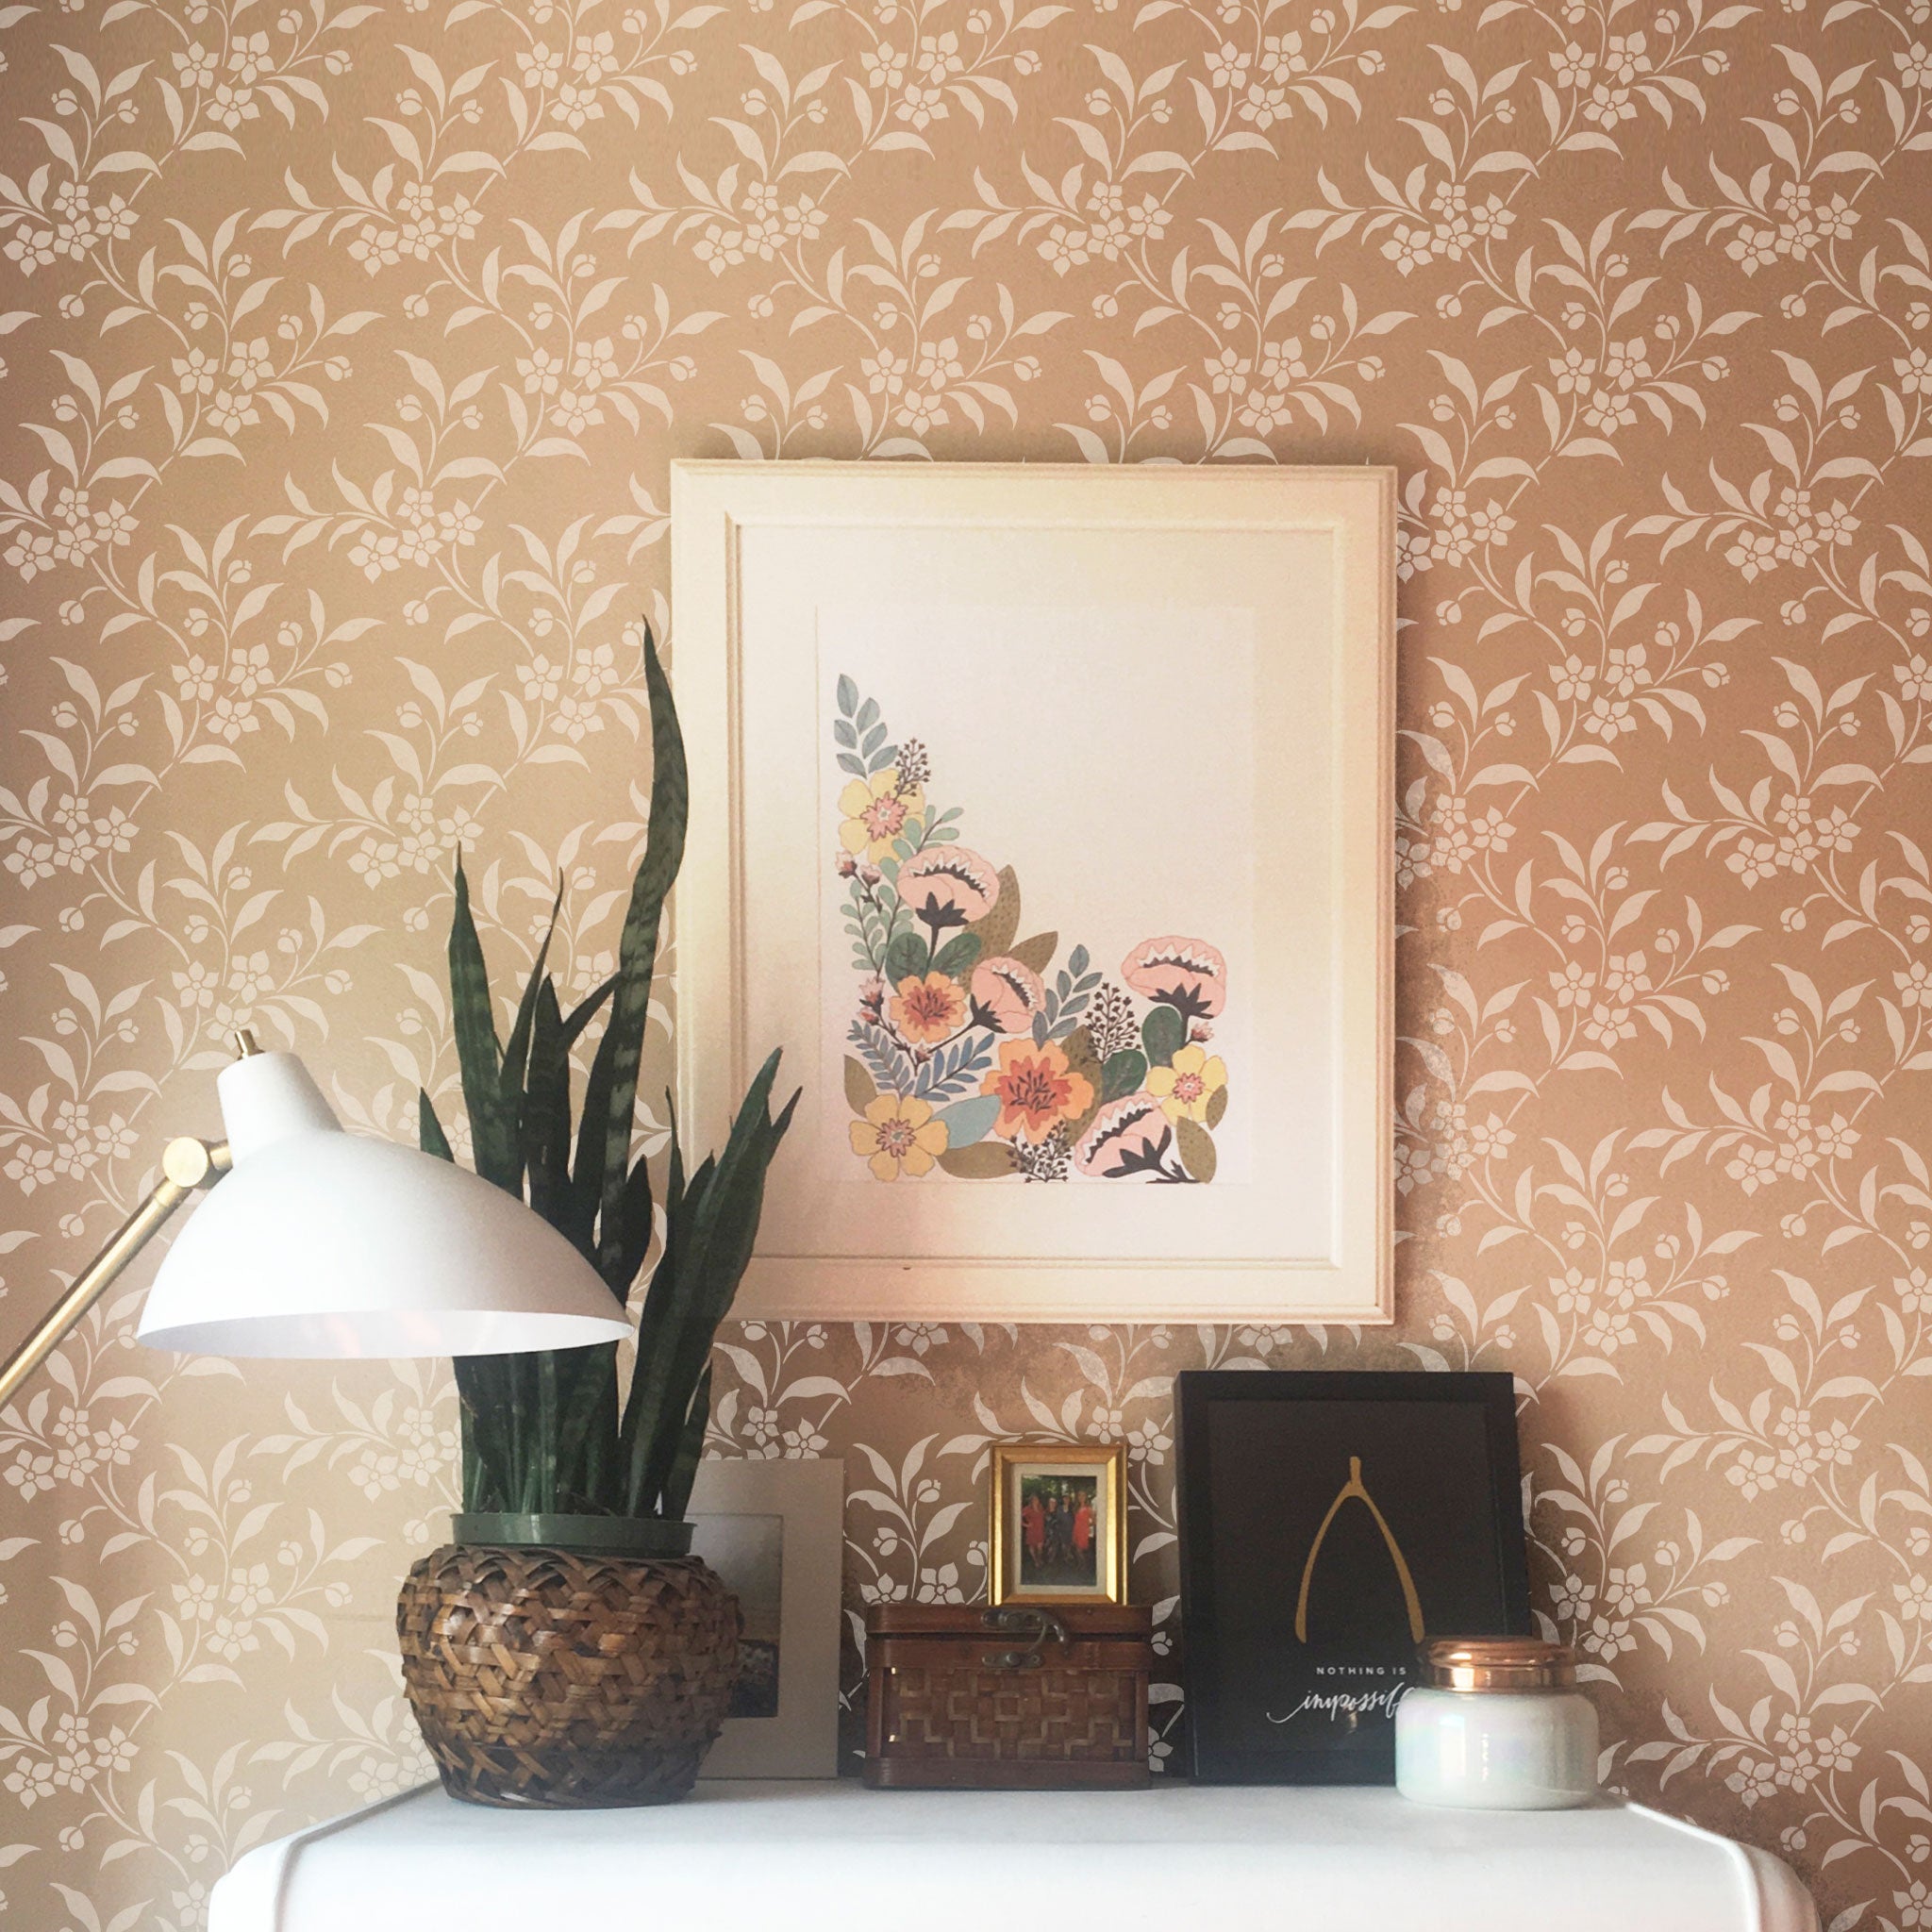
Here's a super pretty stencil how-to that is perfect for creating a unique, textured look with an allover damask wall stencil-or any stencil that you want to add a soft, lacy effect to. We combine this sponge stencil technique here with a simple drop shadow or shadow-shift technique that adds more depth and dimension. The sponge roller stencil effect goes very fast but the drop shadow technique requires that you stencil the pattern twice-which takes some extra time, so we recommend limiting this effect to a stenciled feature wall or lovely piece of furniture.
Stencil Supplies you will need:
- Royal Design Studio Stencil: Corsini Damask Damask Pattern Large
- Benjamin Moor Aura Paint: Cotswald/AF-150 (base coat)
- 6" Sea Sponge Roller and Paint Roller Frame
- Large Sea Wool Sponge
- 8" Paint Roller tray
- 1 1/2" Stencil Brush
- Americana Craft Paint in Neutral Grey
- Folk Art Extender
- Valspar Latex paint in Swiss Coffee (flat)
- Blue Painter's Tape and Paper Towels
- Contractor's Butcher Paper
Step1: Mix a little Folk Art Extender into your acrylic paint to provide better paint flow off your stencil brush, as well as a softer, more translucent stenciled "shadow". Load just the tips of a large stencil brush and offload excess paint onto good quality paper towels. Stencil in the open areas of your pattern using a soft, swirling motion with the brush.
Note: Alternatively, you could use a soft gray latex paint and a flocked foam roller to roll the first stenciled layer on the wall. See tips for roller stenciling here.

Step 2: Repeat the stencil pattern with this first color over your project area. All of our allover pattern stencils have built in registration marks which make it easy to maintain perfect alignment with your stencil. The Corsini Damask Stencil uses laser cut stencil lines that correspond to previously stenciled areas as you move the stencil across the wall. Clean your stencil when finished-we recommend using Motsenbackers Lift-Off #5 latex paint remover!
Step 3: Put some off-white latex paint (we used an old standard, Swiss Coffee) in a roller tray. Completely dampen your sponge roller and us a terry towel to squeeze out ALL excess water. The sponge should be completely wrung out-damp but definitely NOT dripping. Roll the dampened sponge through the paint in the tray and evenly redistribute paint and remove excess on the textured part of the paint tray. Roll gently on contractor's paper to remove even more paint.
Step 4: Replace your clean stencil over your original starting point for your stenciling. Keeping the stencil pattern level, shift the stencil on the diagonal (up and to the right) between 1/16" and 1/8". The amount of your lighter background color that you see exposed will end up being the amount of "shadow" that you will be left with after the next step.
STENCIL PRO TIP: Practice this first on some scrap paper so that you get the amount of "shift" down. Shift too much and you will be left with a dizzying effect. Shift too little and you won't have a definitive shadow.
Use a VERY LIGHT pressure to roll the paint-loaded sponge roller across the exposed stencil areas. You really just want to allow the weight of the roller itself to do the work for you. If you press too hard, you will risk pushing paint under the stencil and also lose the lacy, open effect of the sponge roller. You are aiming for something similar to the look of powdered sugar that has been sprinkled over a cake!
Lift the stencil to check your look often. If there are areas that you would like to fill in a little more with sponged paint, go on to Step 5.
Step 5: I like to use a regular dampened sea sponge to fill in smaller areas of the stencil with more control. Wet and wring out your sponge well and dab the prickly side into the paint in your paint tray. Offload excess paint as before onto contractor's paper.

Step 6: Dab the paint-loaded sponge lightly here and there when and where you want to create a more even look. Go slowly with this and keep lifting the stencil to see how it looks and where you might need to fill in more. Take care not to fill in TOO much paint, or too evenly, as you will lose the textured effect if you fill in with too much paint. You should be able to move your stencil almost immediately without smearing previously sponged areas if you are offloading your sponge and sponge roller as directed!
Final Stencil Finish: The final look of this stenciled finish is very soft and special-yet dramatic and dimensional thanks to the shadow layer. You can do this stencil technique without the shadow layer also, of course, and it can provide a very pretty tone-on-tone effect when done with subtle colors. Alternatively, chose dramatically different colors-like white sponged over black for a more dramatic stenciled effect.
Do you love this stencil-shift or "drop shadow" effect? Be sure to check also out this Stencil How-to featuring a drop shadow technique with our Royal Stencil Creme stencil paints!


