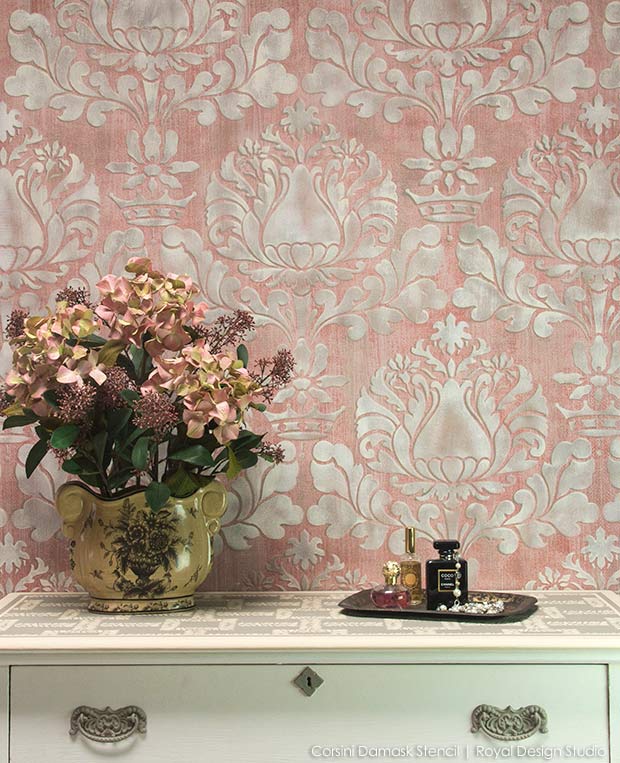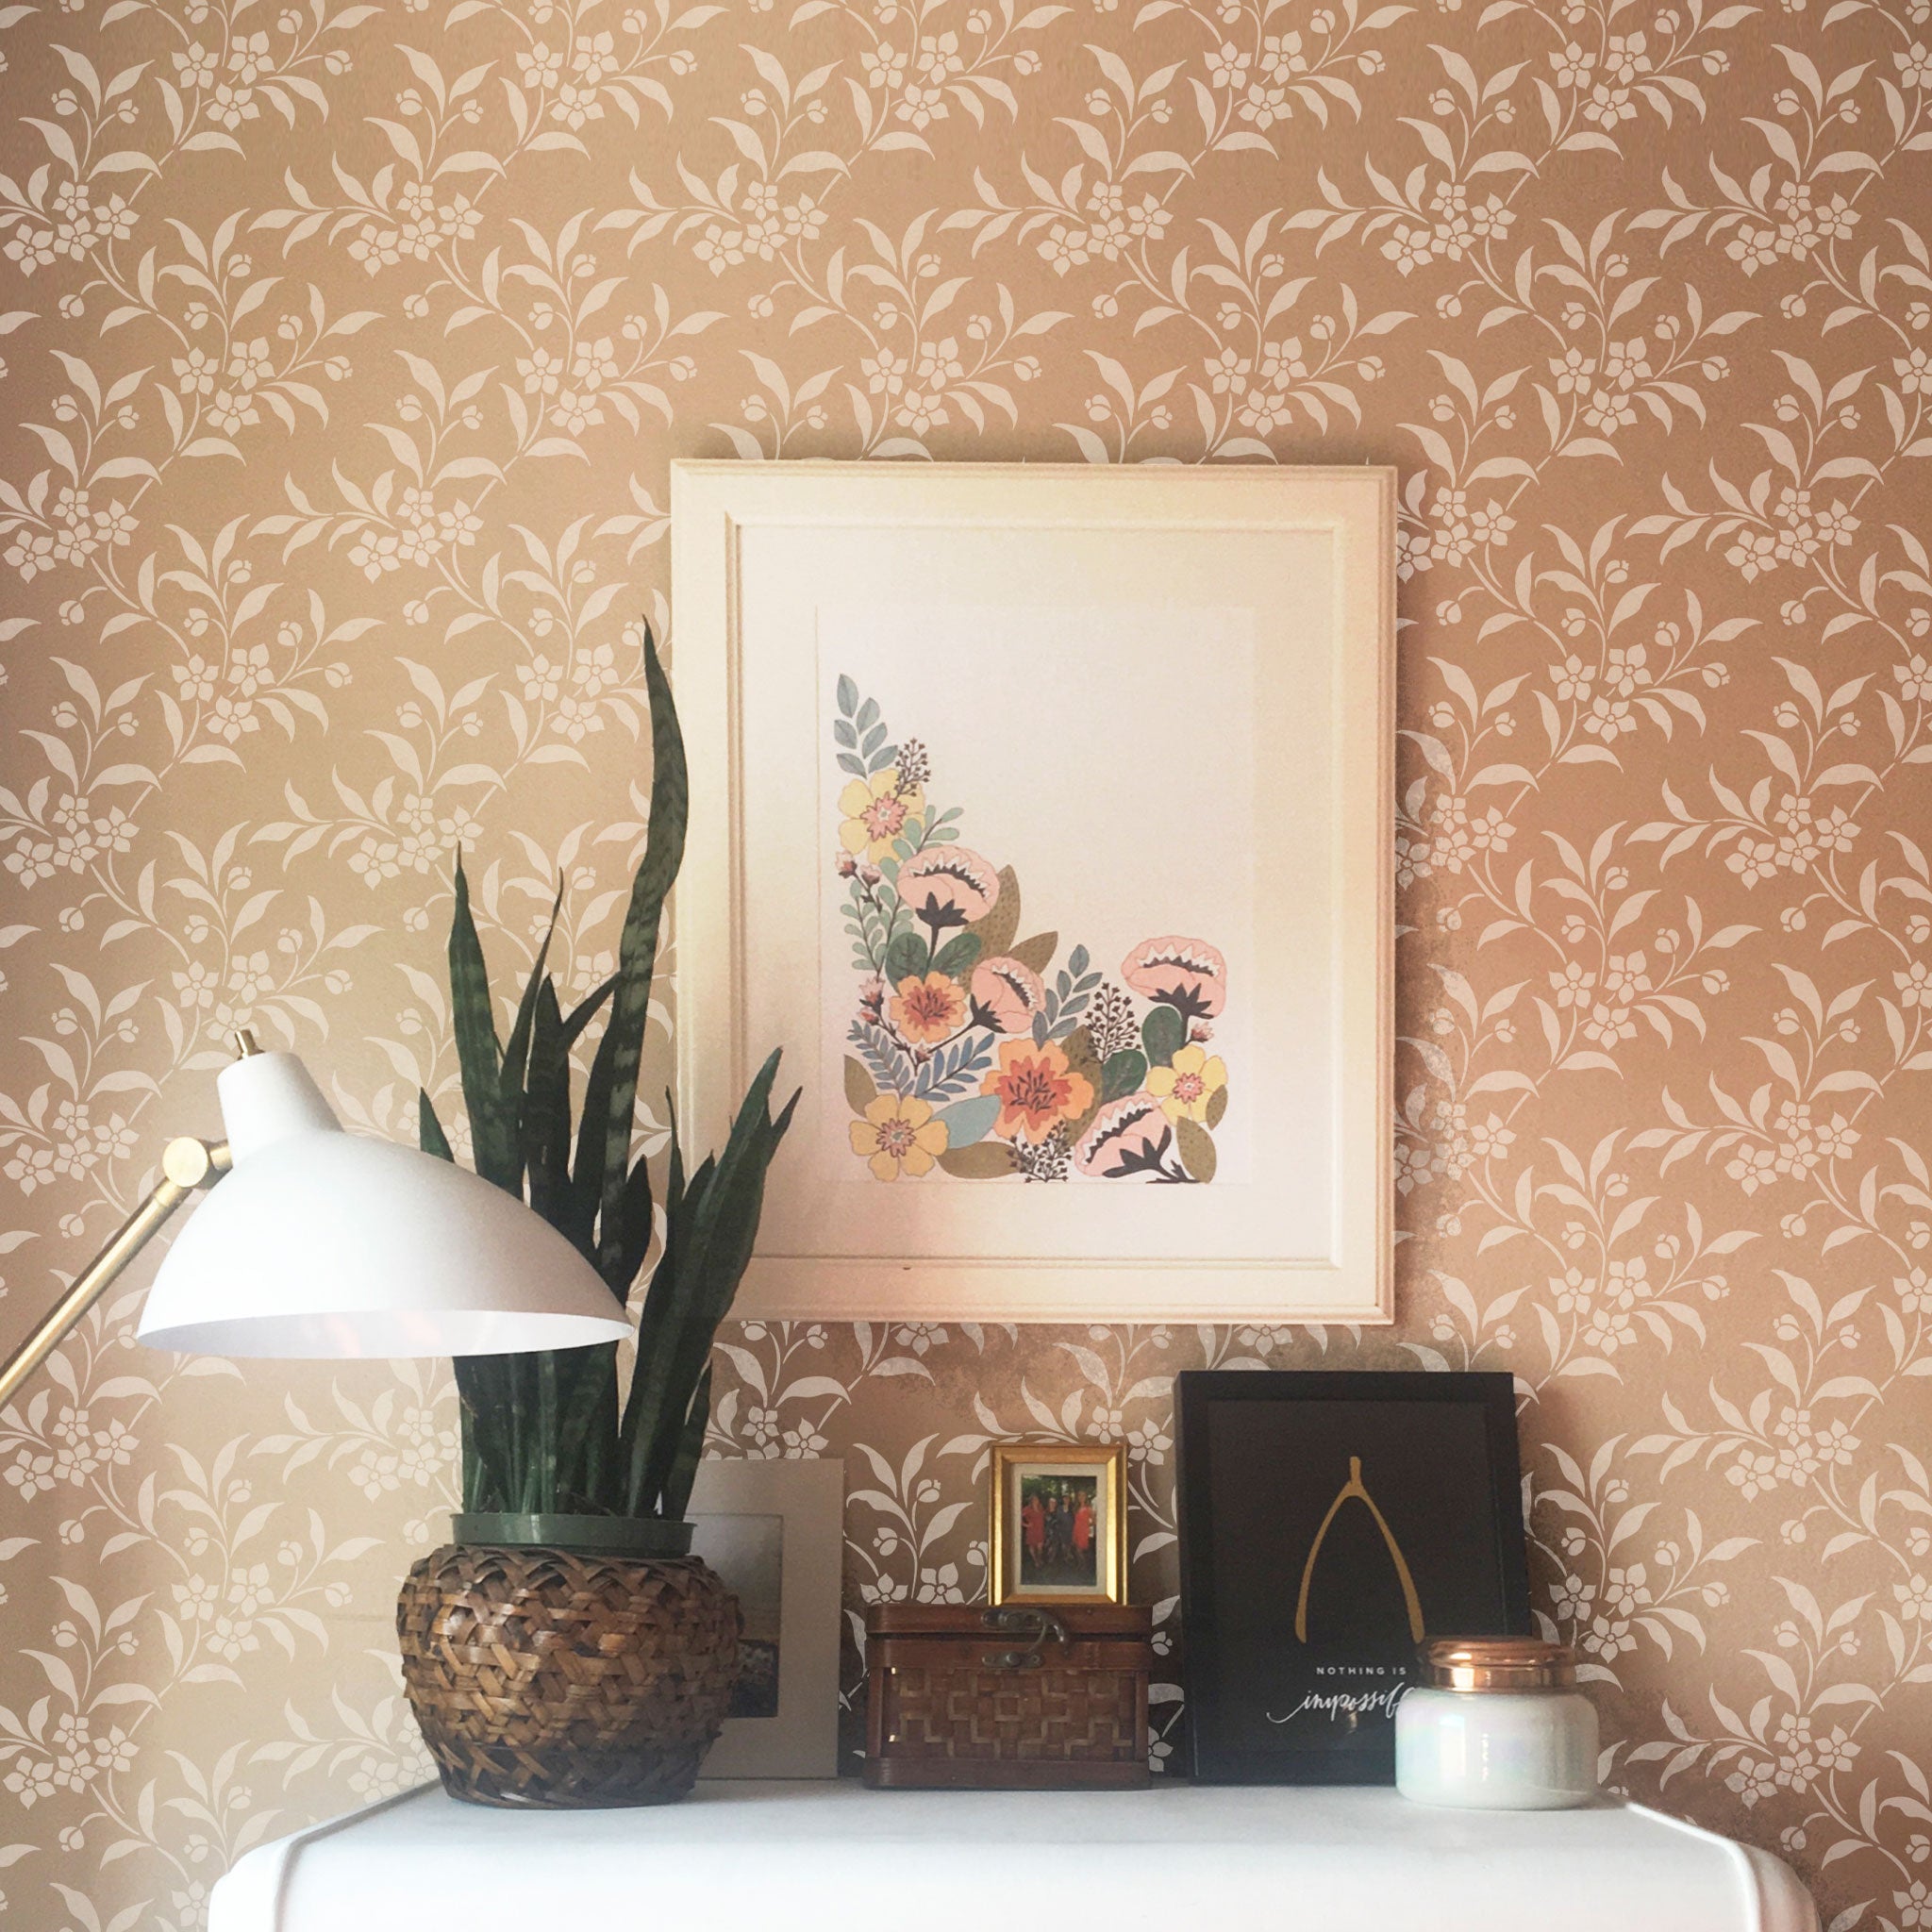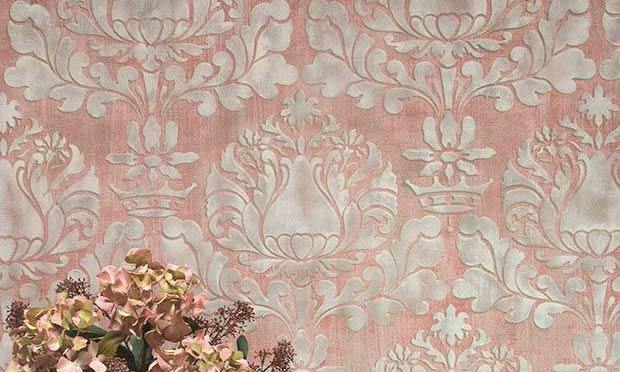
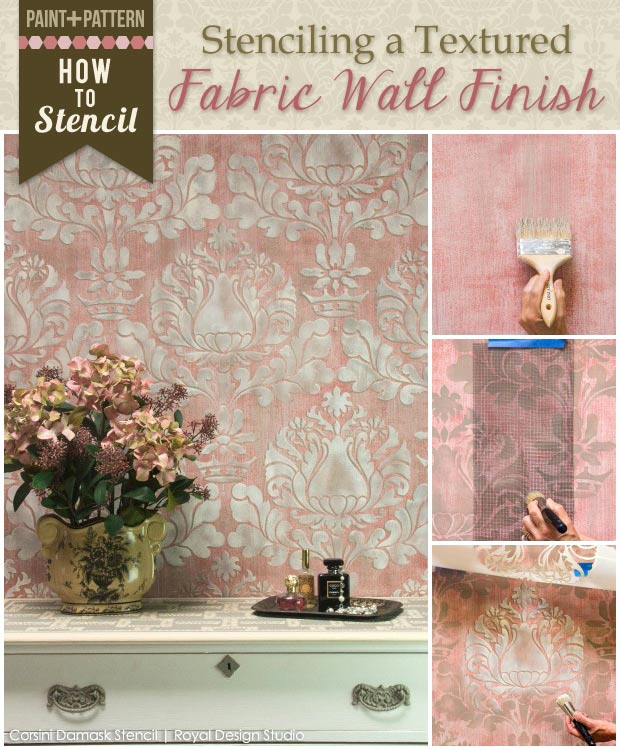
Today’s How to Stencil post features what may be one of my favorite stencil finishes of all time-a stenciled texture finish that replicates the look of faded damask fabric. And if YOU have some time, you too can recreate it from the detailed steps I outline below. I am always super inspired by beautiful fabrics and textiles, and many of the looks I love make their way into the patterned finishes I create. For this stenciled wall treatment, I pulled out all the stops. Well, actually, I pulled out all the screens. I am going to show you how to stencil with 3 different types of screen textures to add more depth and visual interest to your stenciling. It’s a simple little trick that adds so much, so feel free to add one, two, or all three textures to your next stencil project!
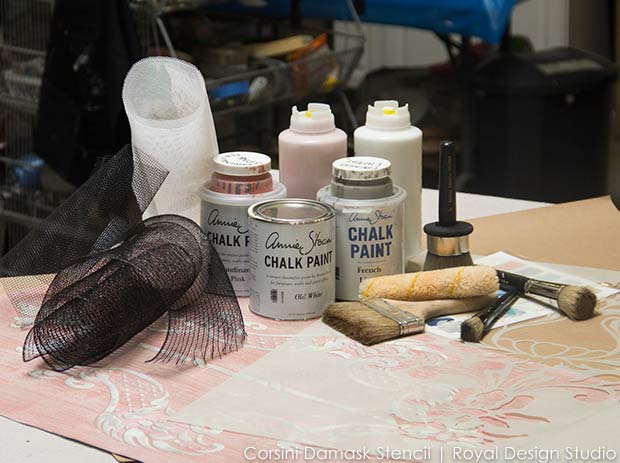
There are many different types of “open weave” materials that you can use to stencil through, such as lace, netting, needlepoint screens to name a few. For this project I found three different types of screen fabric that each produce a distinctly different look. The first screen I used for the base texture is actually a wide metallic ribbon that I found in the ribbon aisle at Michaels. It comes 10-12″ wide in a roll that is easy to cut into useable lengths. Second, I used a metal vent screen that is sold at Home Depot. I believe it is used to keep unwanted critters from crawling through your roof vents. The holes are slightly larger than regular window screen, which is what I was after. Lastly, I used the white fishnet tulle fabric from the fabric store. It is relatively inexpensive and creates a lovely soft look.
Other supplies for this stencil project:
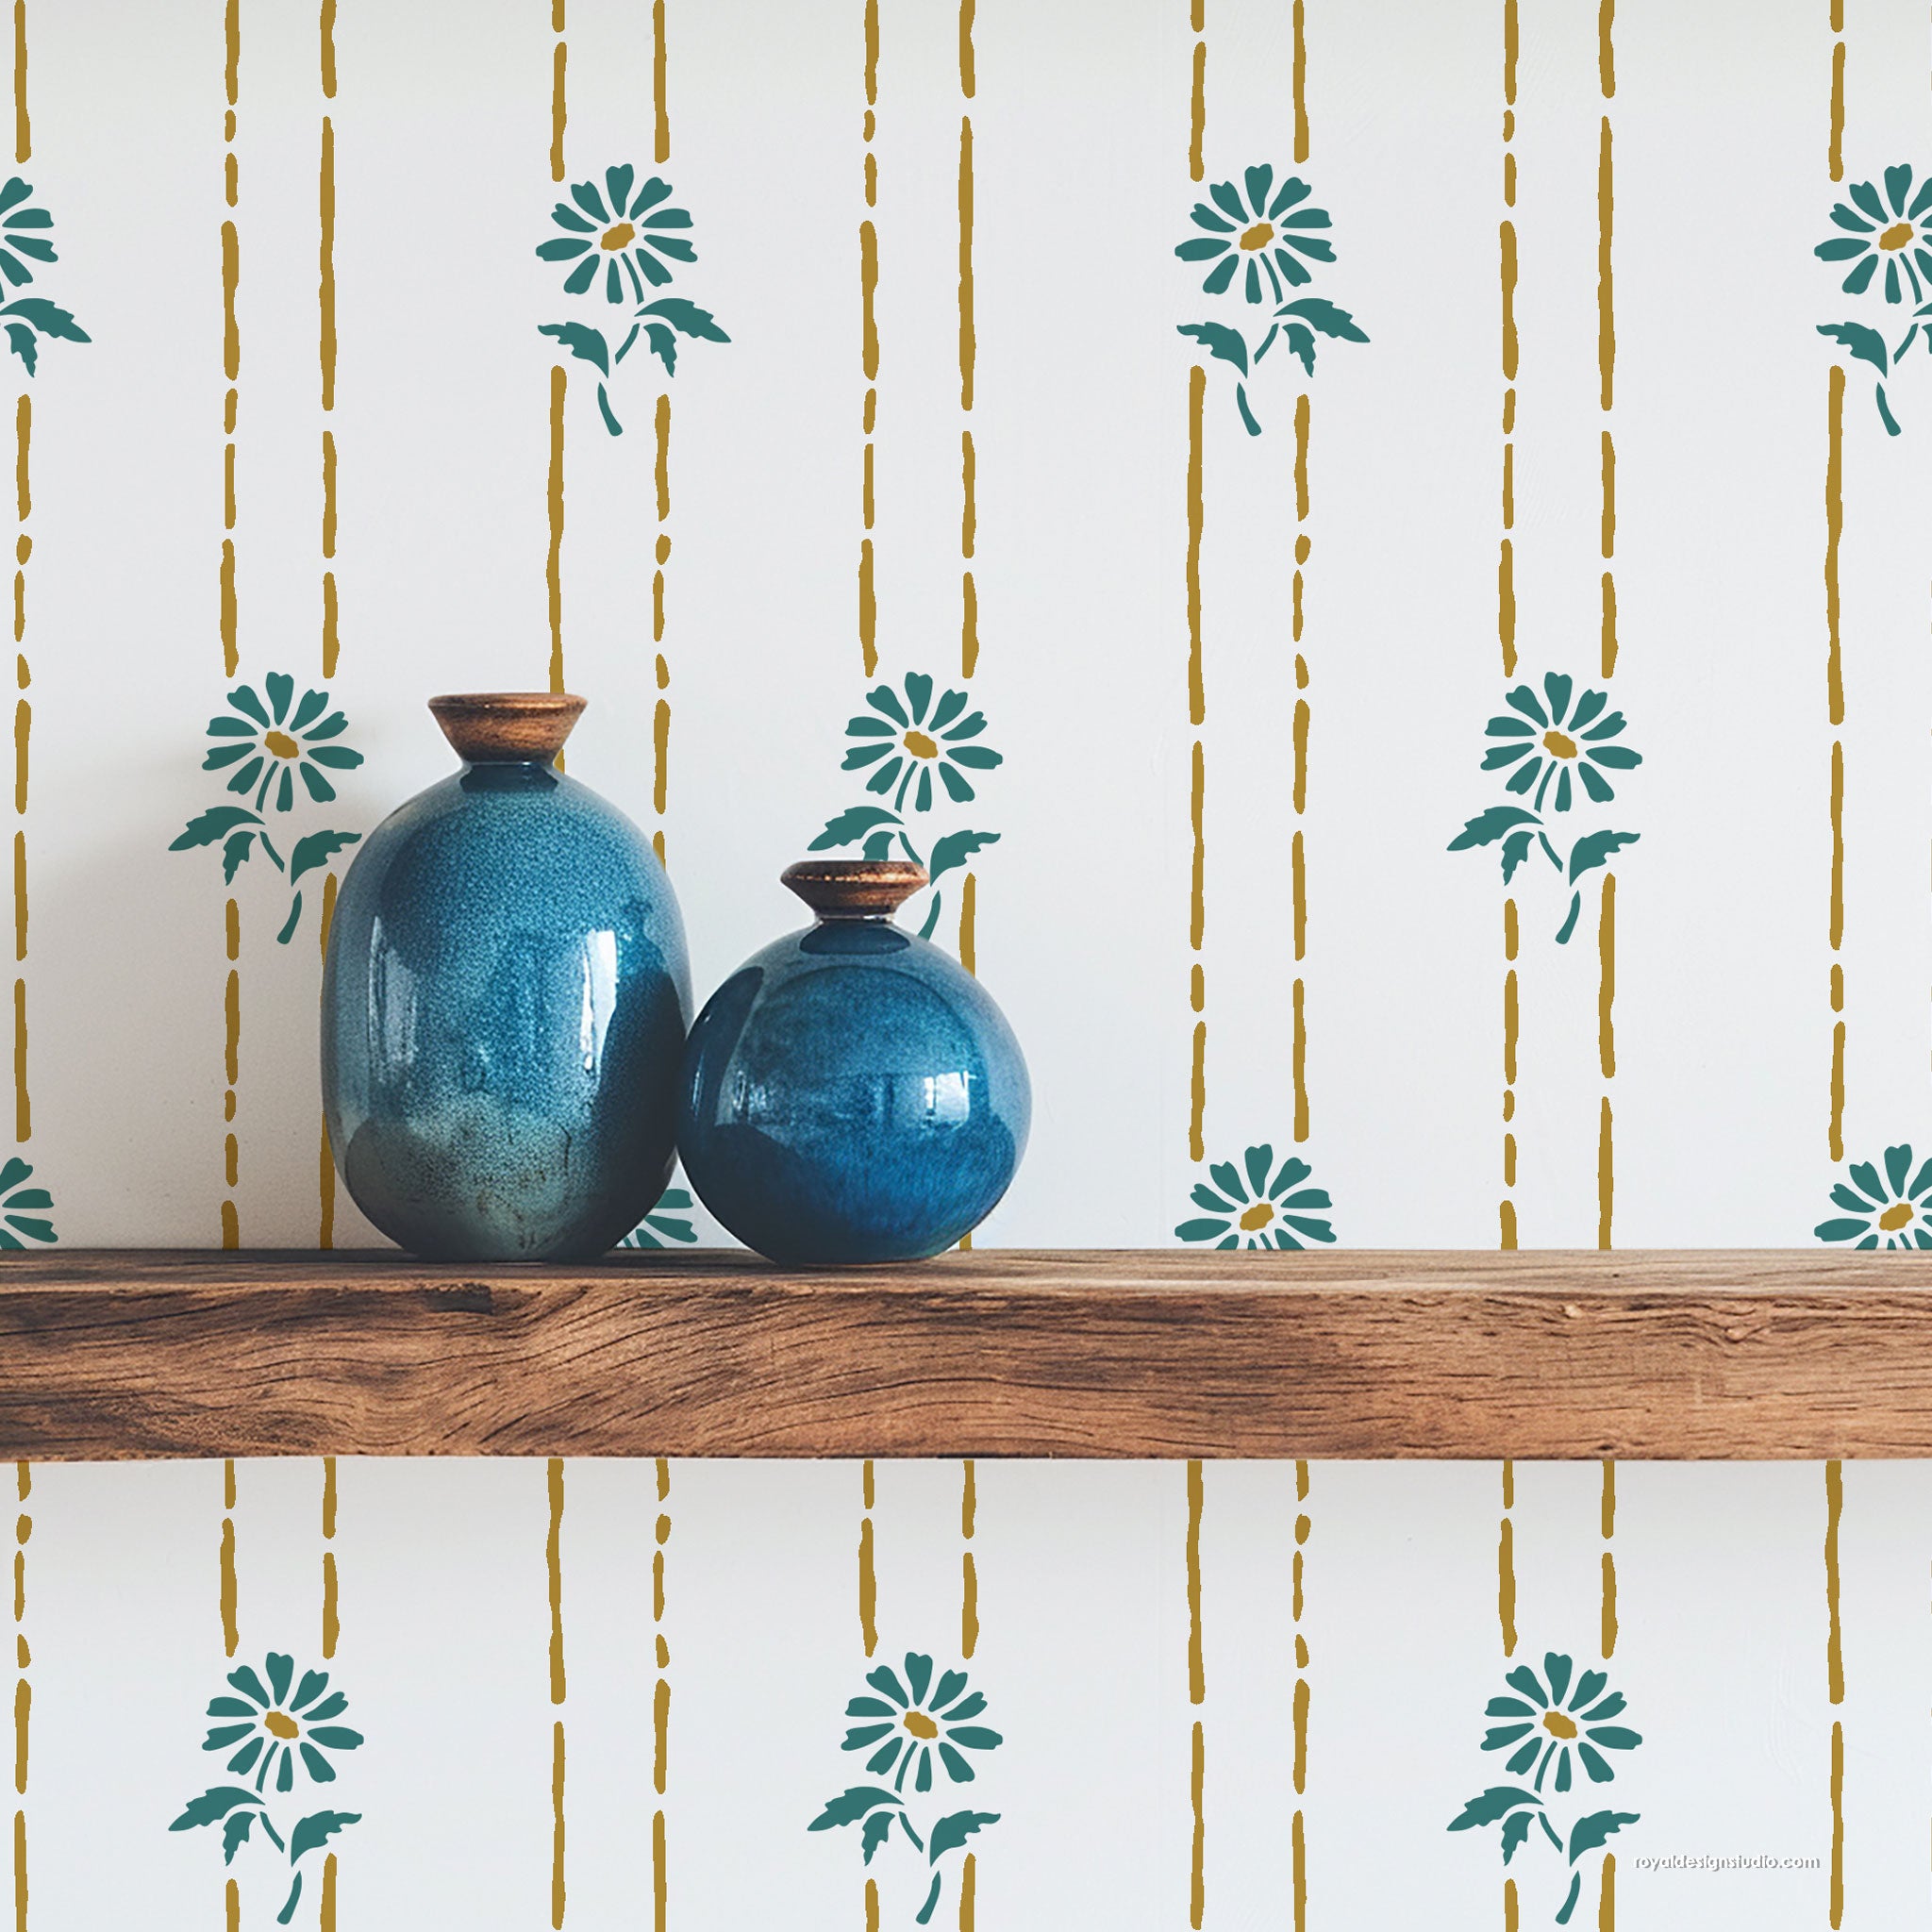
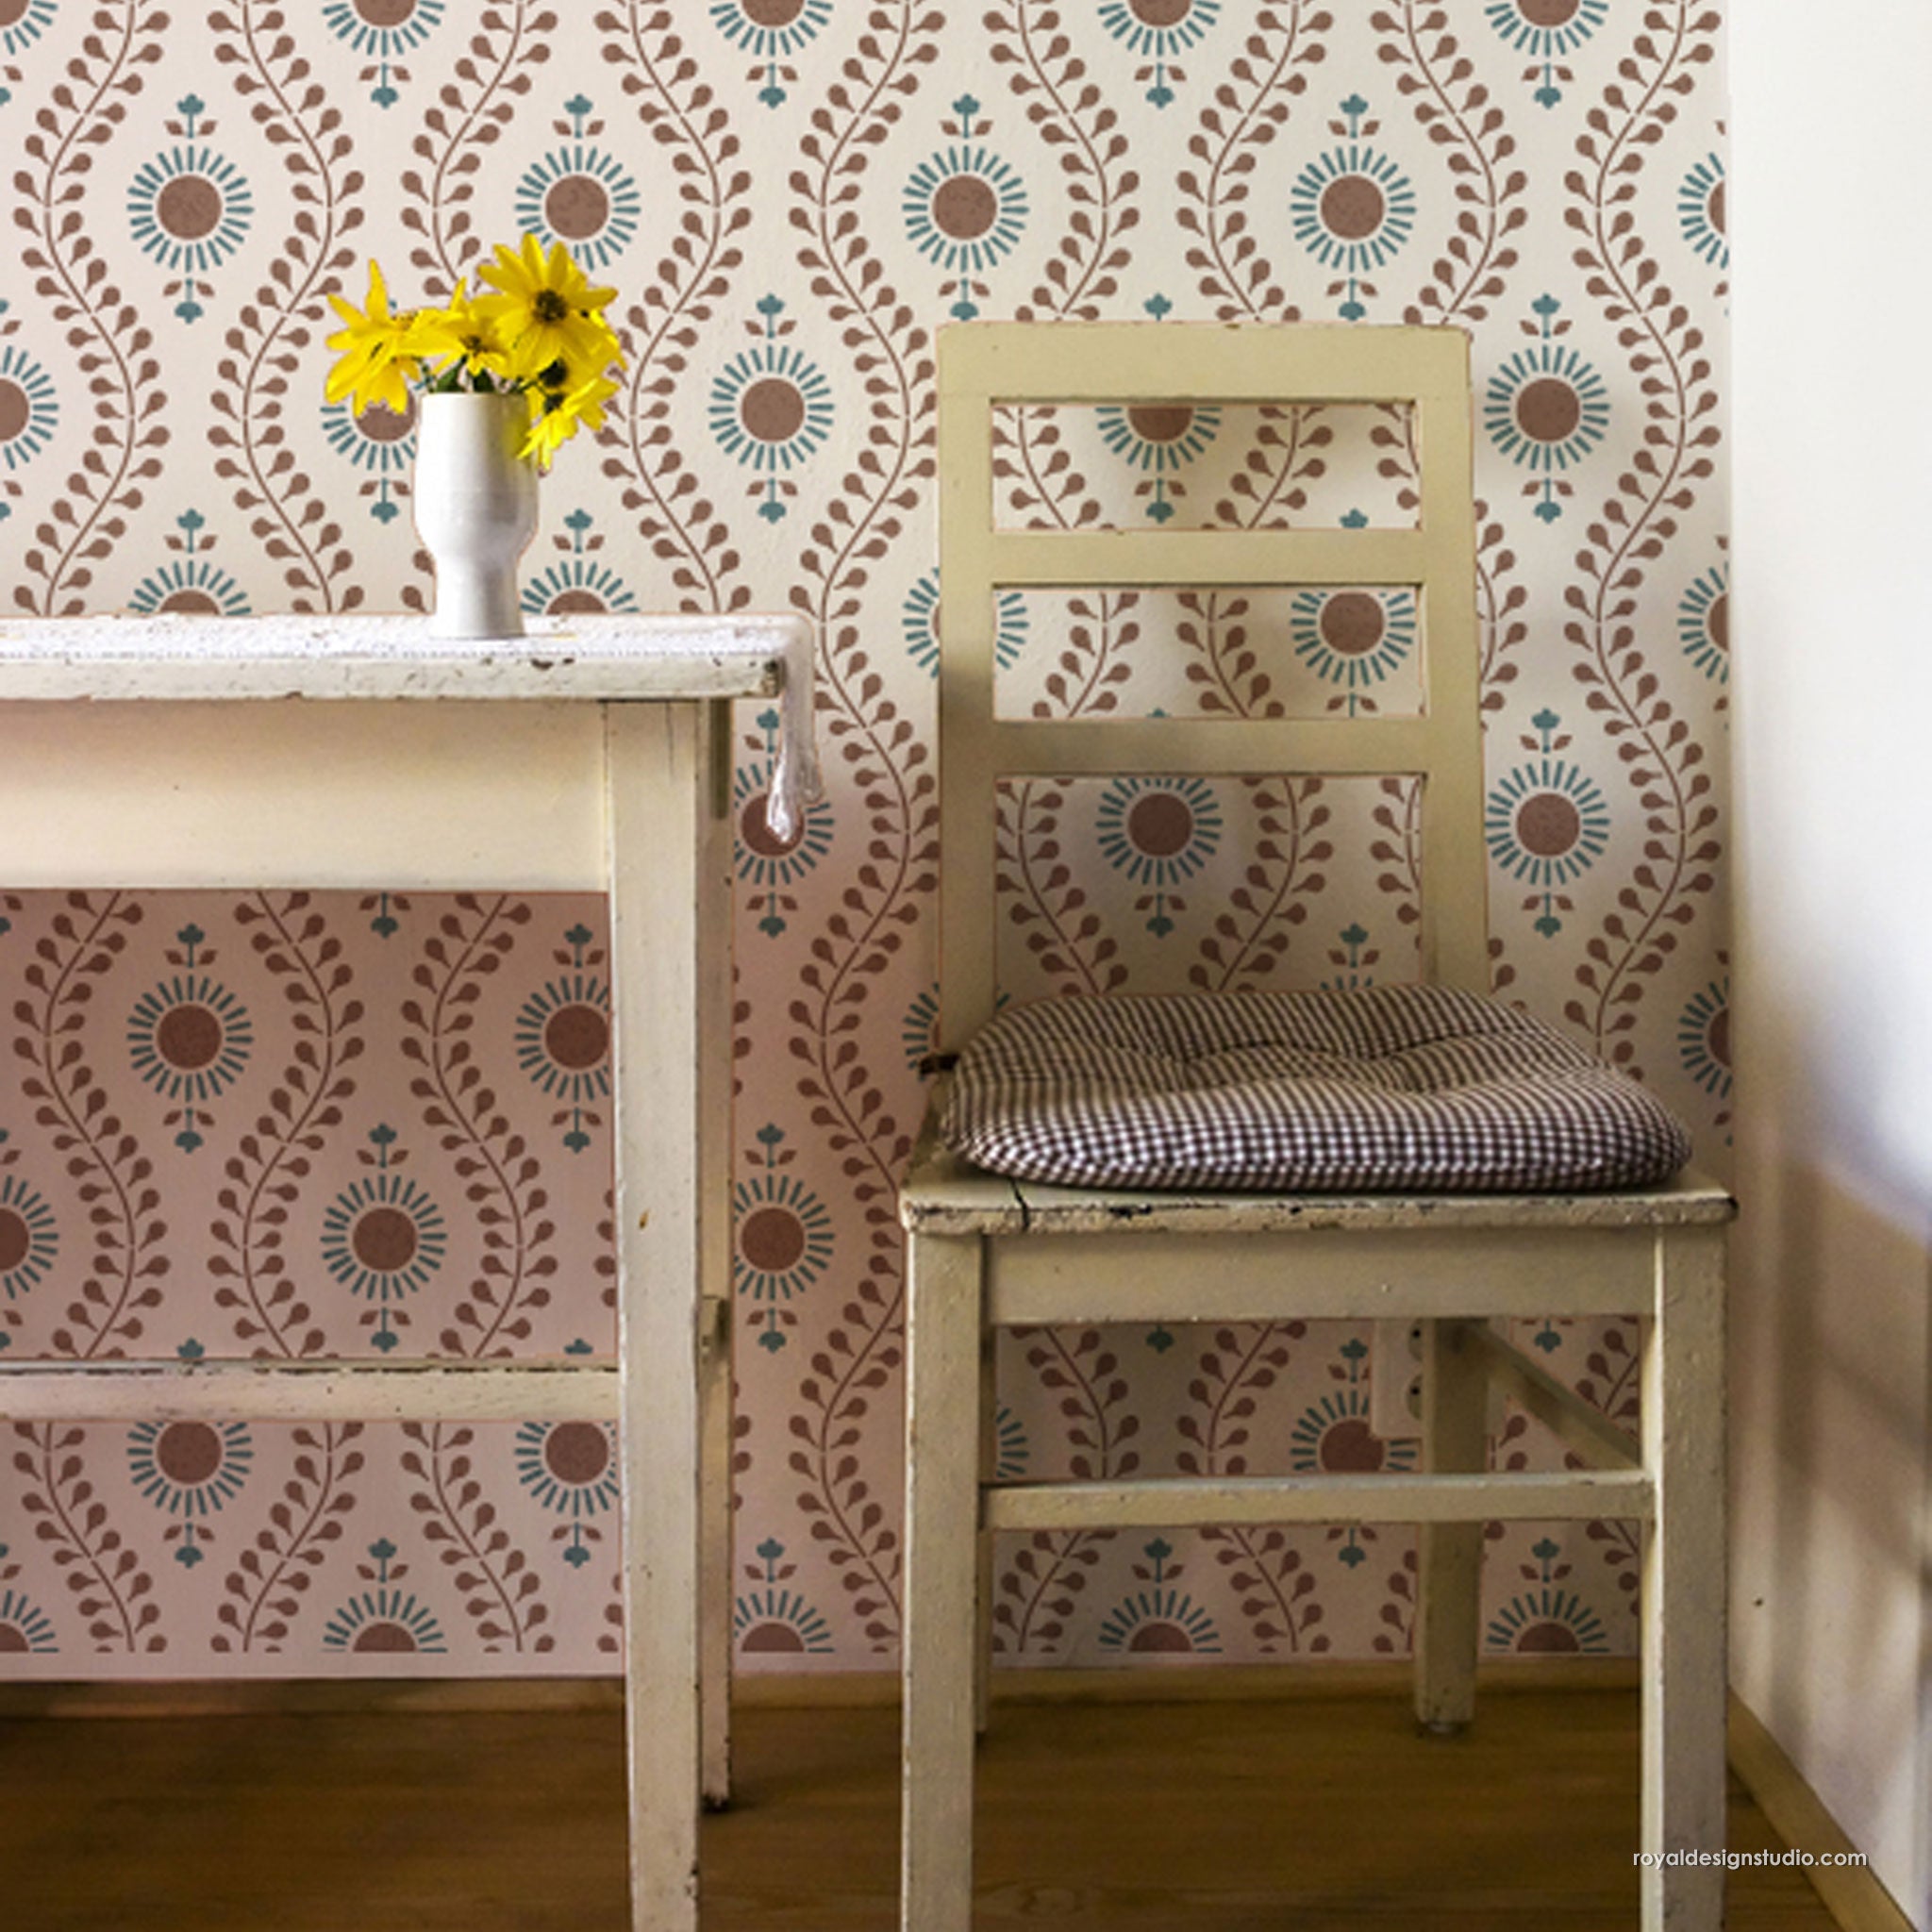
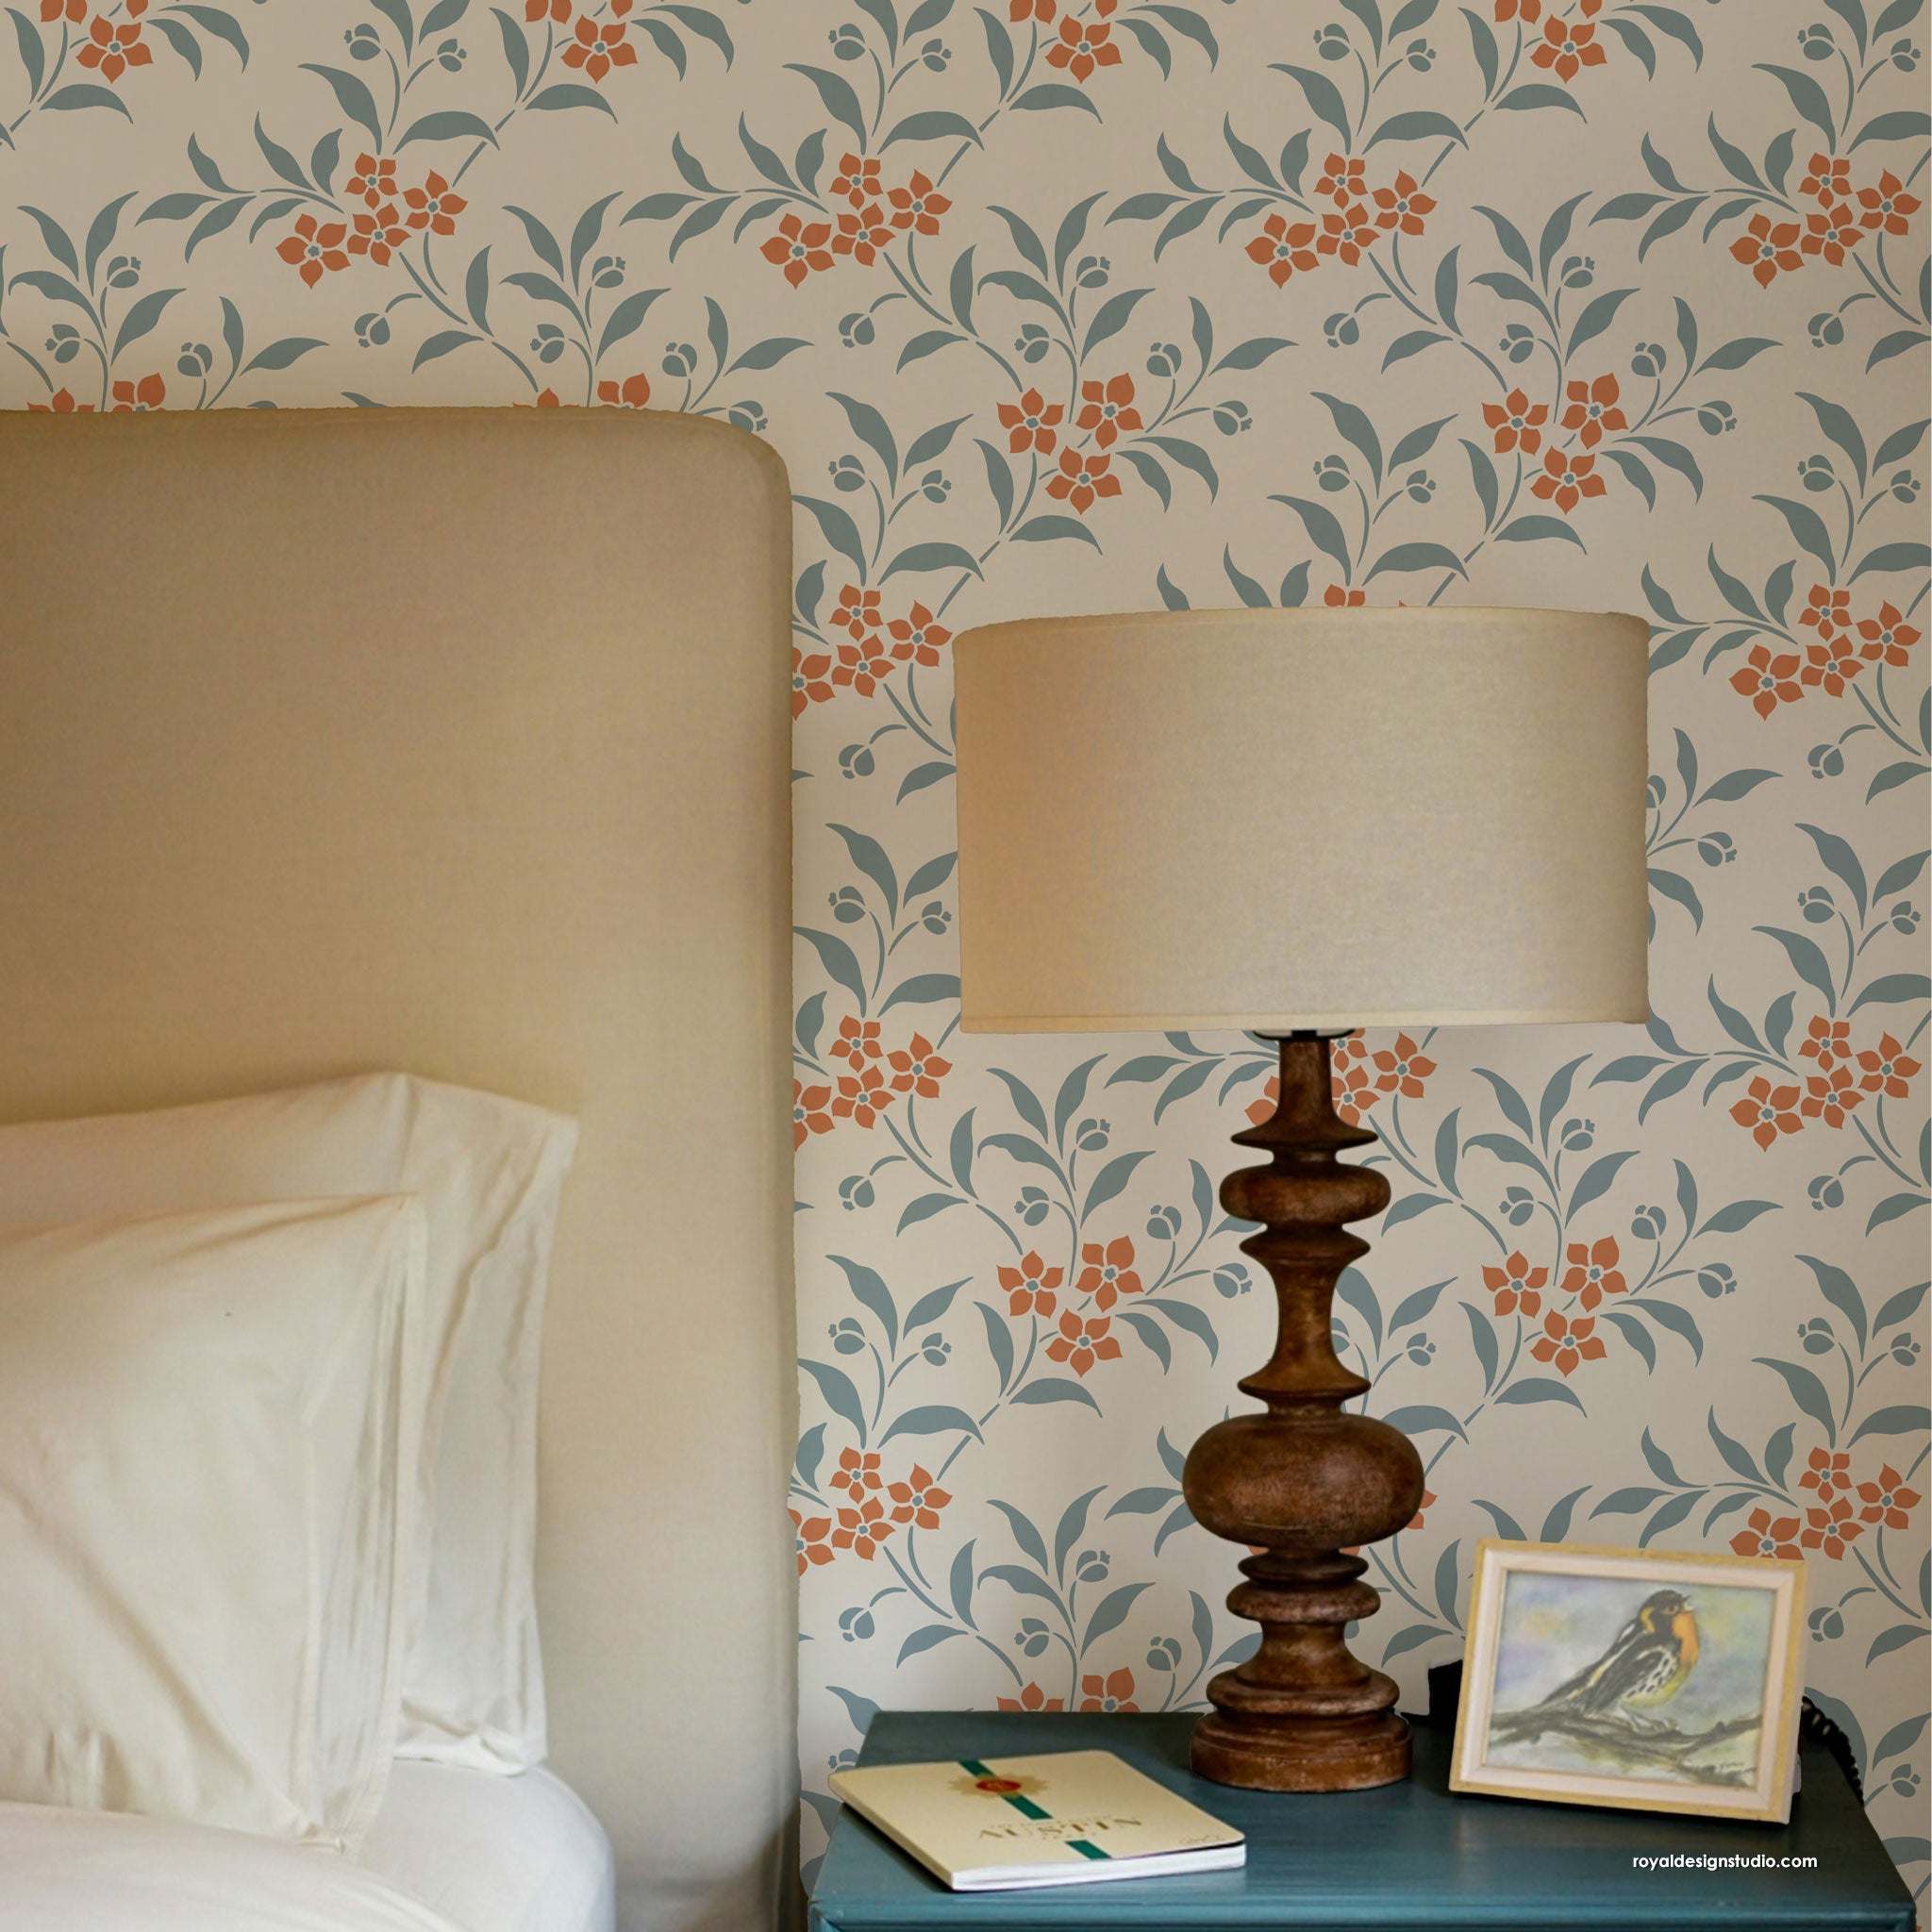
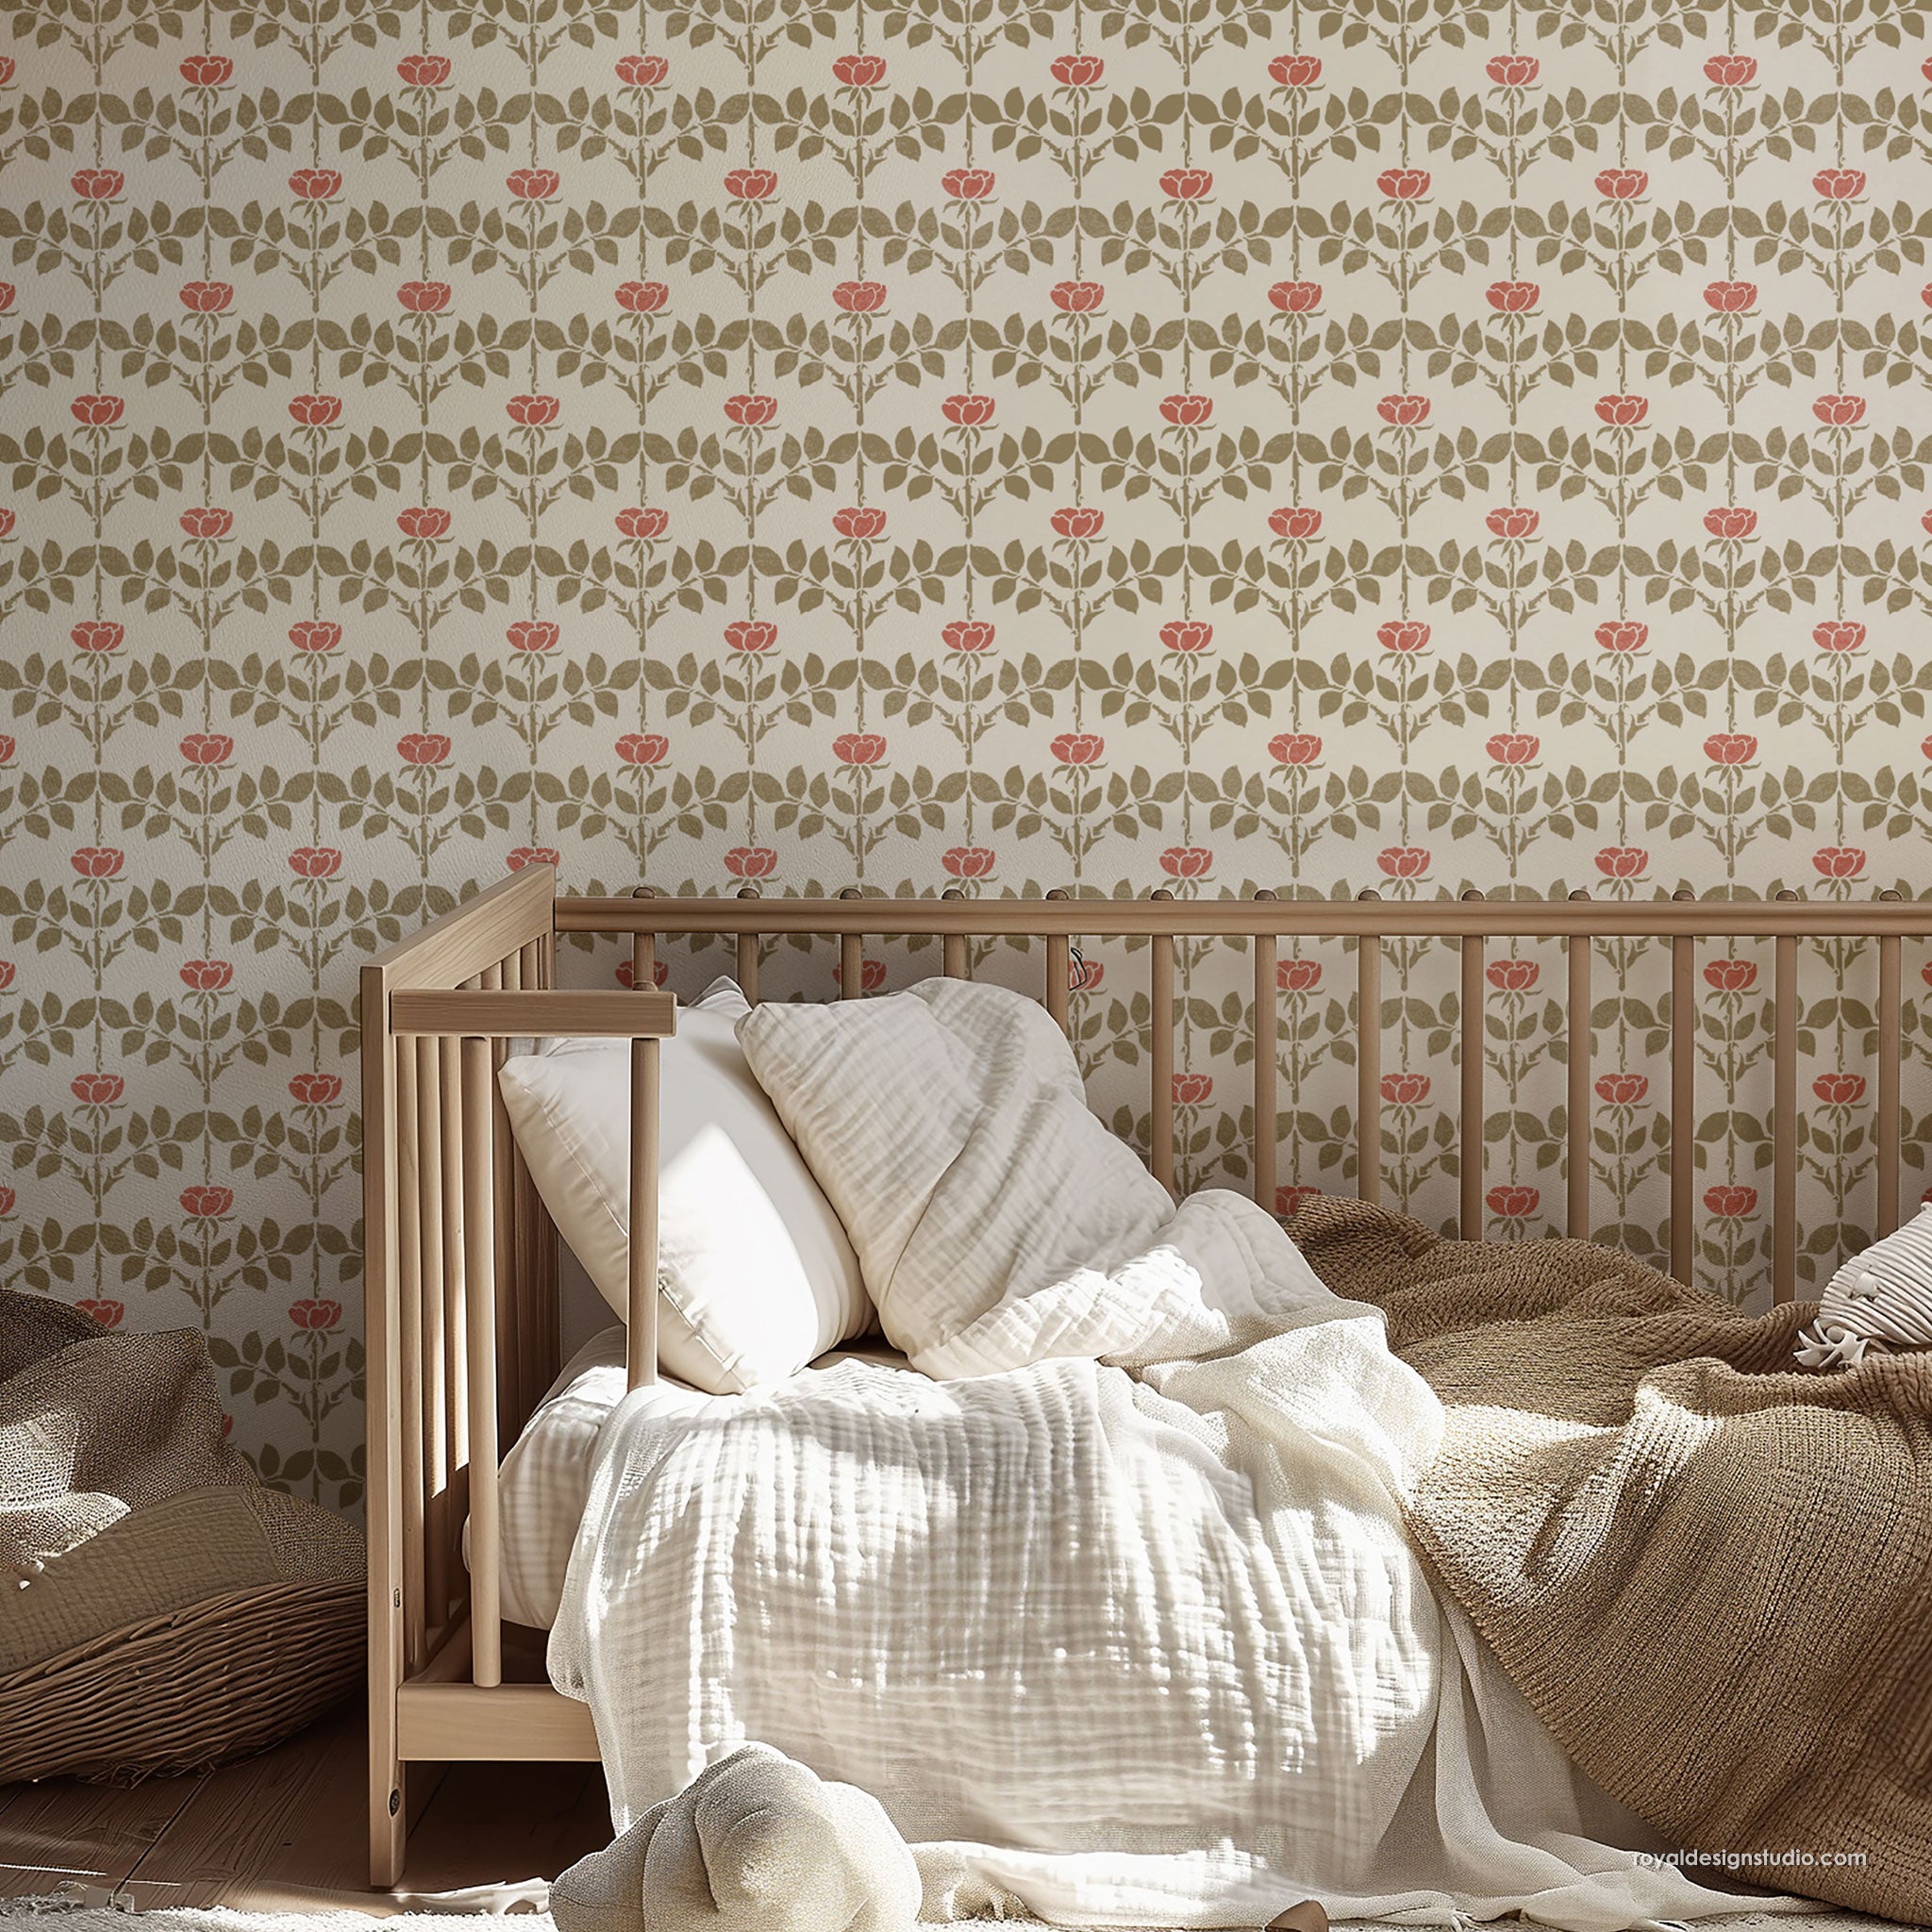
- Large Corsini Damask Stencil from Royal Design Studio
- Chalk Paint® Decorative Paint Colors: Antoinette, Scandinavian Pink, French Linen, Old White, Pure White
- Stencil Brushes from Royal Design Studio: 1.5″ Stencil Brush, 3″ Stencil Brush
- 3/8″ Paint Roller/Tray
- 4″ Chip Brush
I found that Chalk Paint® decorative paint worked super well for this technique. The paint is very heavy bodied, covers well, and dries very quickly. You can try regular latex paint, but be sure to get a good quality Paint/Primer combination, which tend to be a little thicker in consistency and also cover better.
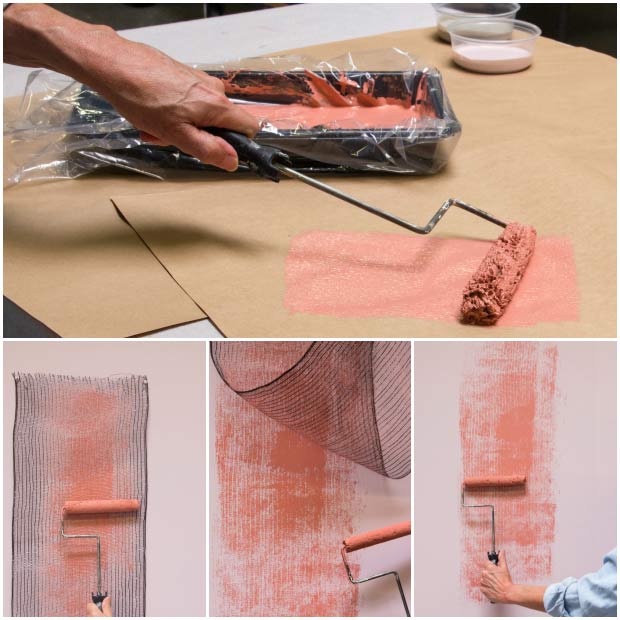
Creating the Base Texture
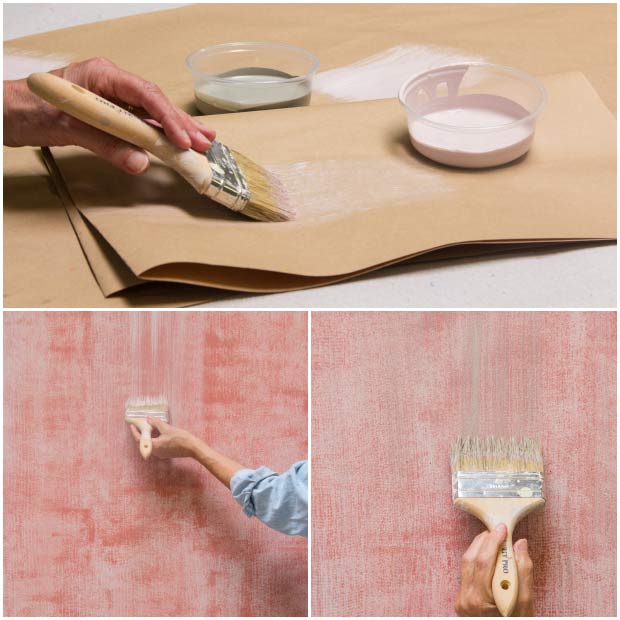
Base coat your wall or surface with 2 coats of Antoinette Chalk Paint® and allow to dry.
The first step for creating this layered, textural finish is create the underlying texture by painting a darker color over a similar lighter color. For this treatment use Scandinavian Pink Chalk Paint® over the Antoinette color. Be forewarned: at this stage it will NOT look pretty. Don’t panic, this finish develops into something beautiful with the additional layers.
The first step is to load the 3/8″ roller VERY well, and as evenly possible with paint. Then, work the paint well into the roller while removing excess paint by rolling with a hard pressure onto absorbent paper. When you get to the wall, start lightly at first. Lift the screen to check the look and adjust as needed. You will find that you will get some areas that fill in more solidly with paint. These will even out with the layers to come. After you complete one repeat, use the now “dry” roller with a very light press to fill in a little more color overall.
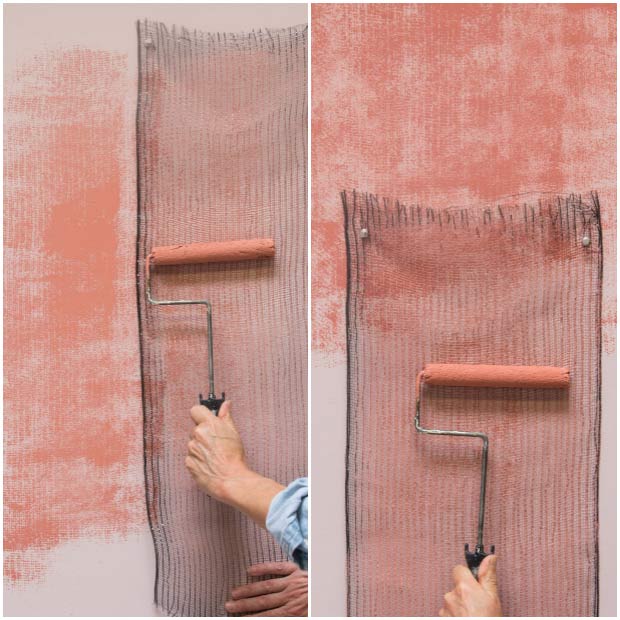
More Texture… Moving on
As you move across the wall or surface, overlap the metallic ribbon a few inches over the previously painted area. The Chalk Paint will dry very quickly and there should be no need to wait for a previous area to dry. Try to keep the paint application consistent by offloading the paint roller well each time you reload it with paint. You will find that the metallic ribbon will start to fill in a bit over a large area, so simply cut off a new piece of ribbon to use as needed.
Dry Brushing Details
This is where the finish all starts to “come together”. Randomly dry brushing thinned layers of paint here and there. This will add more visual texture and also help to tone down and soften the first layer. Your best tool for dry brushing will be a used 4″ chip brush. If you don’t have a nicely used chip brush you can break in a new one by washing it in hot water and then pouncing the wet bristles down on a hard surface to make them splay out a bit.
Mix both Antoinette and French Linen Chalk Paint® approximately 1:1 with water in separate containers, and adjust this formula as desired. You will dry brush first with the Antoinette. Load just the tips of the bristles and offload the excess paint onto cardboard, butcher’s paper, or absorbent contractor’s paper by drawing the brush straight across it.
On the wall, use a very light but even pressure and pull the brush straight down while holding it at a low angle. It may take some practice to get a feel for it, but truthfully dry brushing is a very random finish. Each time you load /offload the brush you will get a slightly different amount of paint. Just be patient, go slow, and always start with a light pressure. Use the Antoinette color to soften and break up areas that may have gotten too solidly filled in with the Scandinavian Pink.
Then, repeat the process with the French Linen color. Be careful not to add TOO MUCH of these dry brush colors, as you simply want to soften down your finish here and there.
Starting to Stencil
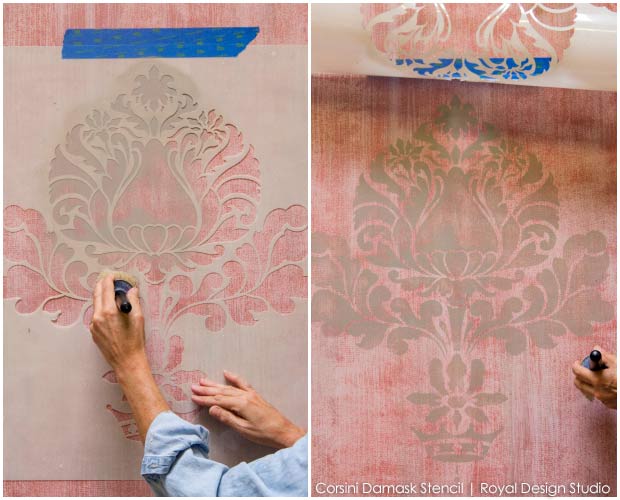
Stencil the Corsini Damask (0r stencil pattern of your choice) first overall with French Linen. Because the background is a highly distressed finish, you will want your stenciling to match. Do not try to fill in the stencil perfectly and uniformly. Rather, vary the pressure on your 3″ stencil brush so that some areas are darker and some areas leave some of the background texture showing through.
As always with stenciling, load just the tips of the brush into the paint and offload excess onto paper towels before applying the paint to your surface.
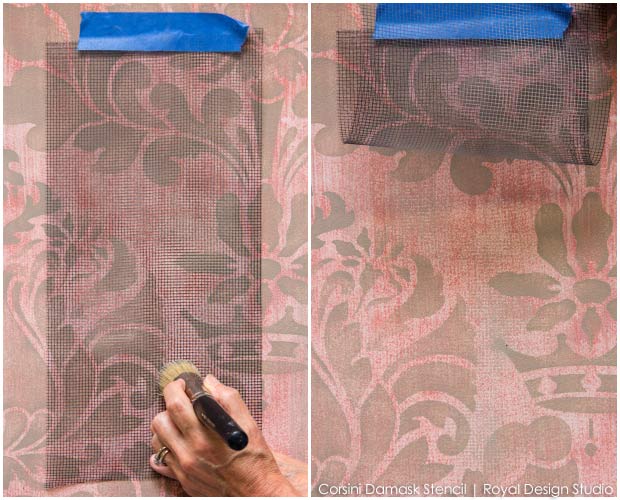
Screen Printing Subtle Details
At this stage you can use the metal screen to add additional “fabric” texture here and there between your stenciled damask elements. Simply tape the screen in place to hang vertically and use a stencil brush with a circular motion to add texture here and there with the French Linen color.
Take it Easy with Distressed Stenciling
Once the French Linen layers are complete, replace a clean stencil over one of the damask repeats and shift it up and over slightly (on the diagonal) to expose about 1/8″. This technique is called a “shadow shift” or “drop shadow”. See this How to Stencil a Drop Shadow post for more details.
Stencil the design again using Old White Chalk Paint®. As before you will be doing a distressed stenciling technique to match the background finish. Vary your pressure on the stencil brush, and even drag it vertically within the design here and there for more variety.

Finishing Touches… it’s ALL in the Details
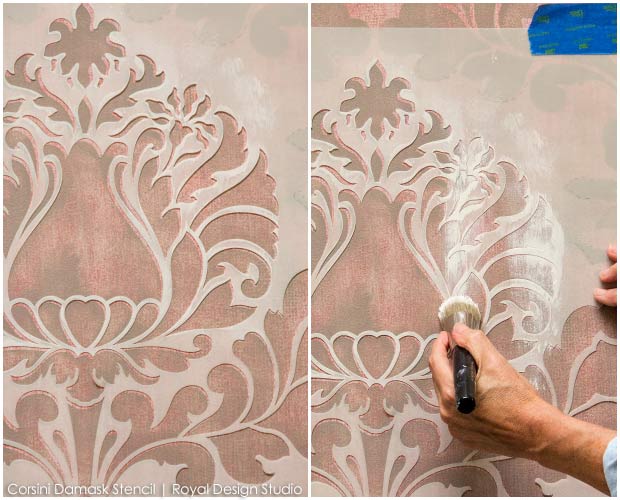
You can see from the example above that the stenciling is not solid at all. In fact, you will want some of your background finish/texture to ghost through here and there, so start LIGHT and build up the color slowly. Lift your stencil periodically to see the final effect.
While the stencil is still in place add additional texture to this final layer (if desired) by stenciling through a piece of tulle fishnet fabric with Pure White Chalk Paint® here and there on the damask pattern.
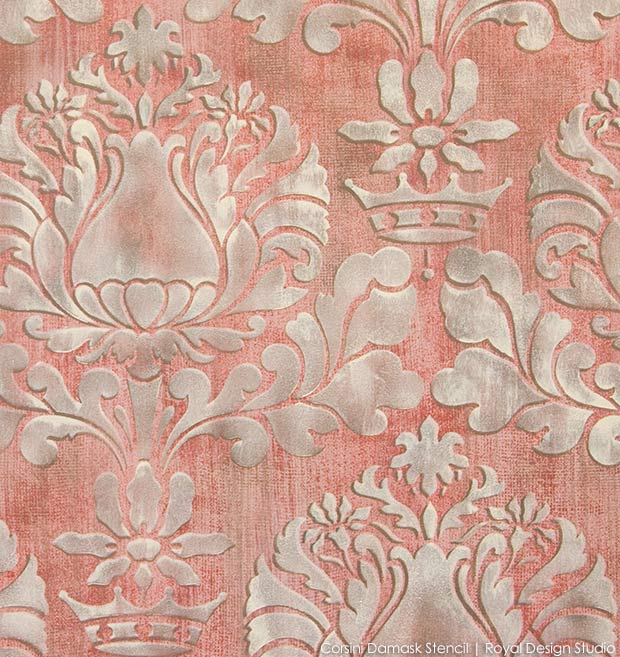
This detail shot of the final finish shows how all the texture layers come together. The drop shadow behind the pattern really makes the design POP and keeps it from getting lost in the heavily textured background.