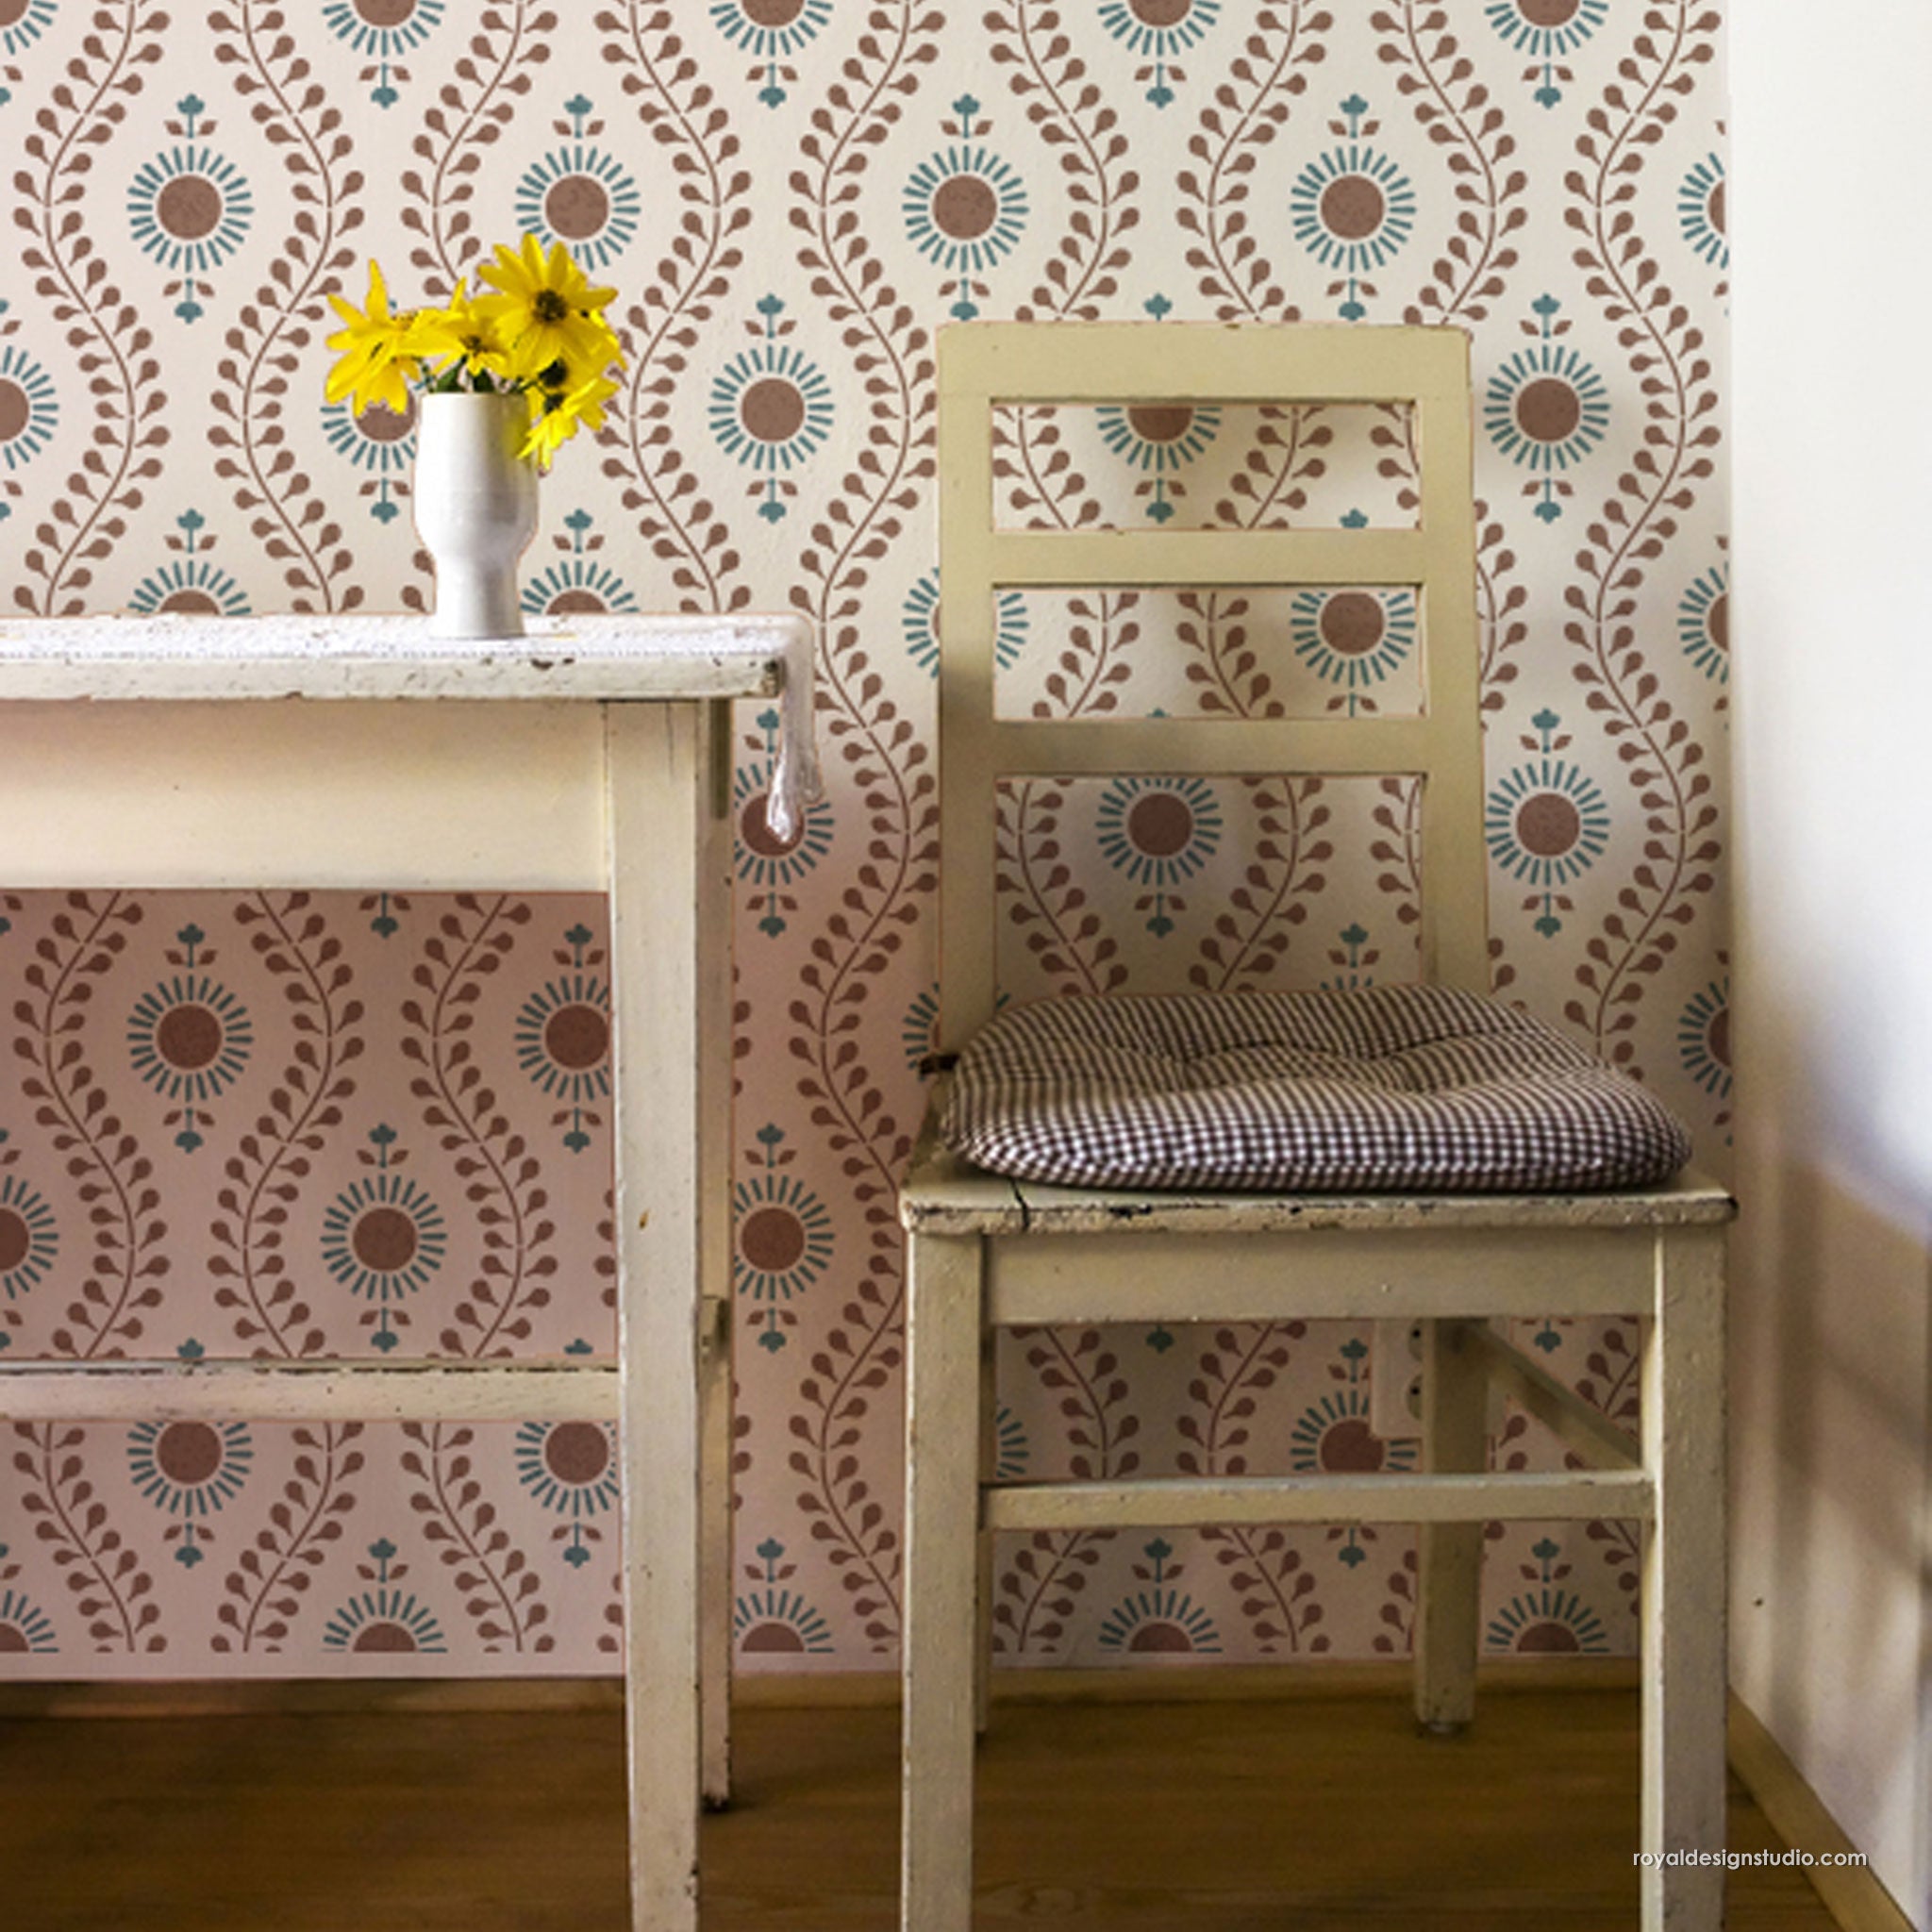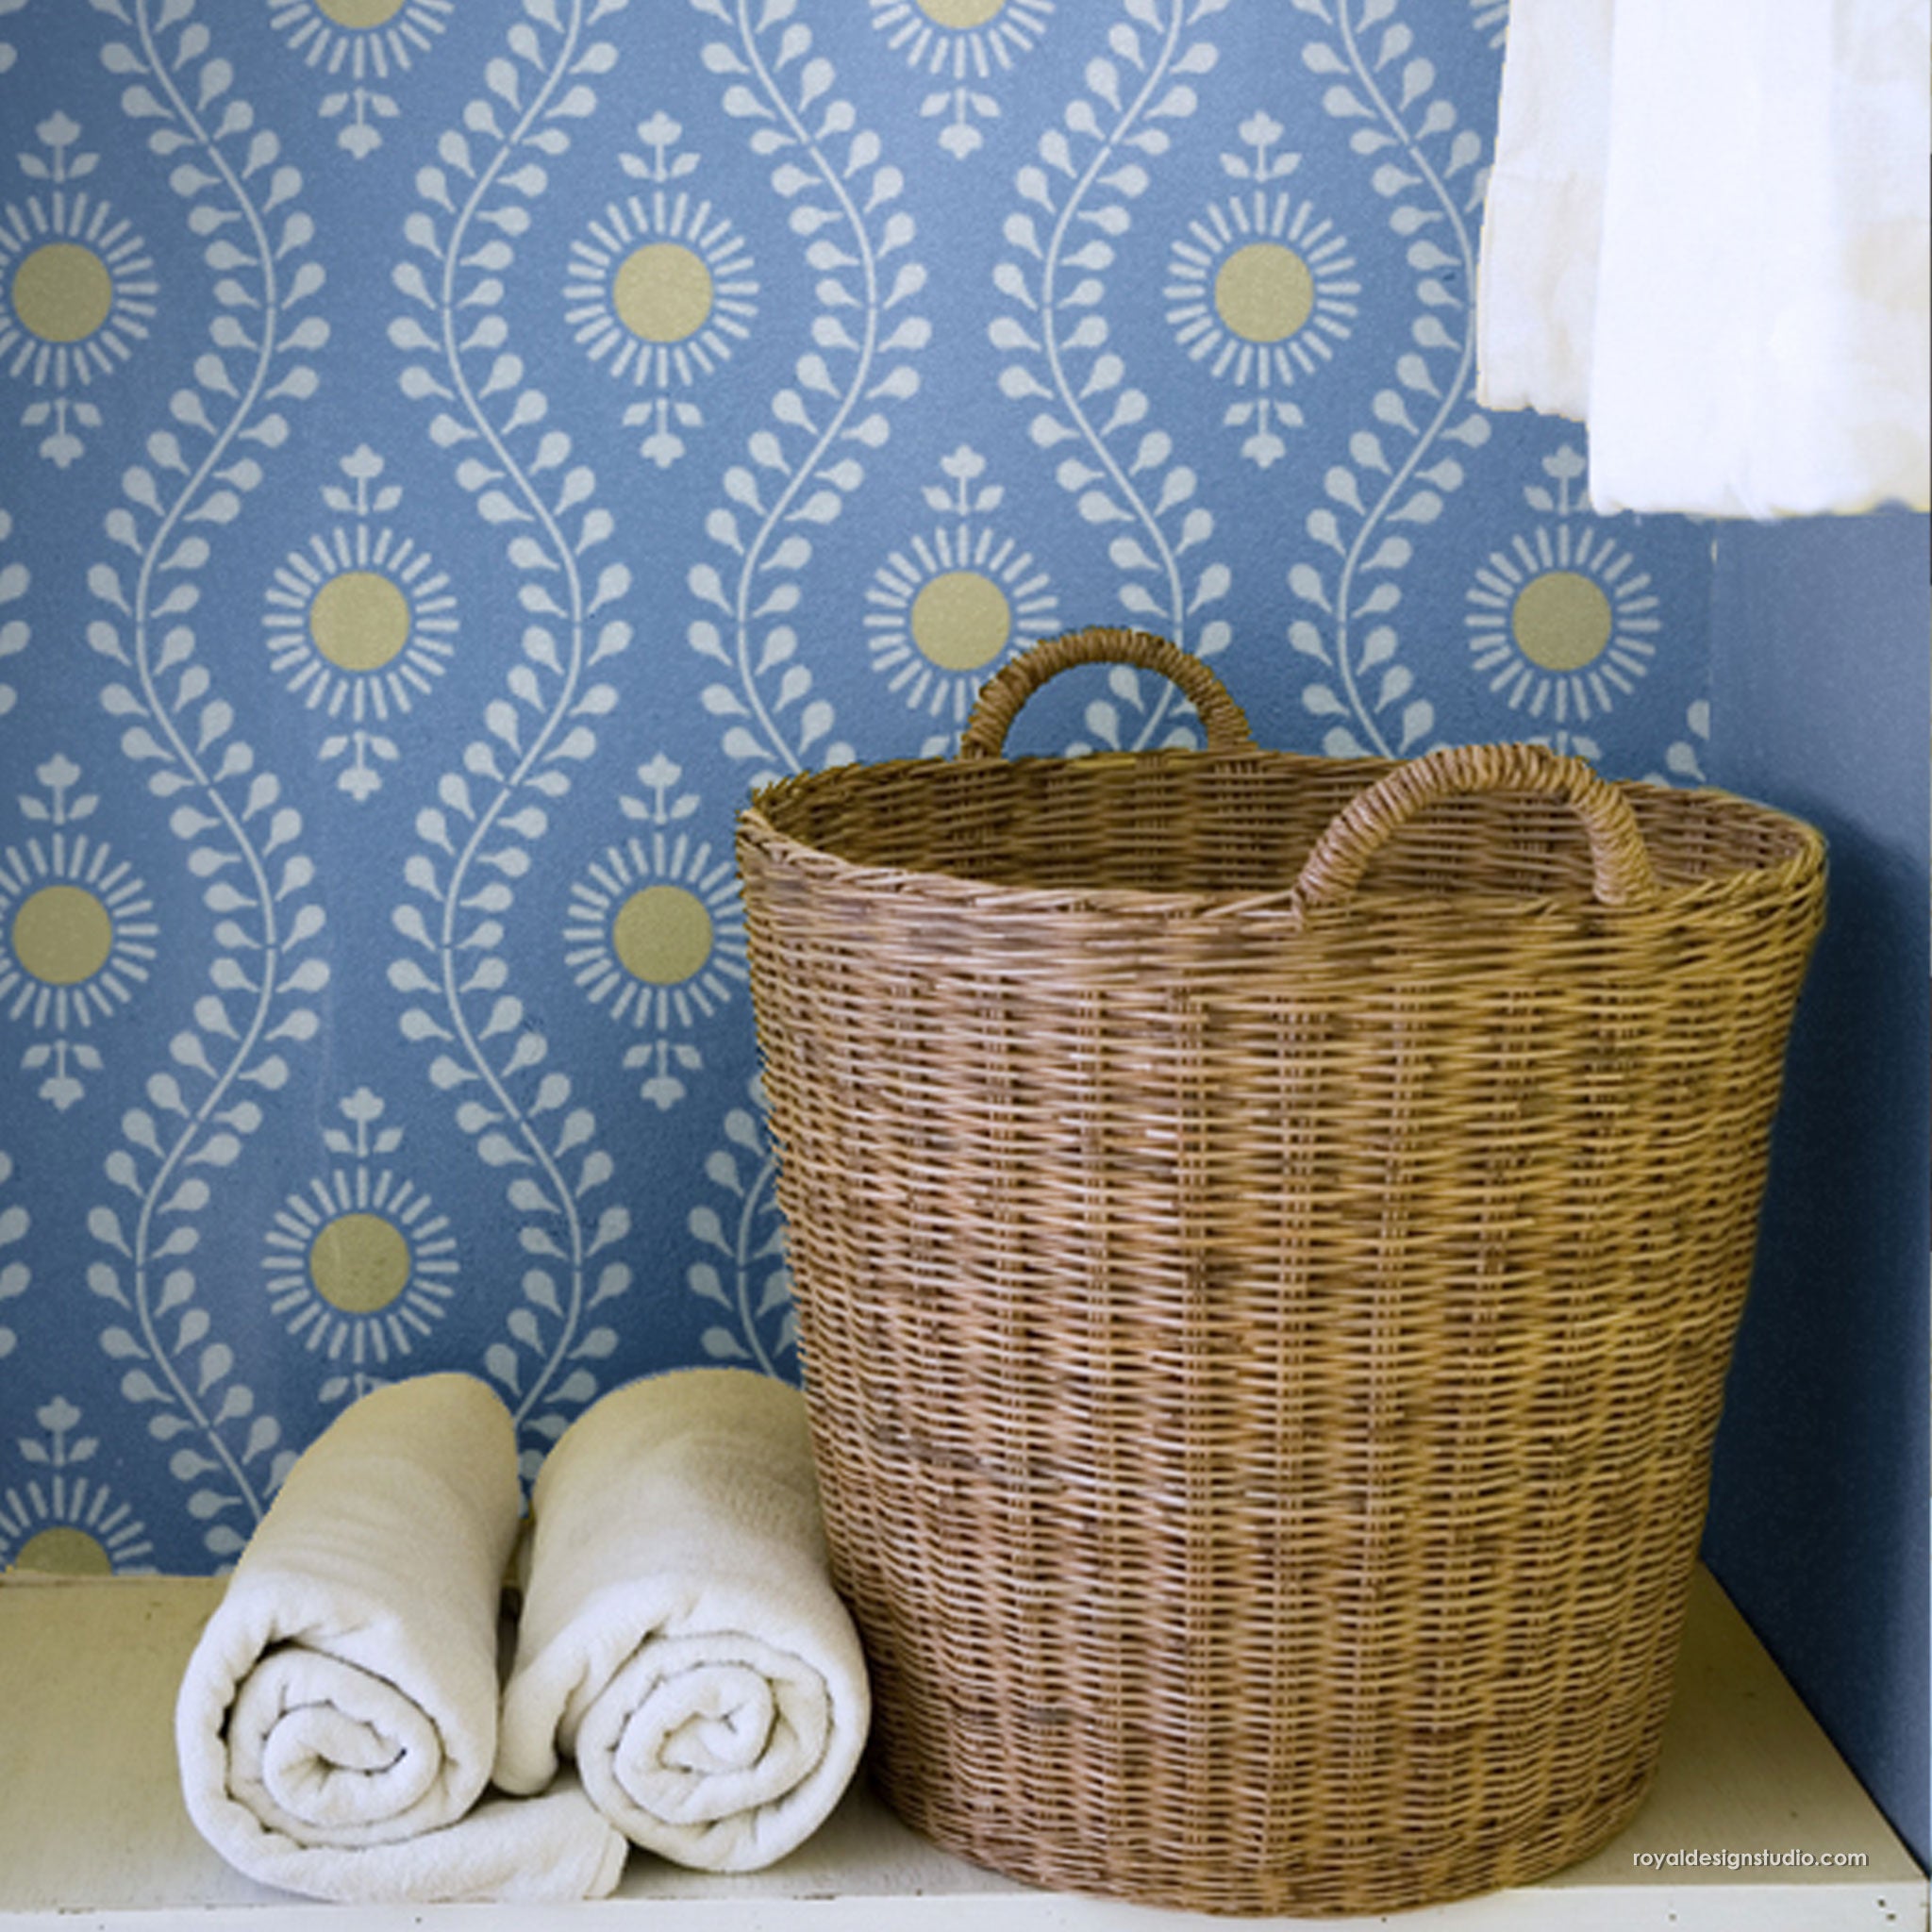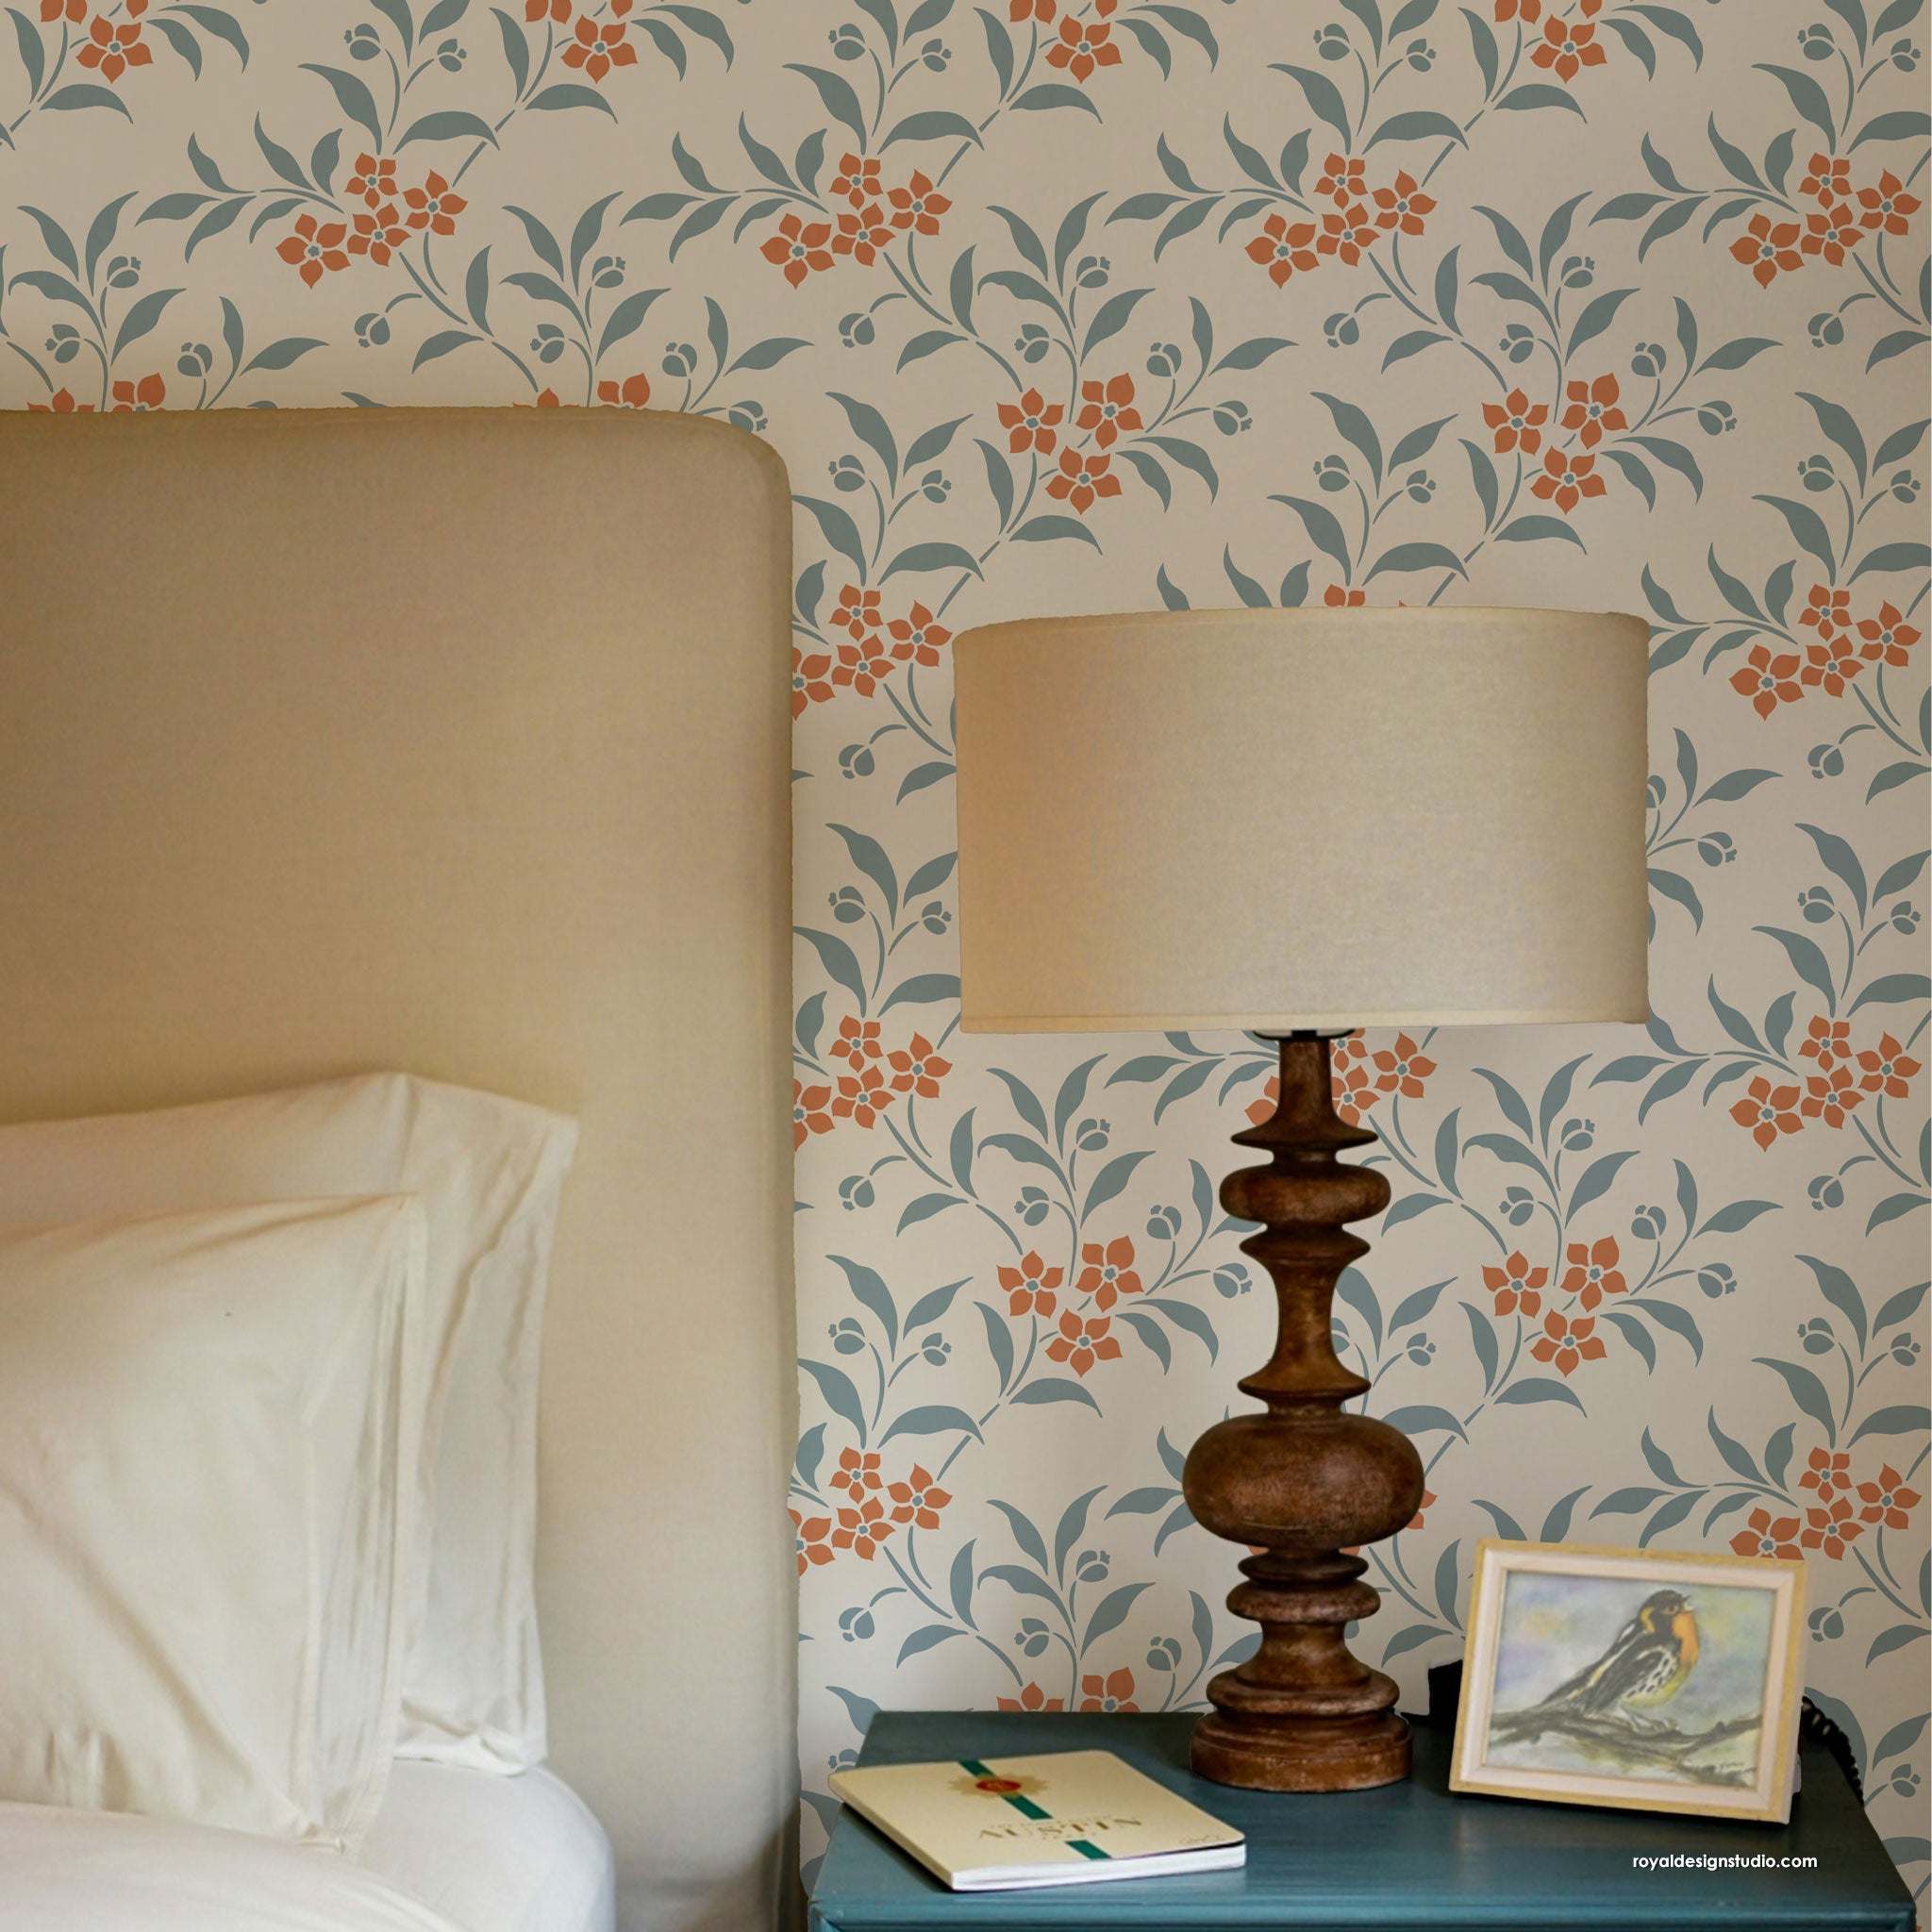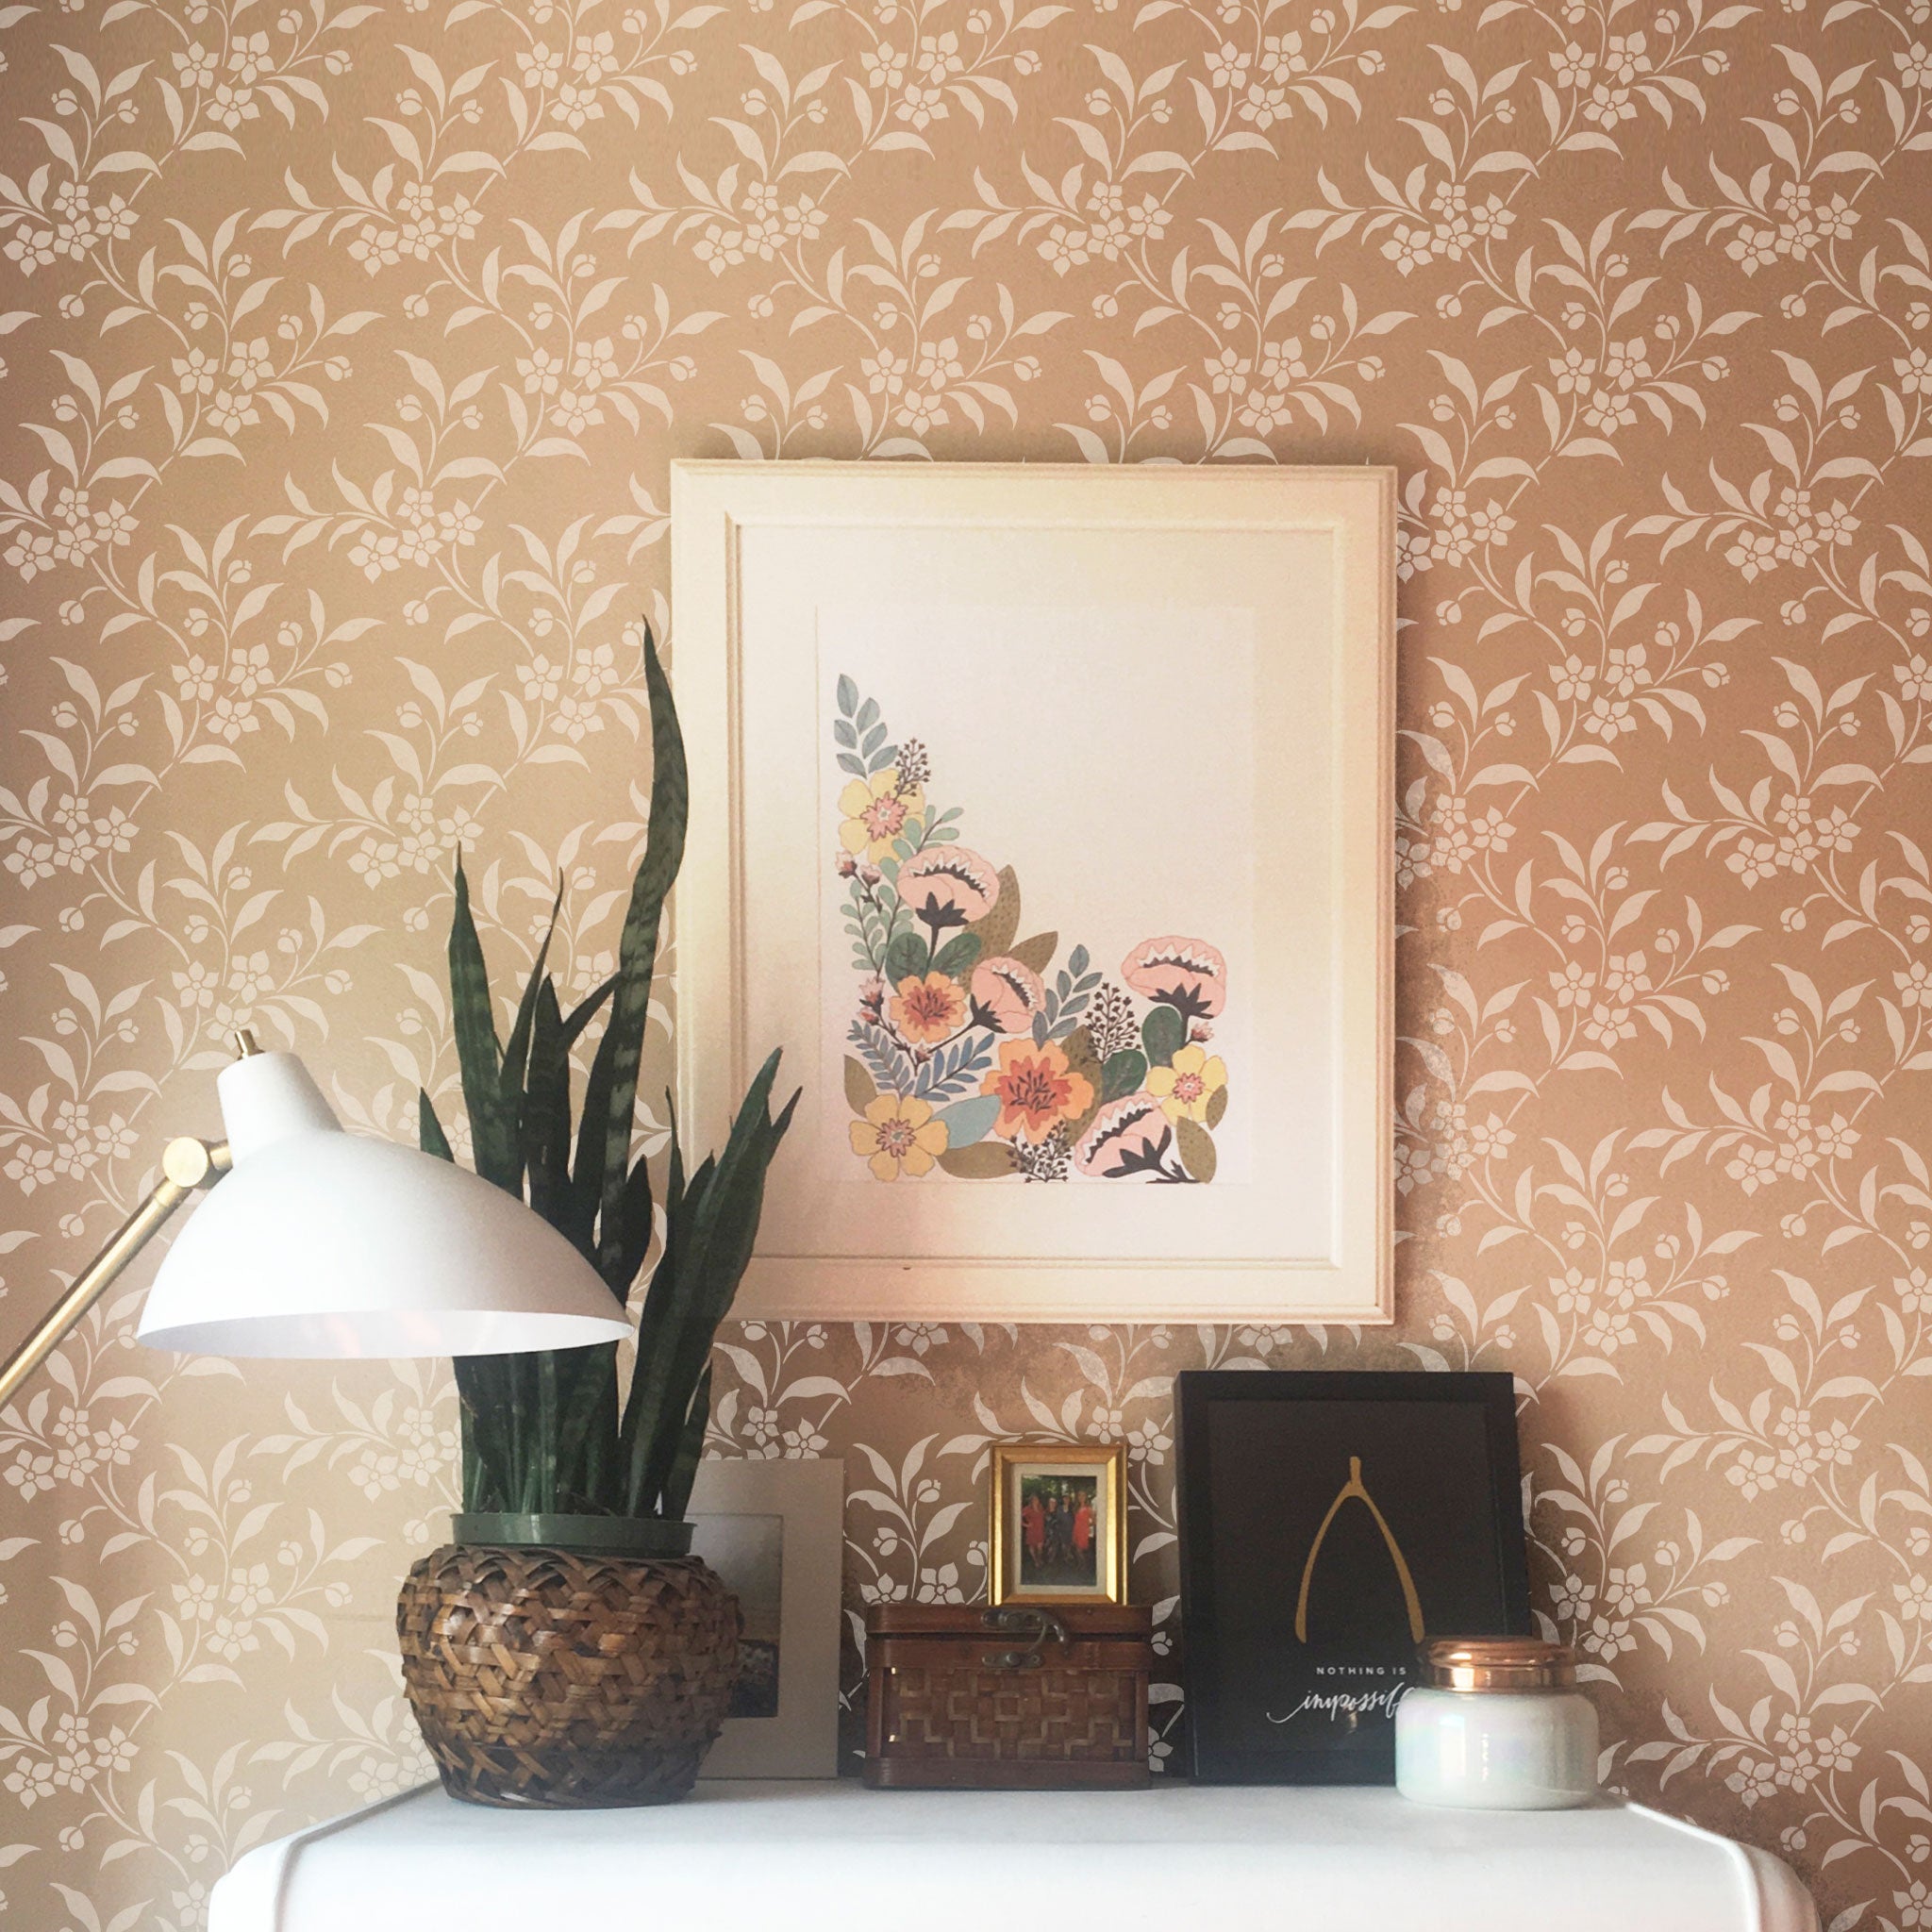
It's two, two, two stencil patterns in one! This stencil tutorial shows you how to use small allover stencils from our Furniture Stencils Collection to dress up our super adorable Bari J Parlor Chair stencil. We are loving the whimsical patterns in our Bari J Stencil Collection, and this two-part chair stencil, with its large chair cushion layer, is perfect for this pattern in pattern stencil technique! We chose bright colors to compliment our "Granny Chic" look, and mixed the colors around on the chairs for lots of a variety. We have found that Behr Premium Plus Ultra paints (Home Depot) are super for stenciling-especially roller stenciling with our Flocked Stencil Rollers! It is a paint/primer in one and covers VERY well, dries quickly, and is heavy bodied. You can purchase small sample pots of the colors you want in a size that is ideal for stencil projects.
For this stencil project you will need:
Base Color of this wall: Behr Premium Plus Ultra Latex Paint-Ginger Jar
Royal Design Studio Stencils: Parlor Chair stencil, Lovely Lace stencil, Mini Brocade stencil, Small Victorian Grillework stencil, Swedish Flower Field stencil, and Lacy Leaves stencil
Additional Supplies for Stenciling
- Behr Premium Plus Ultra sample pots: MSL043 Nasturtium, M160-5 Pink Damask, 320D-5 Sweet Maple, PPU6-9 Polished Pearl, P460-4 Lagoon Rock, S460-7 Deep Breath, P130-7 Glamorous
- 4" Flocked Foam Stencil Roller Set
- Stencil Brushes
- Stencil spray adhesive
- Painter's Tape
- Paper Towels
- Plastic Plates
Step 1: This is an optional step, but can be very helpful for plotting out an allover stencil pattern created from a single motif stencil. Stencil your pattern once on a piece of paper and make multiple photocopies. We did this not only to lay out our pattern visually, but also to mark what paint colors would go on each chair cushion. Note that this is a two-layer stencil and the layers fit together like puzzle pieces. The two layers allow you to easily introduce a different color in a different pattern area.
Step 2: Because you will use small amounts of many different colors of paint, you can just pour out a little at a time onto a large plastic plate. Load the Flocked Foam Stencil Roller evenly with paint and remove excess paint by rolling over a stack of paper towels or absorbent paper. Push firmly, paying special attention to the ends of the roller where paint tends to be heavier. It's important to have the paint evenly loaded on the roller and not have excess wet paint-which will naturally seep under the stencil. The Flocked Foam Stencil Roller is covered with a thin velour fabric coating-which helps resist those paint run-unders, but you always need to take the time to offload excess paint to leave a "dry" roller before stenciling.
Step 3: This stencil comes in two parts-A and B. We started here with layer B. Tape the stencil on the wall, checking to make sure it's level. Use an even, steady, not-too-heavy pressure on the roller as you roll over the stencil surface. This primer in the paint makes it cover very well- and quickly, but take some time to go slow at first to get used to how much paint and pressure you need to get a great stencil print. Short even strokes in all directions helps the paint go on evenly. If you're planning on having different colored chairs like ours, make sure to clean the stencil before going on to a different color and use a fresh roller as well. Use Motsenbochers Lift-Off 5 for quick and easy stencil cleaning!

Step 4: To begin stenciling the small allover stencil patterns on the chairs, place the stencil layer B back on your stenciled print. This will shield your surface from getting pieces of the stencil pattern painted where you don't want it. To stencil the pattern center the small pattern stencil in the middle of the part B opening. Use a stencil brush to stencil the pattern in a complimentary color, making sure to offload the brush on a paper towel before applying it to the surface. Note the registration marks on the pattern so that you can make it repeat correctly.
Step 5: Stencil Layer A using a third color using a stencil brush or roller, making sure that it lines up properly with Layer B. Use the pinpoint stencil registration marks to get it lined up perfectly. You may need to go over the stencil twice to get complete coverage with the paint, particularly with darker colors.
How cute ARE these stenciled, patterned Parlor Chairs?! This is a great project for your craft room or little girl's room. You can have so much fun mixing and matching paint colors and small allover stencil patterns to create you own unique look.
We painted a tired old resin frame with the same paint colors to tie in to our stencil pattern color theme, and you can do the same with accessories and furniture in YOUR room.
Of course the Parlor Chair stencil looks equally lovely stenciled simply in solid colors.
We hope that this stencil tutorial sparks some creative ideas for you for stenciling allover patterns into other stencil designs. Our Bari J Dress Form stencil and Silhouette Cameo Stencils Set would work equally well for this fun stenciling technique!


