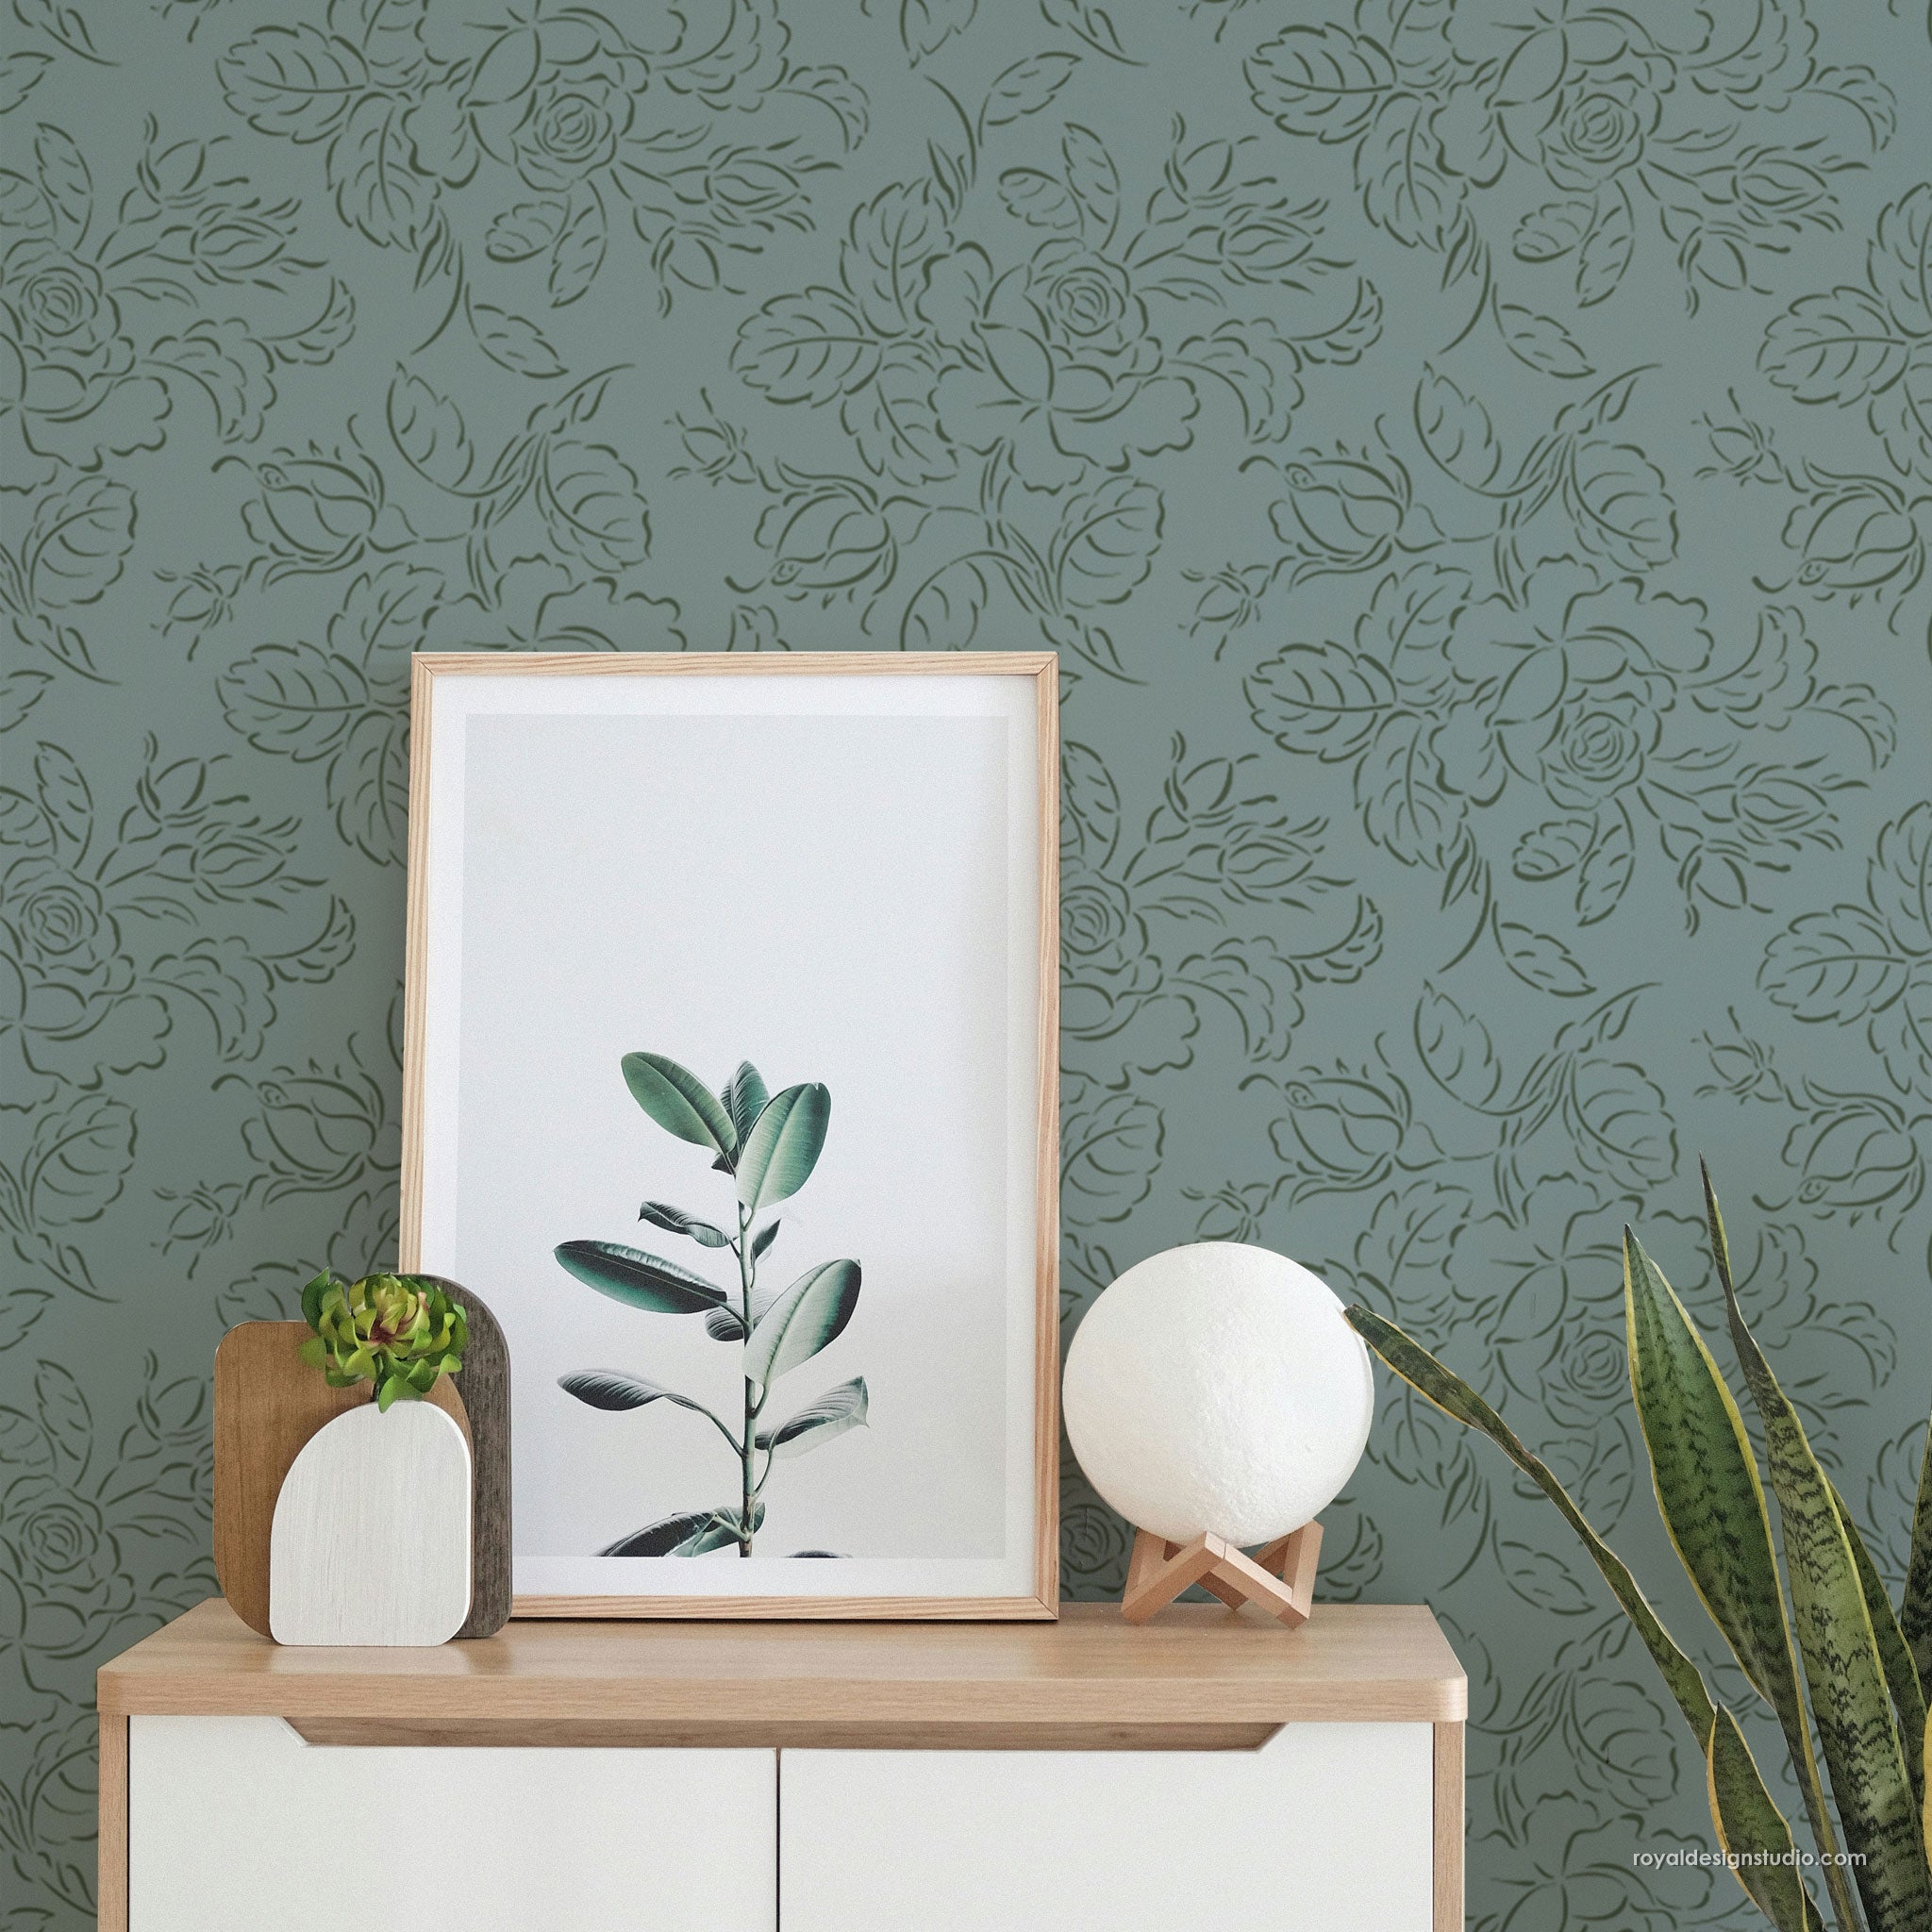

Art not only makes any space interesting, but is also a critical aspect of home décor. You might have noticed that almost every room we see in those pretty home décor magazines, have one or the other form of art pieces that complete the room.
Angela of Life in Velvet shared some cool DIY ideas last month, that she did, to brighten up her living room and make it ready for spring. Be sure to check her blog post on Ringing in Spring 2014 Home Tour to see how, just by adding a few accents she gave the whole room a fresh new look.
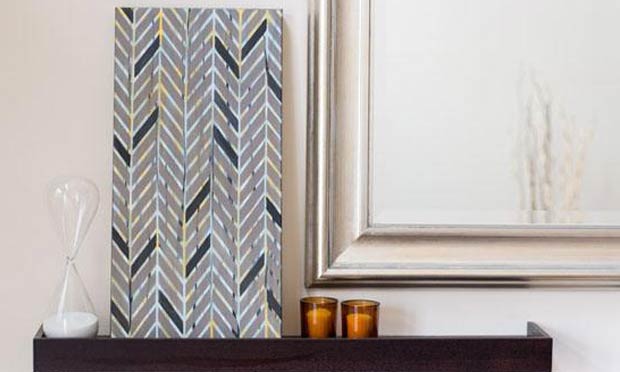
One of the accents she added to this room was a DIY stenciled canvas, the steps of which were shared by her on My Crafty spot as a guest blogger. Here is a quick recap of the DIY that shows how to create your own customized stenciled canvas art without spending a lot of money.

Supplies you will need:
Royal Design Studio’s Get Ziggy With it Stencil
Royal Design Studio’s Stencil Crème
Canvas in the size of your choice
Craft paint
Paint Brush
Tape

To begin with, Angela painted a canvas with random lines and colors that went with her current living room set up. You can go with any color combination, pattern or even chose solid colors to paint on the canvas. Just keep in mind that this stencil pattern is going to cover most of your original canvas art. Only parts of it will peep from in-between the pattern. So, don’t be scared to have some fun and let that brush roll!

Once the paint on the canvas was dry, she taped the stencil in place on top of her canvas painting. She made sure, before starting to stencil, to offload most of the stencil crème or paint from the stencil brush onto a paper towel. This is important for the paint to not smudge or bleed under the stencil. For best results, she recommends moving the brush in a circular motion over the stencil pattern.

Angela repeated the process until the entire canvas surface was covered. She made sure to give a few minutes of drying time before repositioning the stencil on the remaining part of the canvas. To create a little more interest, she went on to add an additional accent color simply by carefully placing the stencil over the existing pattern.

We think this is a great way to brighten up any room while creating a customized art work that will look more than professional in your home! Be sure to visit the DIY Stenciled Canvas Art on My Crafty Spot for more details on this project and also check out their several other cool craft projects. And, if you happen to create any fun stencil projects of your own, be sure to share the pictures with us!