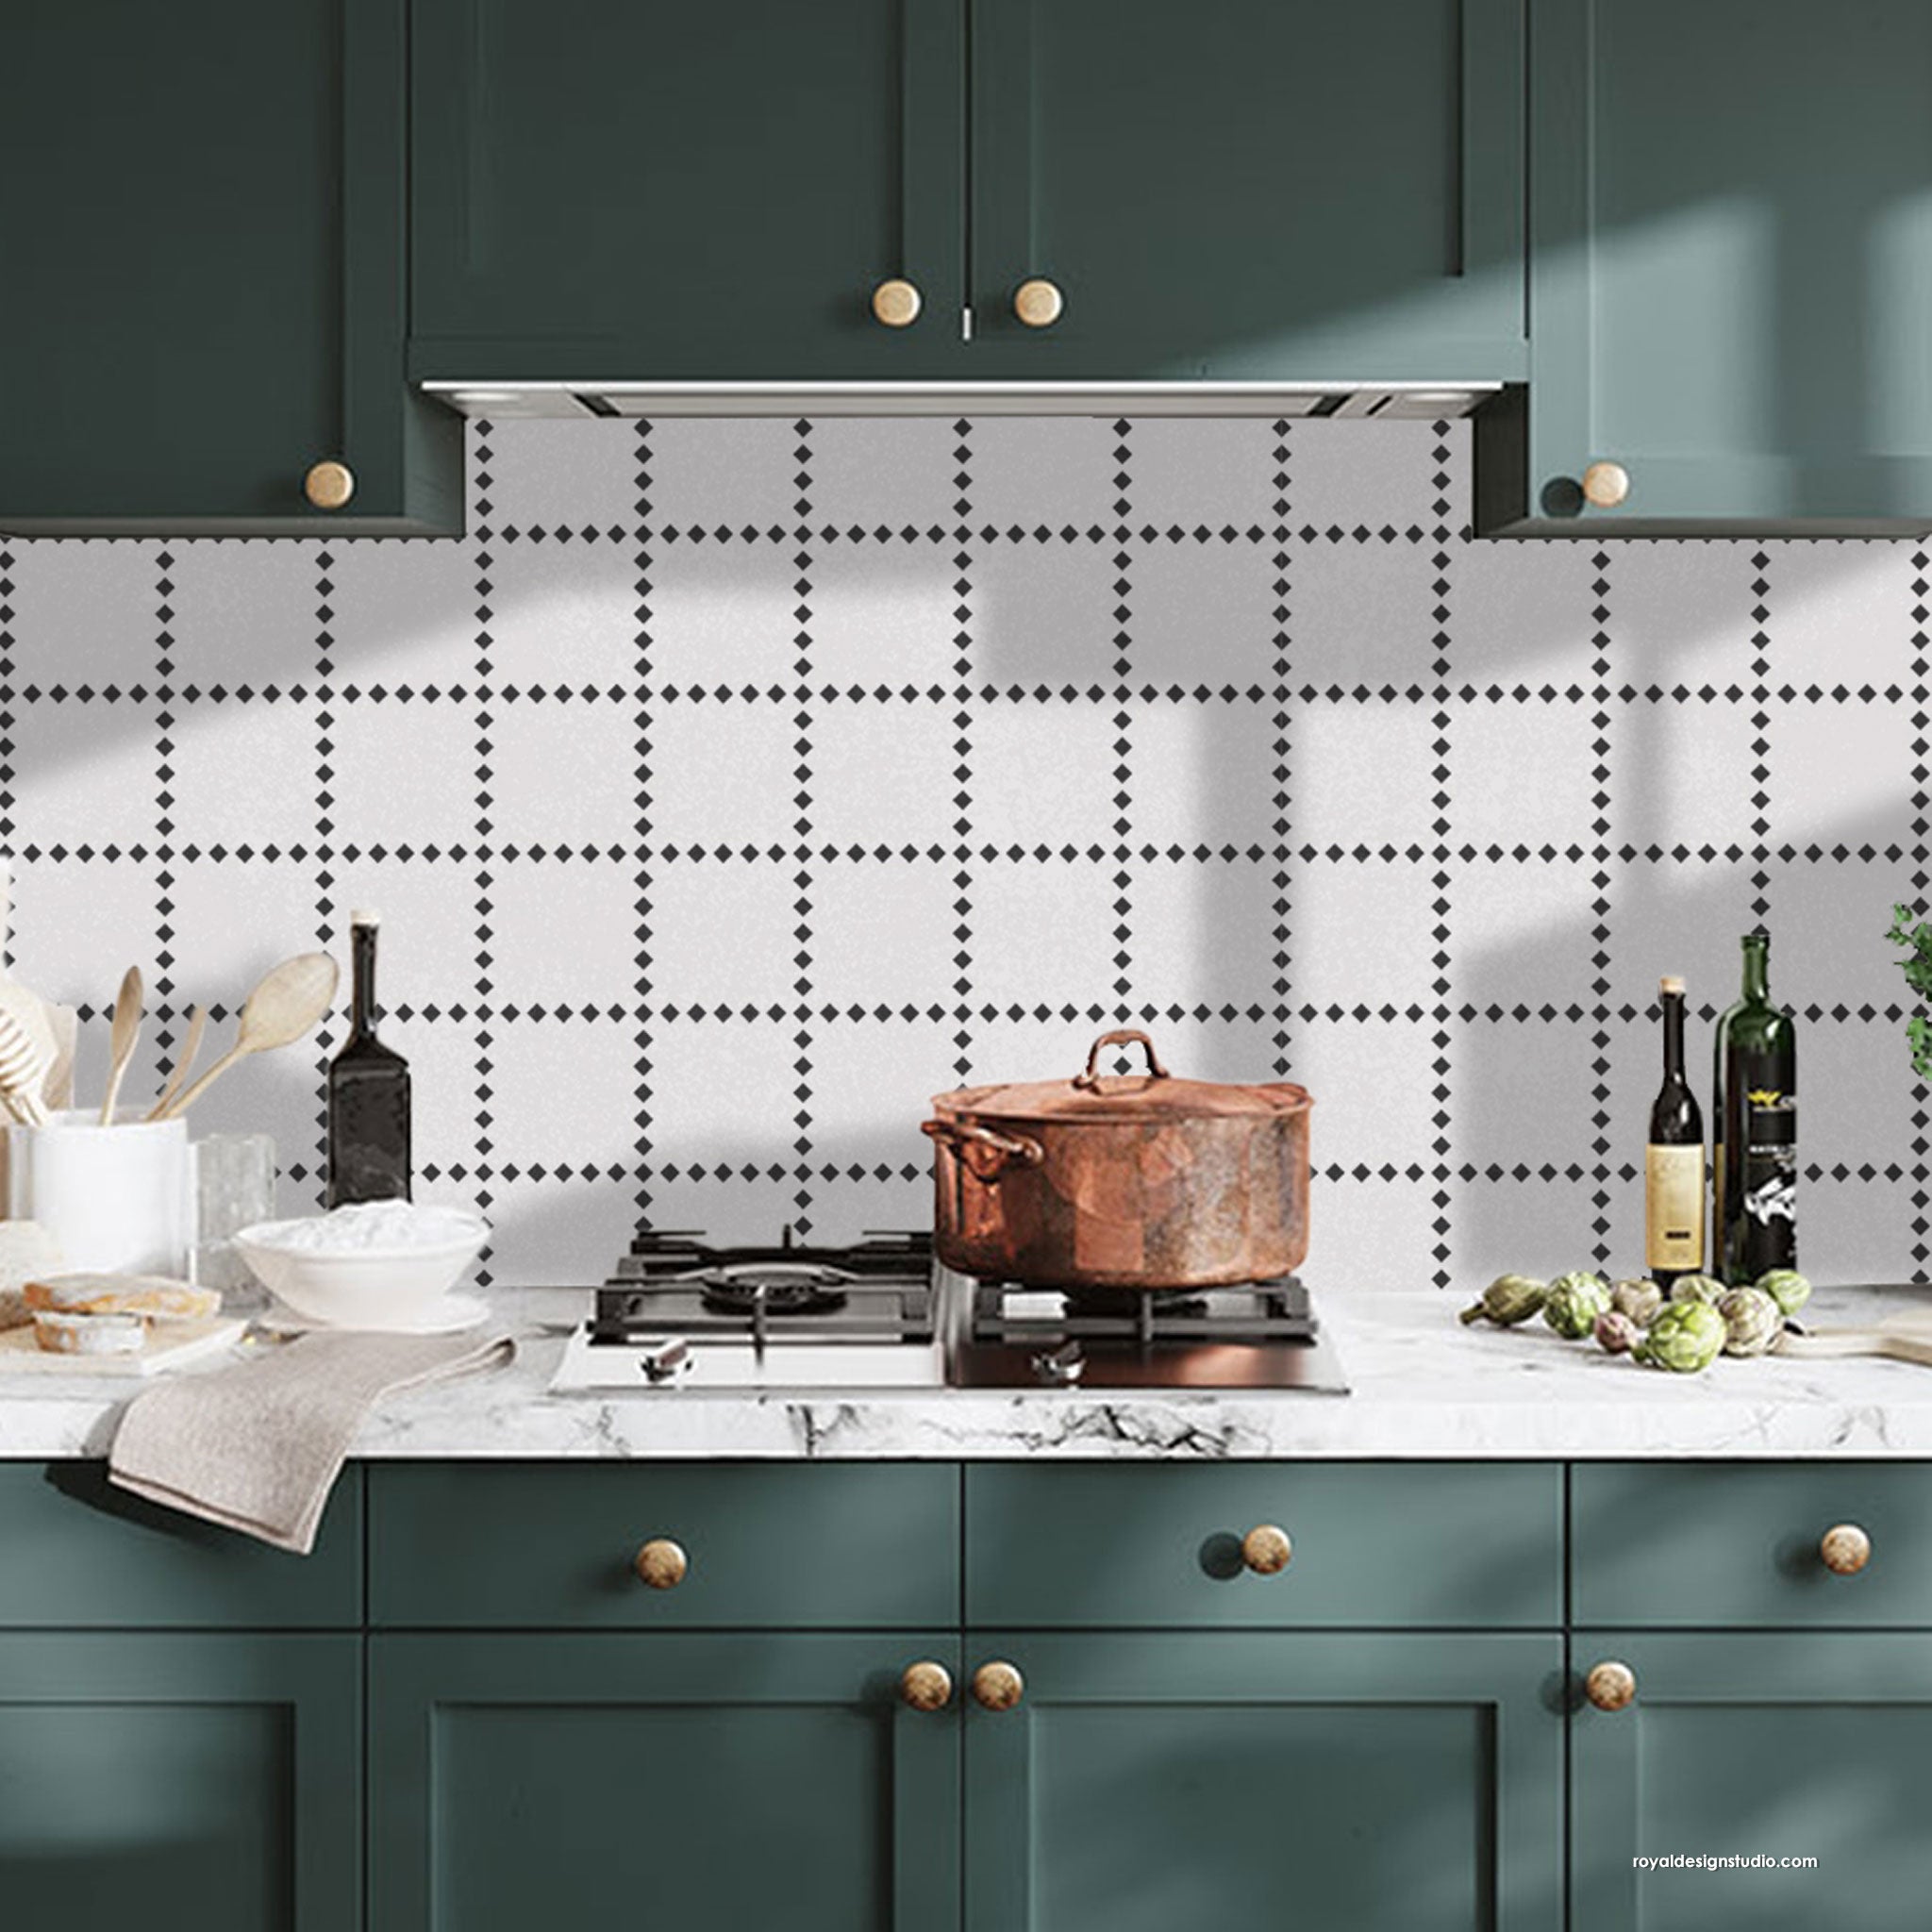
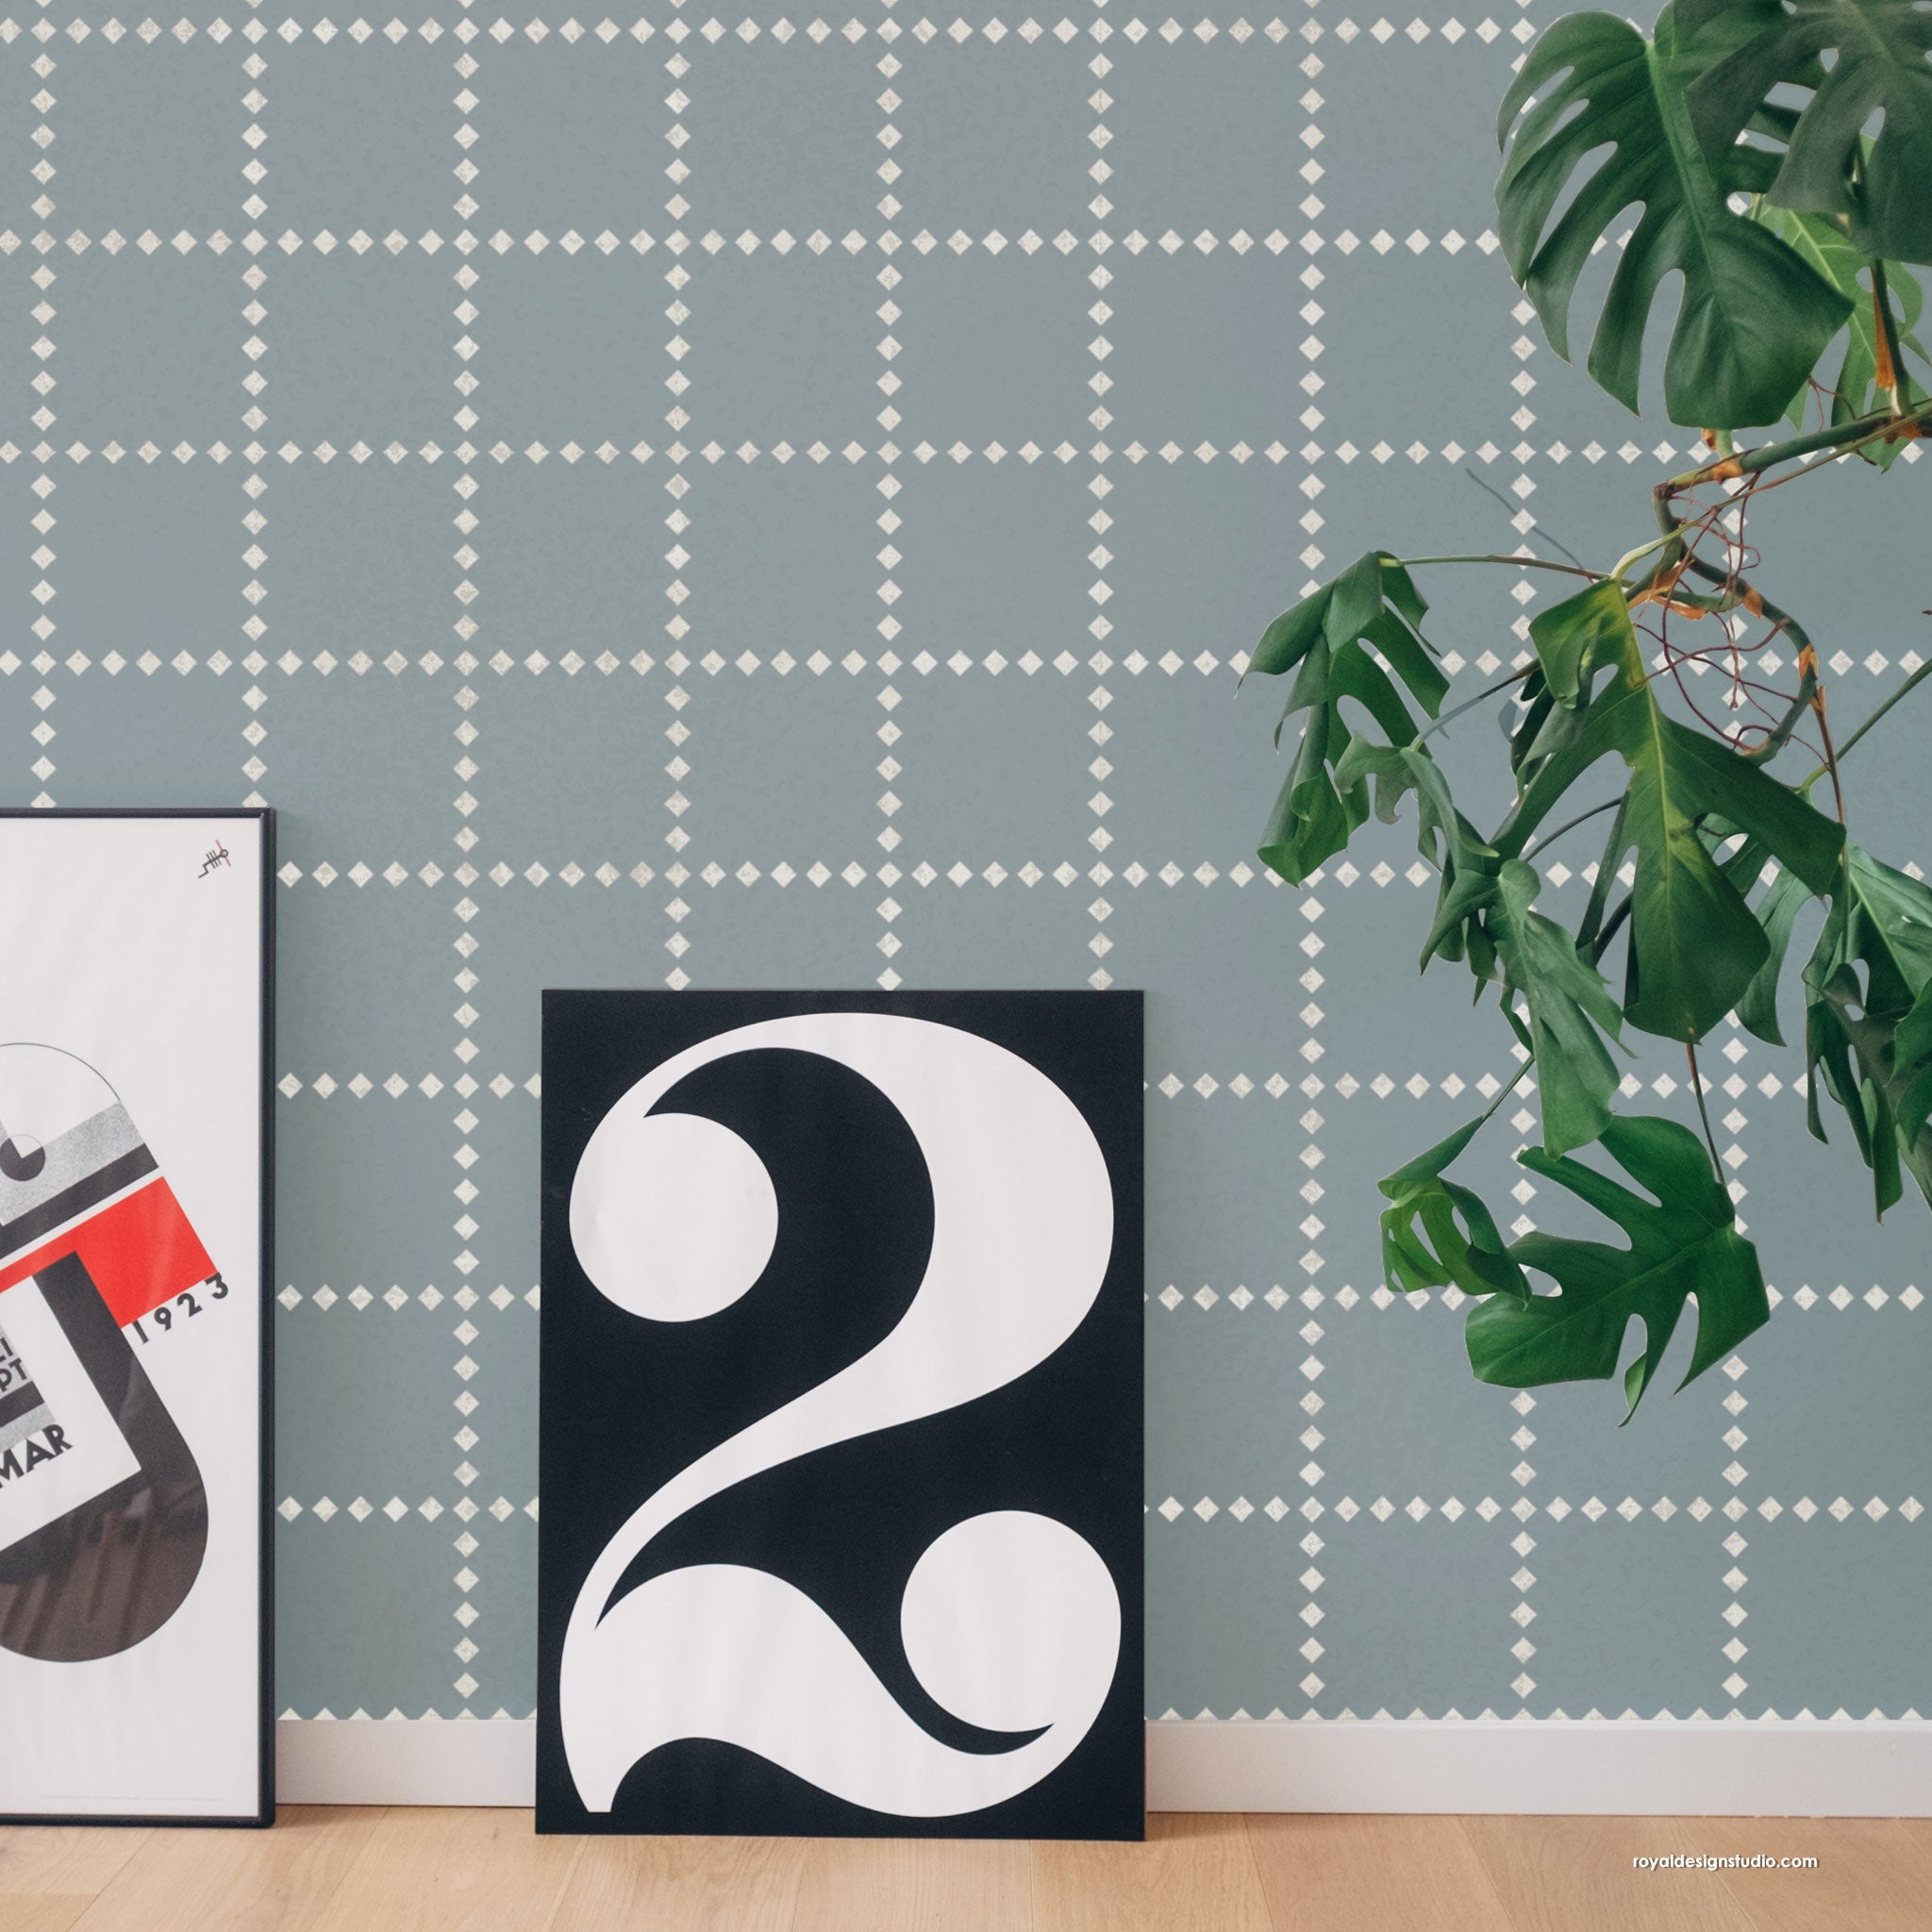
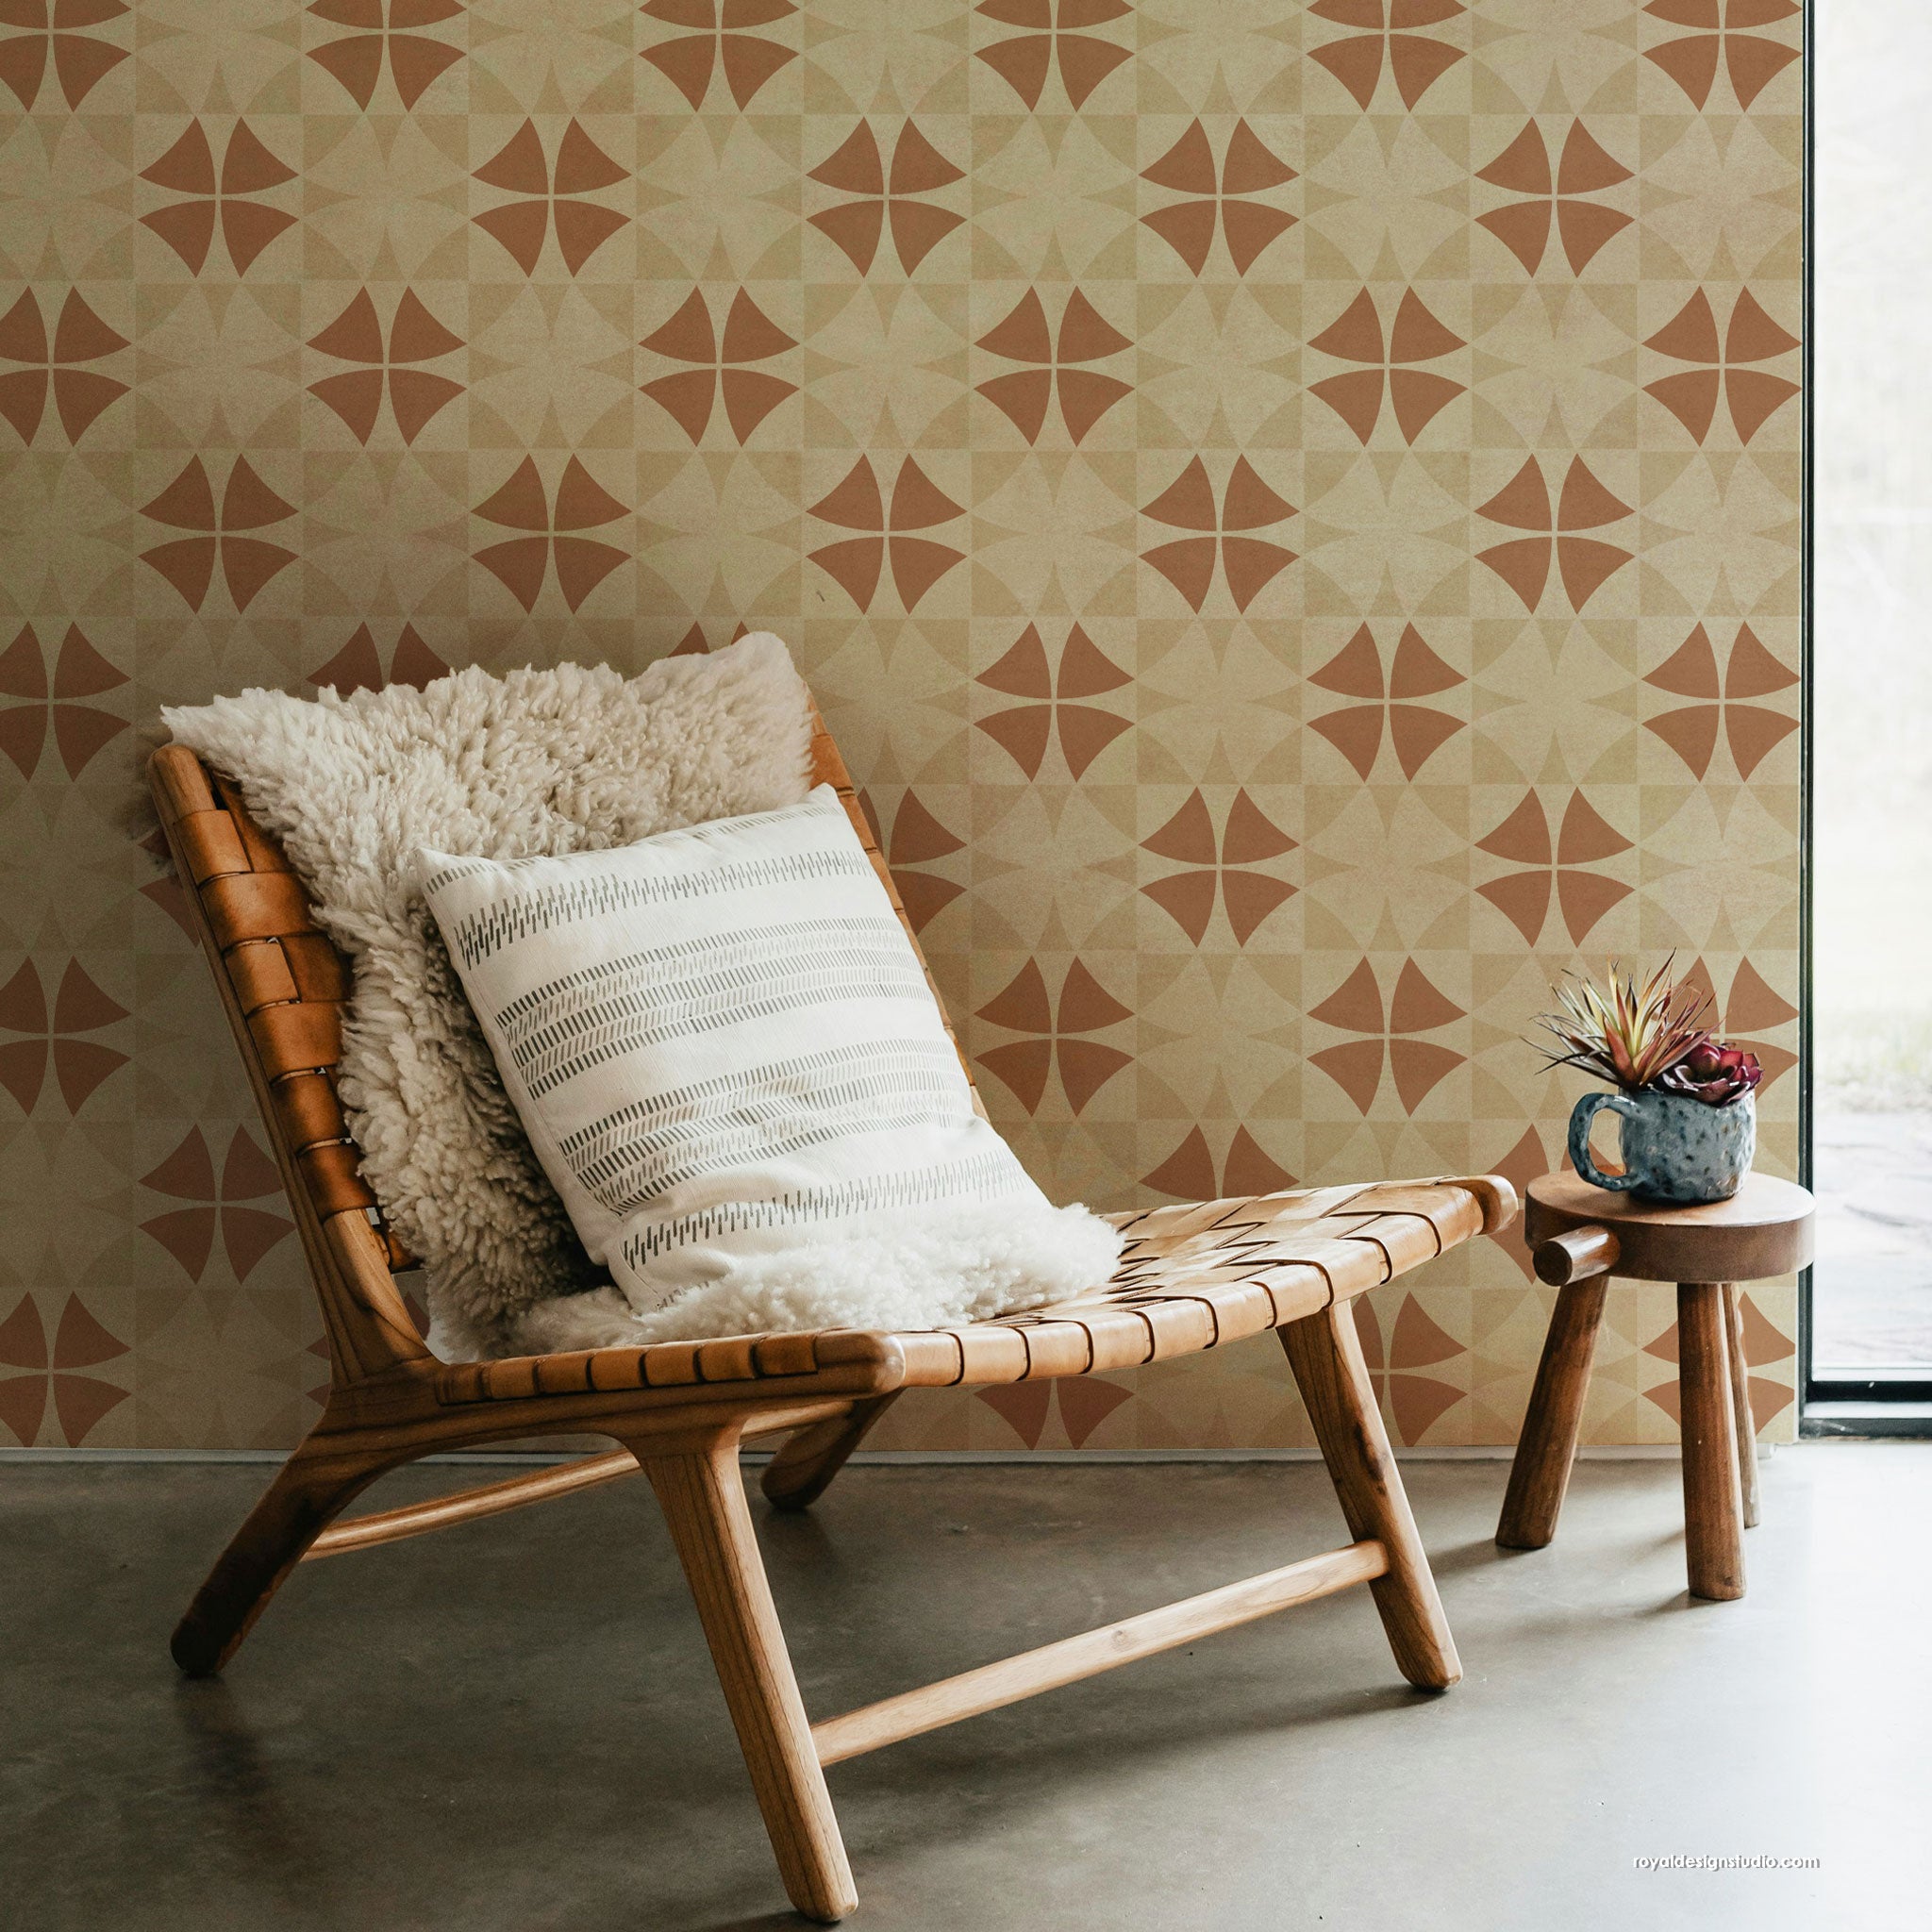
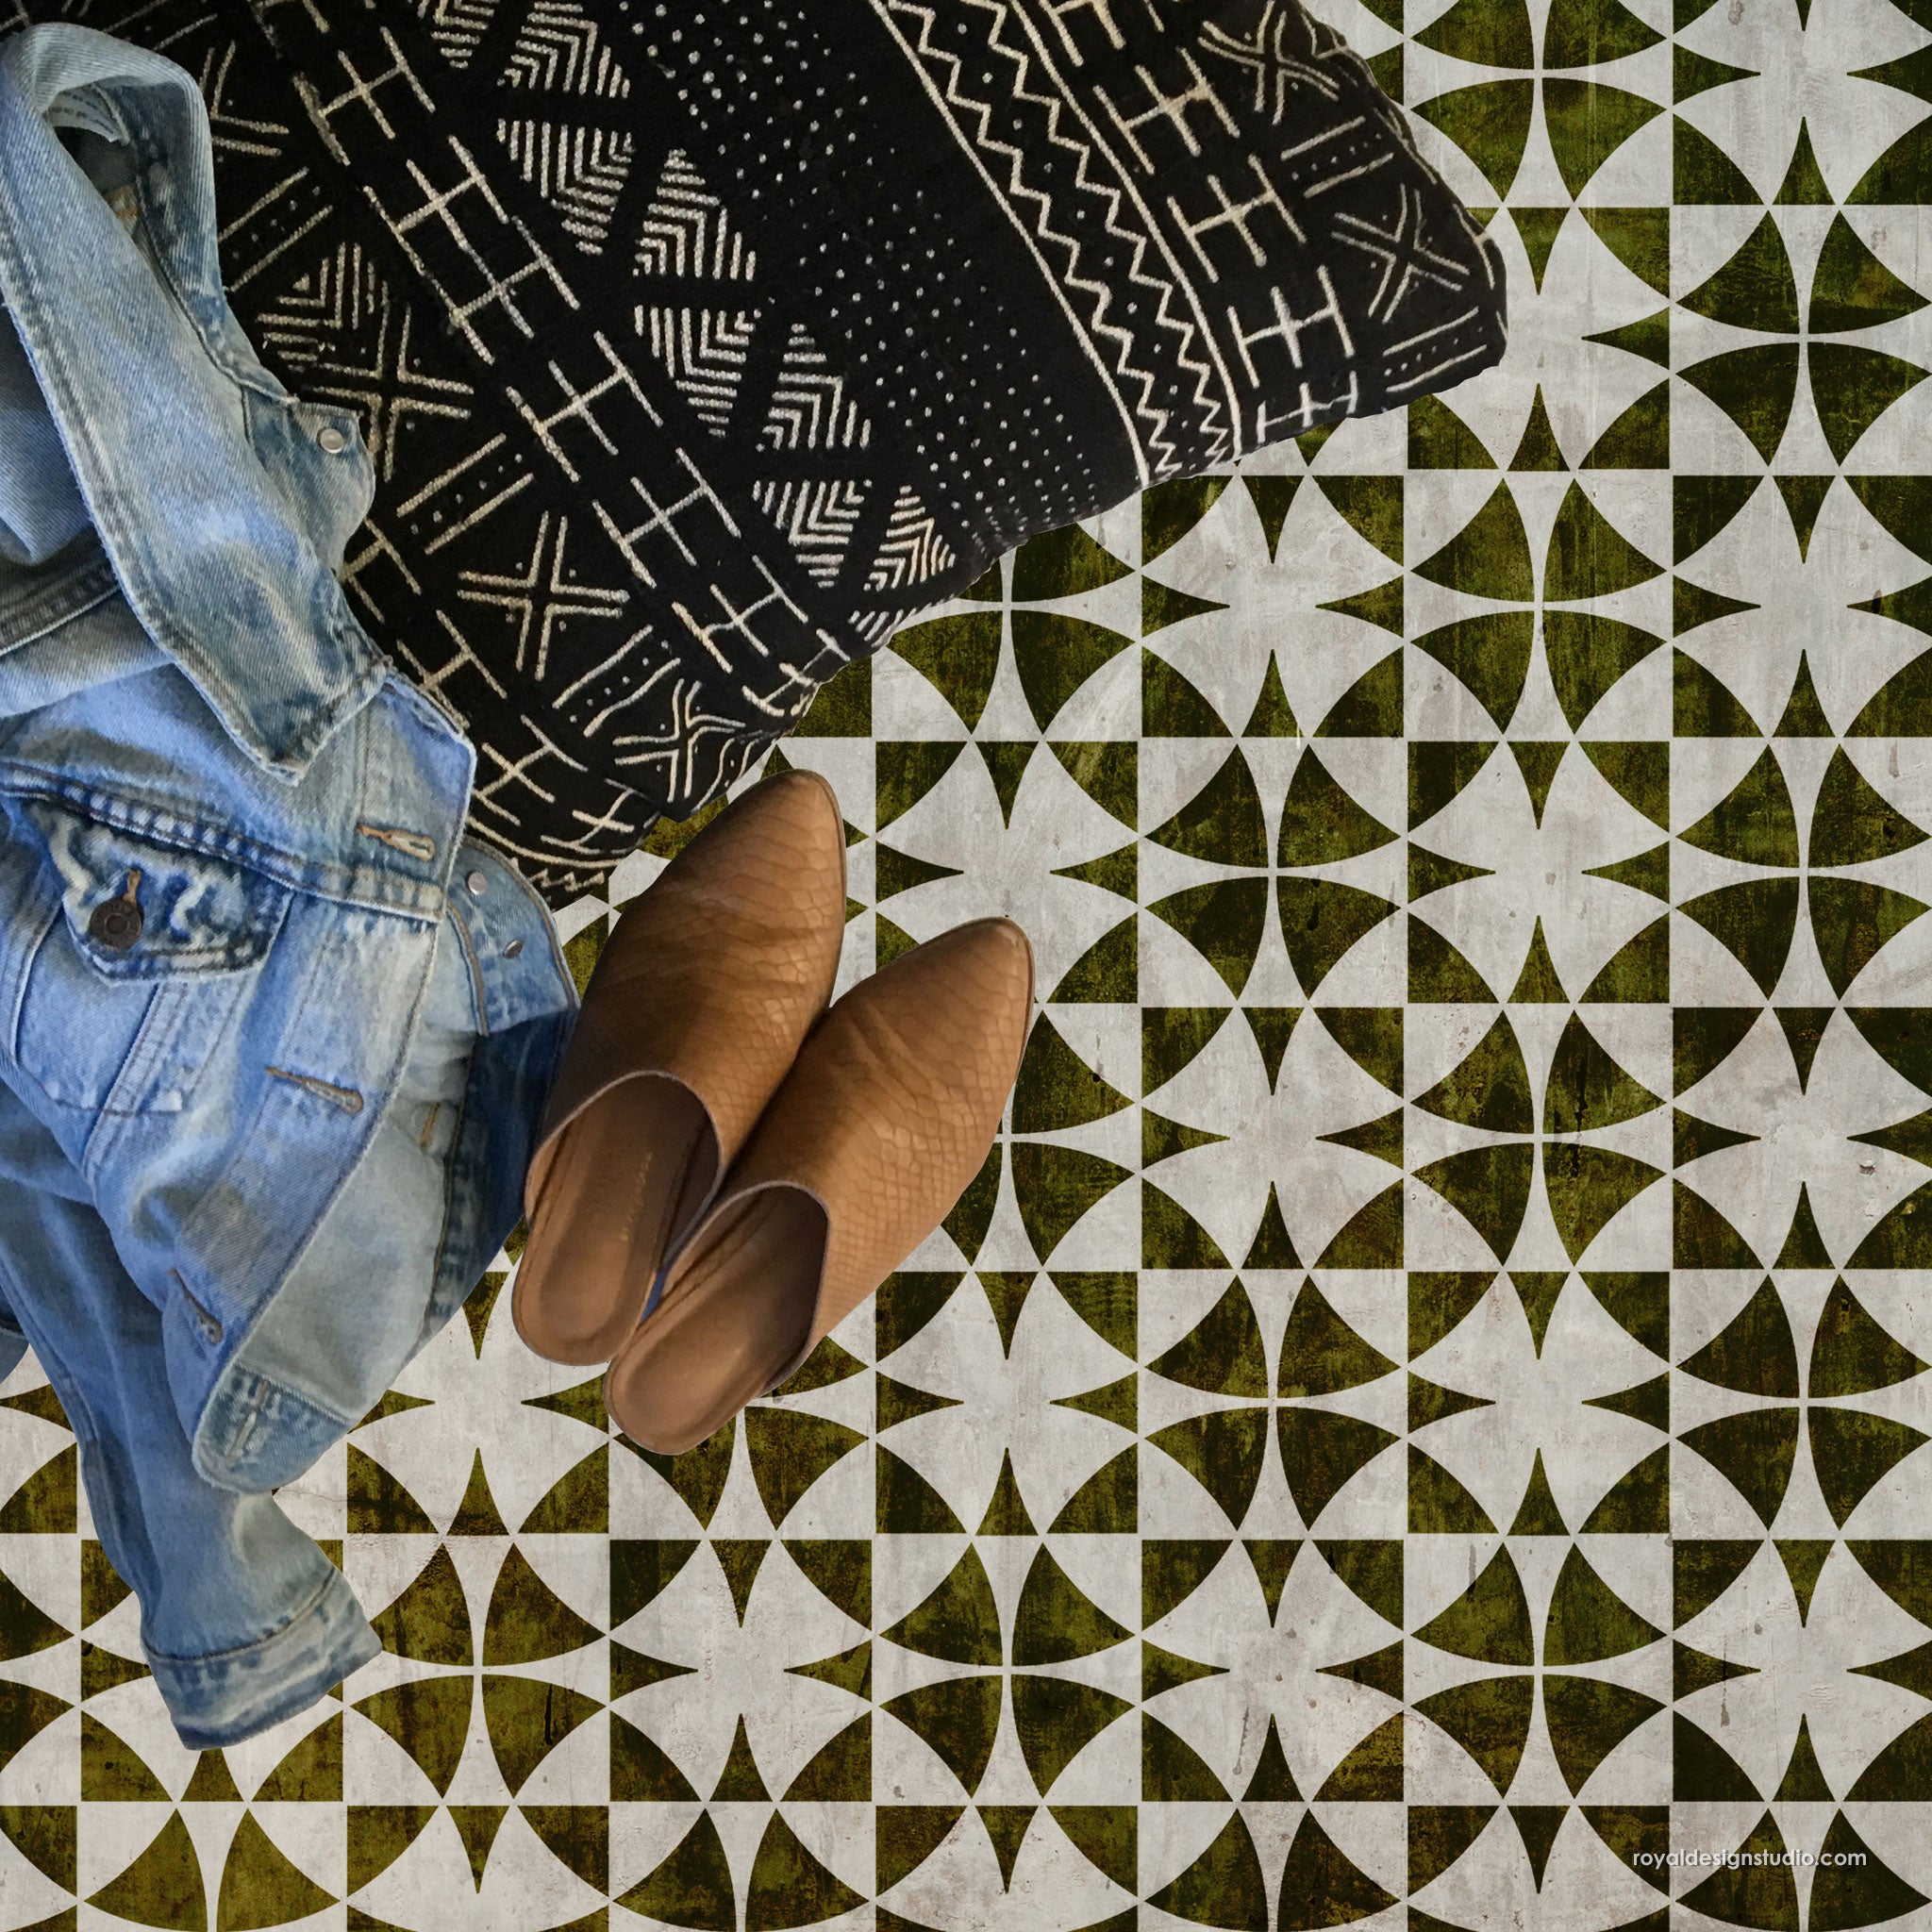
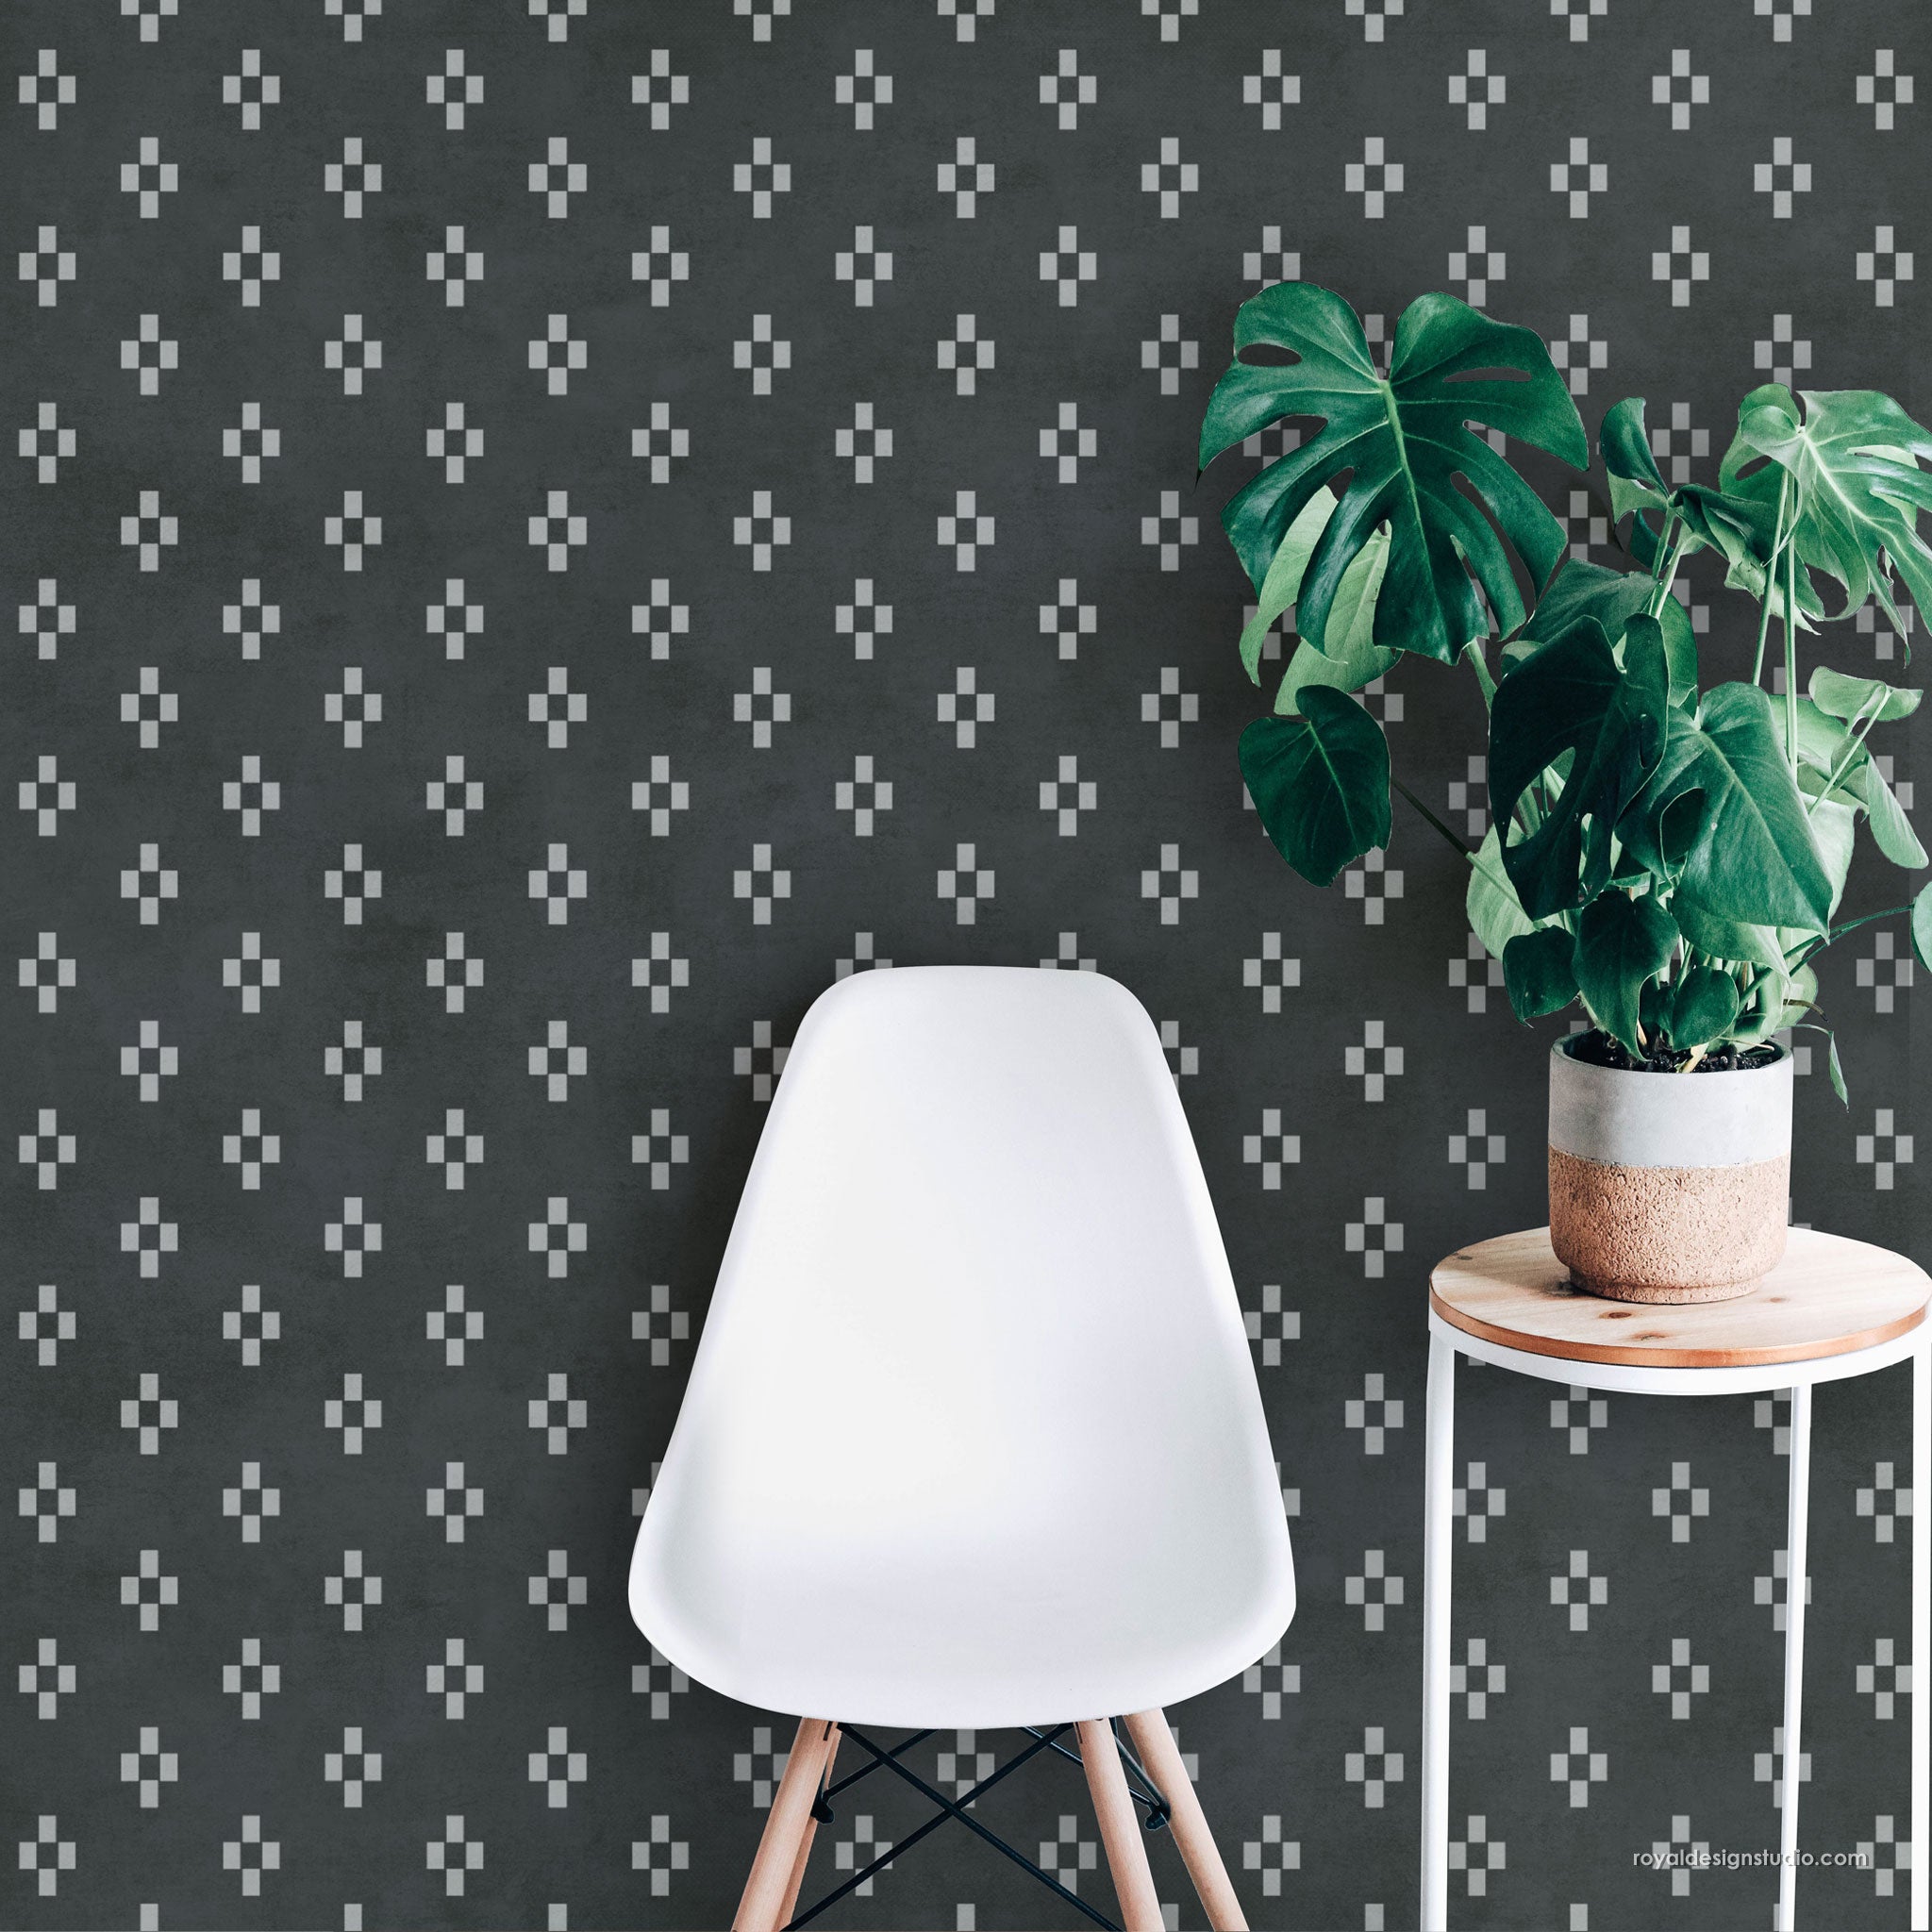
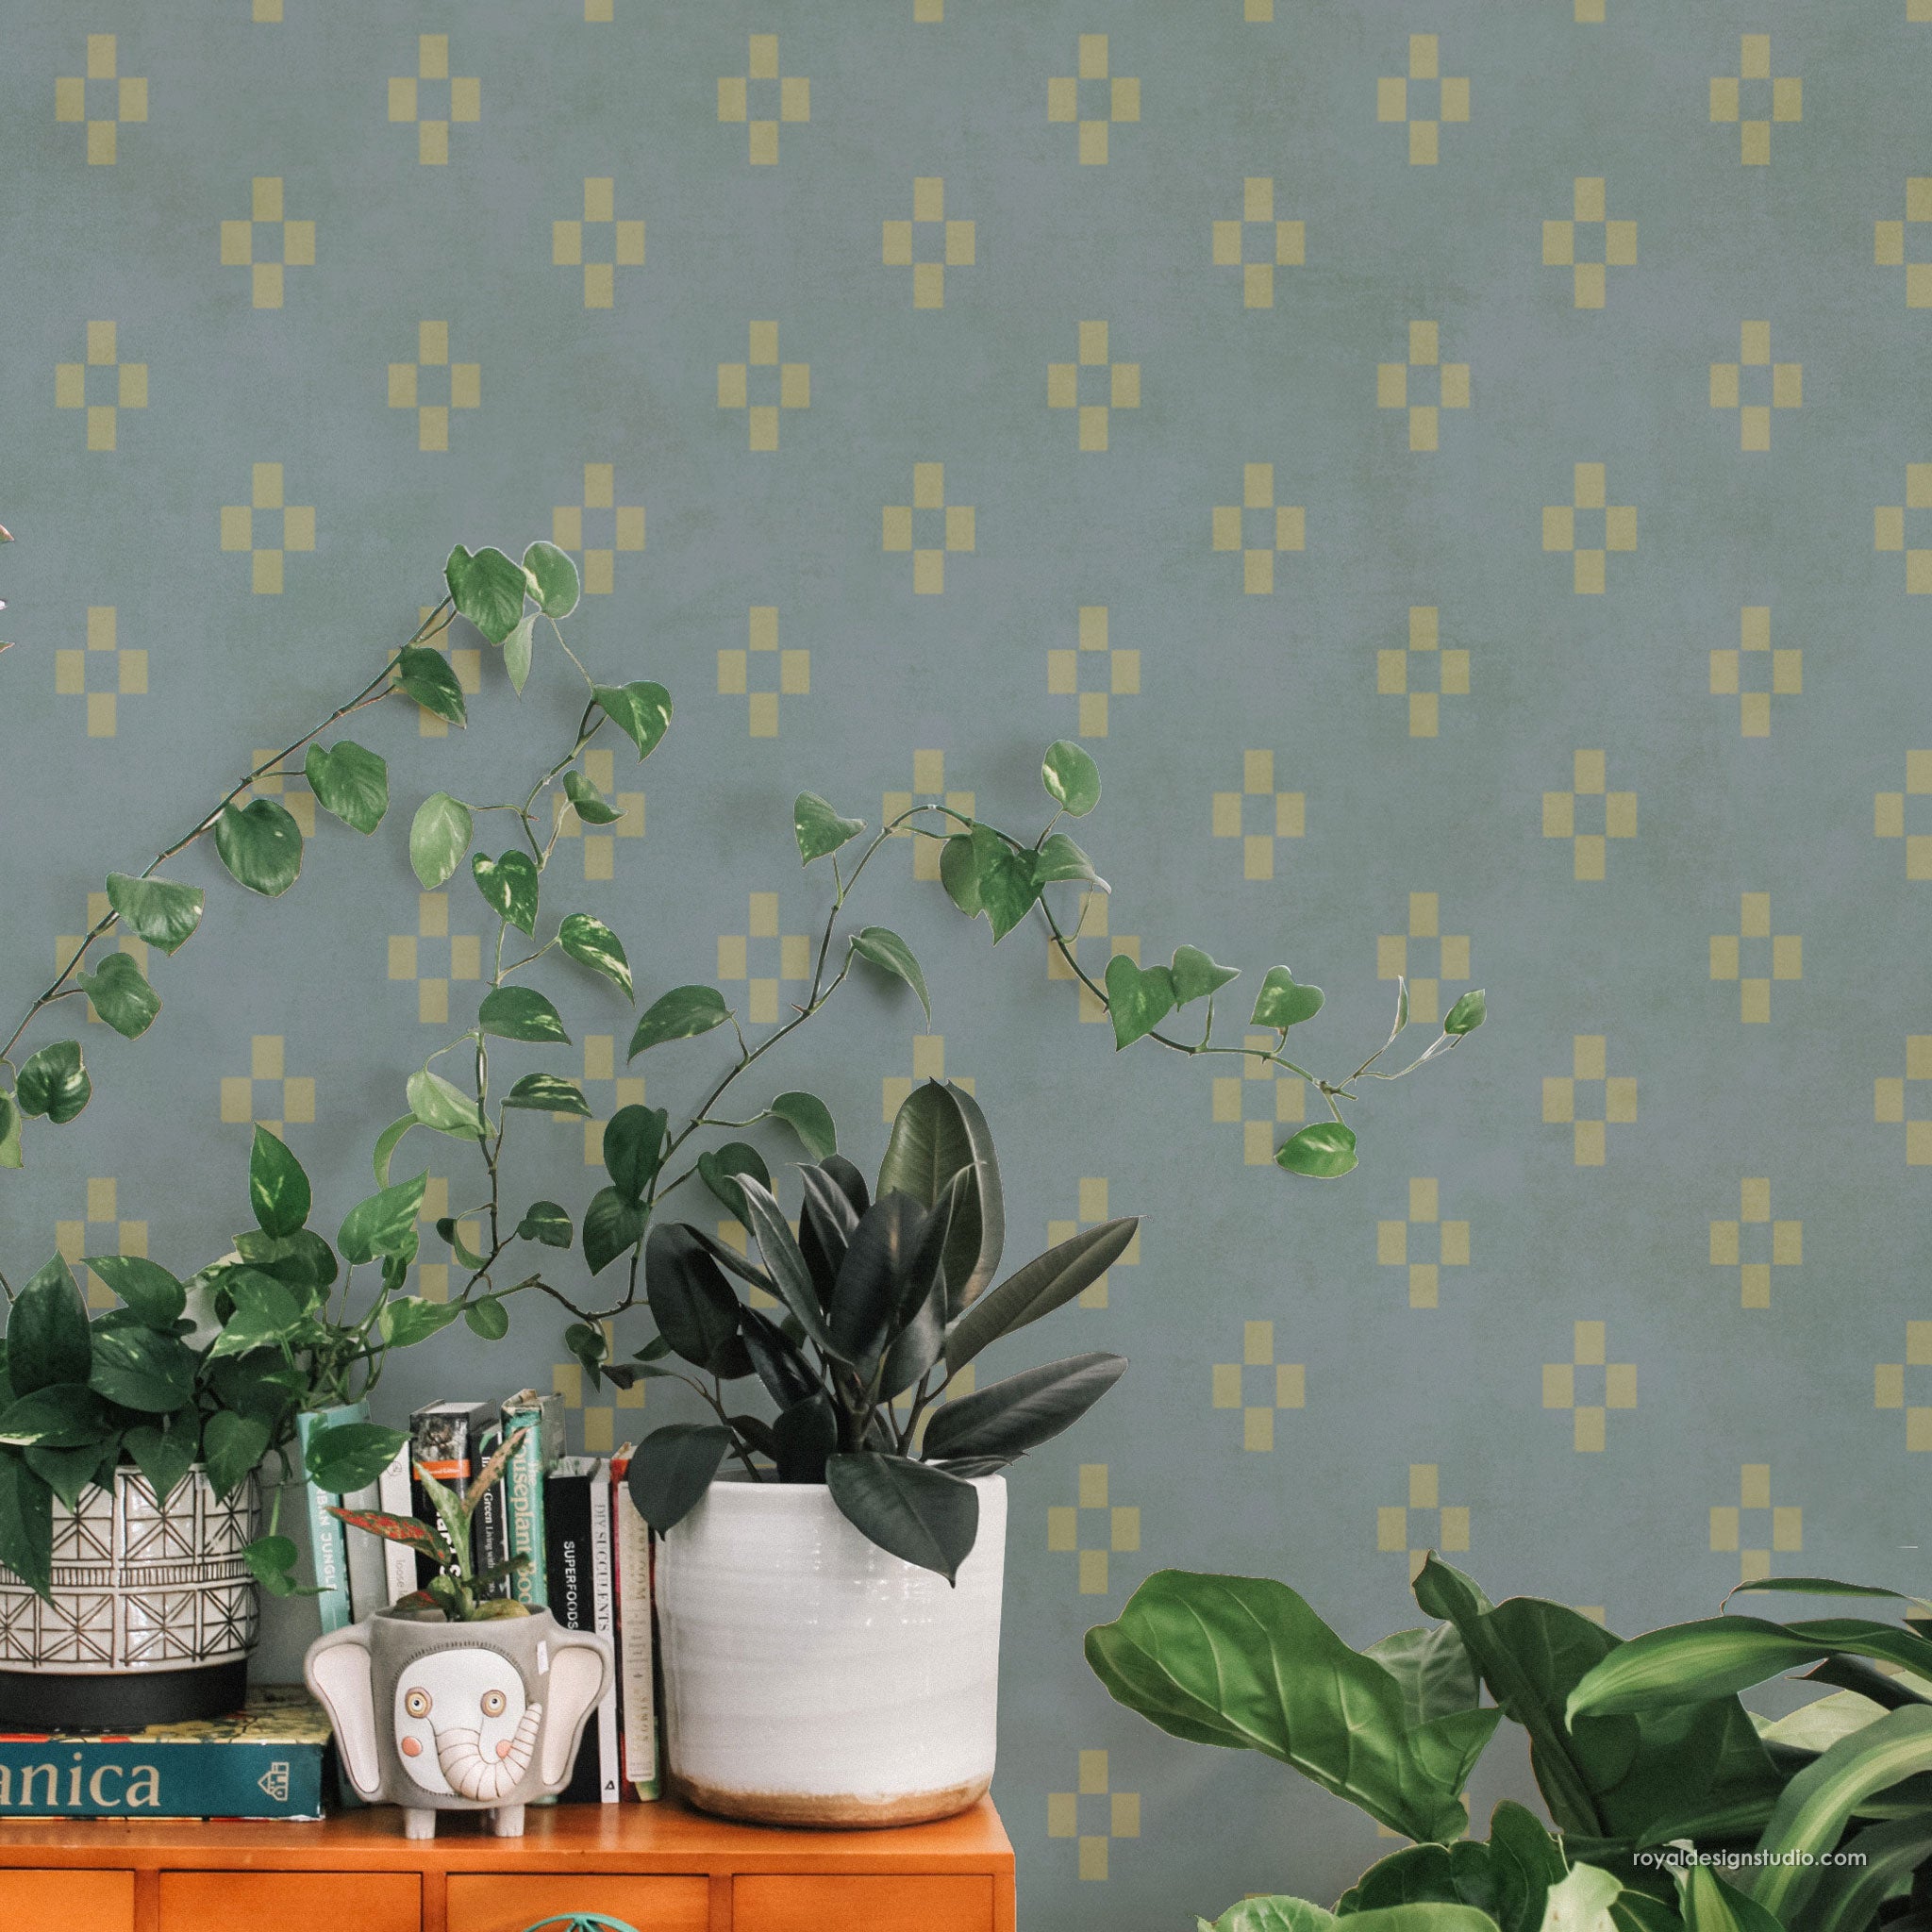
From sleek city lofts to rustic farmhouses, black and white rooms never fail to elevate the aesthetic of a home. This classic color scheme will always be in style, especially for bathroom makeovers. However, bathroom remodeling can be so expensive! Here’s a great alternative if you don’t have the budget to tear out your bathroom flooring for some new black and white tiles: You can actually paint directly over your floor with Tile Stencils from Royal Design Studio! This is a brilliant idea to inexpensively refresh old flooring and add some sleek pattern to a less-than-exciting space. Watch the video tutorial below to learn how to stencil your outdated linoleum, vinyl, or tiled floor to create the look of gorgeous, high-end flooring…
Supplies:
- Concrete Quilt Tile Stencil from Royal Design Studio
- Annie Sloan Chalk Paint® in Pure White and Graphite *OR use a good quality latex paint in eggshell finish
- Royal stencil brush, painter’s tape, paper towels
- Water-based Urethane for floors
Step 1: Prep your surface! Dilute 1 part TSP substitute with 1 part water. Use a scrubbing pad to clean the floor with this mixture. Then remove any residue of the cleaning mixture by rinsing the floor with warm water.
Step 2: Prime your bathroom floor with Zinssers Bulls Eye 1-2-3 using a foam roller. Allow to dry for about 2 hours, and then apply a second coat. Allow to dry.
Step 3: Apply 2 coats of Pure White Chalk Paint® over the entire floor using a foam roller. Allow each coat to dry.
Step 4: Place and secure the tile stencil onto the center of your bathroom floor with painter’s tape. Load a stencil brush with Graphite Chalk Paint® and offload the excess paint onto a paper towel. Stencil the tile design.
Step 5: Remove the tile stencil. Use the built-in registration marks to reposition and realign the design next to the first repeat. Repeat Step 4 and 5 to finish stenciling the bathroom floor.
Step 6: Make sure to protect and mask off adjacent walls, tub, and cabinets with painter’s tape. Once you are stenciling near these areas, place and secure your tile stencil on the center of the tile near the wall with painter’s tape. Use your free hand to push the stencil into the corner before the floor and the wall. You may use a small paint brush to touch up these areas.
Step 7: Seal the deal! Seal the entire floor with 2 coasts of water-based polyurethane top coat. Allow each coat to dry.
Do you have a fierce and fun decorating project you’ve been working on? We’d love to share and show it off to our readers! Email us at projects@royaldesignstudio.com, share them on our Facebook Page, or you can even Instagram your projects and tag us with #royaldesignstudio


