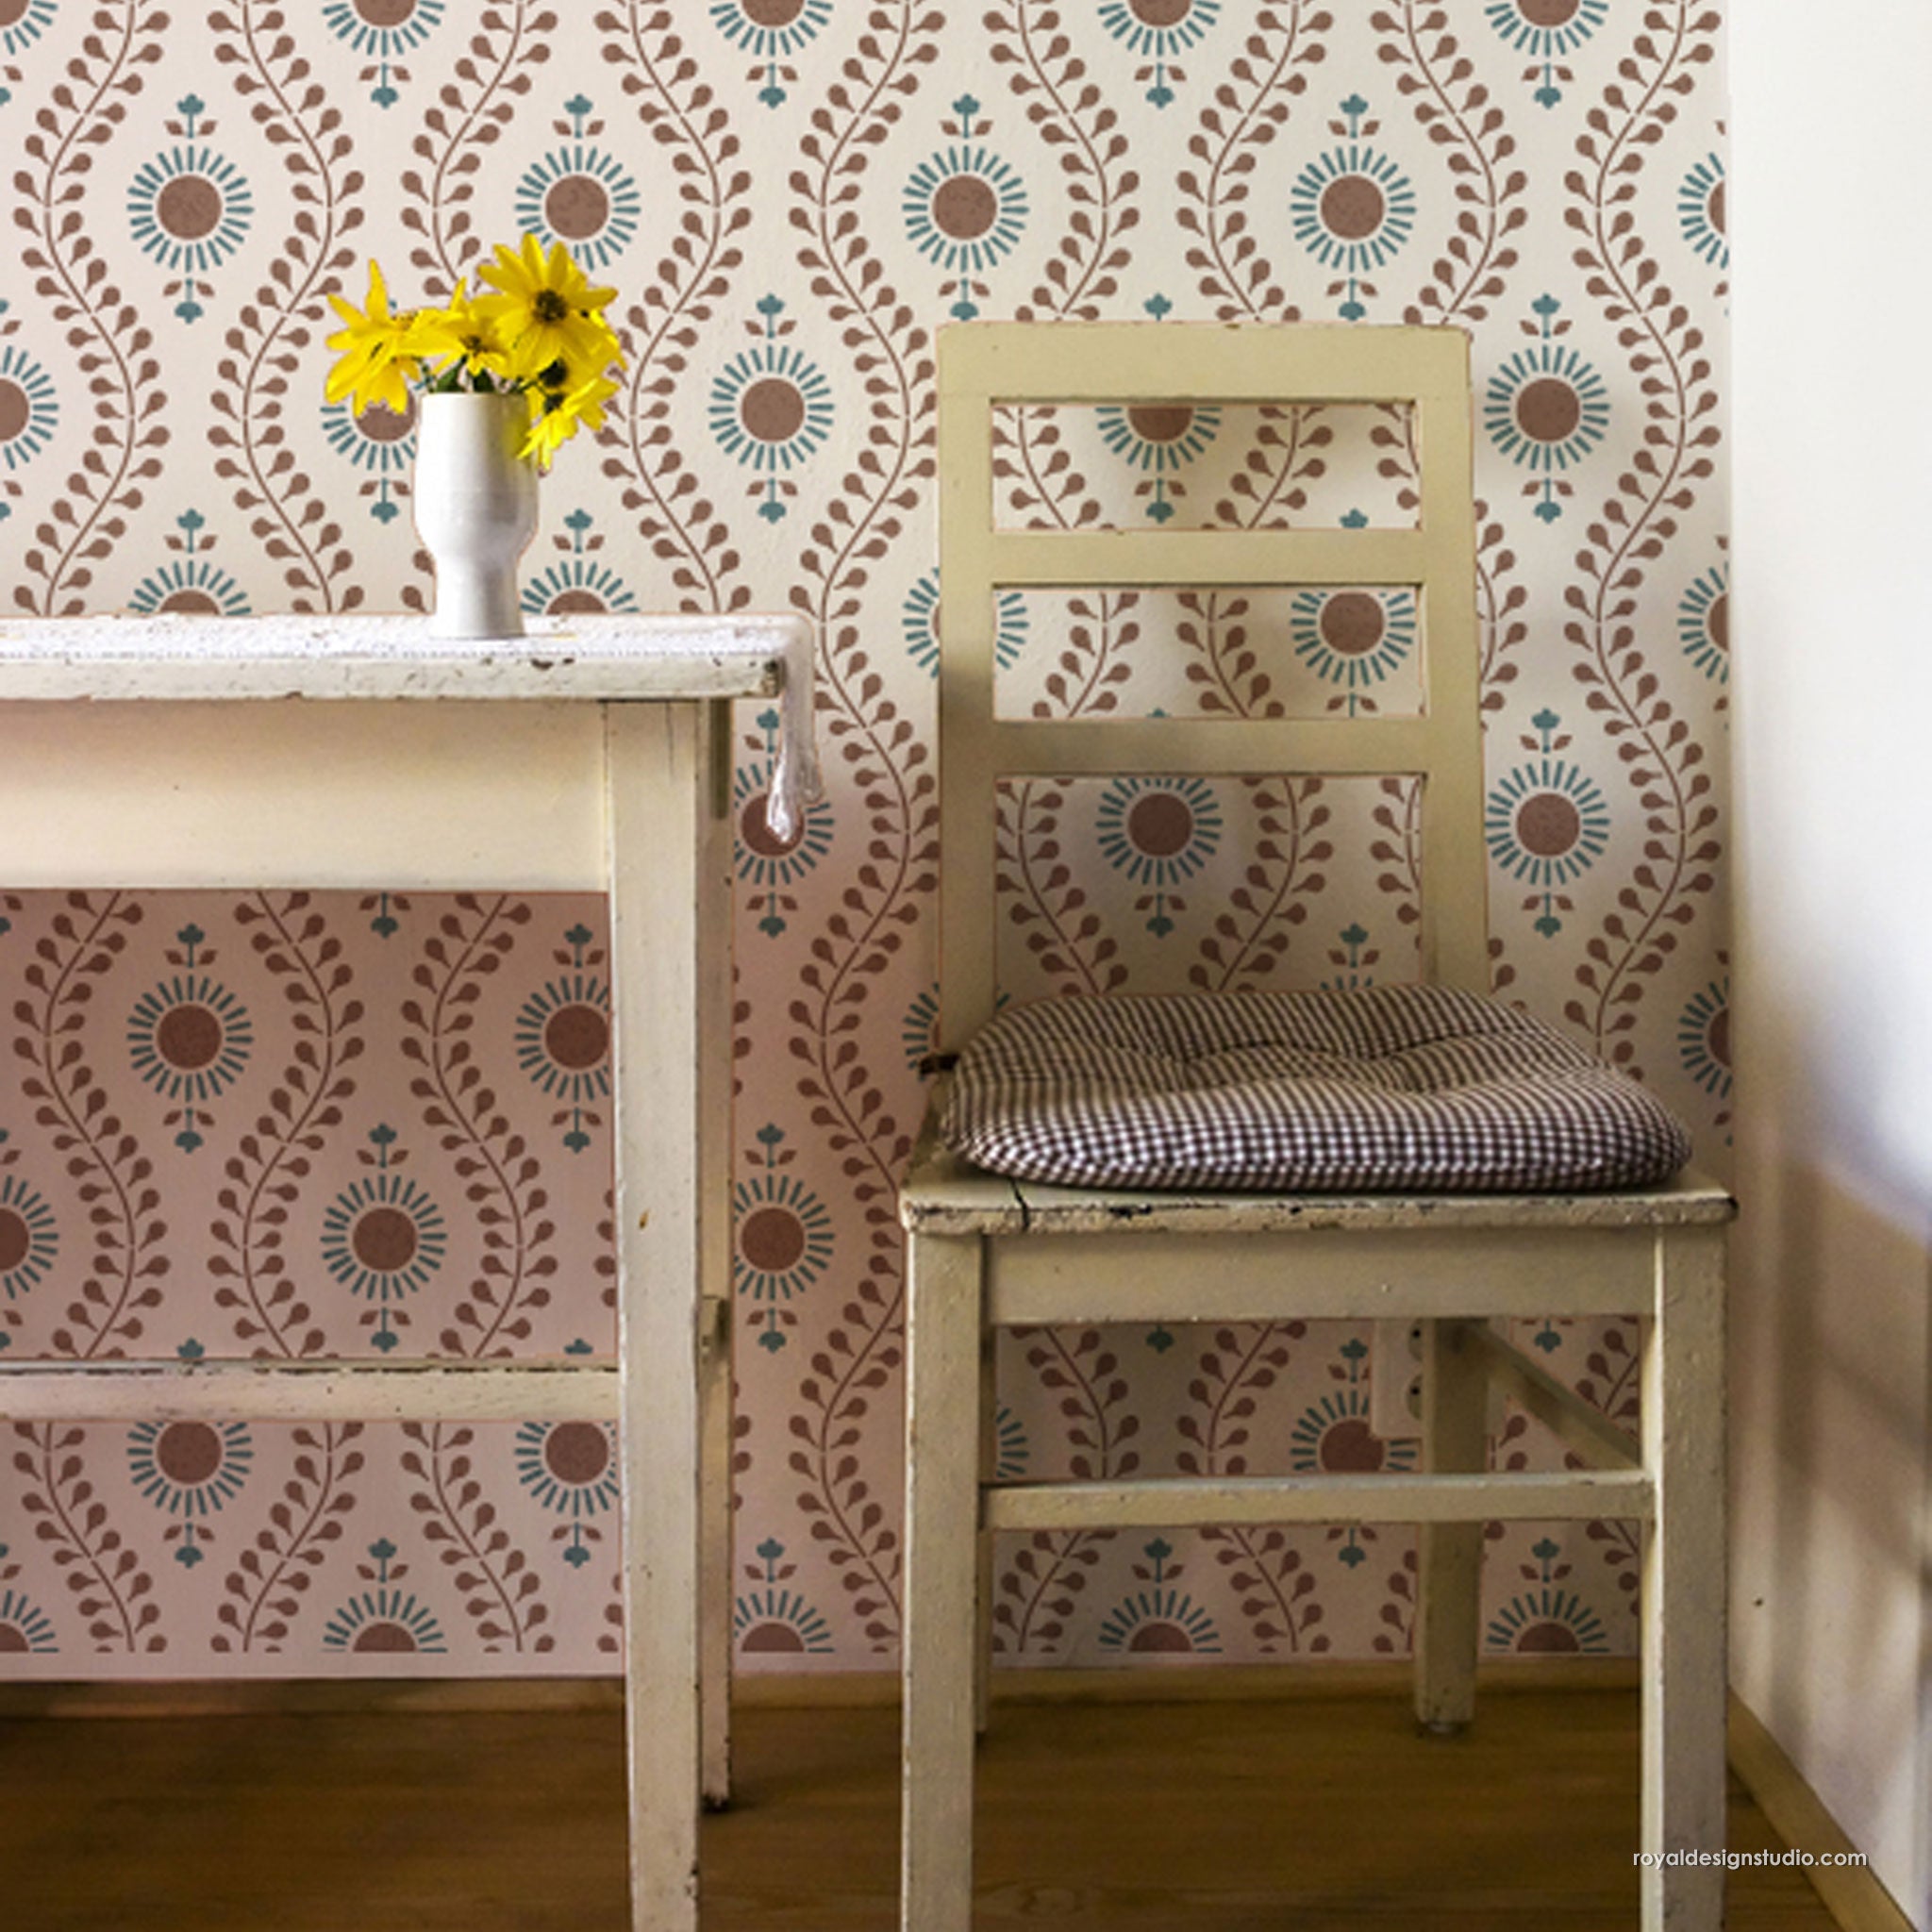
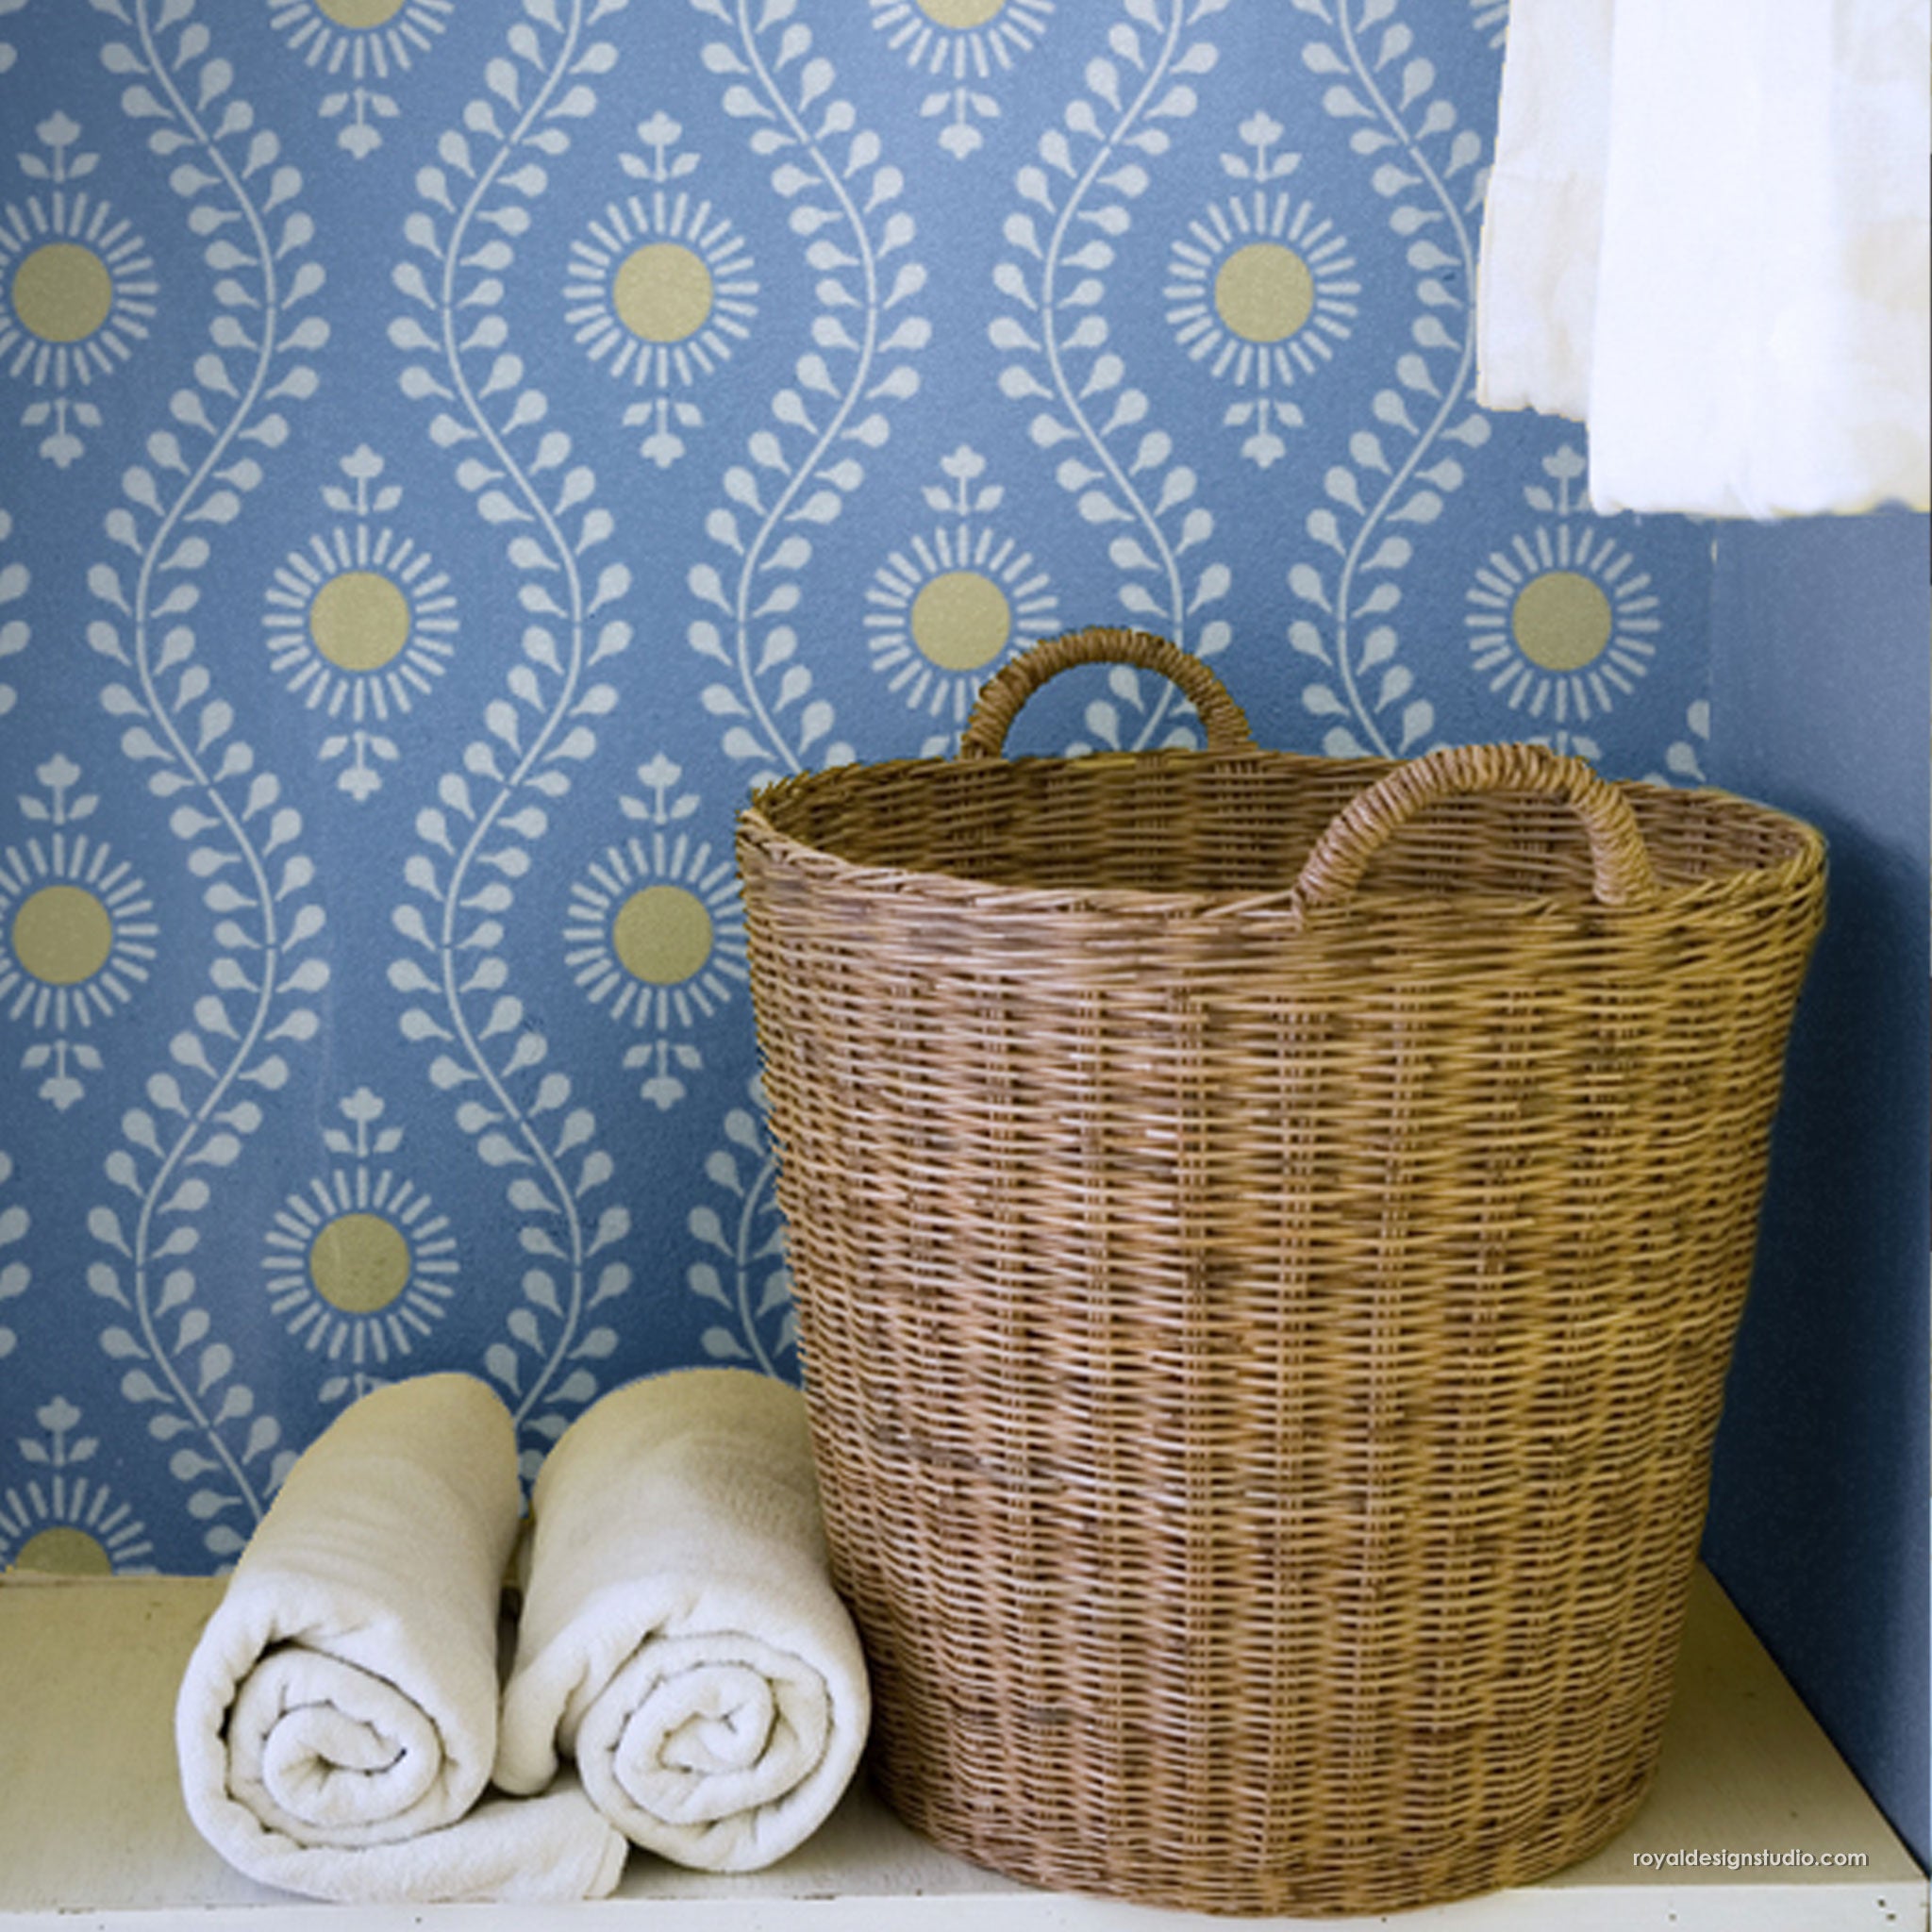
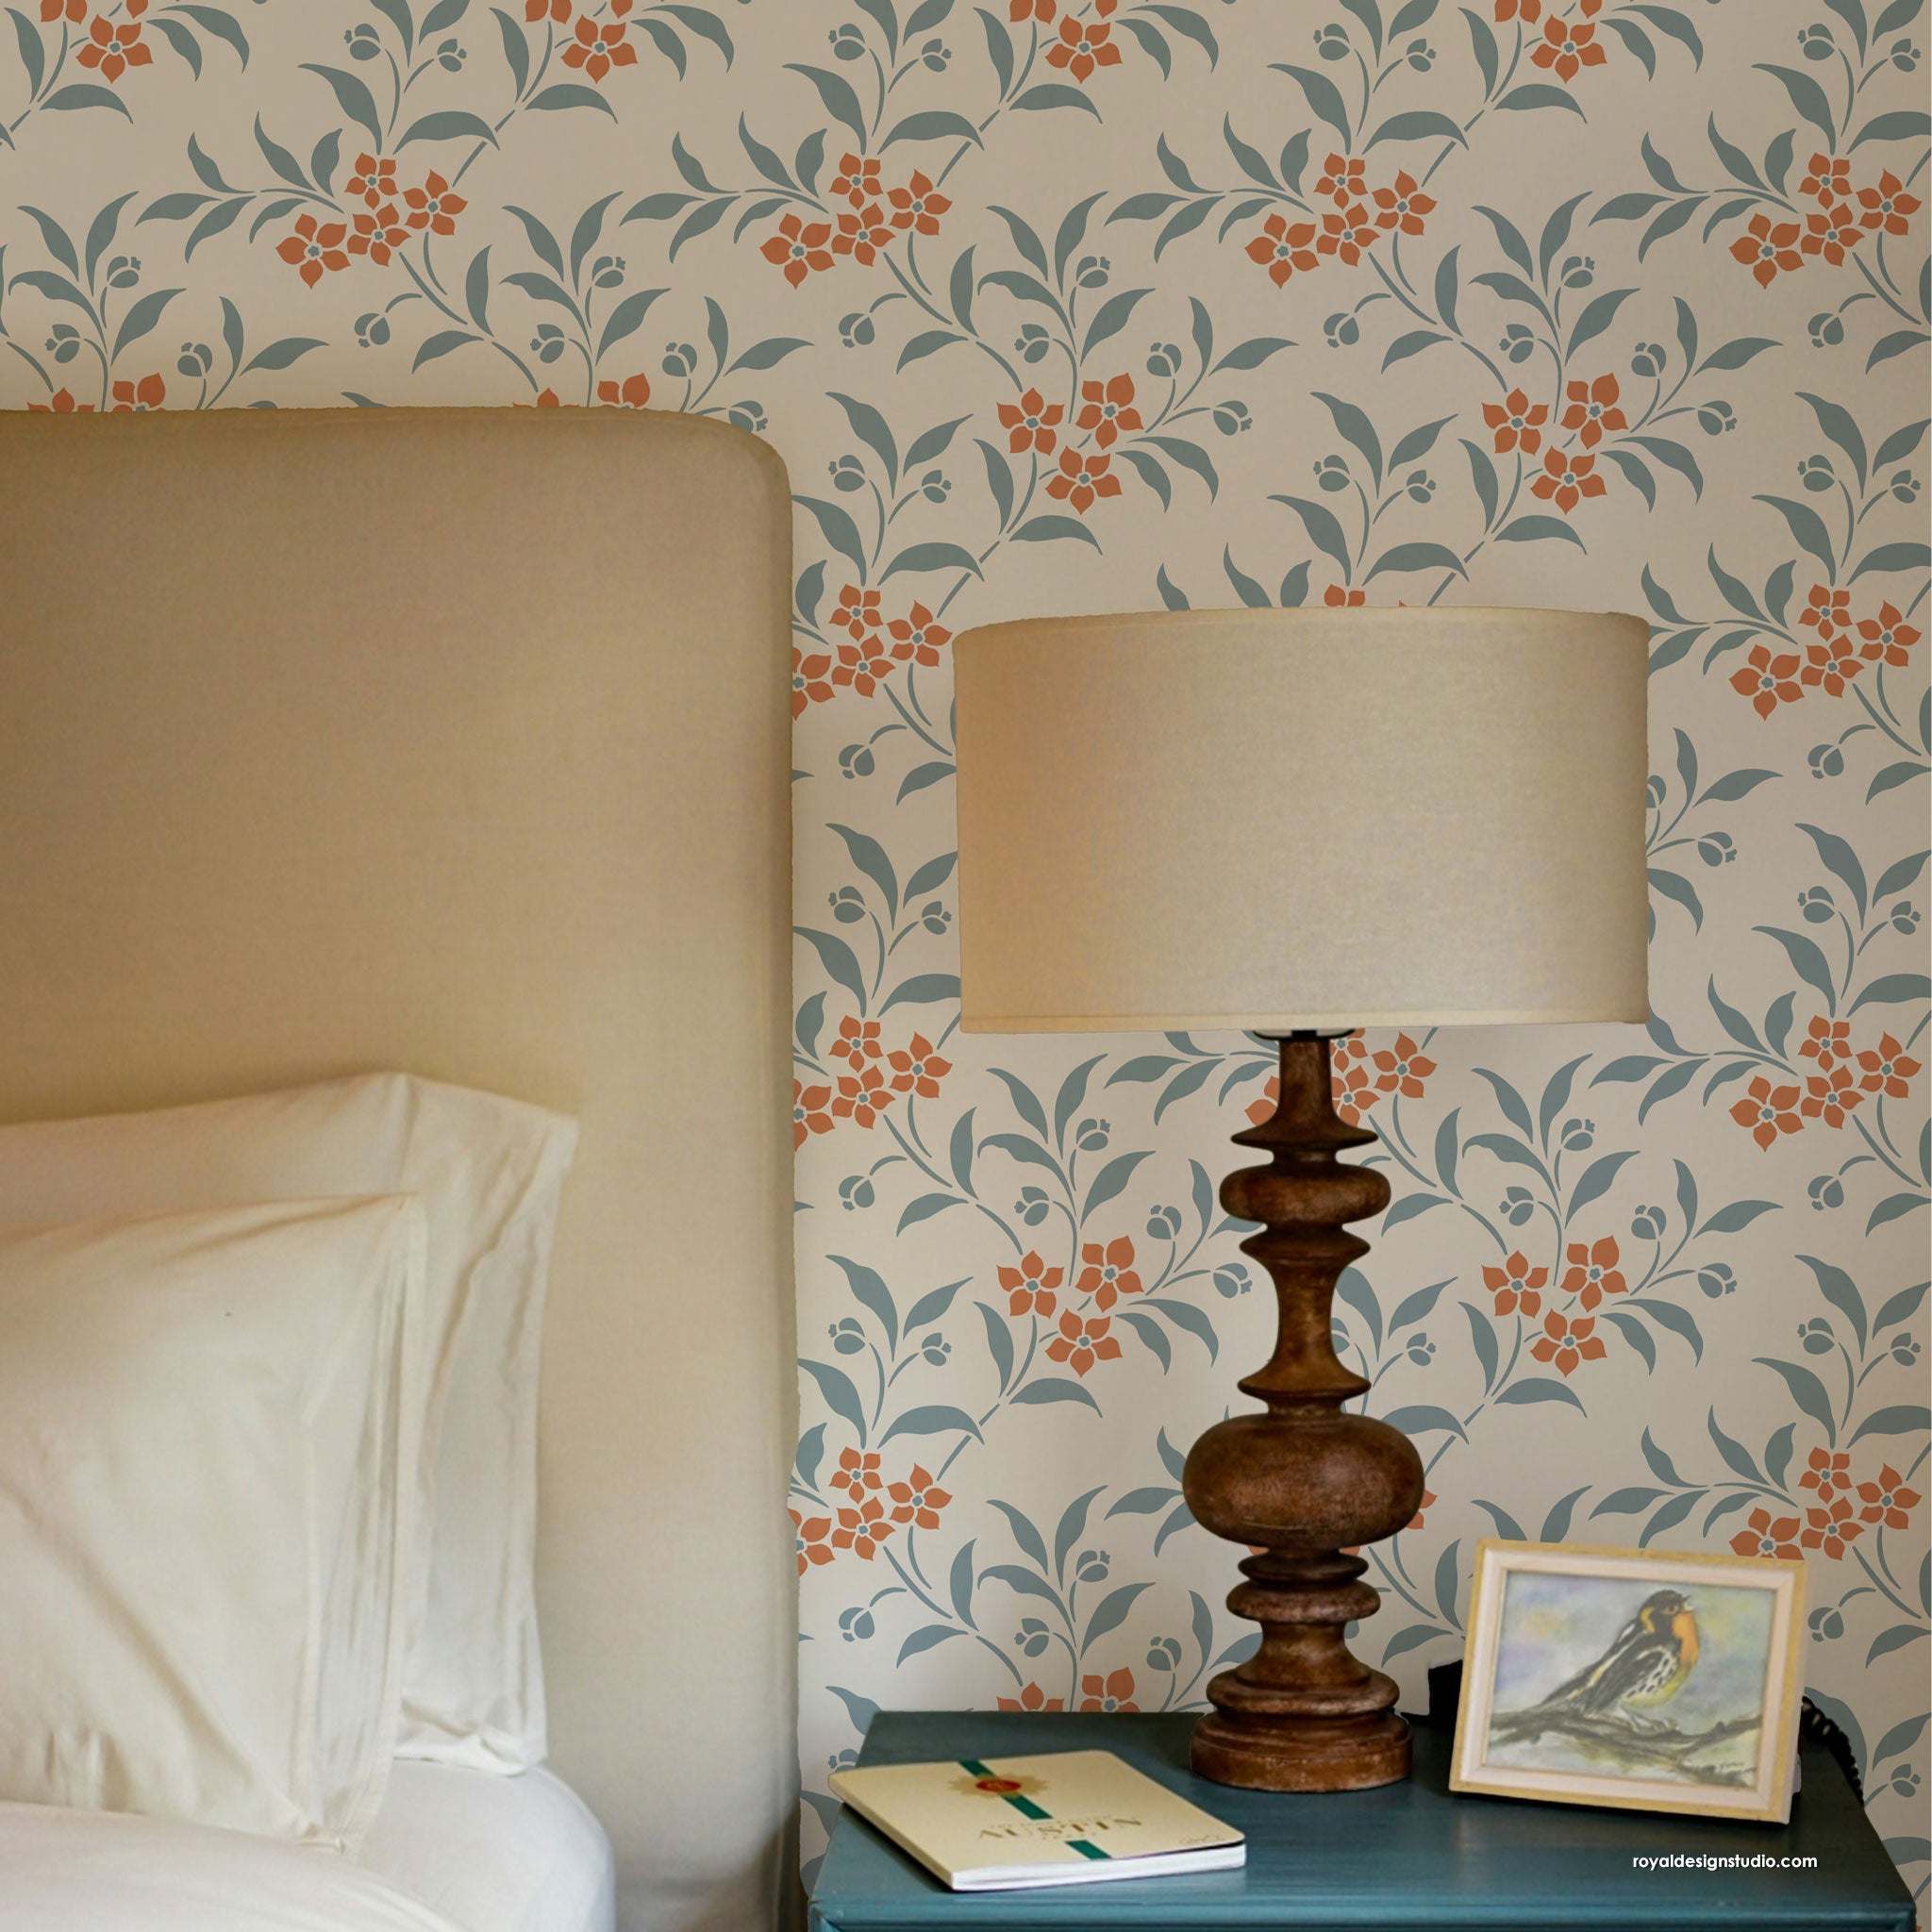
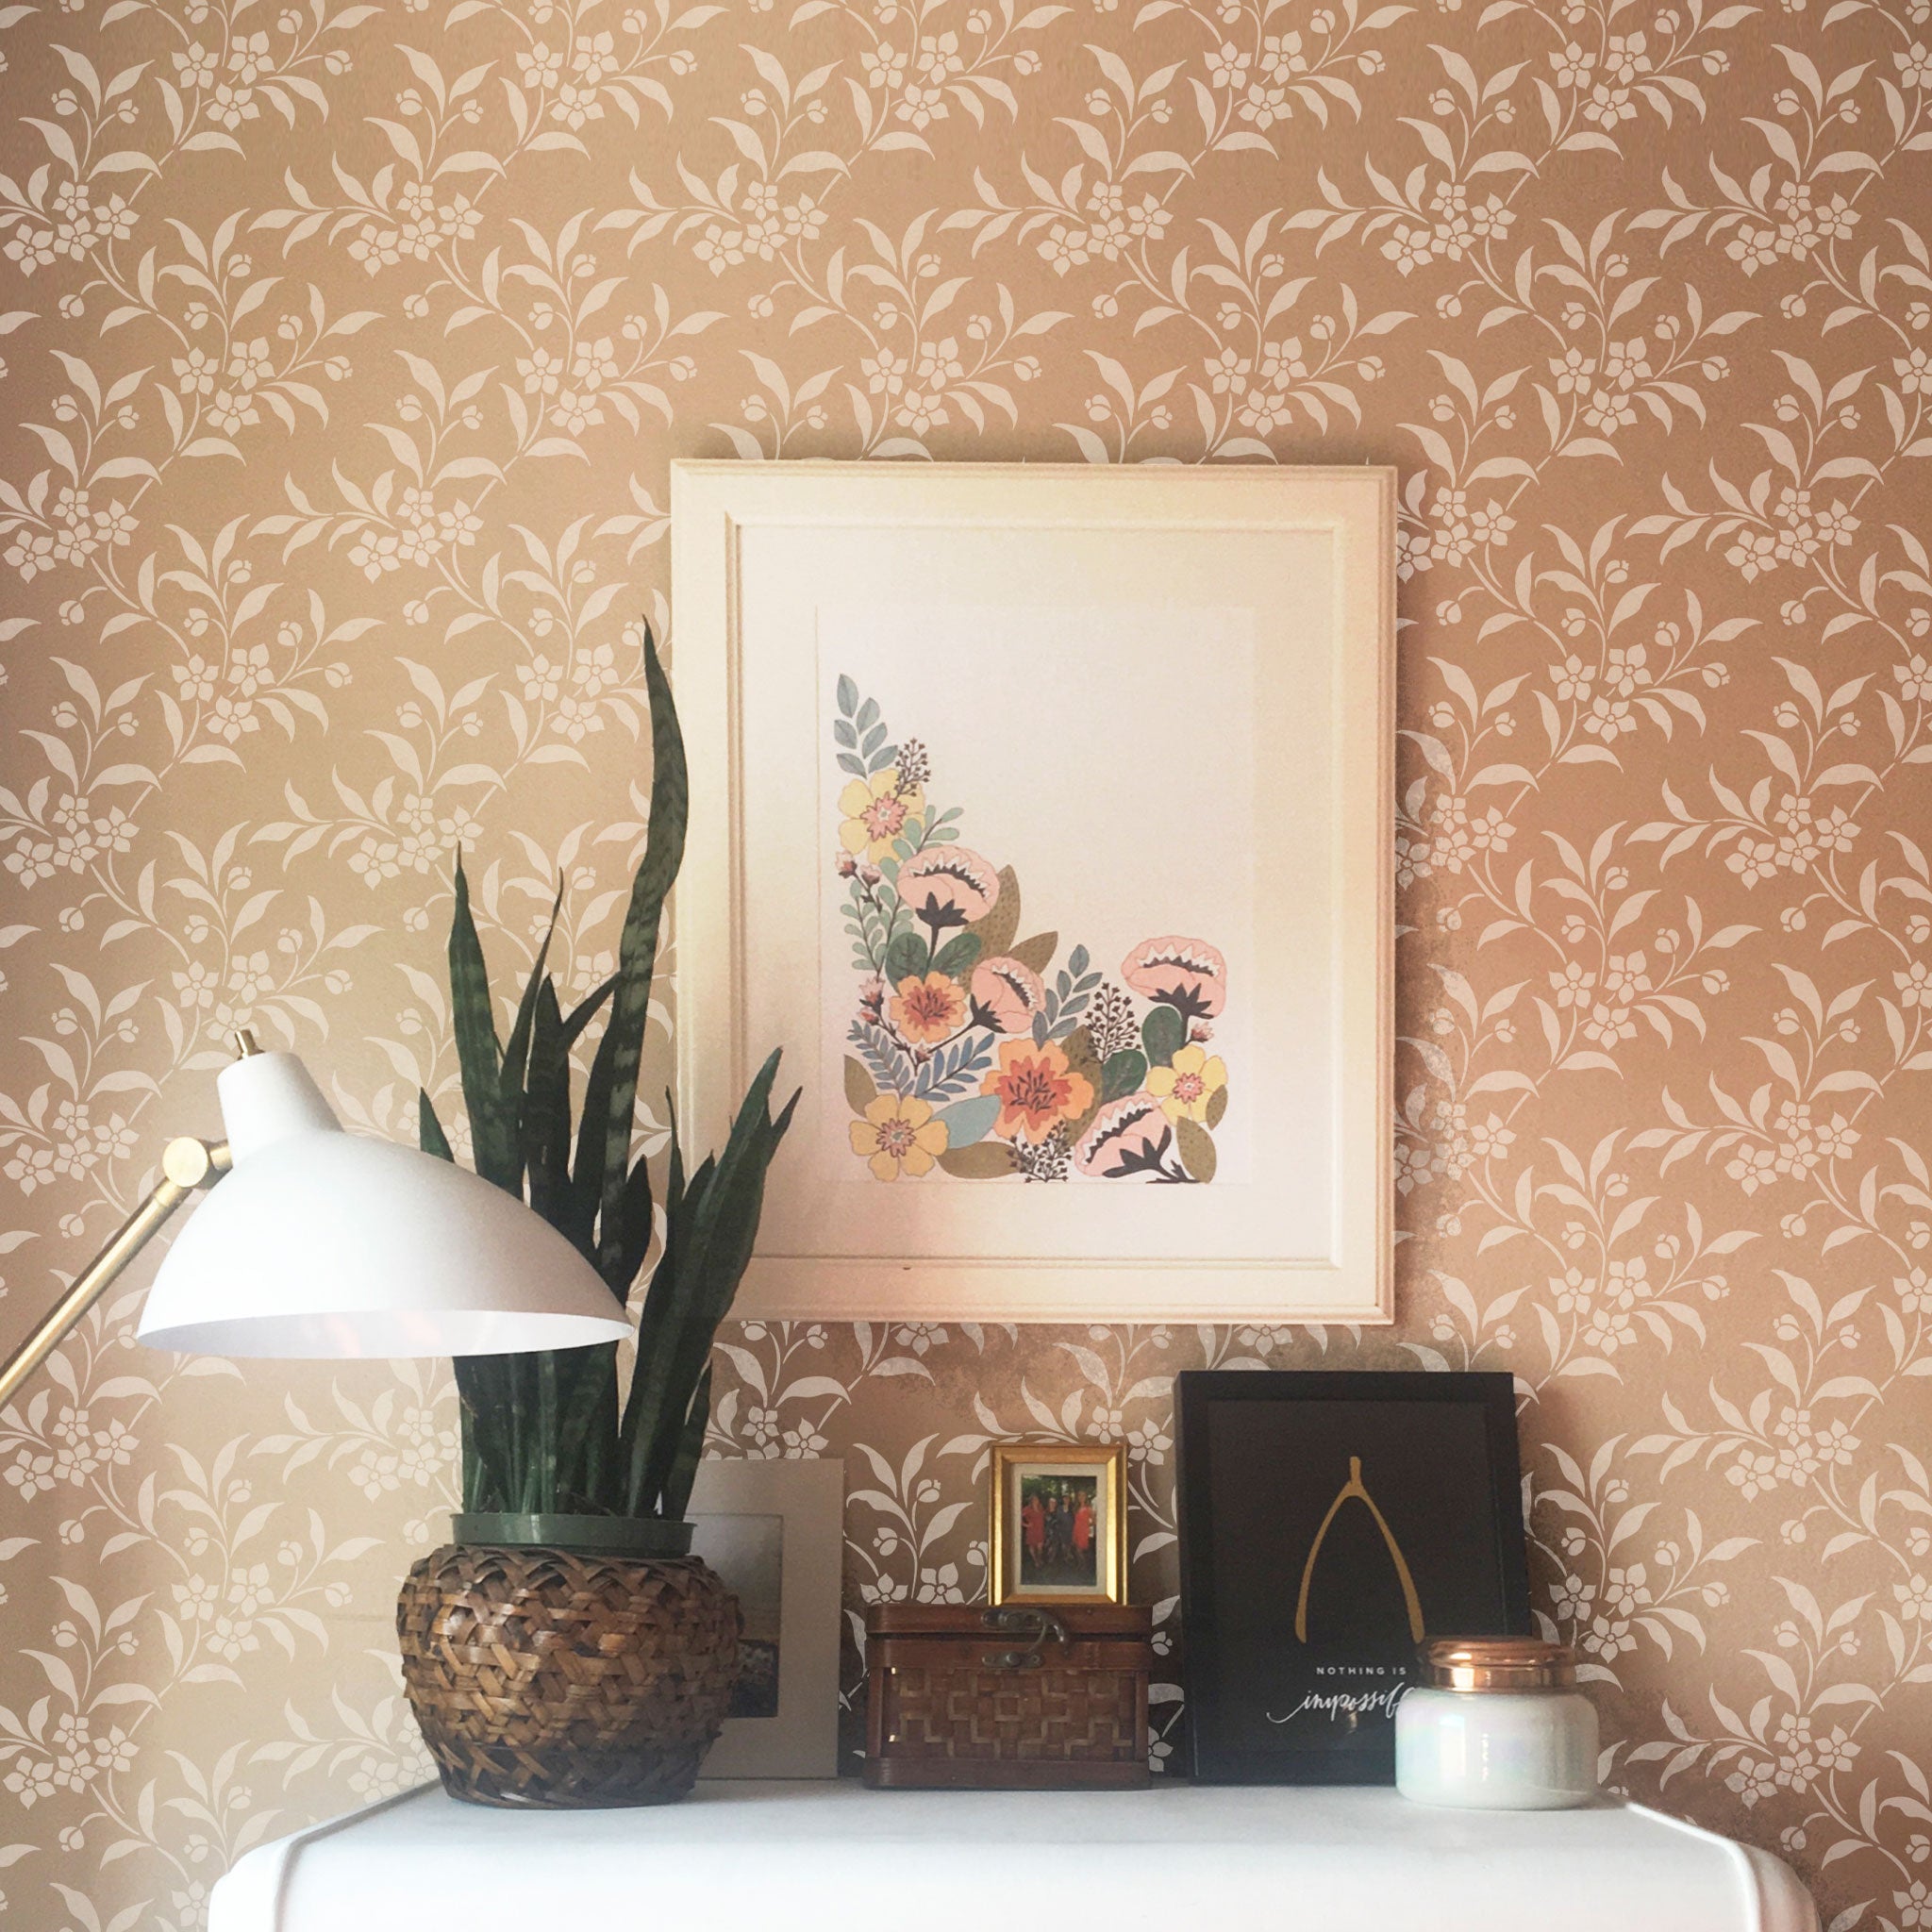
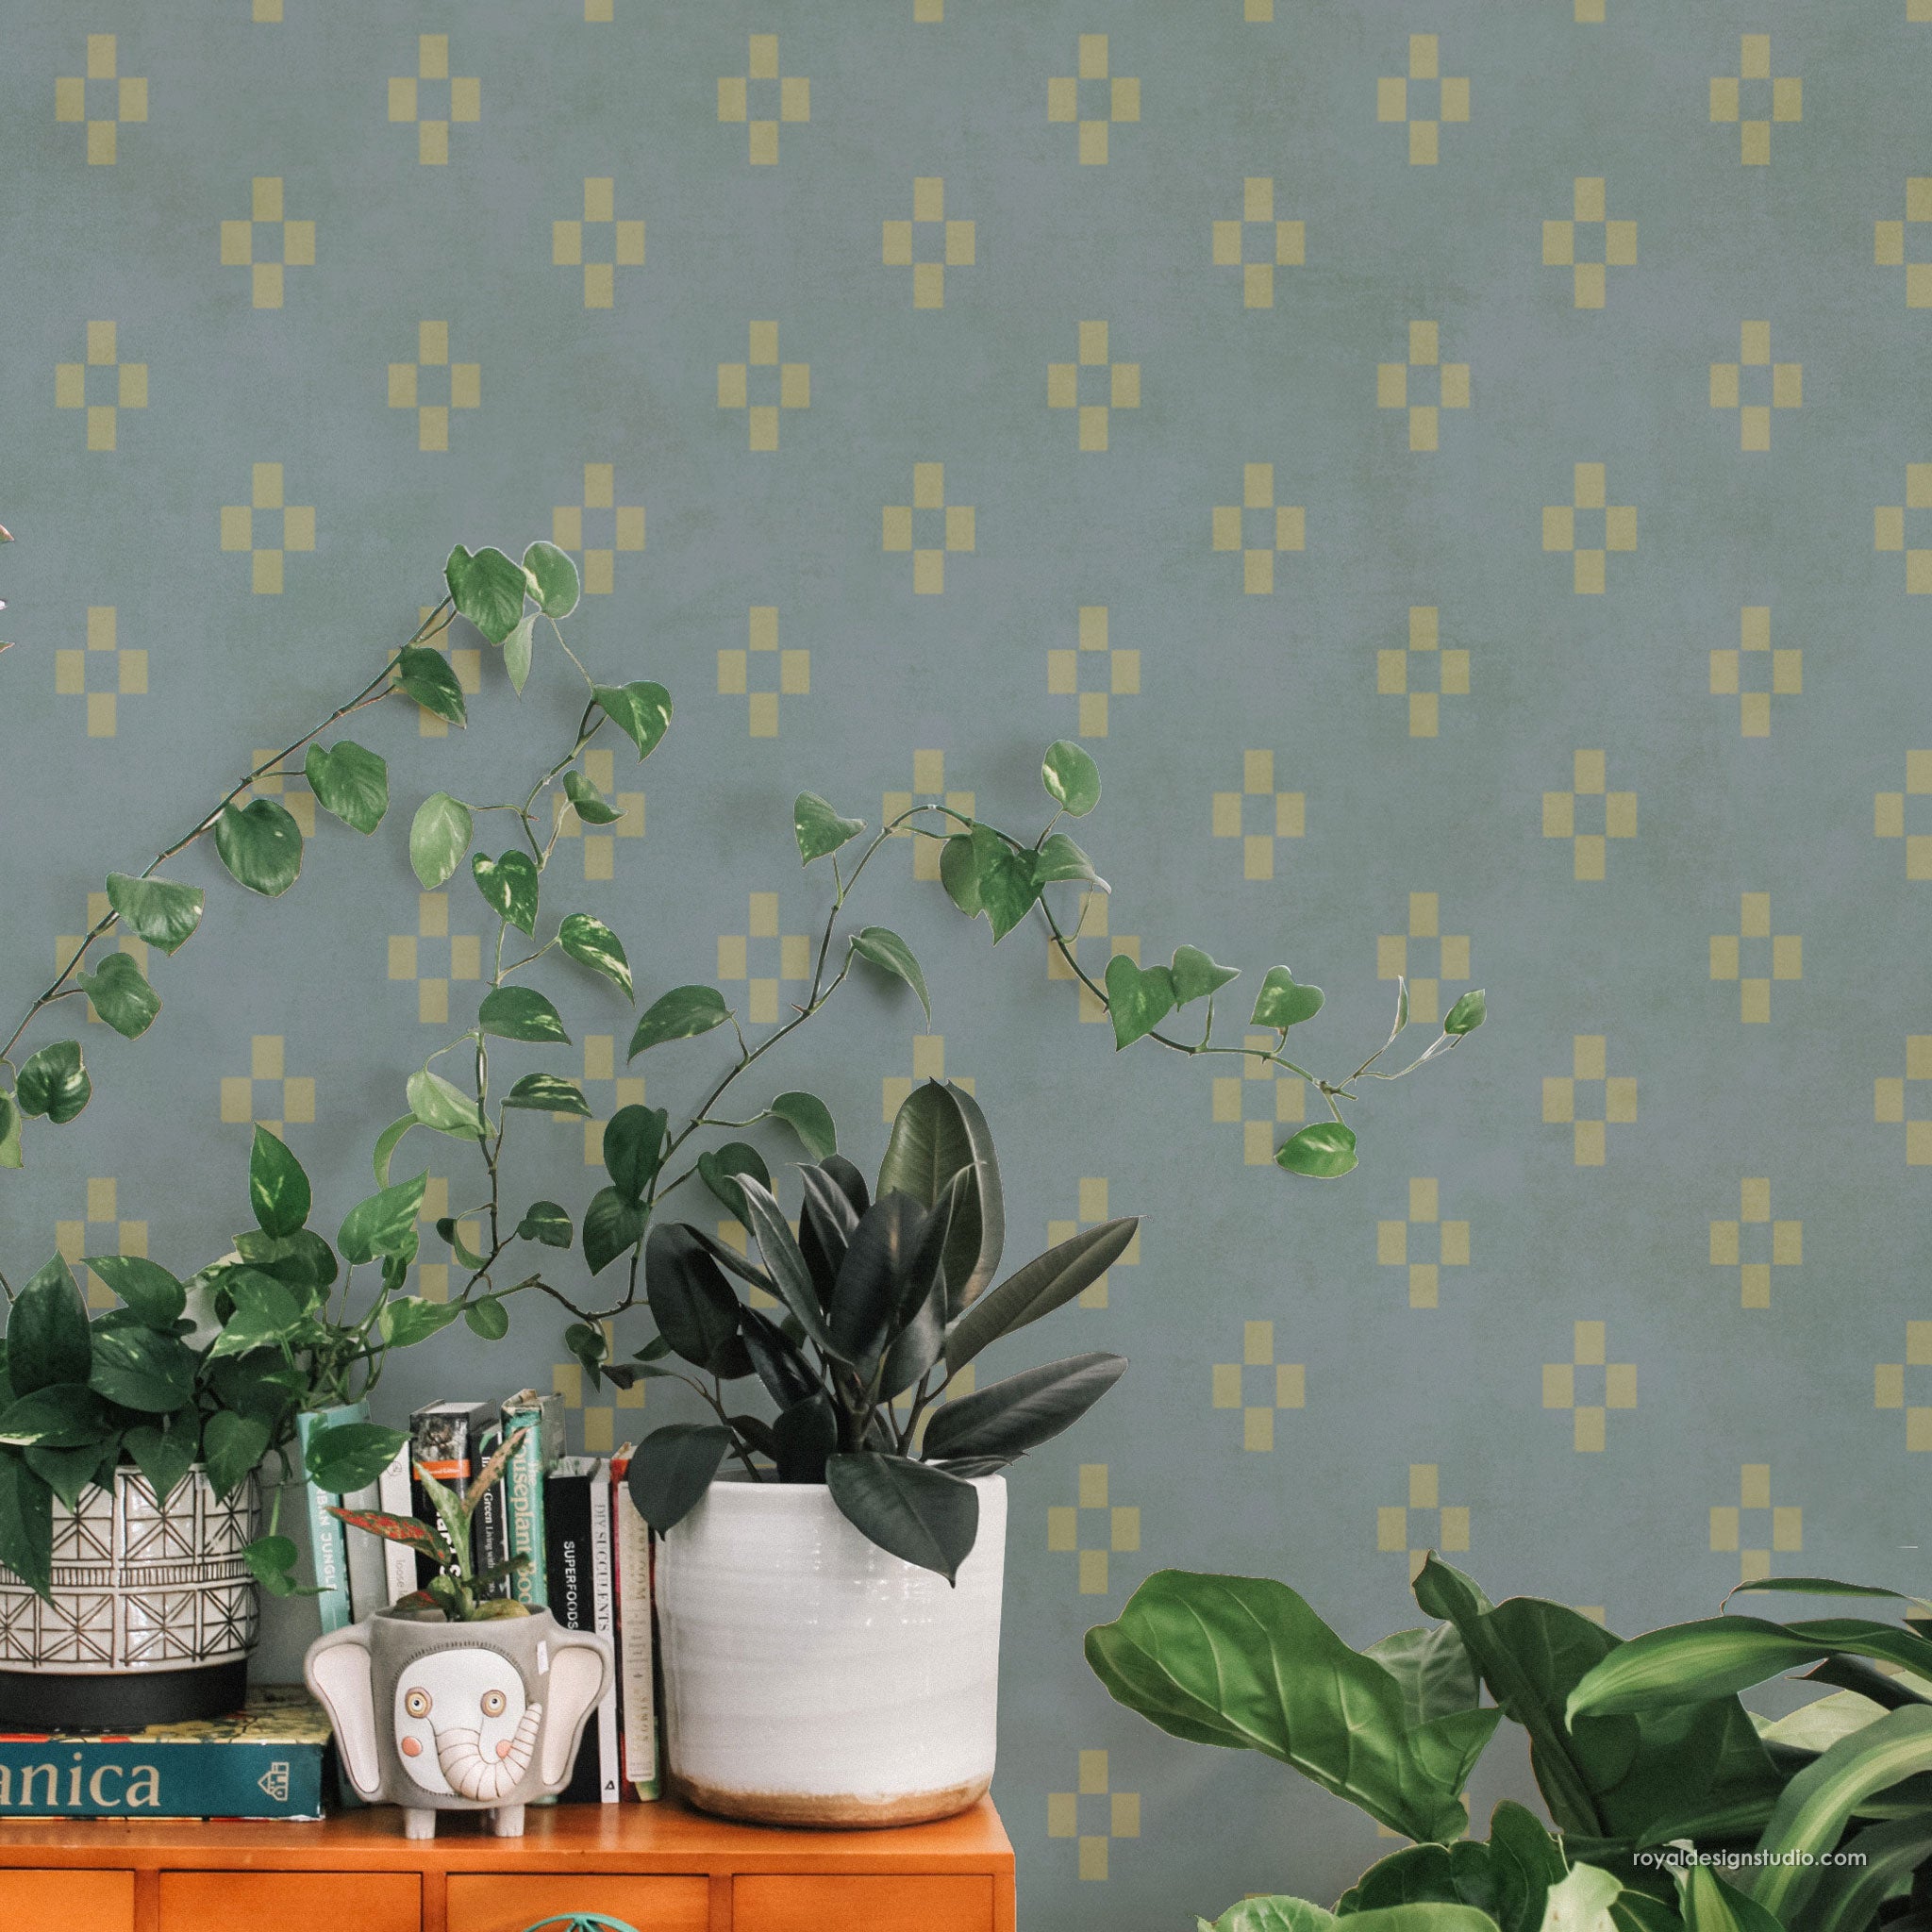
Taking your stenciling to the next level actually quite easy! You can give visual dimension and depth to your wall stencil designs by painting a drop shadow effect. This easy technique (that only LOOKS complicated!) creates a dramatic dimensional effect that makes the stencil pattern appear to “POP” off the wall! Click play and watch the Stencil Basics video below to learn how to paint a drop shadow effect with stencil designs…
- Use a measuring tape to find the center of your wall. Secure and level the wall stencil in place with painter’s tape. We are using the Annapakshi Indian Damask Wall Stencil.
- Load the 3” Stencil Brush with Flat Black Stencil Crème paint and use the offloading technique to remove excess paint from the brush. Use a firm, circular motion on to offload onto a paper towel.
- Stencil the entire design with the black paint using a circular motion and light even pressure.
- Once you are finished with stenciling the first layer, reposition the stencil diagonally up and over between 1/16” to 1/8” from its original position. Secure with painter’s tape. Check that the amount of the black painted design showing through the open areas of the stencil is even.
PRO TIP: Practice this first on some scrap paper so that you get the amount of "shift" down. Shift too much and you will be left with a dizzying effect. Shift too little and you won't have a definitive shadow.
- Mix 1 part Bright Gold stencil crème with ½ part Antique Gold stencil crème. Load and offload the 2” stencil brush with the mix.
- Stencil the design with the mix. Remove the stencil to reveal a black “shadow” along the bottom edge of the design.
As you can see here this technique looks great on deep colored backgrounds with a black shadow and metallic colored stenciling. For a softer look on pastel backgrounds use a soft neutral gray as your shadow color over a medium colored pastel. Then go with a lighter color for your top stencil design. If you do multiple stencil designs or an allover pattern, make sure to shift the stencil in the same direction and same amount each time.
Check out all of our Stencil Basics videos for need-to-know tips and tricks on how to stencil perfectly and create pretty pattern that you’ve always wanted!


