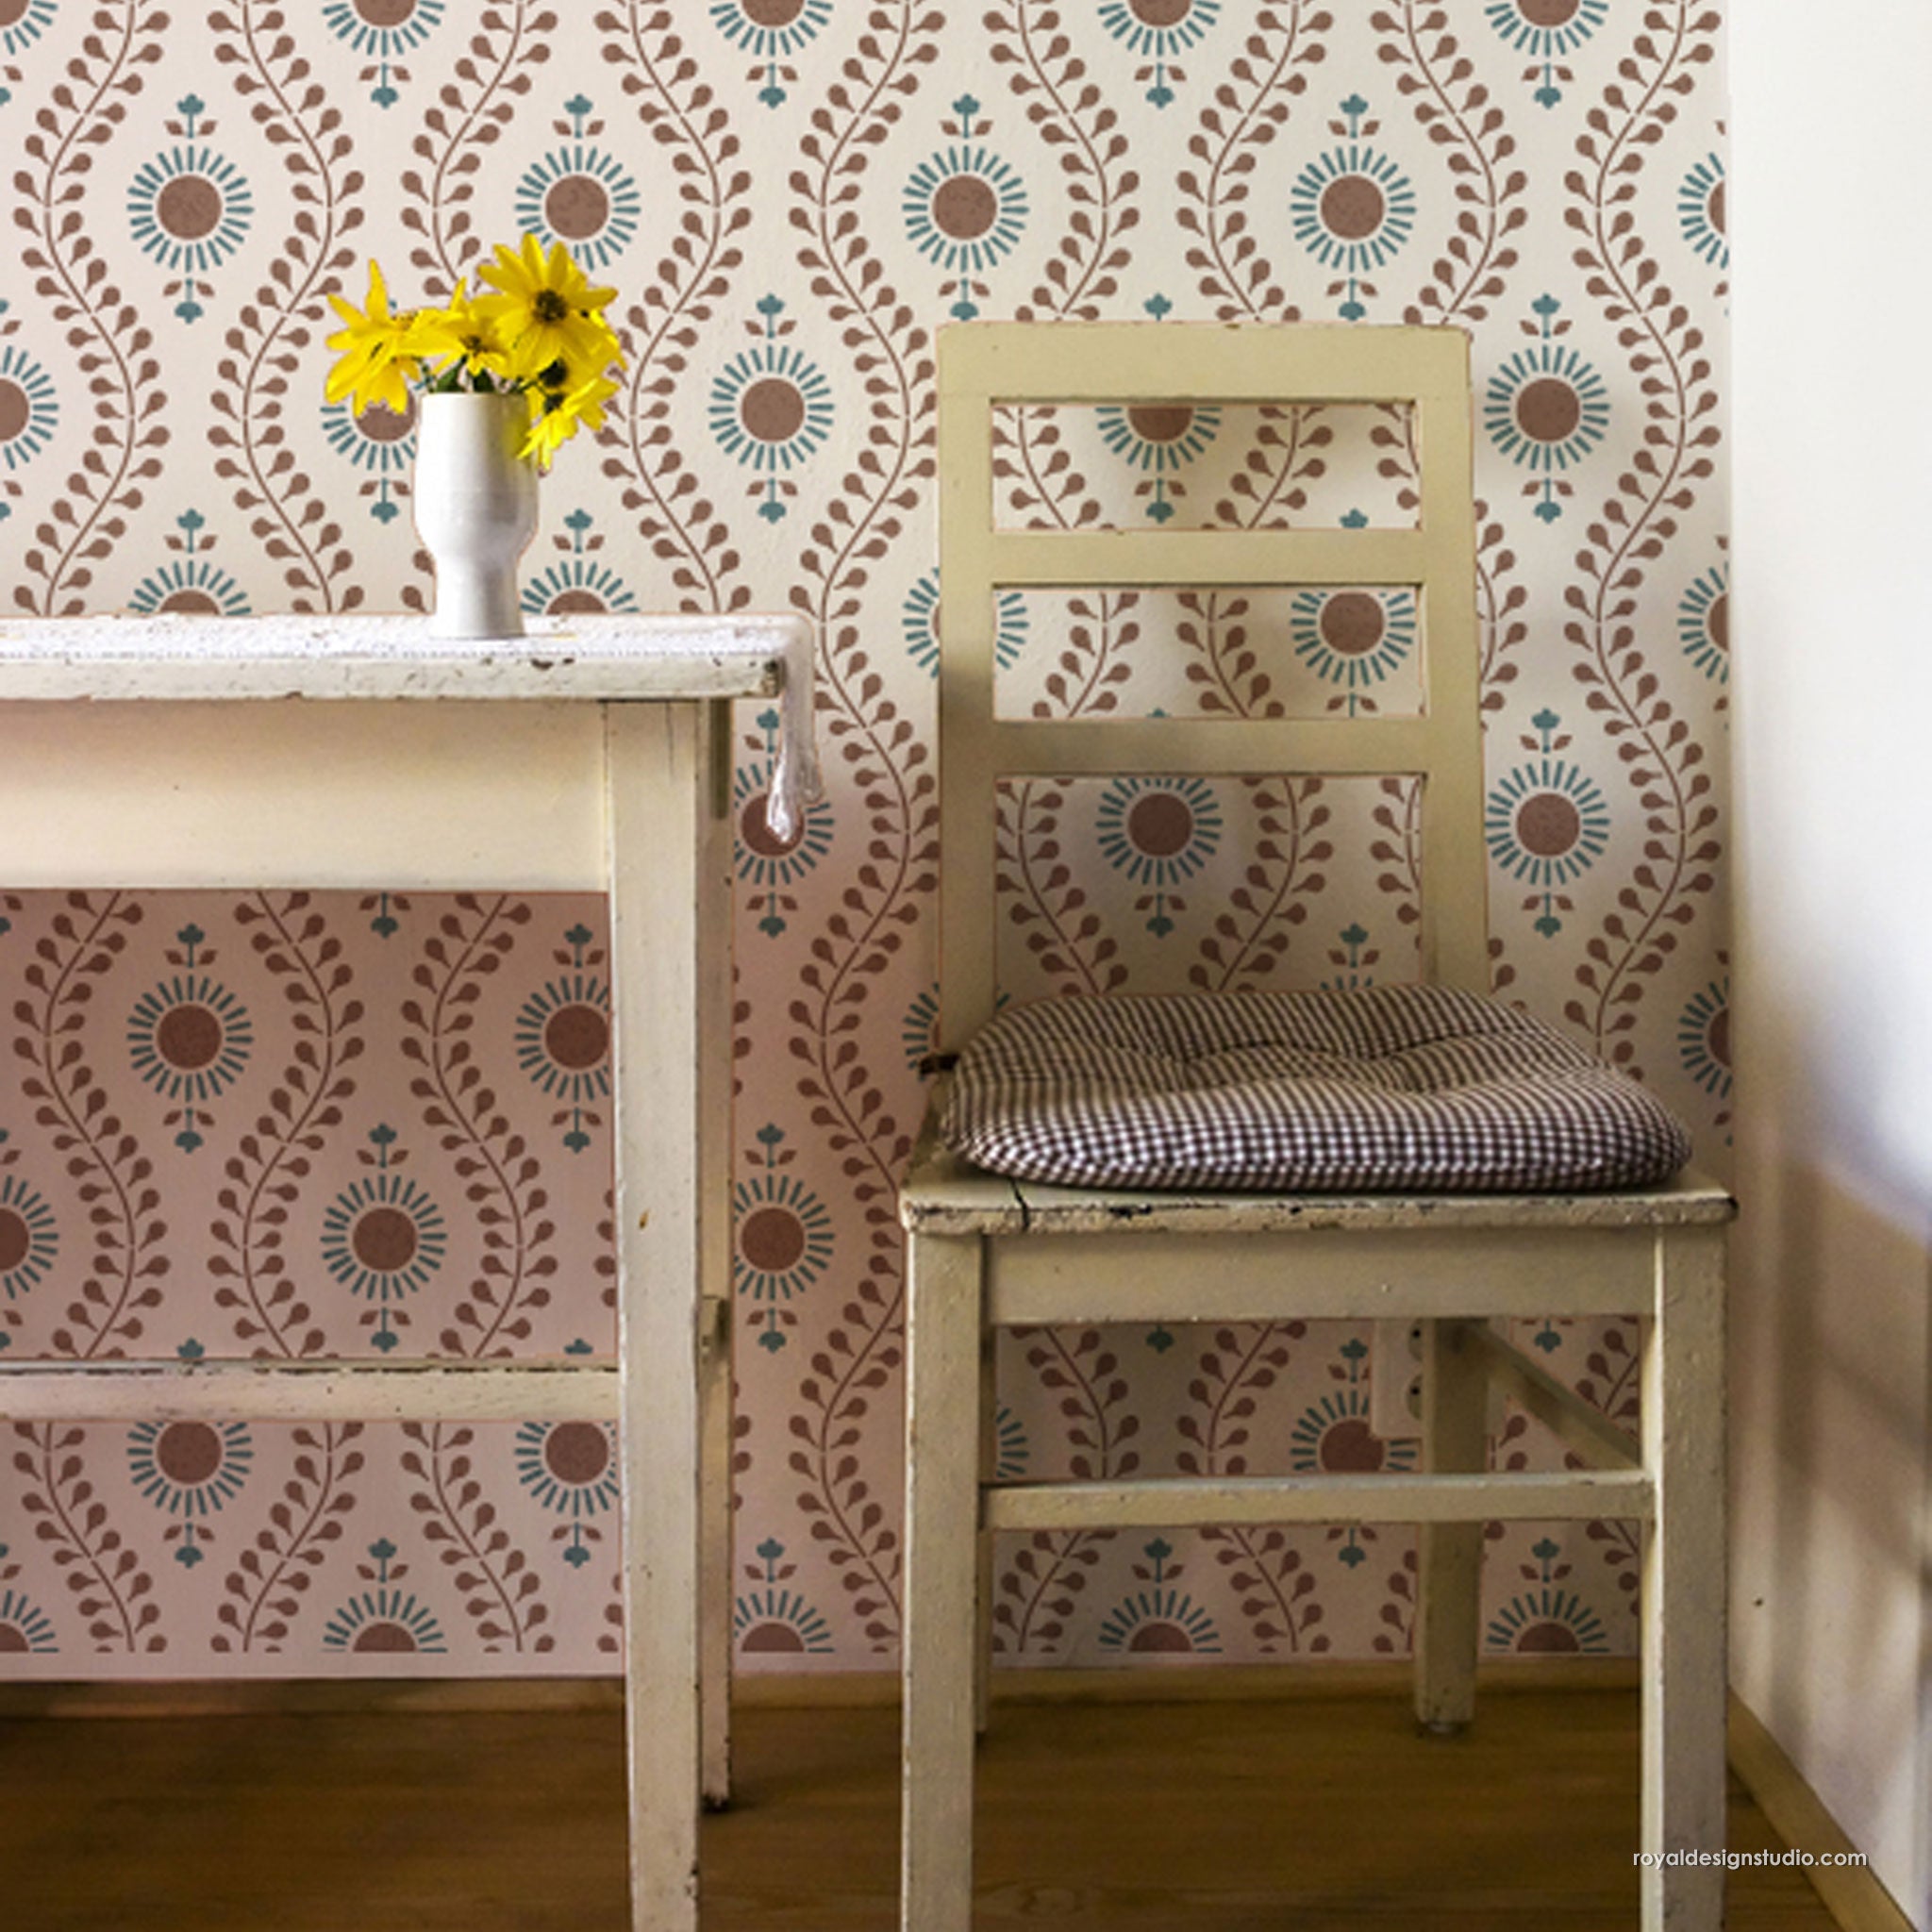
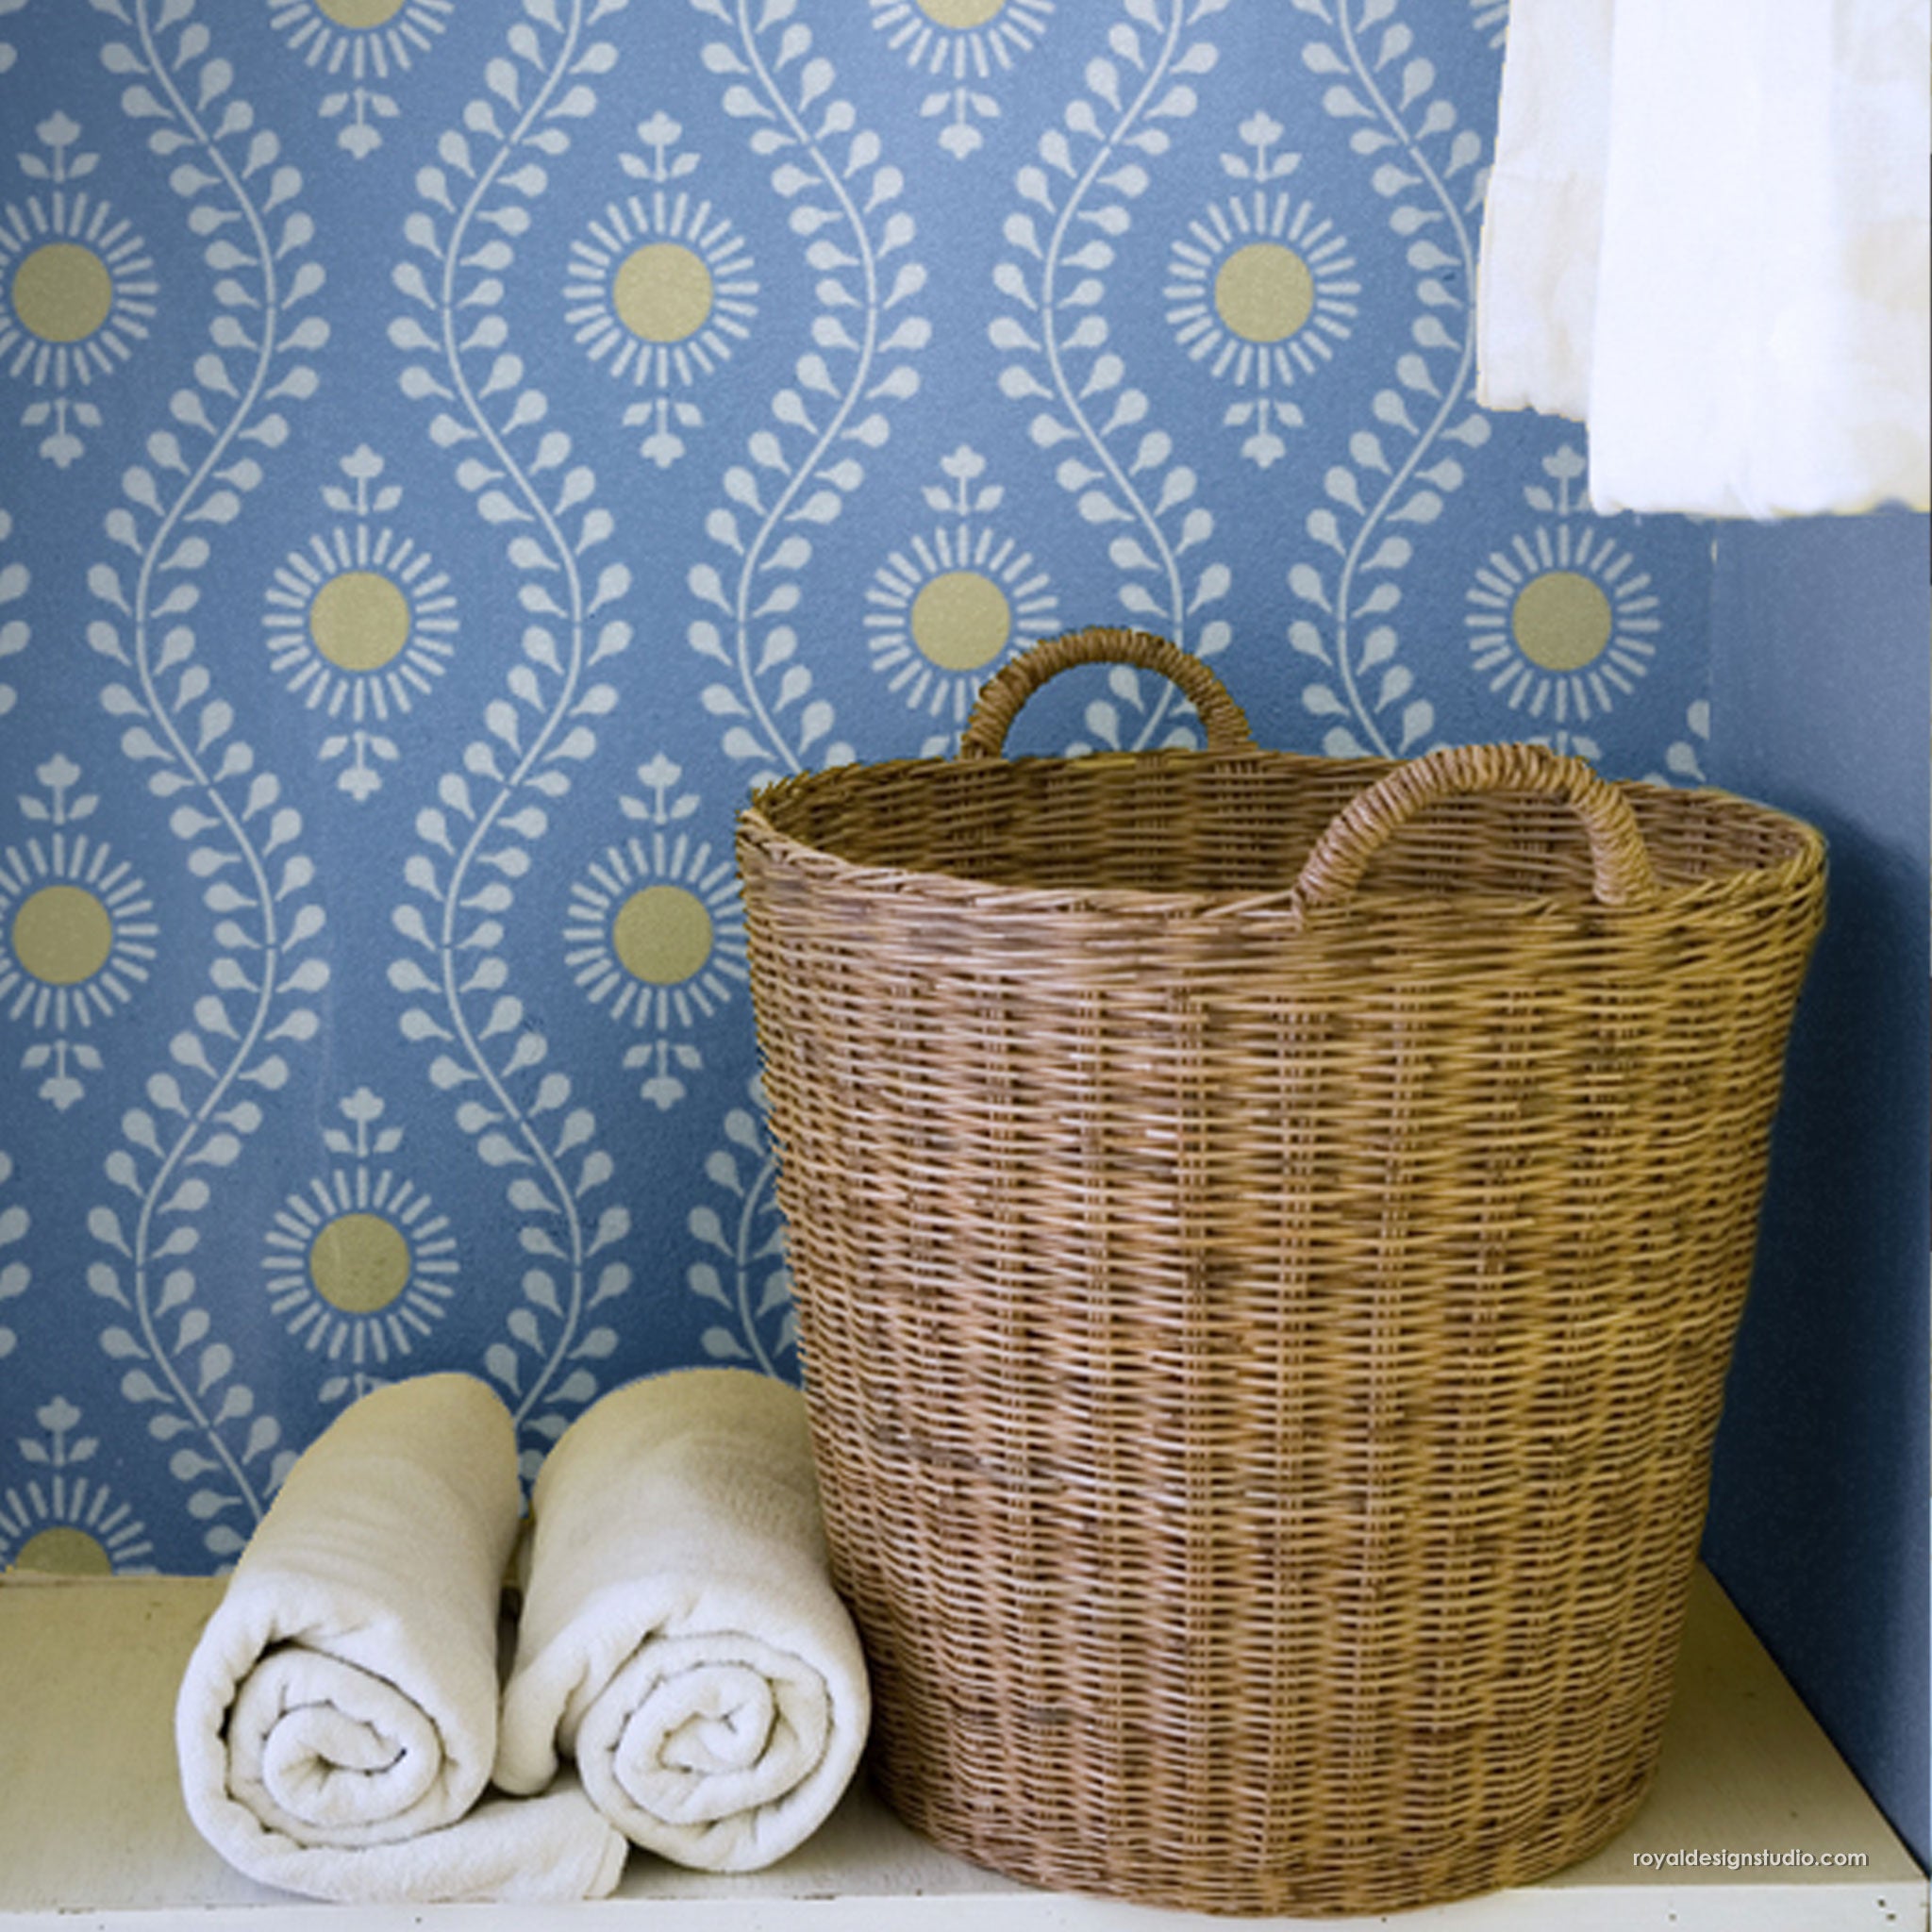
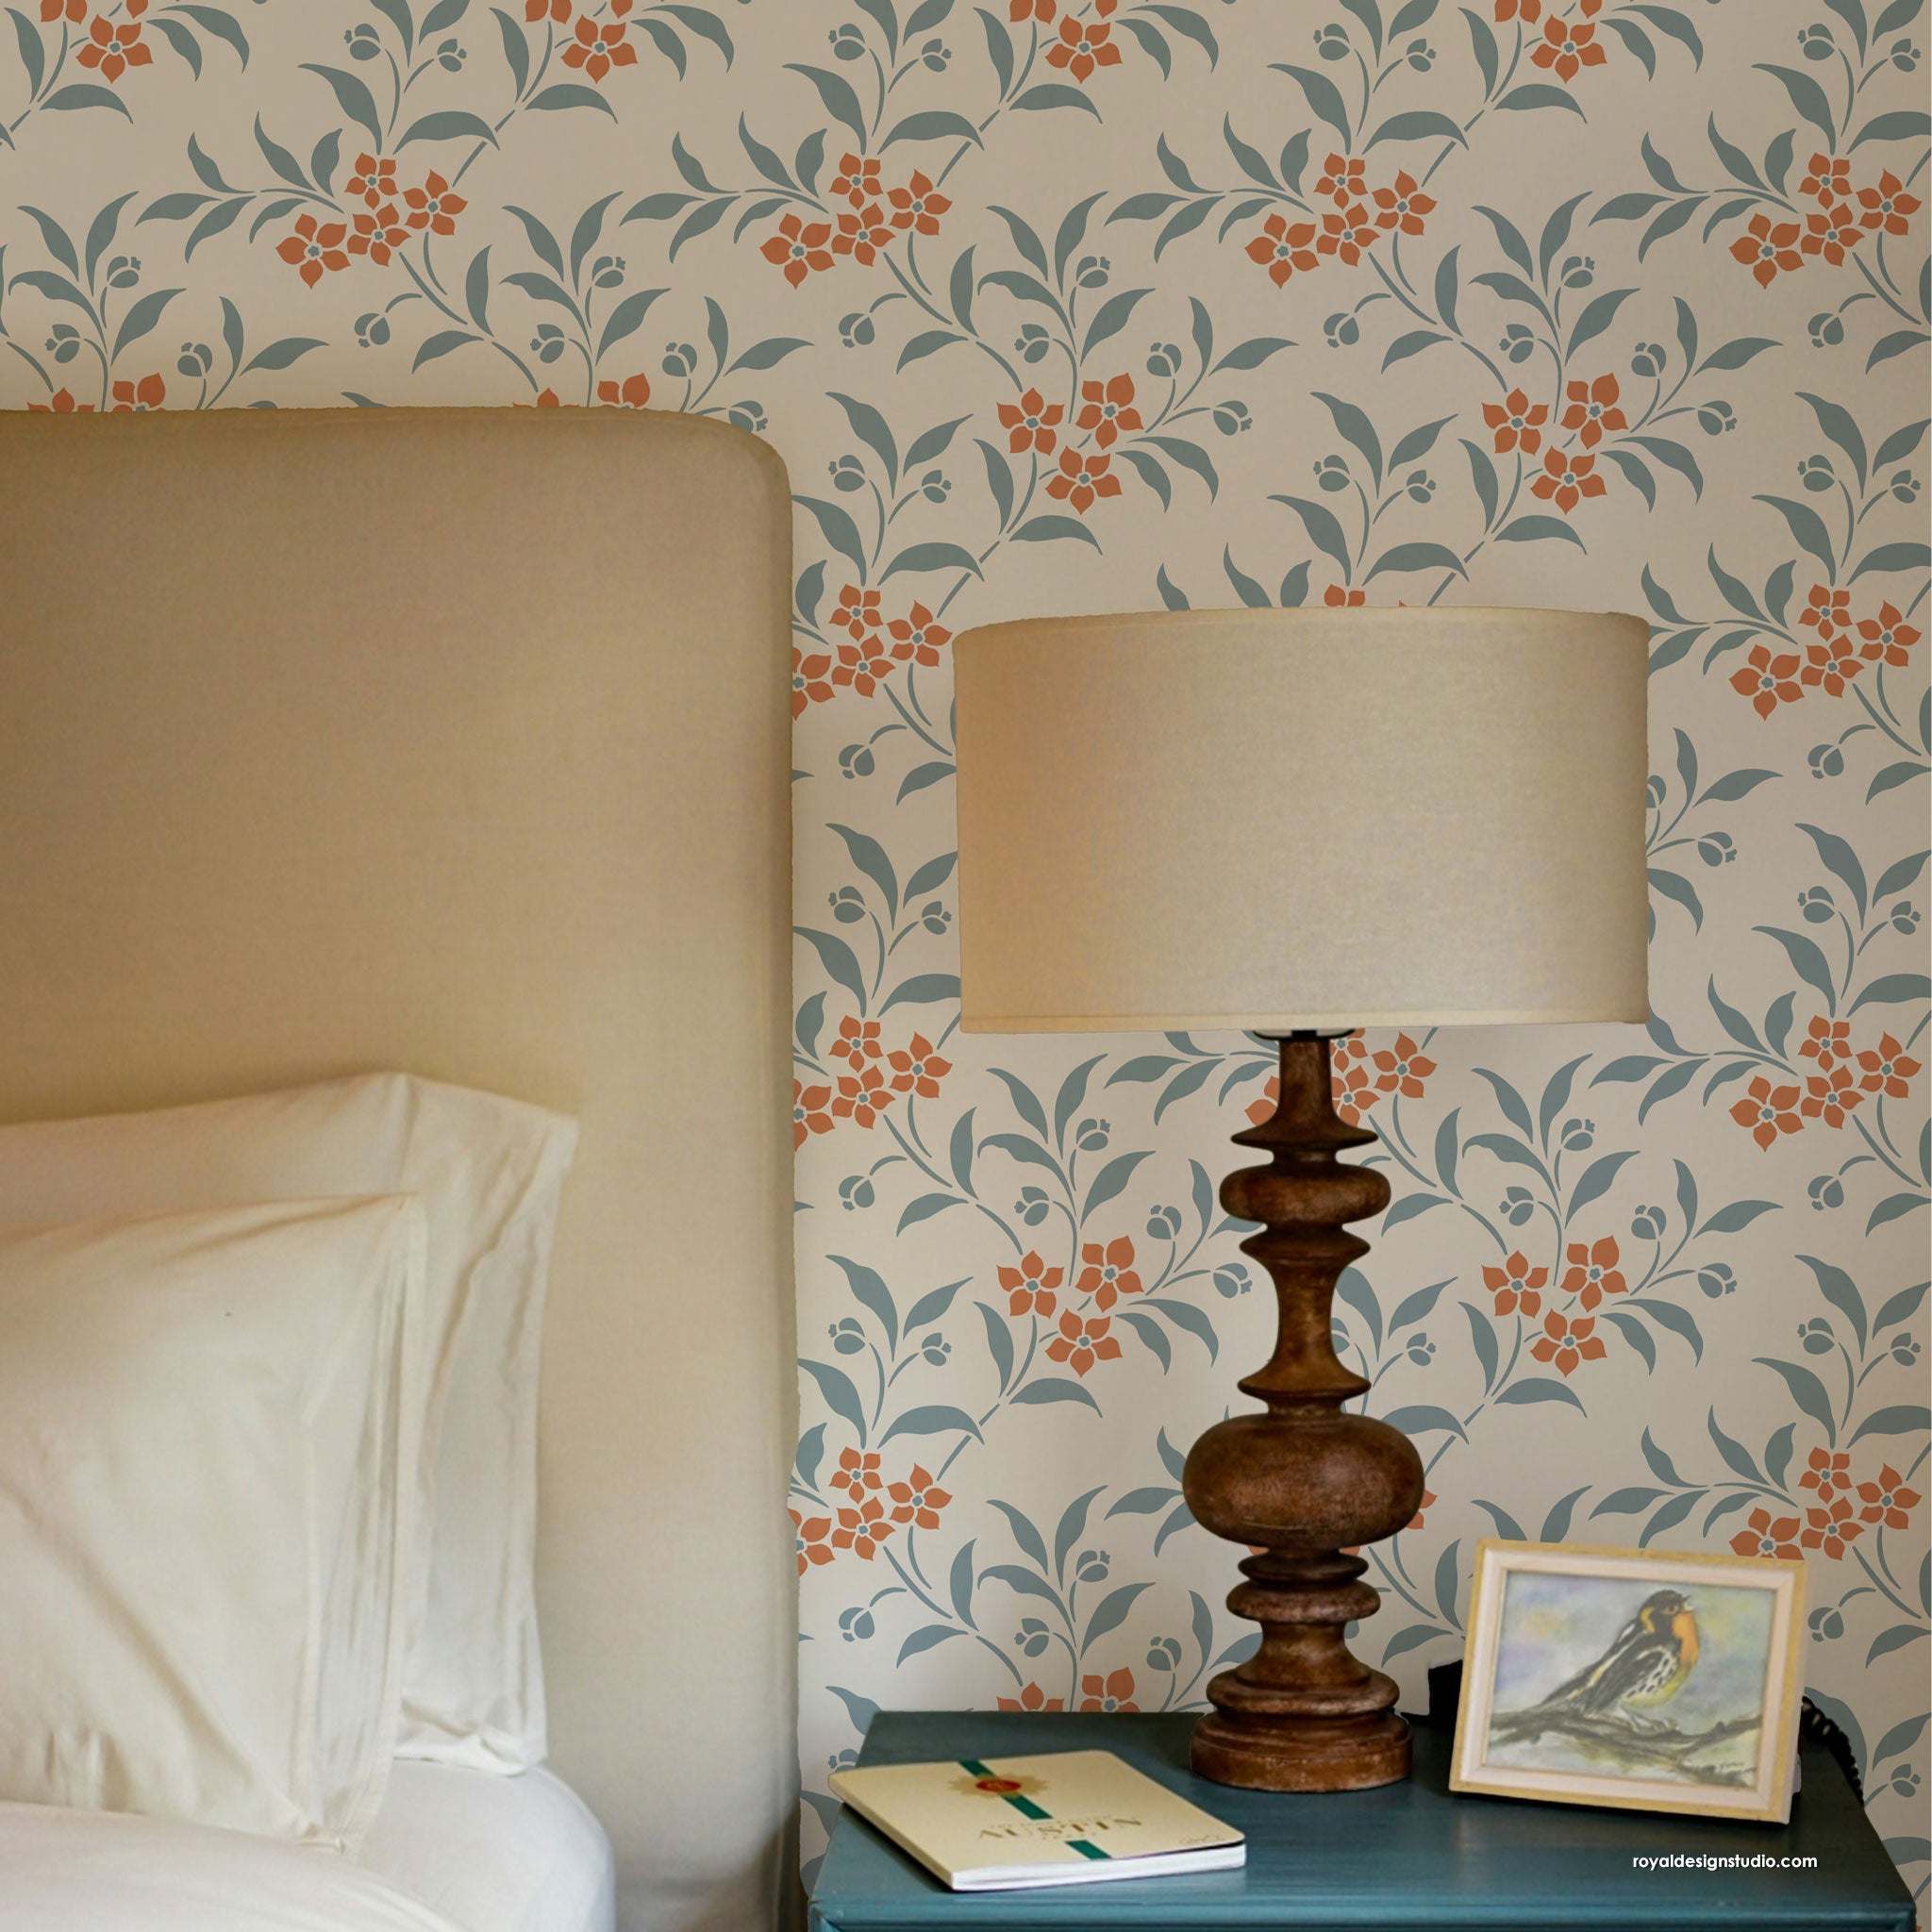
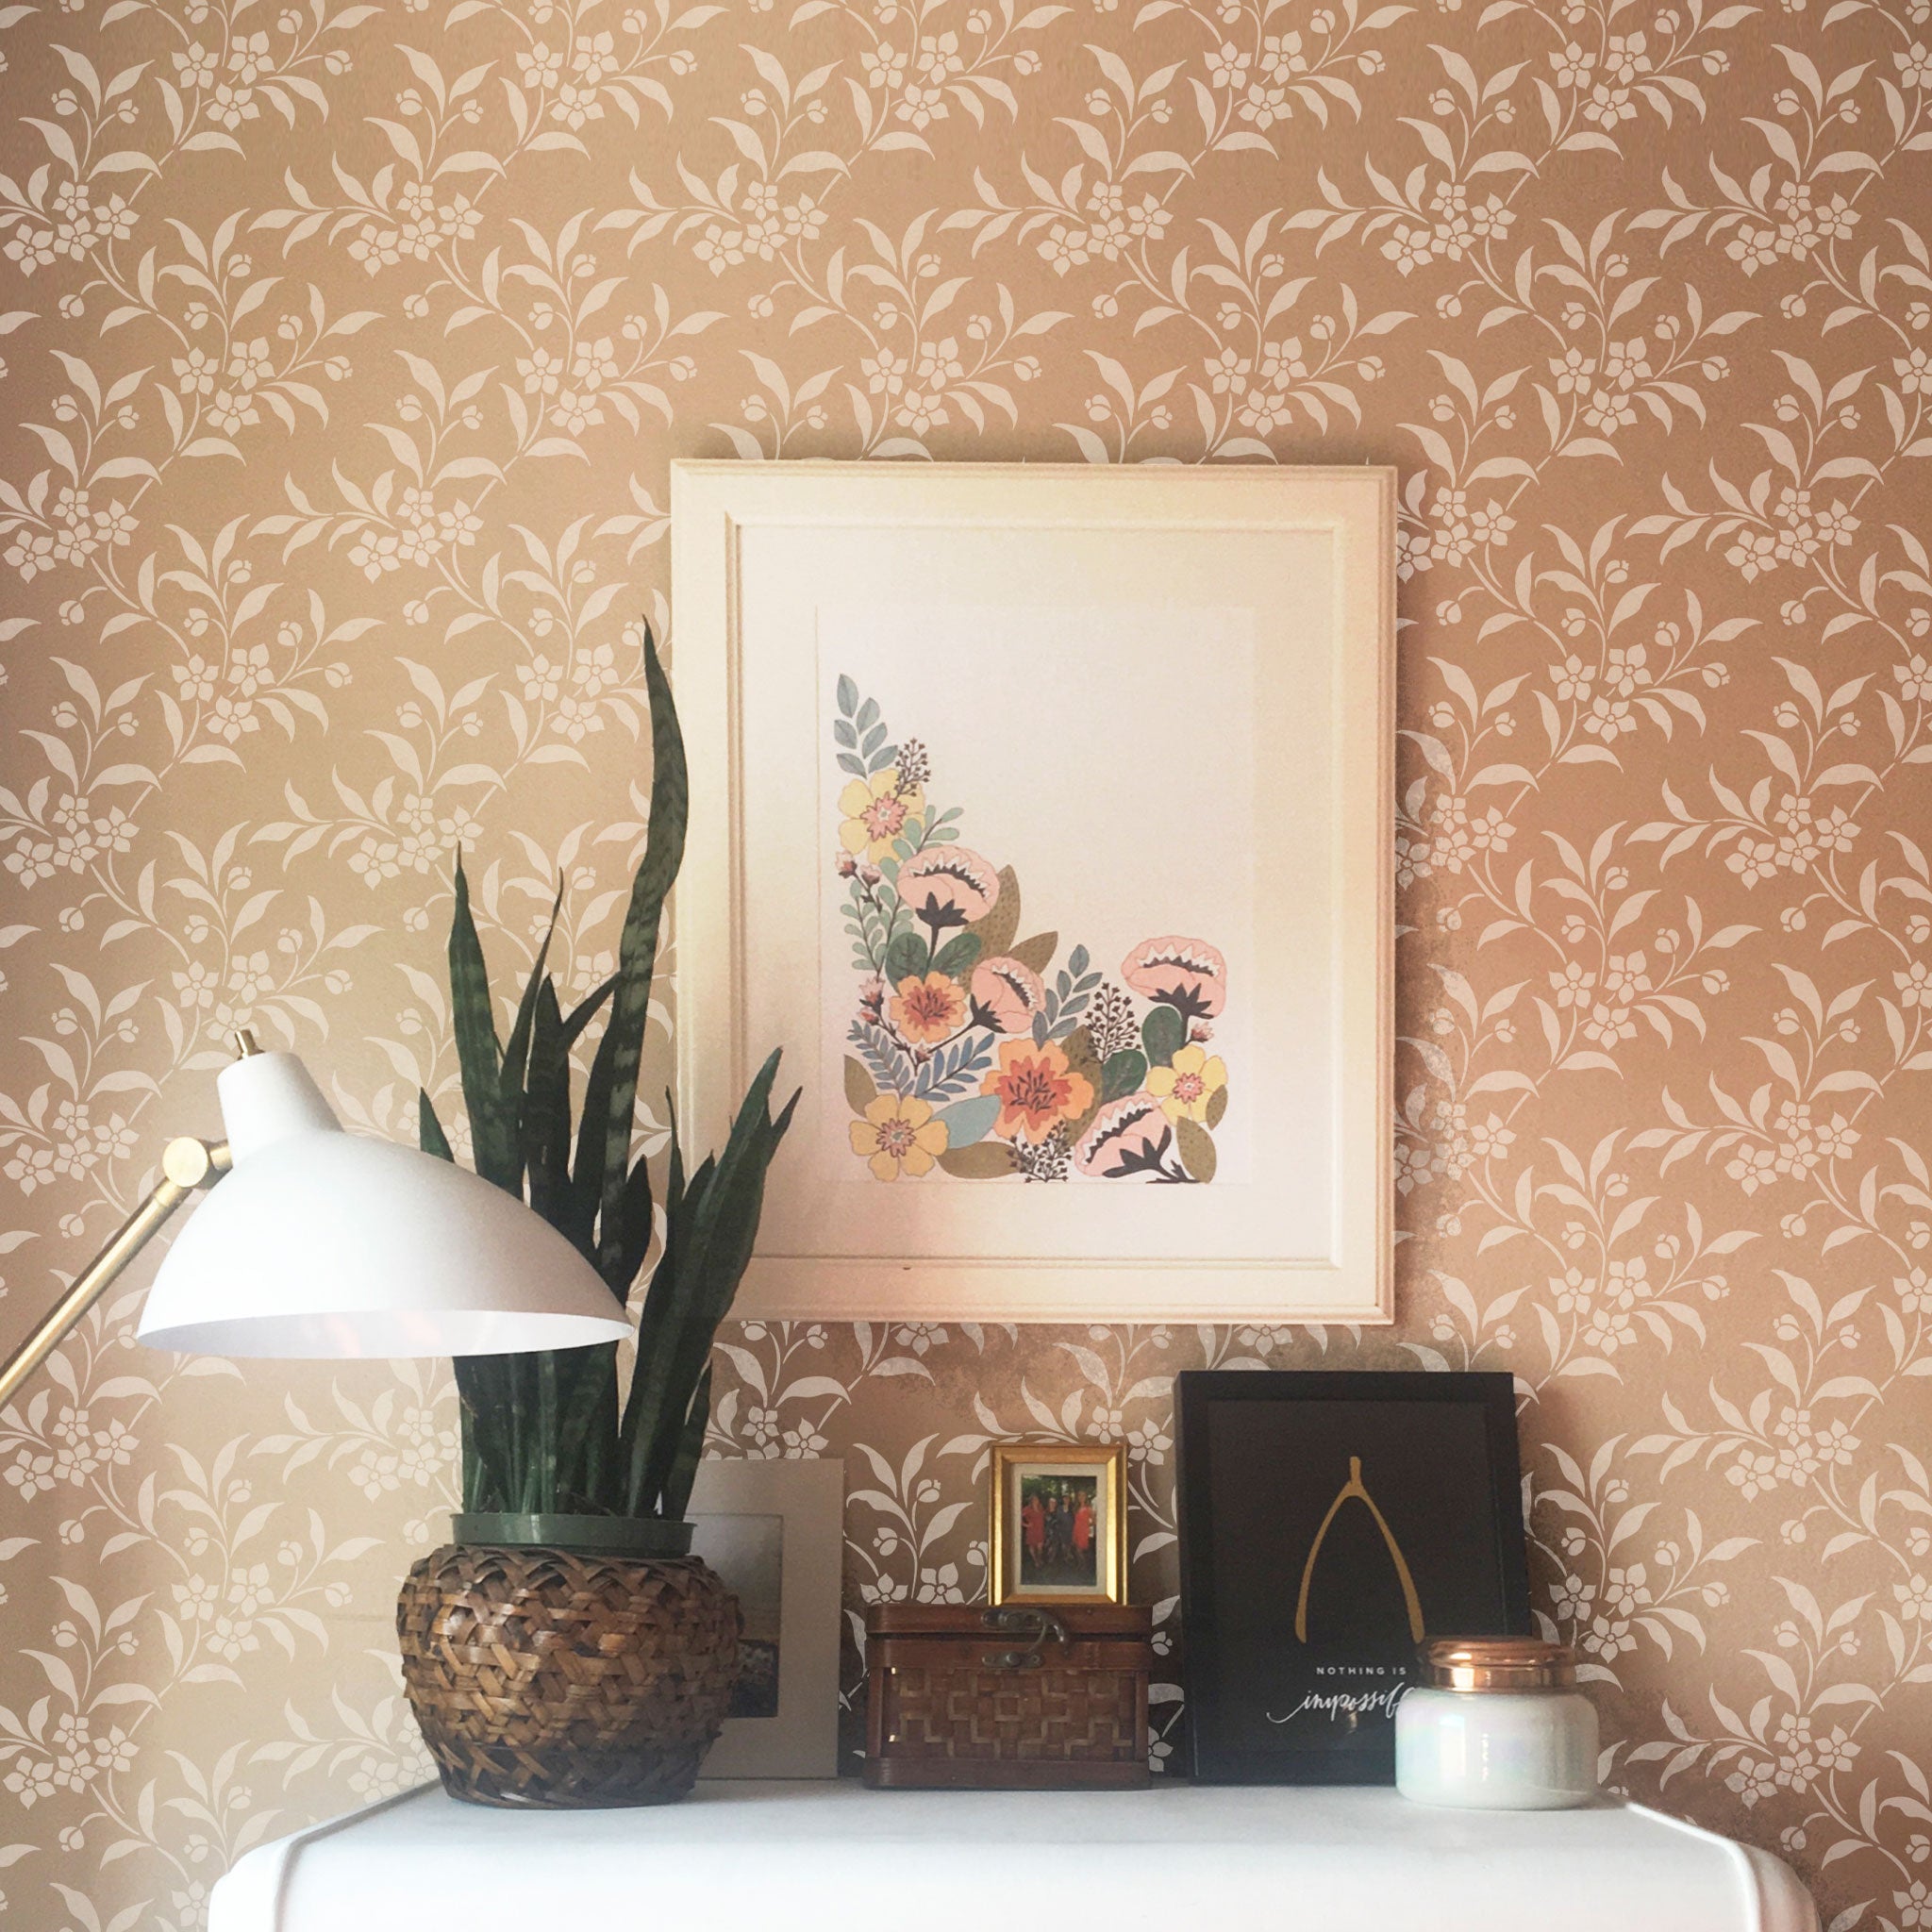
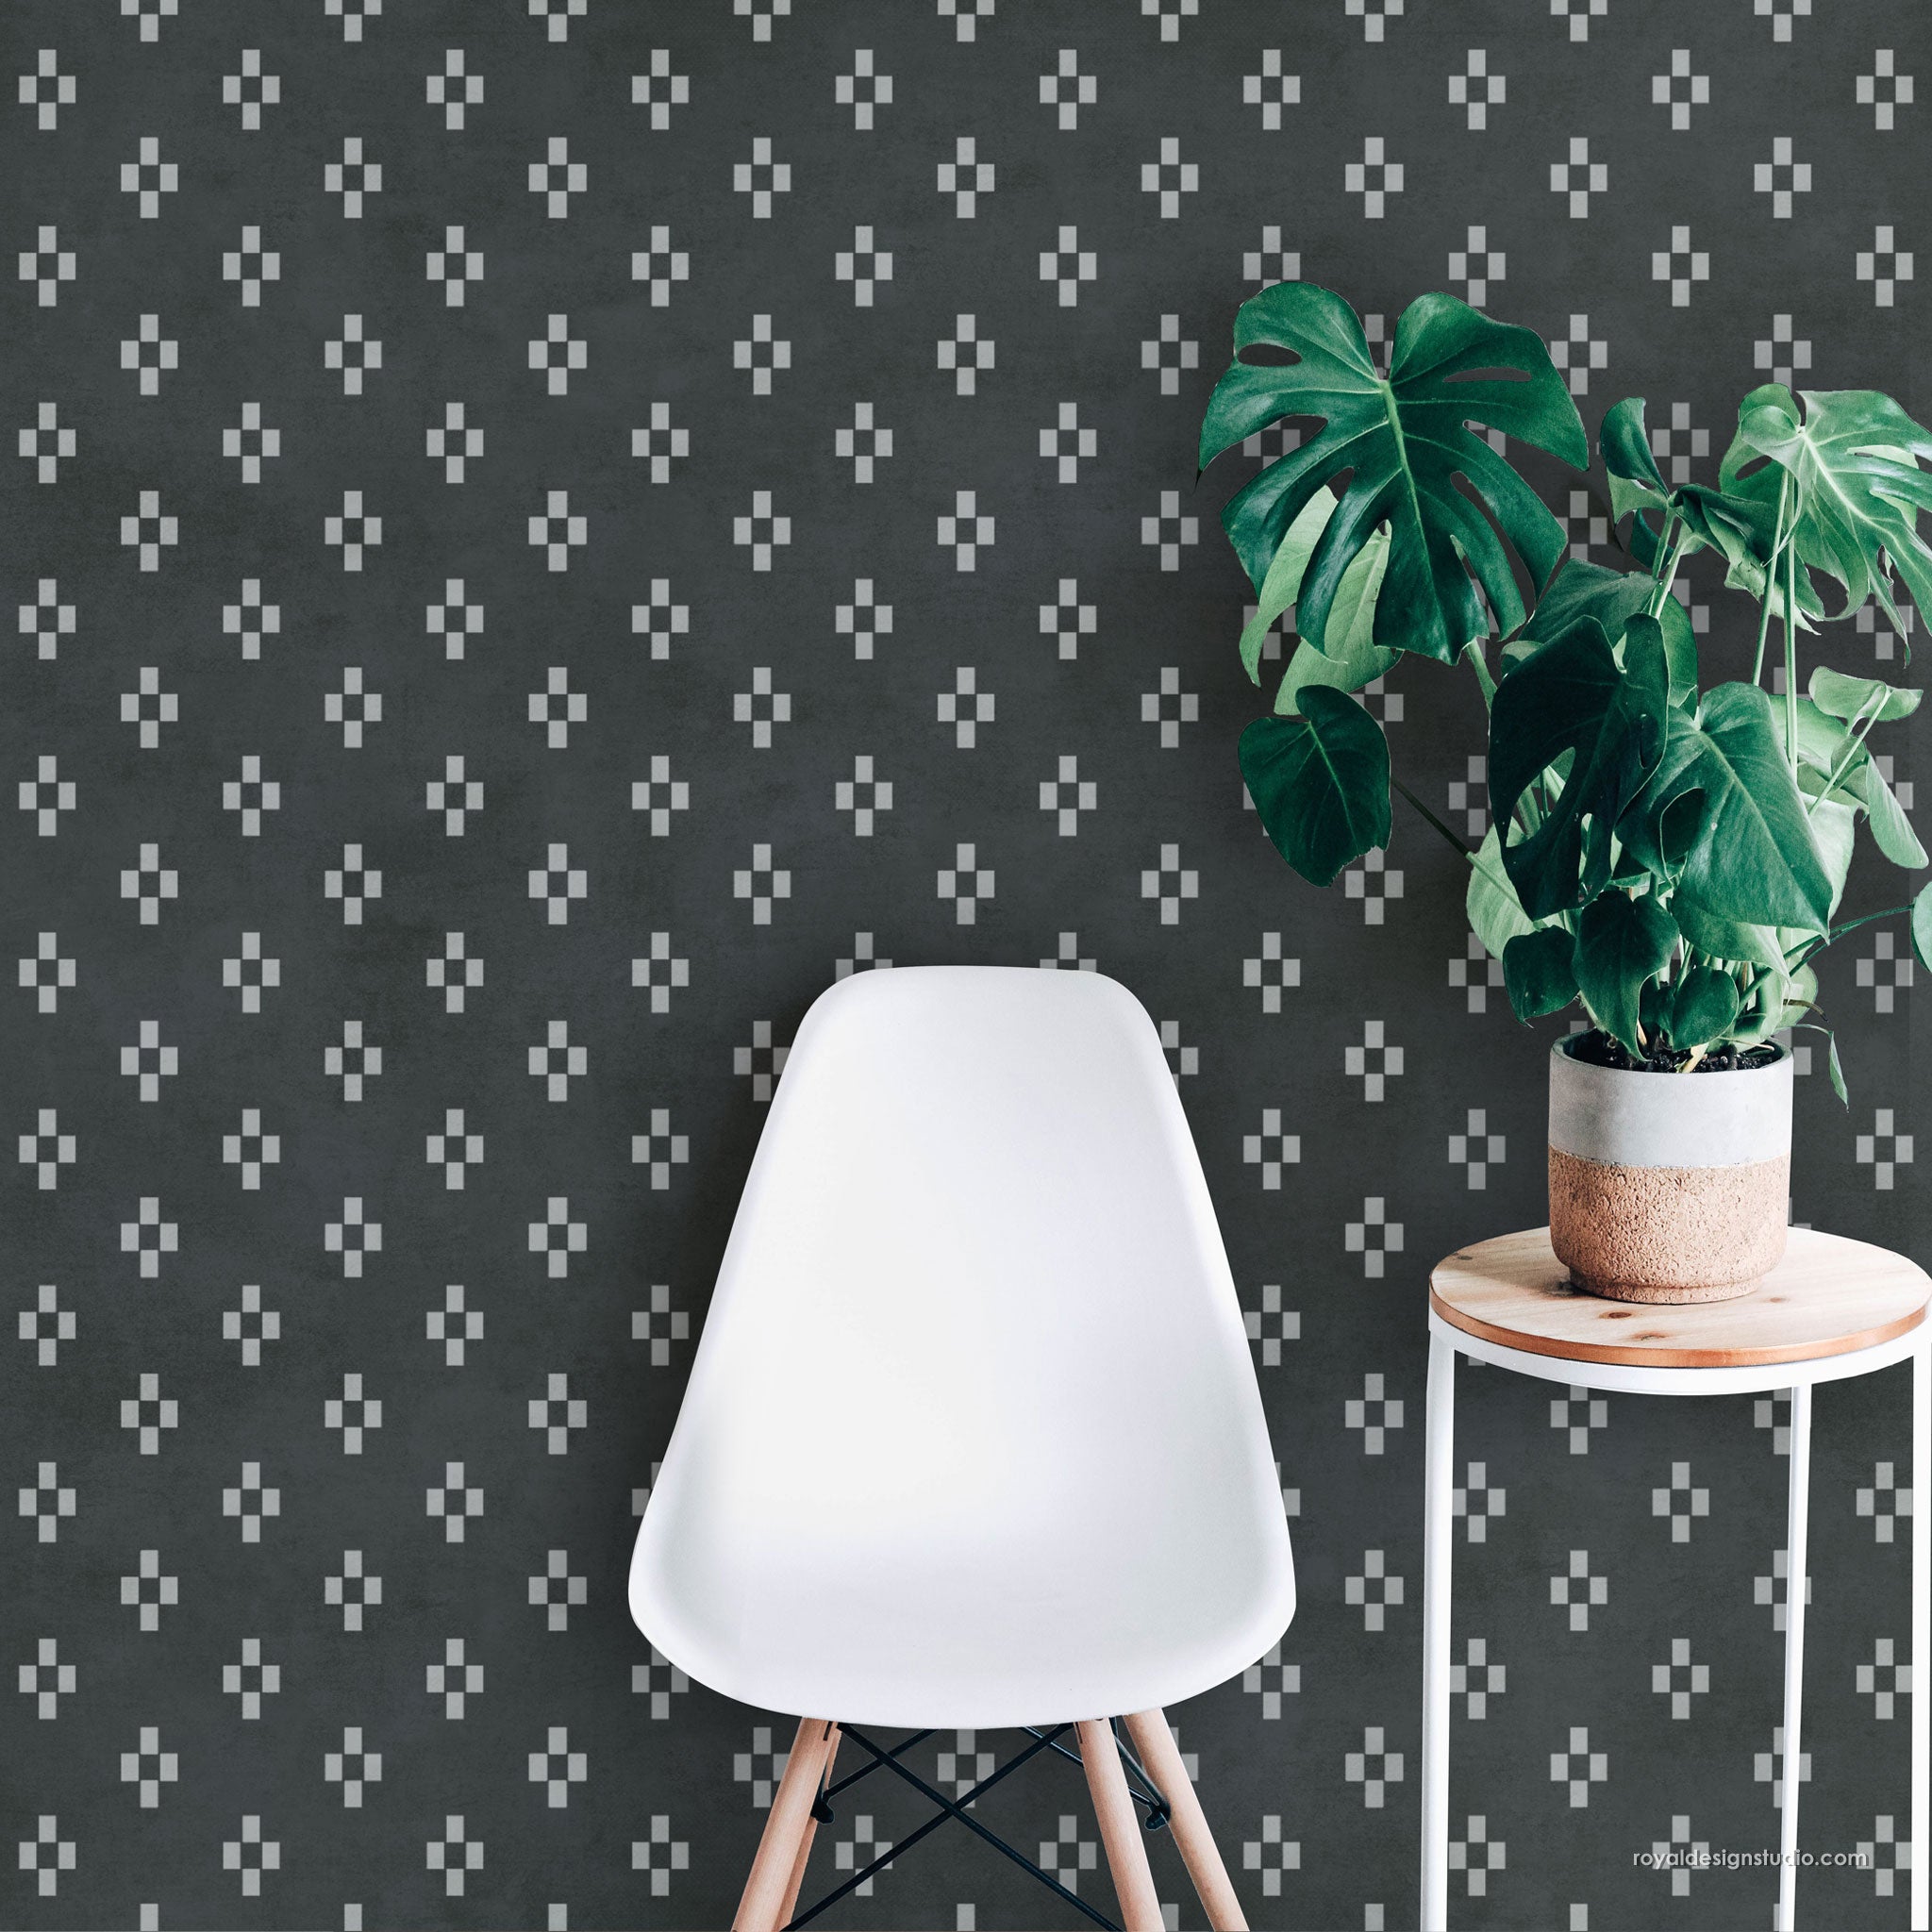
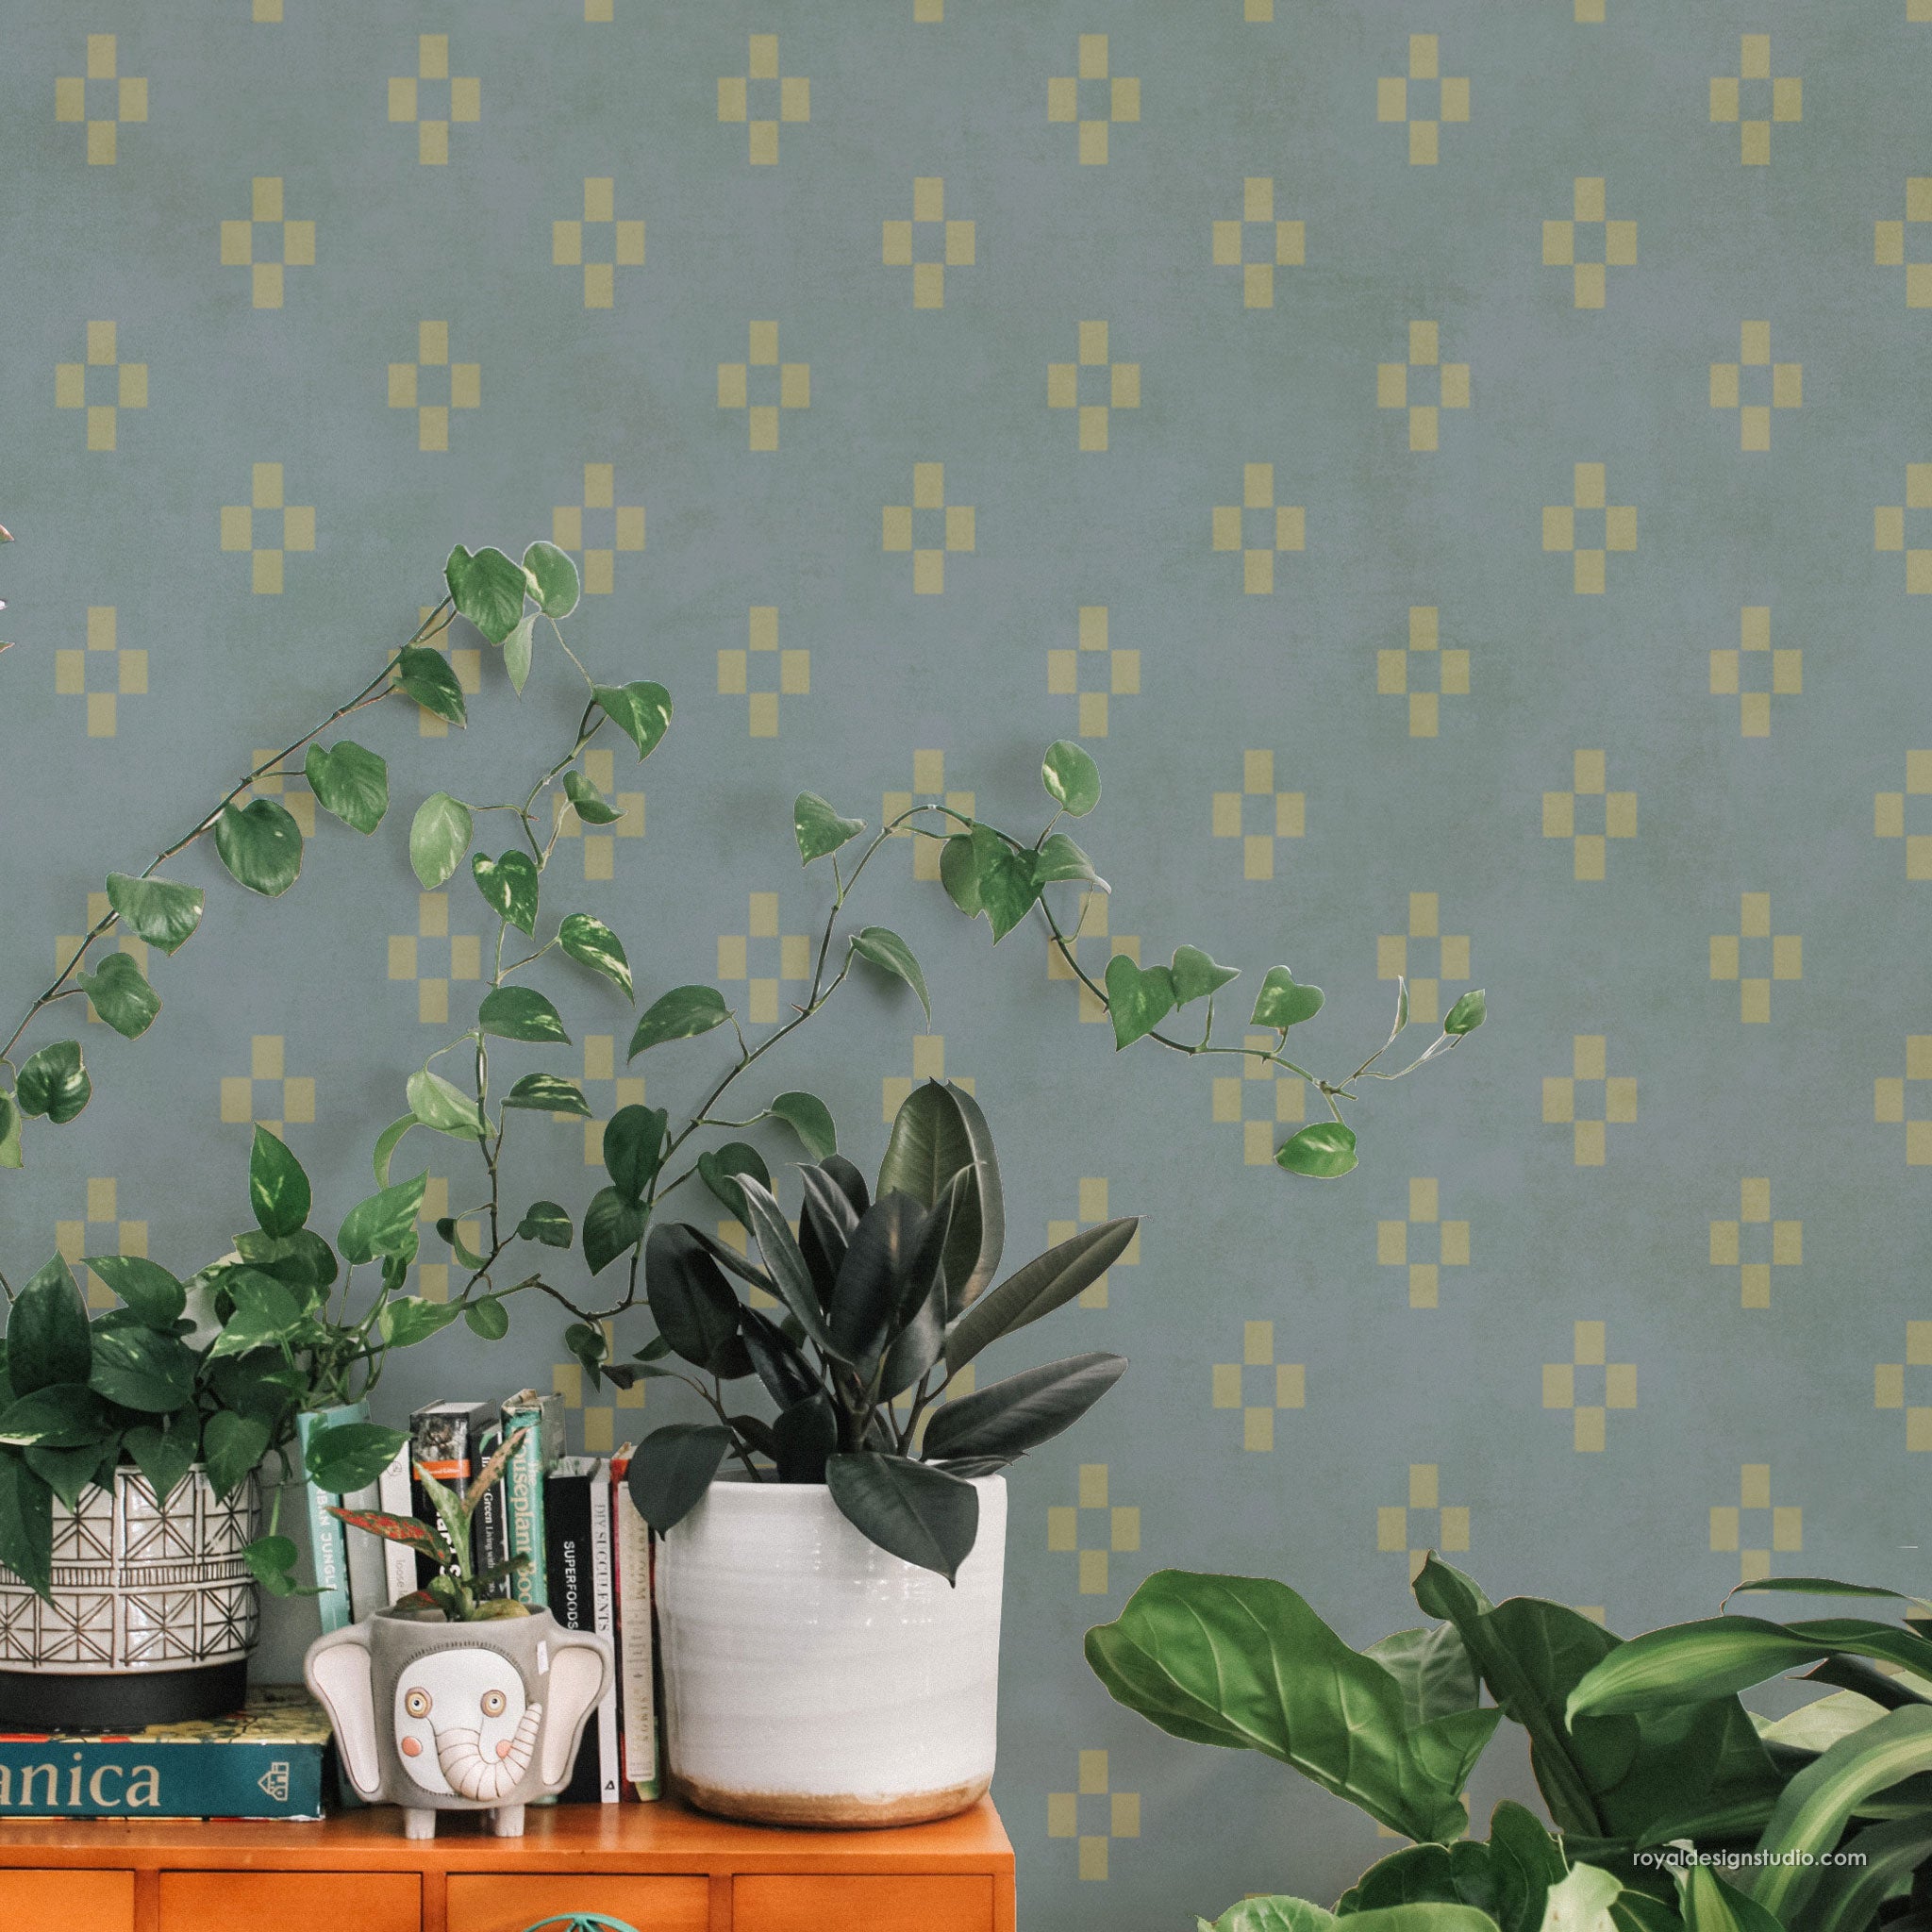
Want to add more more dimension to your stencil designs? You can do that with some simple shading. You can use this technique to create a more dimensional effect, or simply to add some more interest to your pattern. All it takes is a little patience, along with brush and pressure control. This painting technique makes your stenciling stand out, appear 3-dimensional, and gives it more of a handpainted feel. Click play to watch this Stencil Basics video below and learn how to stencil with shading and highlighting!
- First, stencil the design as usual. Secure the stencil in place with painter’s tape. Load your stencil brush and offload on a paper towel. Stencil the design using light to medium pressure while moving the stencil brush in a circular motion.
- Choose a darker shade of the paint color you just used to create some shadowing on the design and more dimension.
- Use a smaller stencil brush to allow you more control of the shading. Load the brush and offload heavily onto a paper towel so you a very dry brush.
- Stencil with the darker paint color, focusing on the outer edges of the design using light pressure. Keep the paint just along the bottom edges of the design and lighten your pressure on the brush as you move towards the center of the design. This will allow the shading to fade away.
- Repeat Step 3 and 4 with a lighter shade of the paint color you stenciled with to add highlight to the design. Instead of the bottom outer areas, focus your highlighting on the top outer edges of the design.
Check out all of our Stencil Basics videos for need-to-know tips and tricks on how to stencil perfectly and create pretty pattern that you’ve always wanted!


