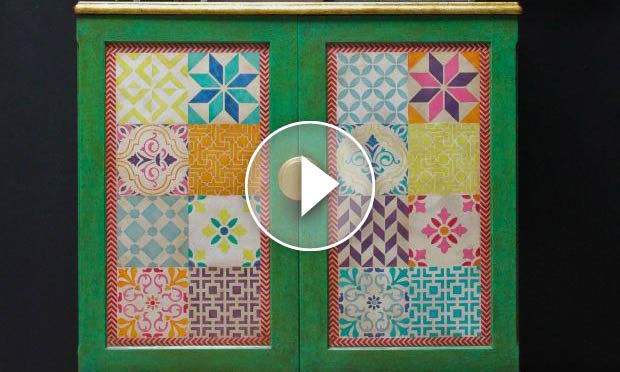
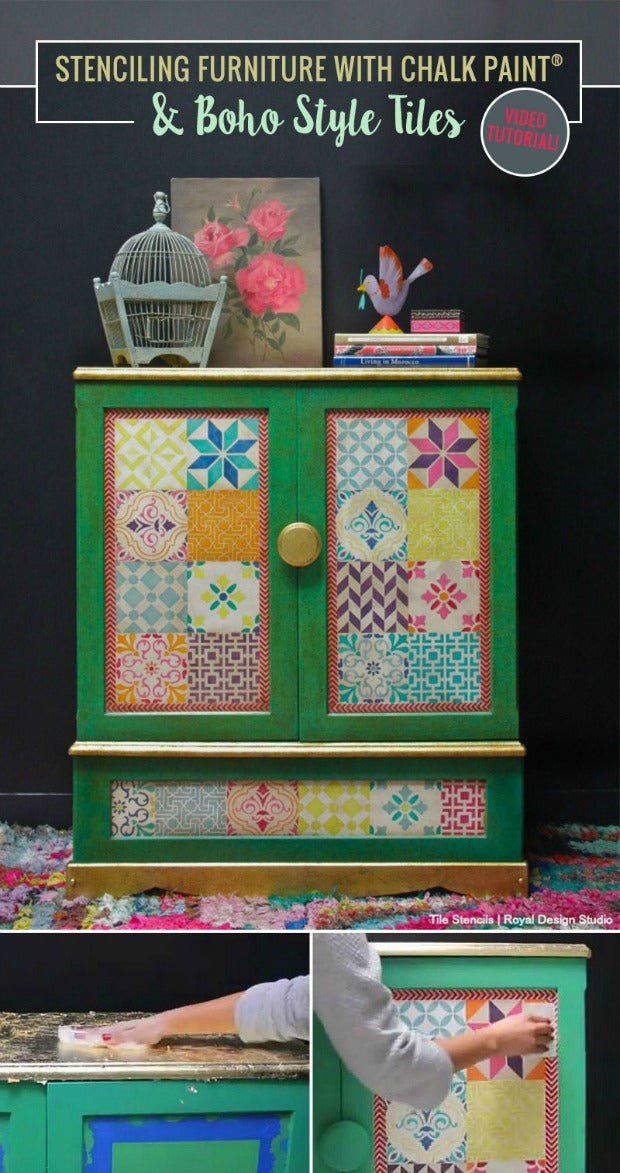
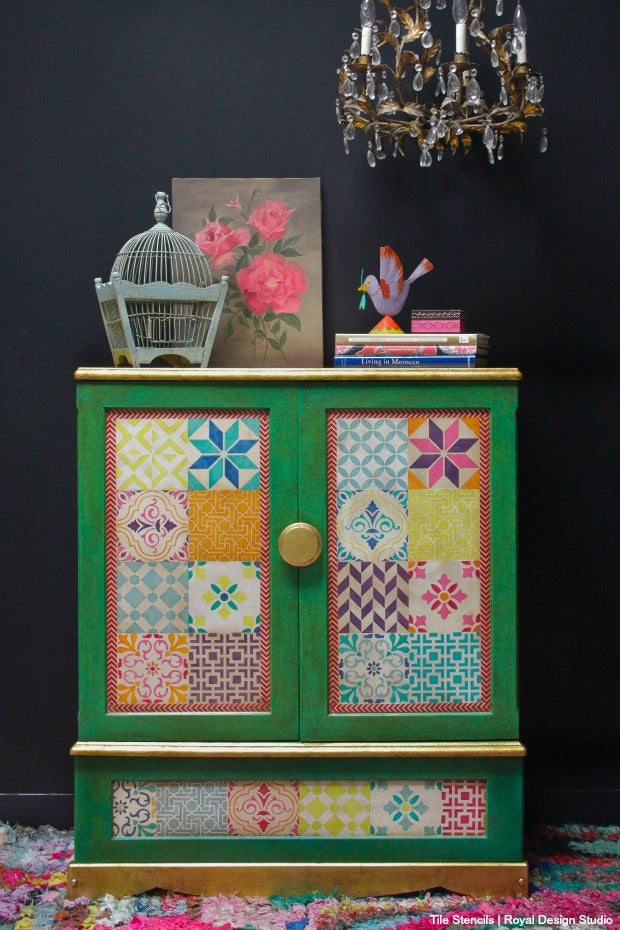
Transform a tire piece of furniture with Chalk Paint® by Annie Sloan and Tile Stencils from Royal Design Studio into a boho chic piece of art. In this DIY tutorial, we show you how to create To give a worldly sophistication to an otherwise plain piece, we used our Moroccan and Mediterranean Tile Stencils. If you're a fan of this boho chic look, you'll love how these tile stencils along with bold color and gilding can give a small area some big personality. We share the whole process in this video and you will find the supplies and steps detailed out below!
Supplies:
- Moroccan Tile Stencil Set and Mediterranean Tile Stencil Set
- Paint, Peel & Stick Canvas™
- Royal Stencil Brushes: 1", 1/2", and 3/8"
- Annie Sloan Chalk Paint®: Antibes Green, Napoleonic Blue, Florence, Provence, English Yellow, Burgundy, Barcelona Orange
- Annie Sloan Clear and Dark Wax
- Clear Royal Stencil Size and Gold Leaf
- Foam roller & tray, pointed sash brush, cheesecloth, chip brush, lamb's wool, ruler, scissors, painter's tape
Painting the Furniture Piece
Step 1: Paint the entire furniture piece with Antibes Green Chalk Paint® with a foam roller. Then paint a second layer by thickly applying another coat of Antibes Green with a pointed sash brush using a blotting motion. Allow to dry.
Step 2: Apply a wash randomly over the furniture piece with a mix of Florence Chalk Paint® and water. Remove excess paint with cheesecloth. Allow to dry.
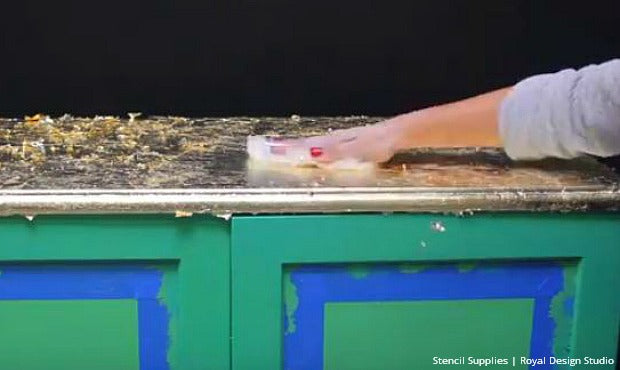
Step 3: Apply a layer of Clear Royal Stencil Size to the top molding. Allow 15 minutes for the size to get tacky and then apply a layer of gold leaf on to the area.
Step 4: Smooth and burnish the gilded area and remove the excess gold leaf with lamb's wool.
Stenciling the Tiles
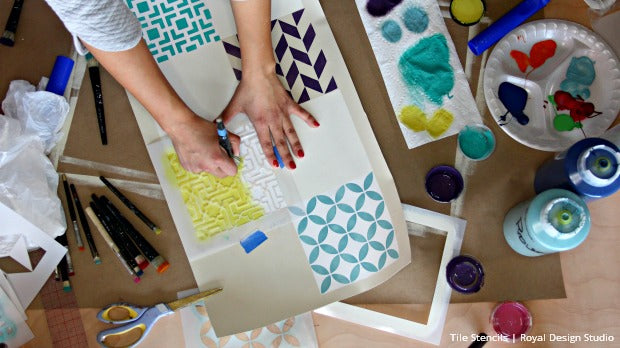
Step 1: Measure the recessed panels of your furniture piece, then cut the Paint, Peel & Stick Canvas™ to those dimensions. Measure and mark where you want the tiles to go on the cut canvas.
Step 2: Use the tile silhouette shape that comes with the Tile Stencil Sets to create alternating tile background colors.
Step 3: Stencil the Moroccan Tile Stencils and Mediterranean Tile Stencils onto the canvas. Be sure to offload your stencil brush onto a paper towel to remove the excess paint and avoid paint from bleeding under the stencil. Alternate the patterns and colors until the canvas is completely stenciled. Have fun mixing and matching and be creative! Allow to dry.
Step 4: Finish off the canvas with a coordinating border stencil, if necessary. Allow to dry.
Applying the Canvas
Step 1: To install your stenciled canvas, simply peel back the protective backing paper from one edge. Apply the canvas onto the stair riser and continue to peel back as you smooth it. Use a squeegee or credit card to burnish the canvas and remove air bubbles.
Step 2: Apply a coat of Annie Sloan Clear Wax on the entire furniture piece, including the painted canvas and gold leaf areas. Allow to dry.
Step 3: Apply a thin layer of Annie Sloan Dark Wax on the entire furniture piece with a stencil brush or cloth. Immediately smooth and remove excess wax with cheesecloth. Allow to dry and buff to a soft sheen.
Step back and enjoy your creative work on your "new" piece of furniture! Those bold, patterned, statement tiles will stop guests in their tracks and they will demand where you bought it - World Market or Pier 1 Imports? You can let them in on the secret or keep it to yourself... Hear what they say when you magically get another "new" piece of furniture when really you just switched up the removable Paint, Peel & Stick Canvas™ with different stencil designs!
If you liked this stencil video tutorial please leave us a comment! You can find more How to Stencil Video Tutorials here!


