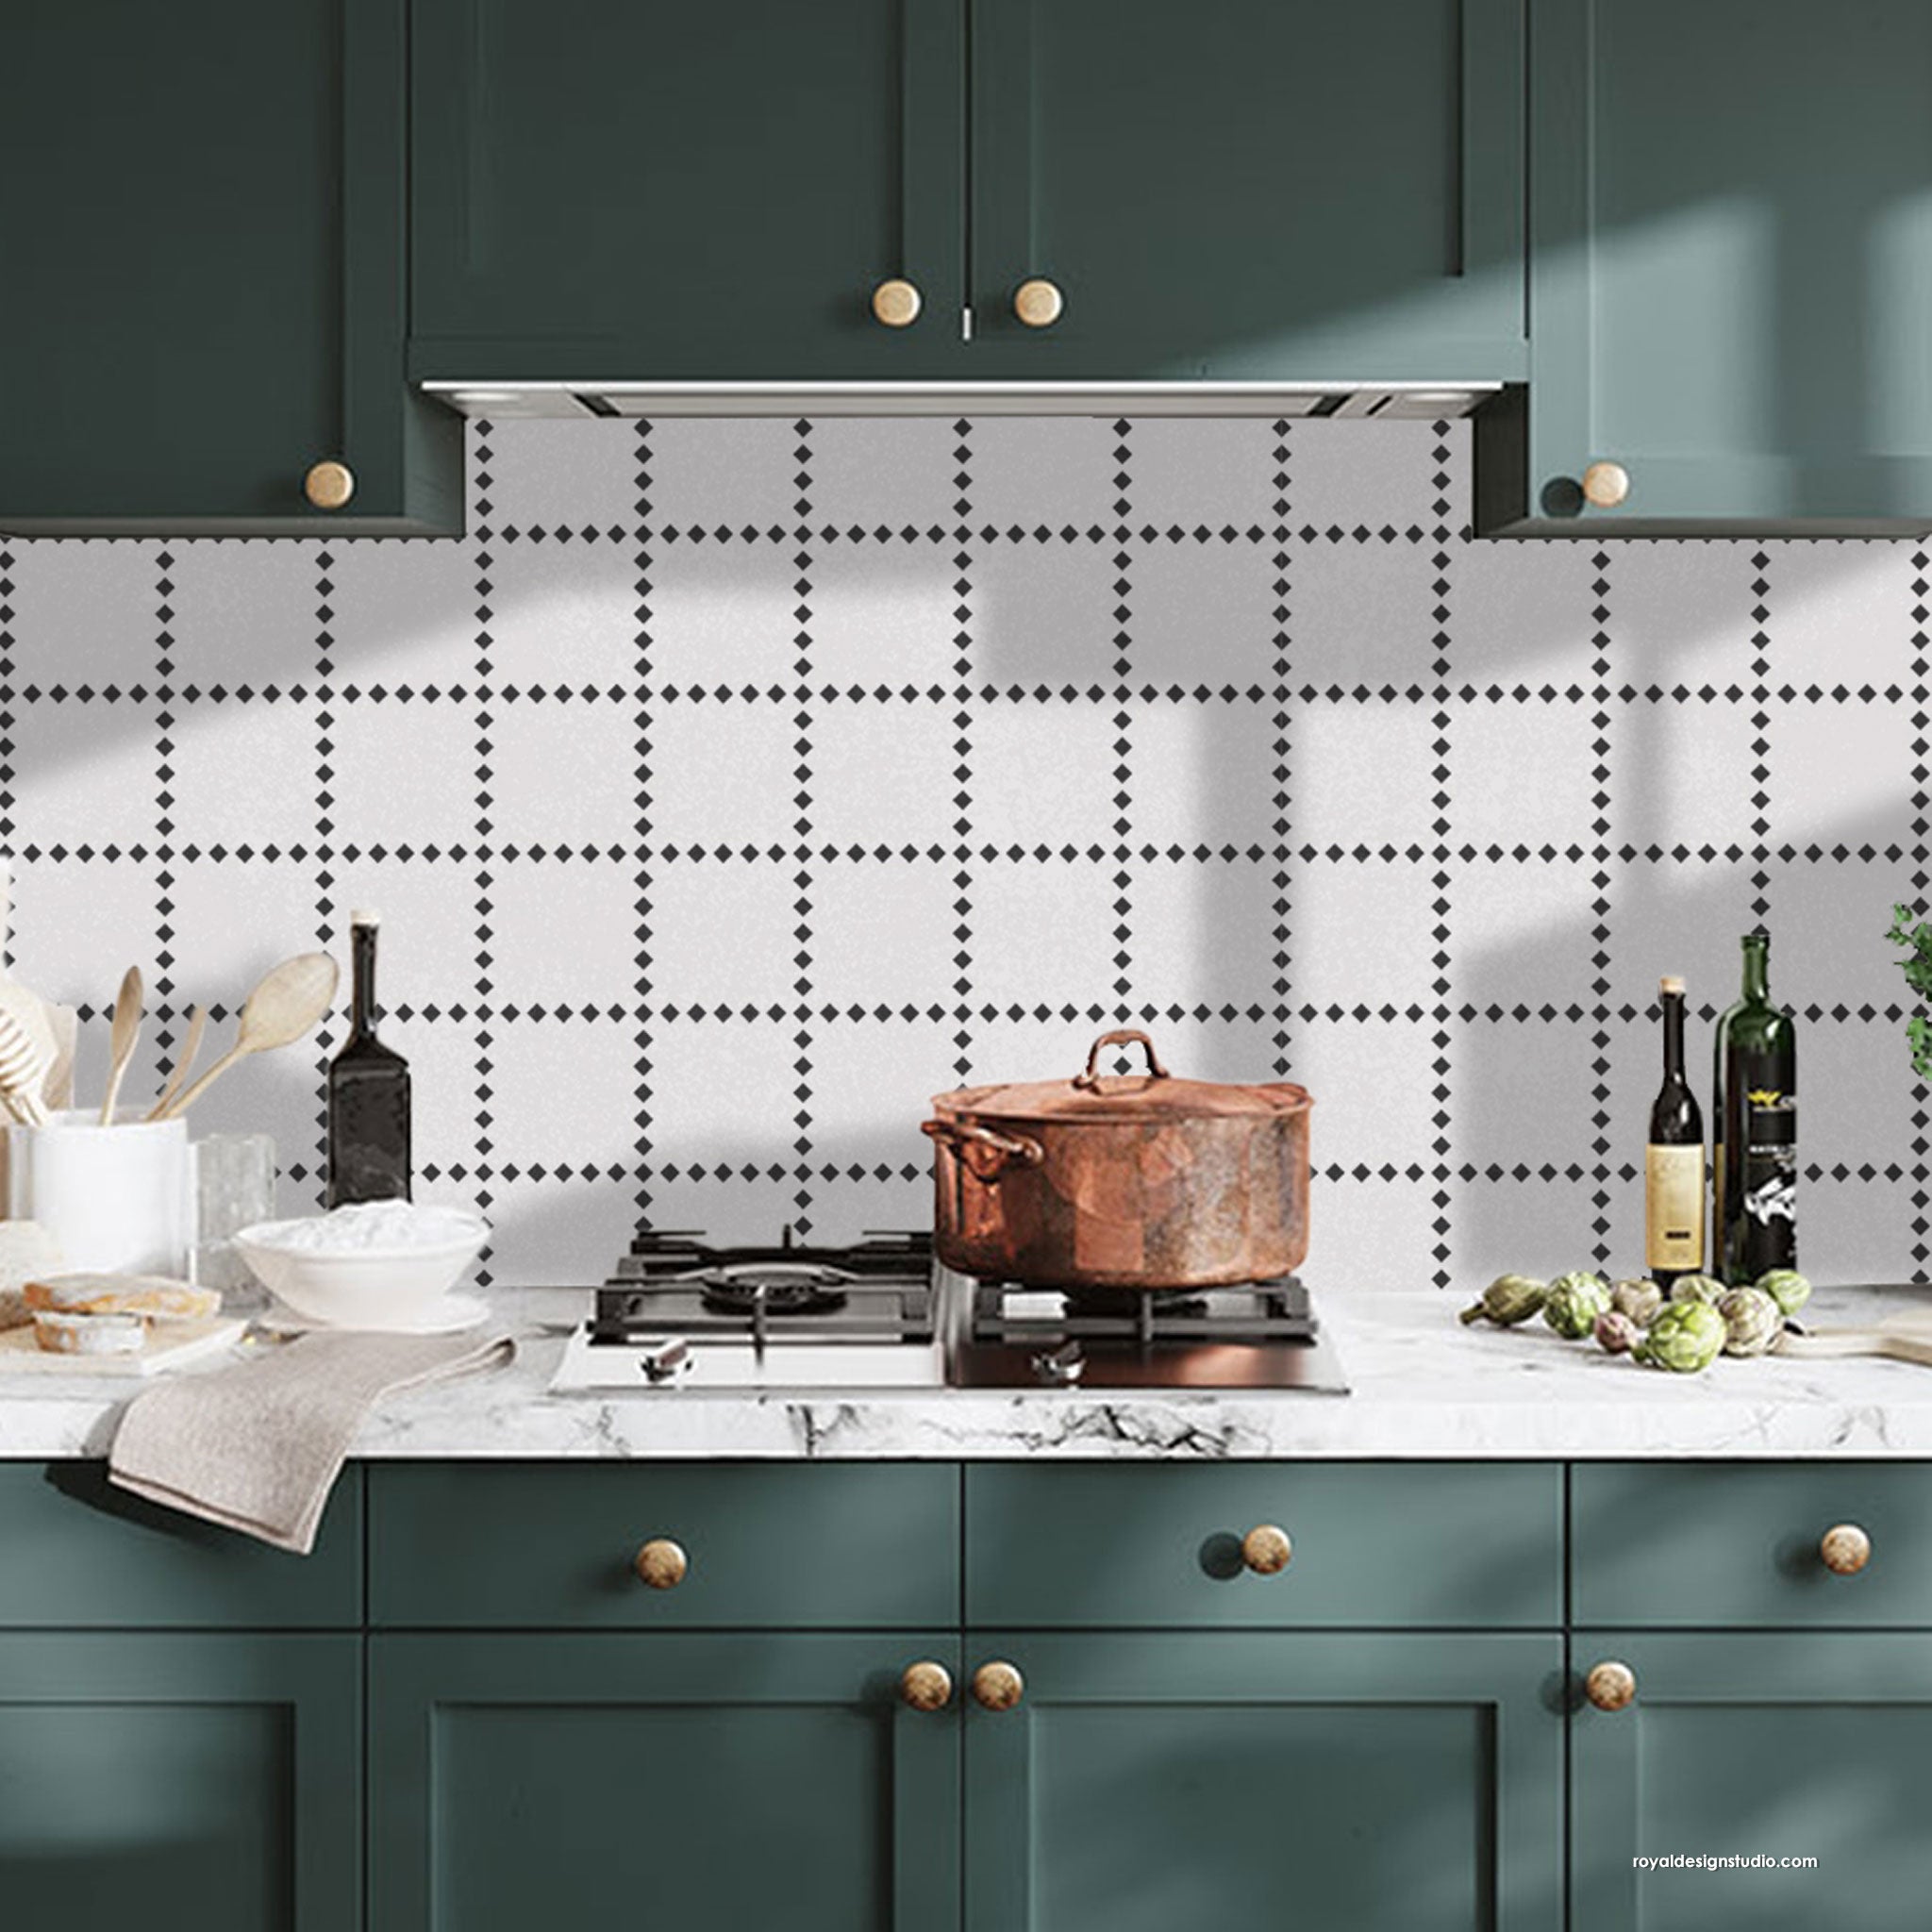
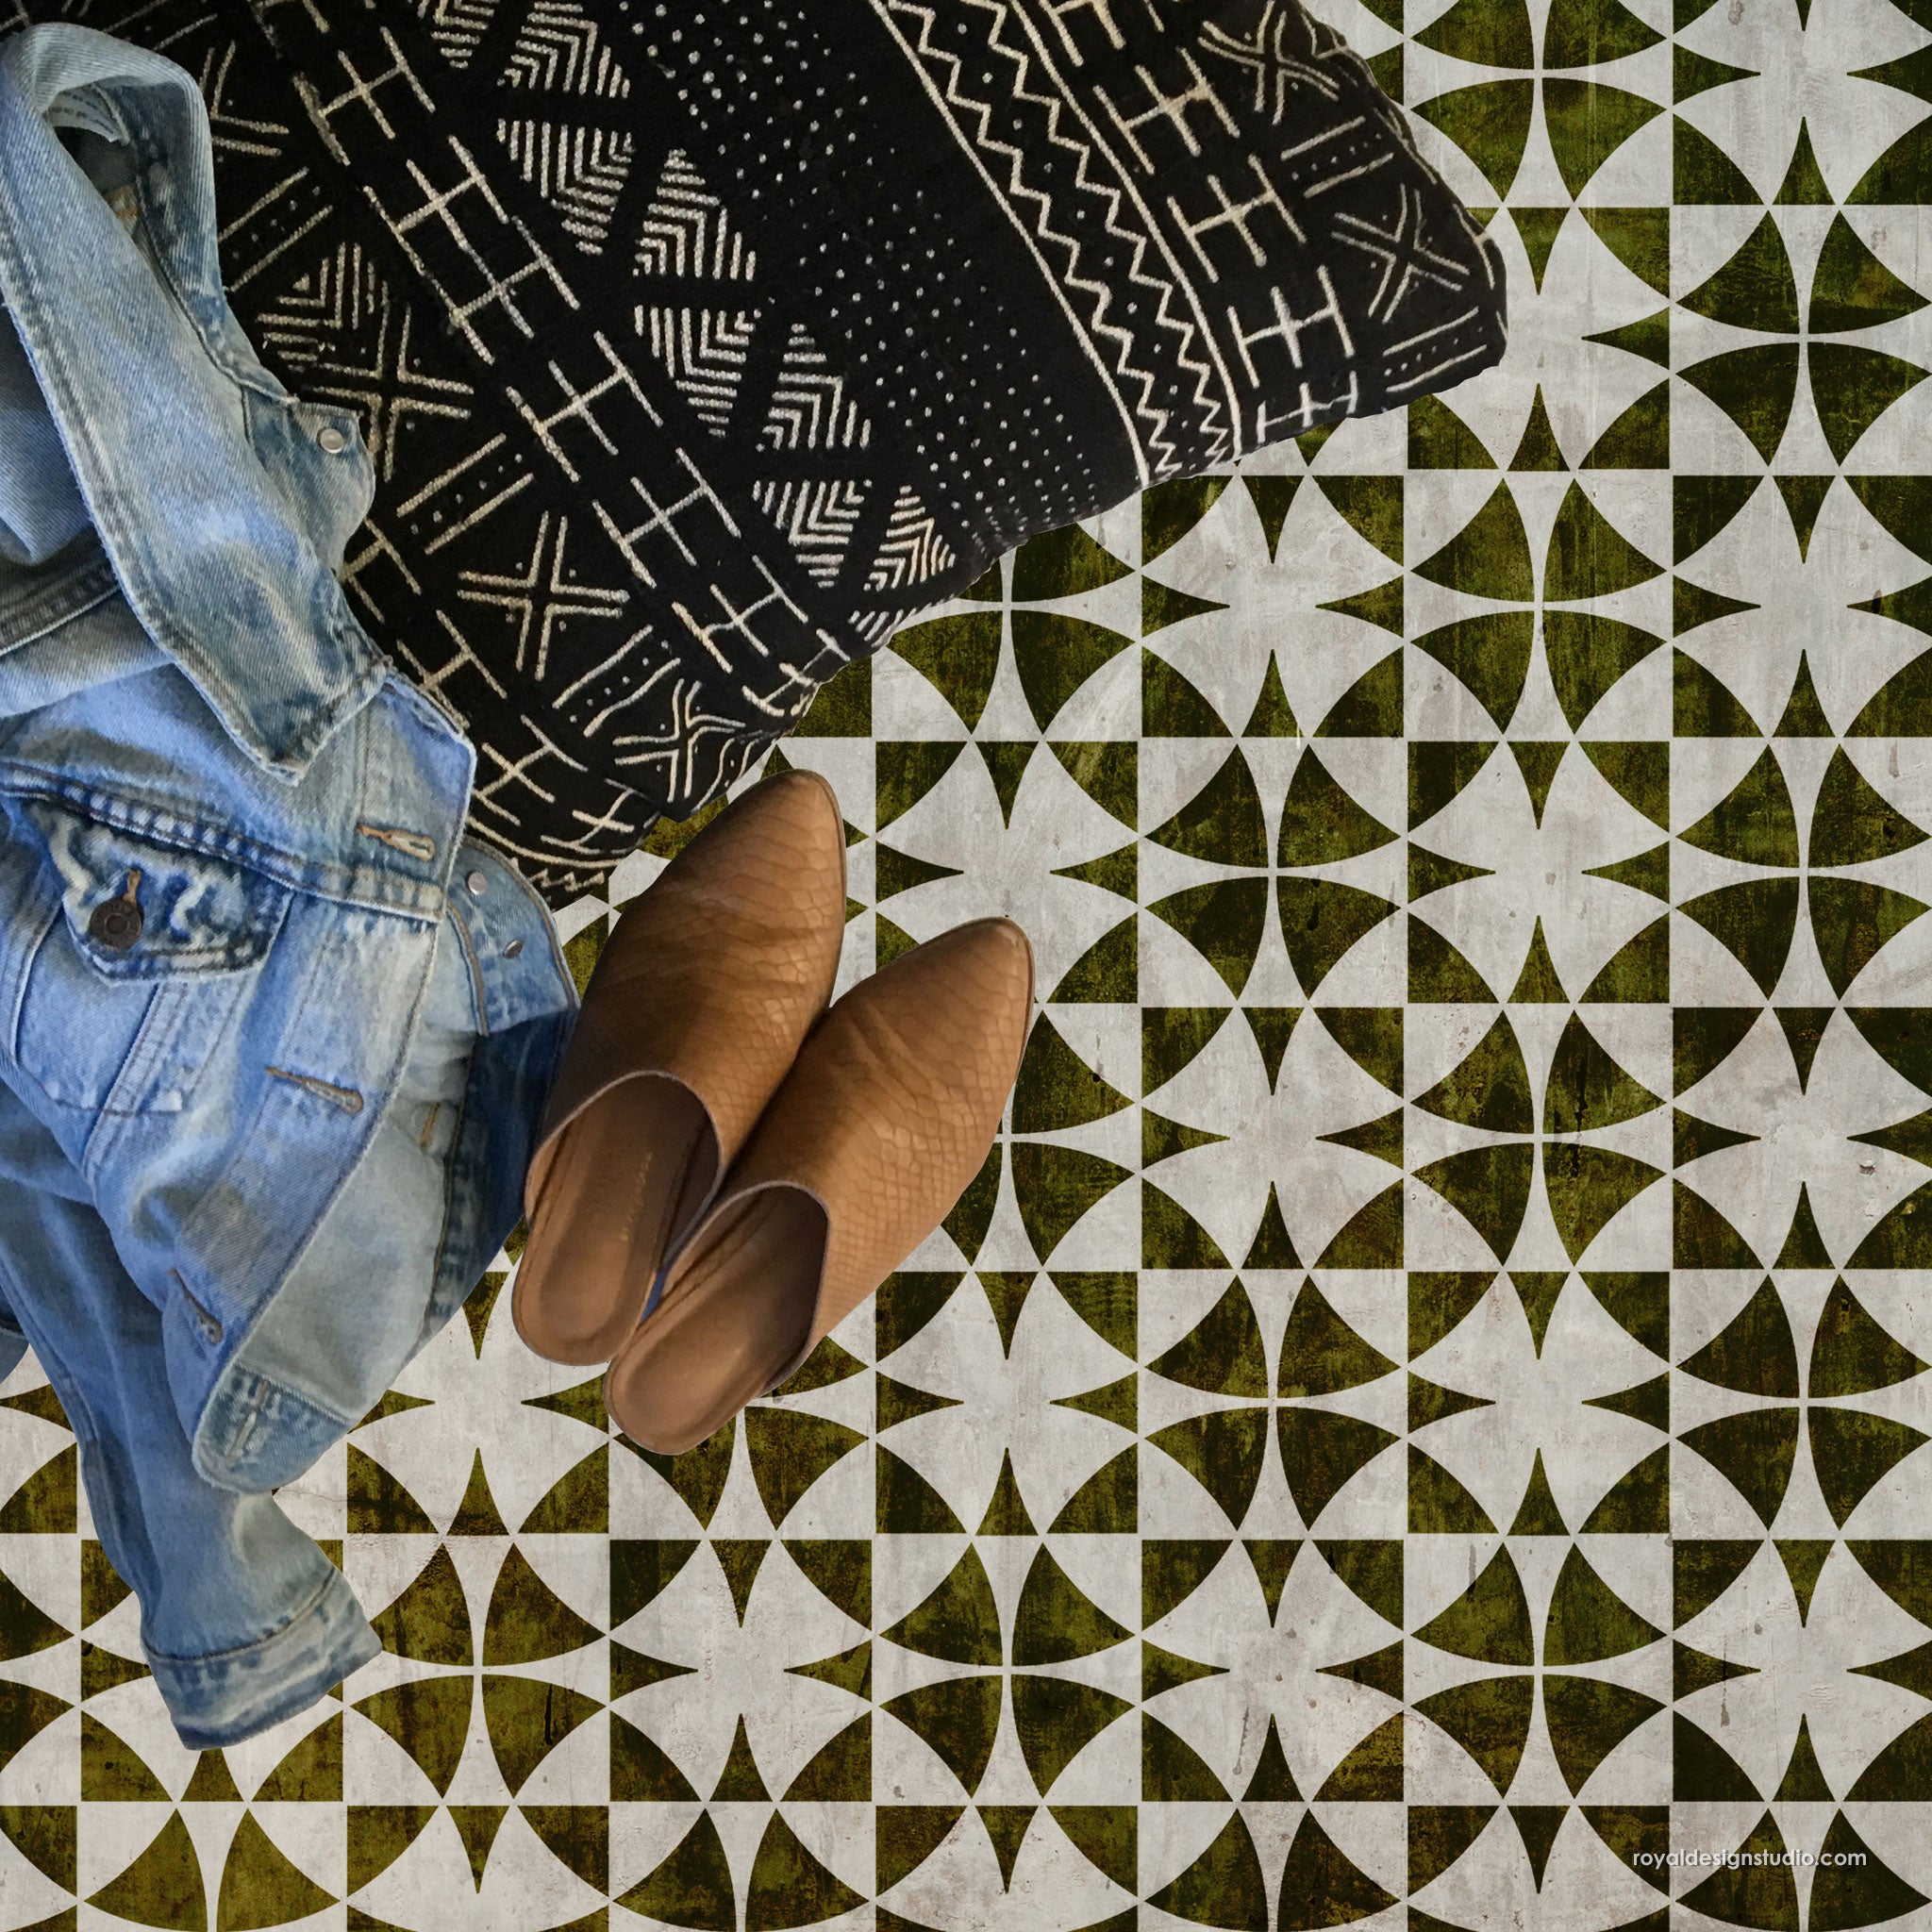
The Toledo Tile Allover Wall & Floor Stencil is sized perfectly for painting a large surface in a fast and easy way. The actual stencil itself comes with multiple tile designs so you can paint them all at once in a single repeat, versus having to remove and reposition a small stencil over and over again to get the same result. This stencil pattern works best for stenciling walls or non-tile floors such as concrete, hardwood, or linoleum. If you wish to paint your individual floor tiles with this design, use the smaller sized Toledo Tile Stencil. Watch and learn how to use this large sized Toledo Tile Allover Stencil from Royal Design Studio to paint a tile floor the fast and easy way below!
Supplies:
- Toledo Tile Allover Floor Stencil from Royal Design Studio Stencils
- Royal Stencil Brush
- Nylon roller with tray
- Black and blue floor paints
- Spray adhesive
Step 1: Mist the back of the large tile stencil with spray adhesive. Secure the stencil onto your floor. We recommend placing your stencil in the middle or top middle of your floor.
Step 2: Load a nylon roller with black floor specific paint that you can find at your local paint store. Offload the excess paint from the roller onto a paper towel. This will disperse the paint evenly on the roller as well as make sure you are using minimal paint. Using minimal paint is essential for preventing bleed under the stencil. Stencil the tile design using light to medium pressure. [optional] We used minimal paint and a stippling technique to create the look of real distressed tiles.
Step 3: Remove the tile floor stencil and reposition it using the registration marks that are built right into the stencil. Continue stenciling the next repeat and repositioning the stencil up, down, and around the first repeat you stenciled until you have stenciled your entire floor.
Step 4: [optional] We added additional colors to our stenciled floor. Reposition the tile stencil onto the first repeat that you have already stenciled. Load and offload a ¾” stencil brush with blue floor paint. Stencil a few elements with this color. Repeat Step 2-3 until you have added the second color to each repeat on the entire floor.
Step 5: [optional] Since we have used floor specific paints in this tutorial, we chose not to prime or seal it. However, if you used different paints or wish to further protect your stenciled floor, you will need to prime the floor before stenciling and seal the floor after stenciling. We recommend using water-based polyurethane to seal floors.
Do you have a floor stenciling project you’ve been working on? We’d love to share and show it off to our readers! Email us at projects@royaldesignstudio.com, share them on our Facebook Page, or you can even Instagram your projects and tag us with #royaldesignstudio
Looking for more Stencil Techniques like this? Check out these other stencil ideas and tutorials:


![How to Stencil a Tile Floor the Fast & Easy Way! [Video Tutorial] - Floor Stencils and Tile Stencils for Painting Tile Floor Patterns and DIY Decor and DIY Project from Royal Design Studio](http://cdn.shopify.com/s/files/1/0094/1122/files/how-to-stencil-a-tile-floor-diy-project.jpg?v=1555457452)
![How to Stencil a Tile Floor the Fast & Easy Way! [Video Tutorial] - Floor Stencils and Tile Stencils for Painting Tile Floor Patterns and DIY Decor and DIY Project from Royal Design Studio](http://cdn.shopify.com/s/files/1/0094/1122/files/how_to_stencil_a_tile_floor_diy_project_d9e5c111-6dd0-499b-93b0-1fd895203558.jpg?v=1552416443)
![How to Stencil a Tile Floor the Fast & Easy Way! [Video Tutorial] - Floor Stencils and Tile Stencils for Painting Tile Floor Patterns and DIY Decor and DIY Project from Royal Design Studio](http://cdn.shopify.com/s/files/1/0094/1122/files/how_to_paint_floor_tiles_floor_stencils_tile_stencils_how_to_stencil_floors_f8dc84cc-be08-4129-9d96-160a3e975f5b.jpg?v=1552416456)

