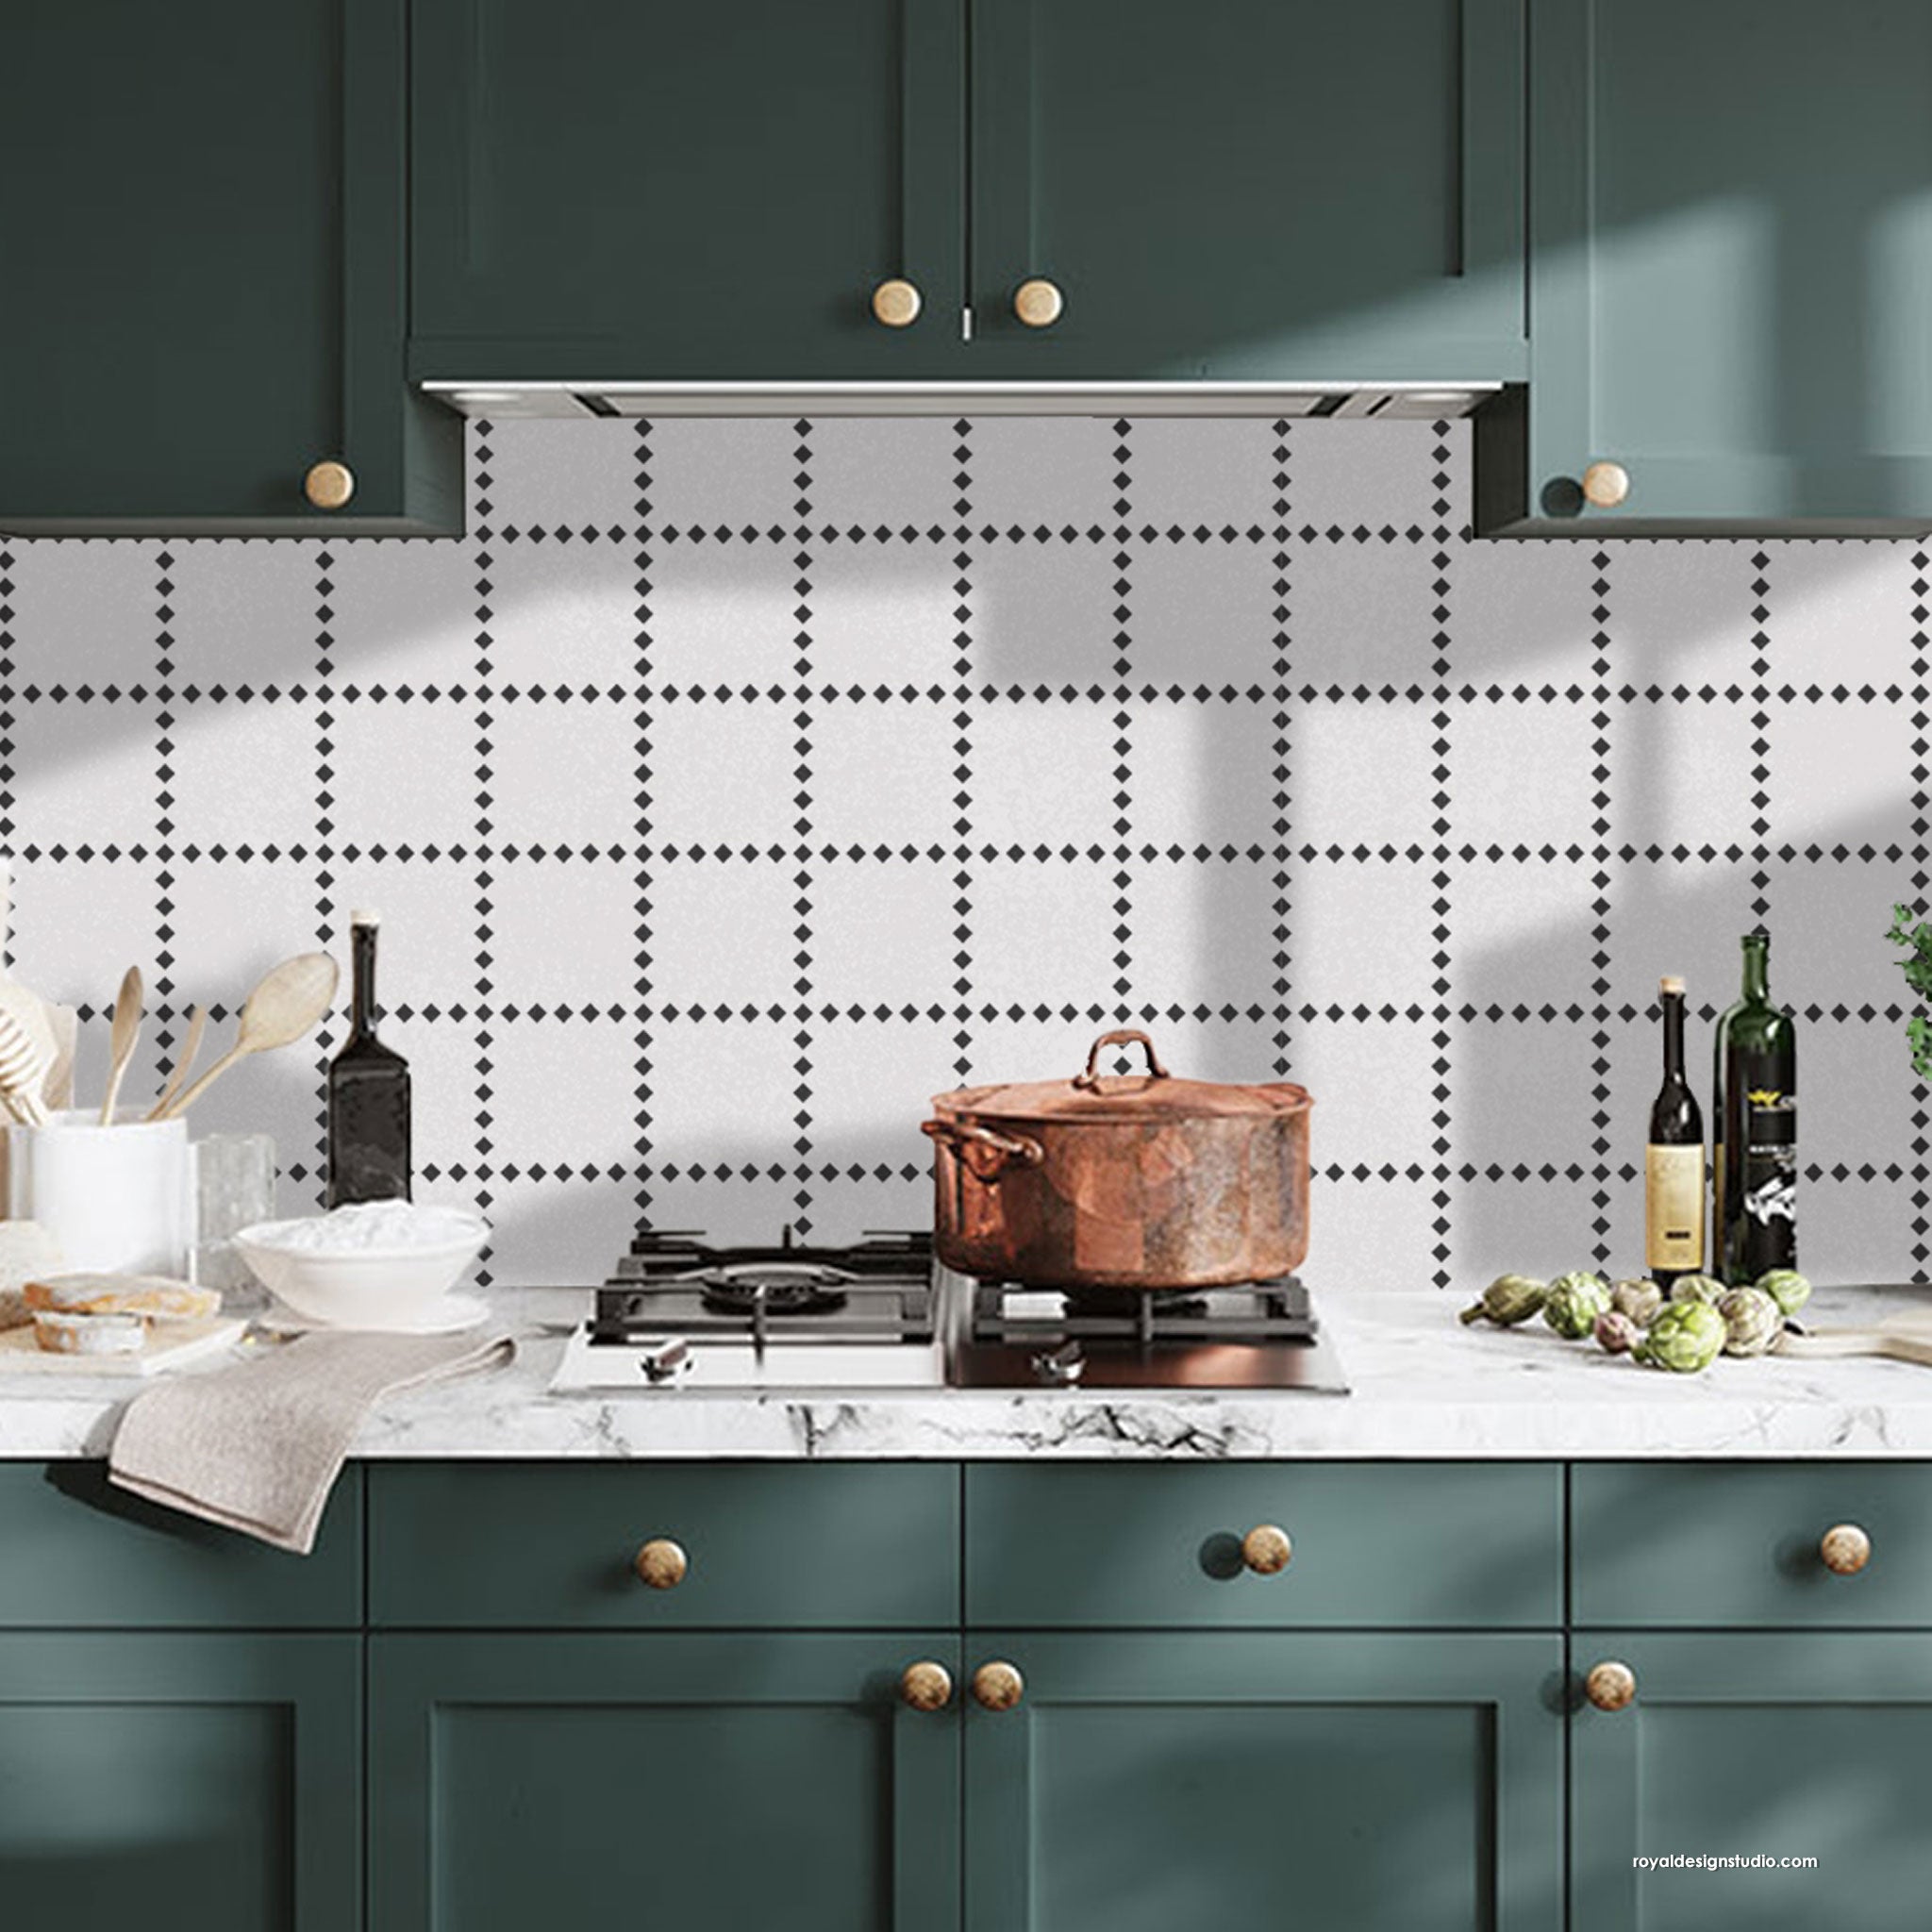
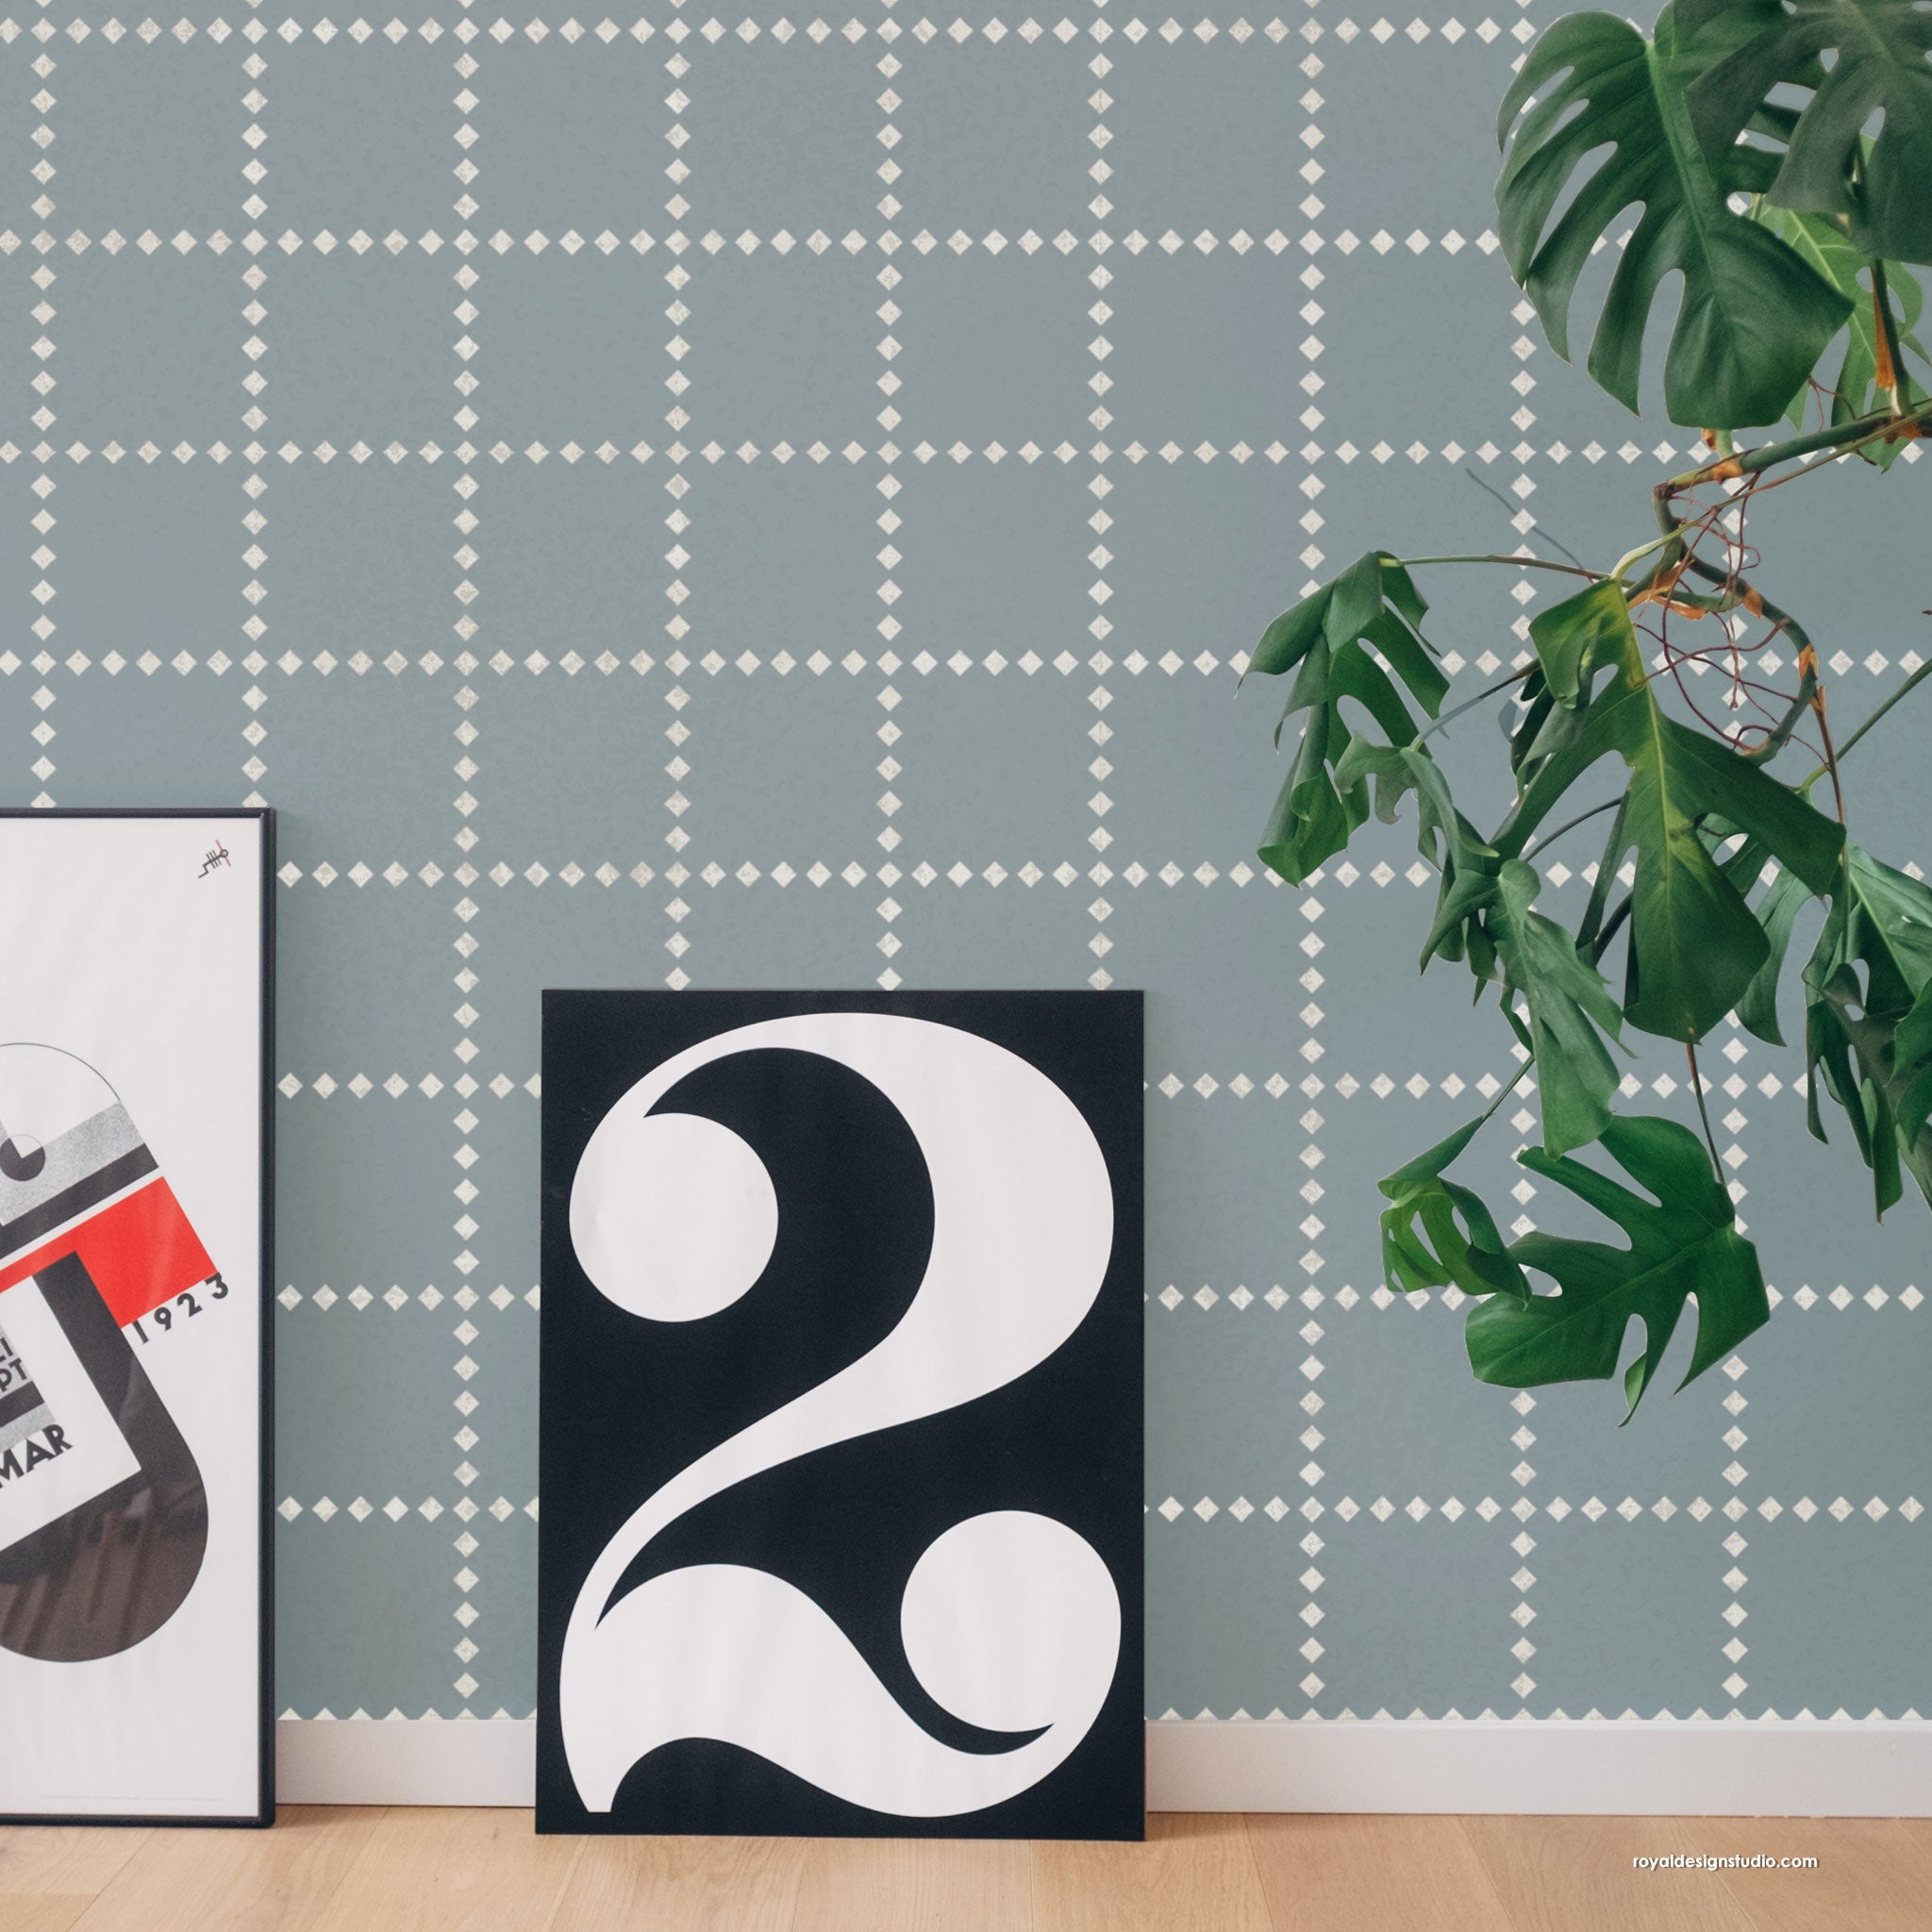
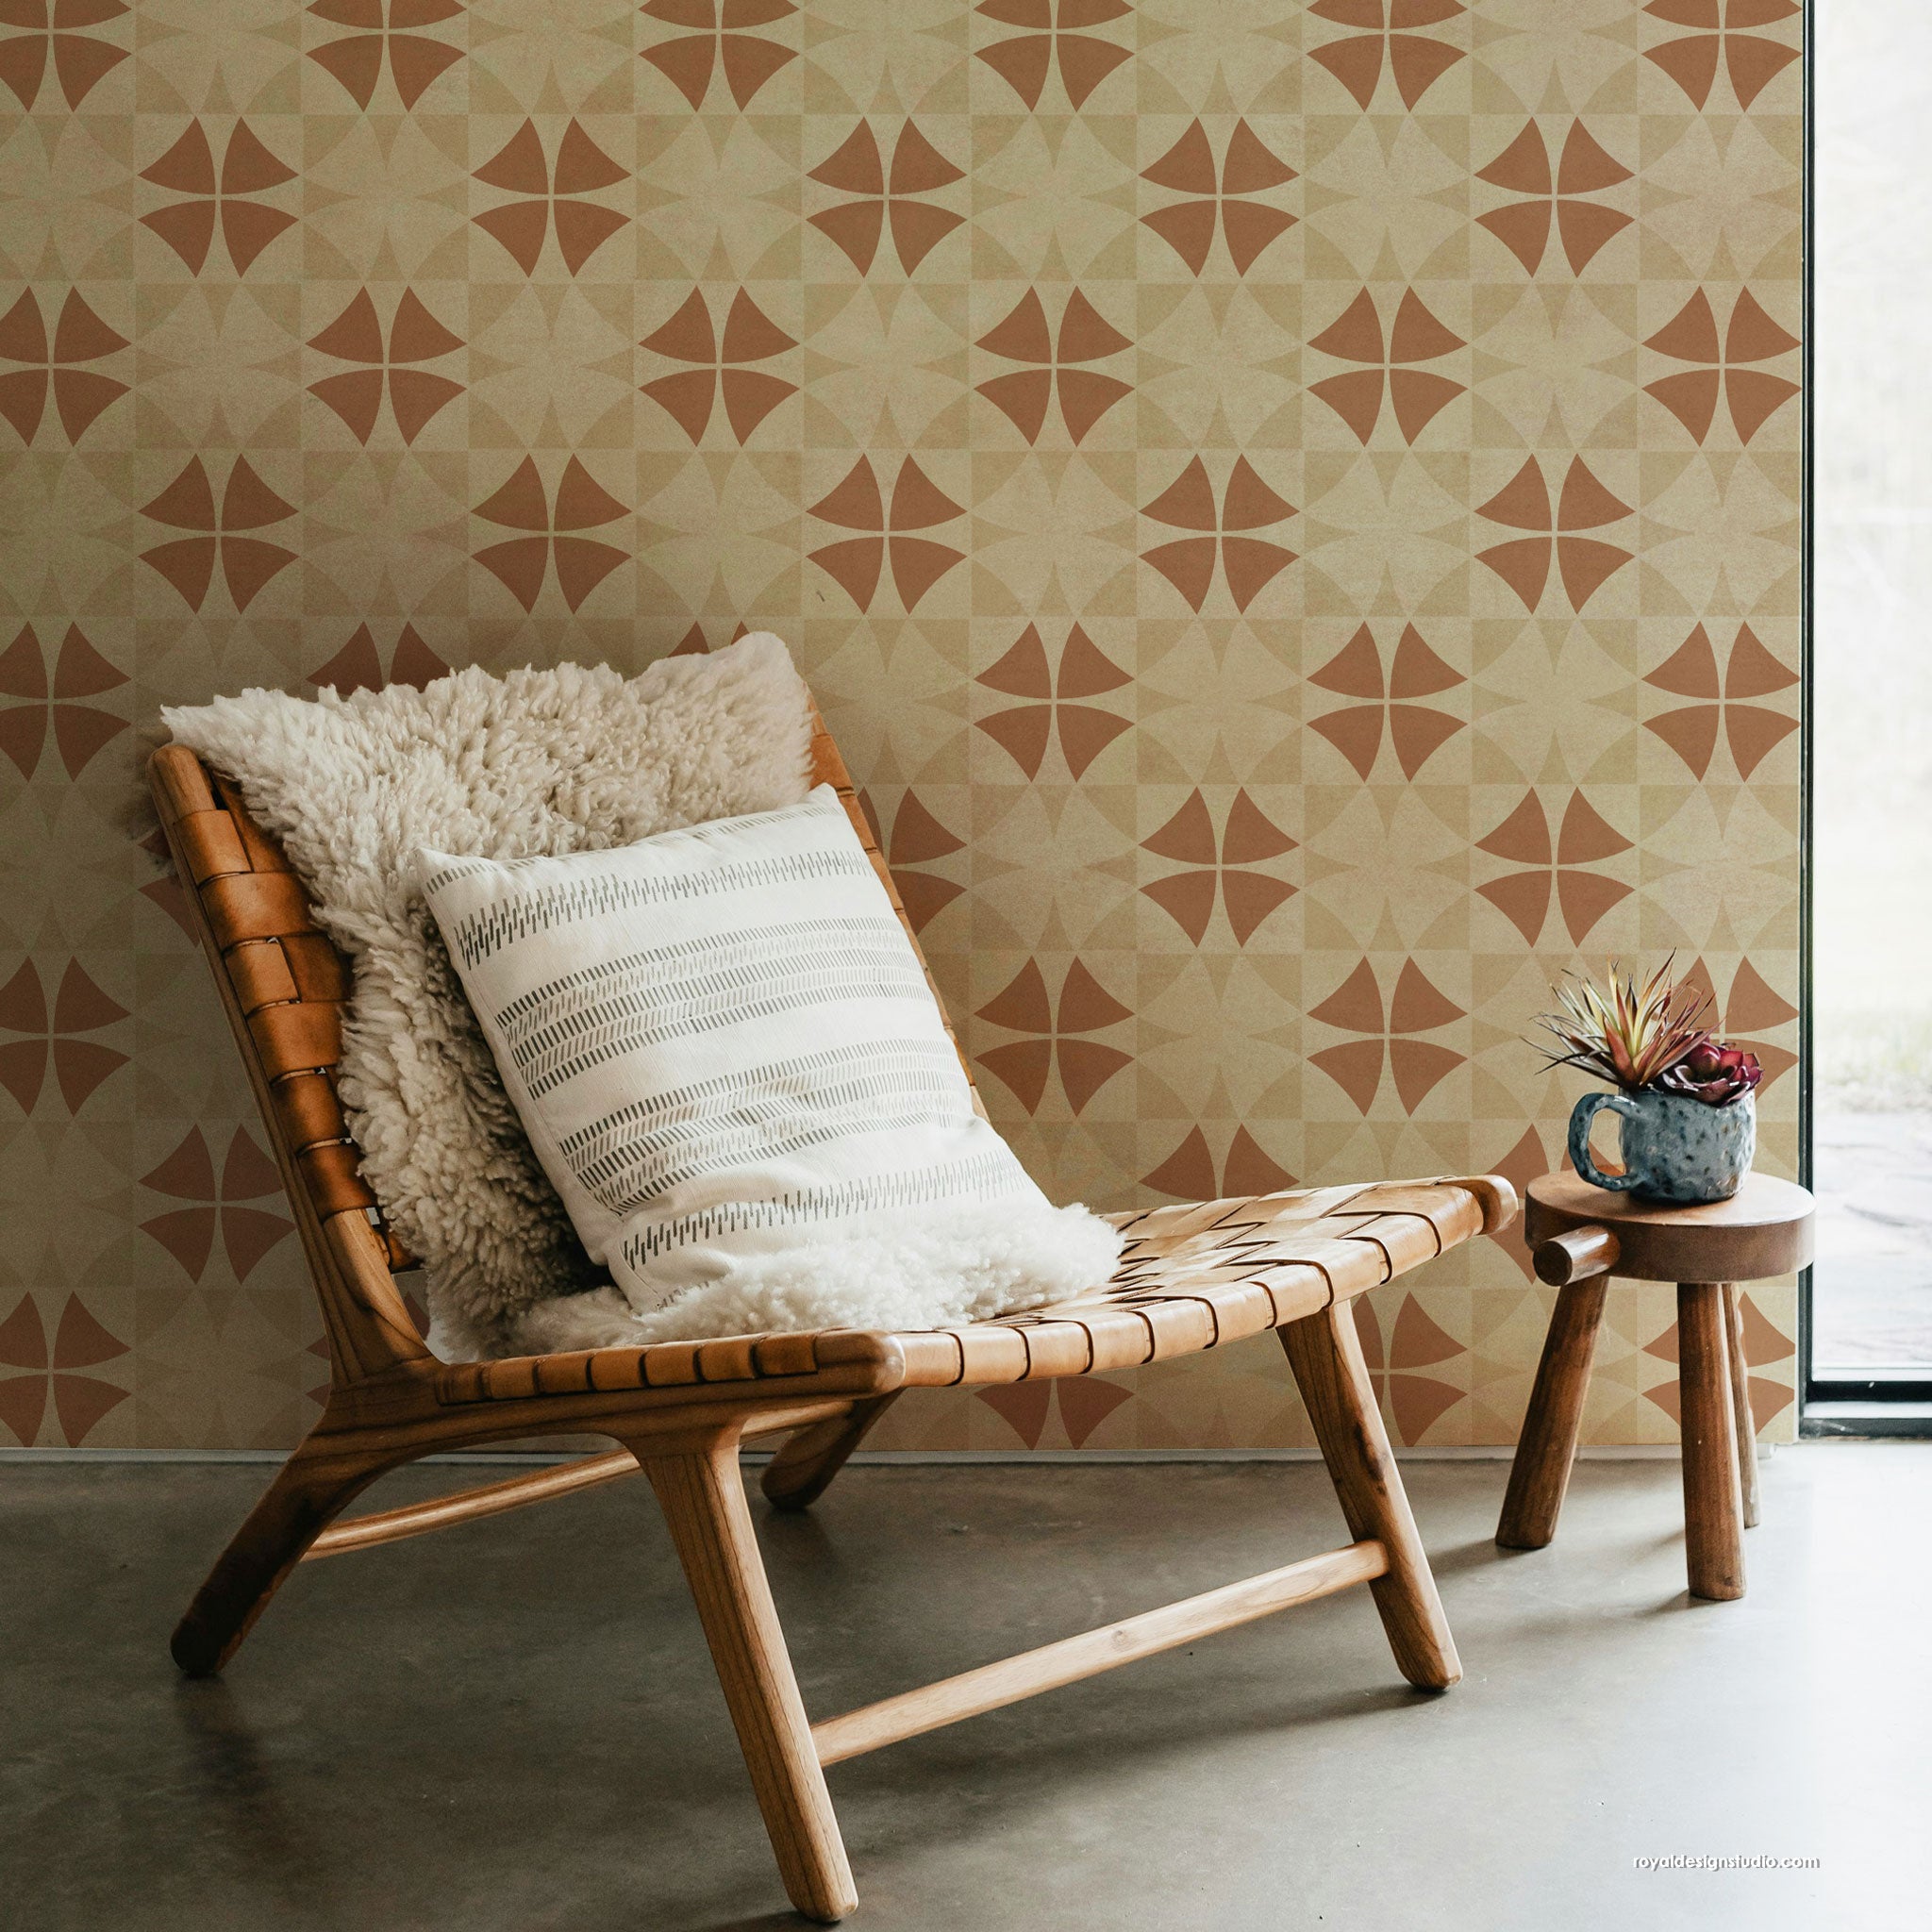
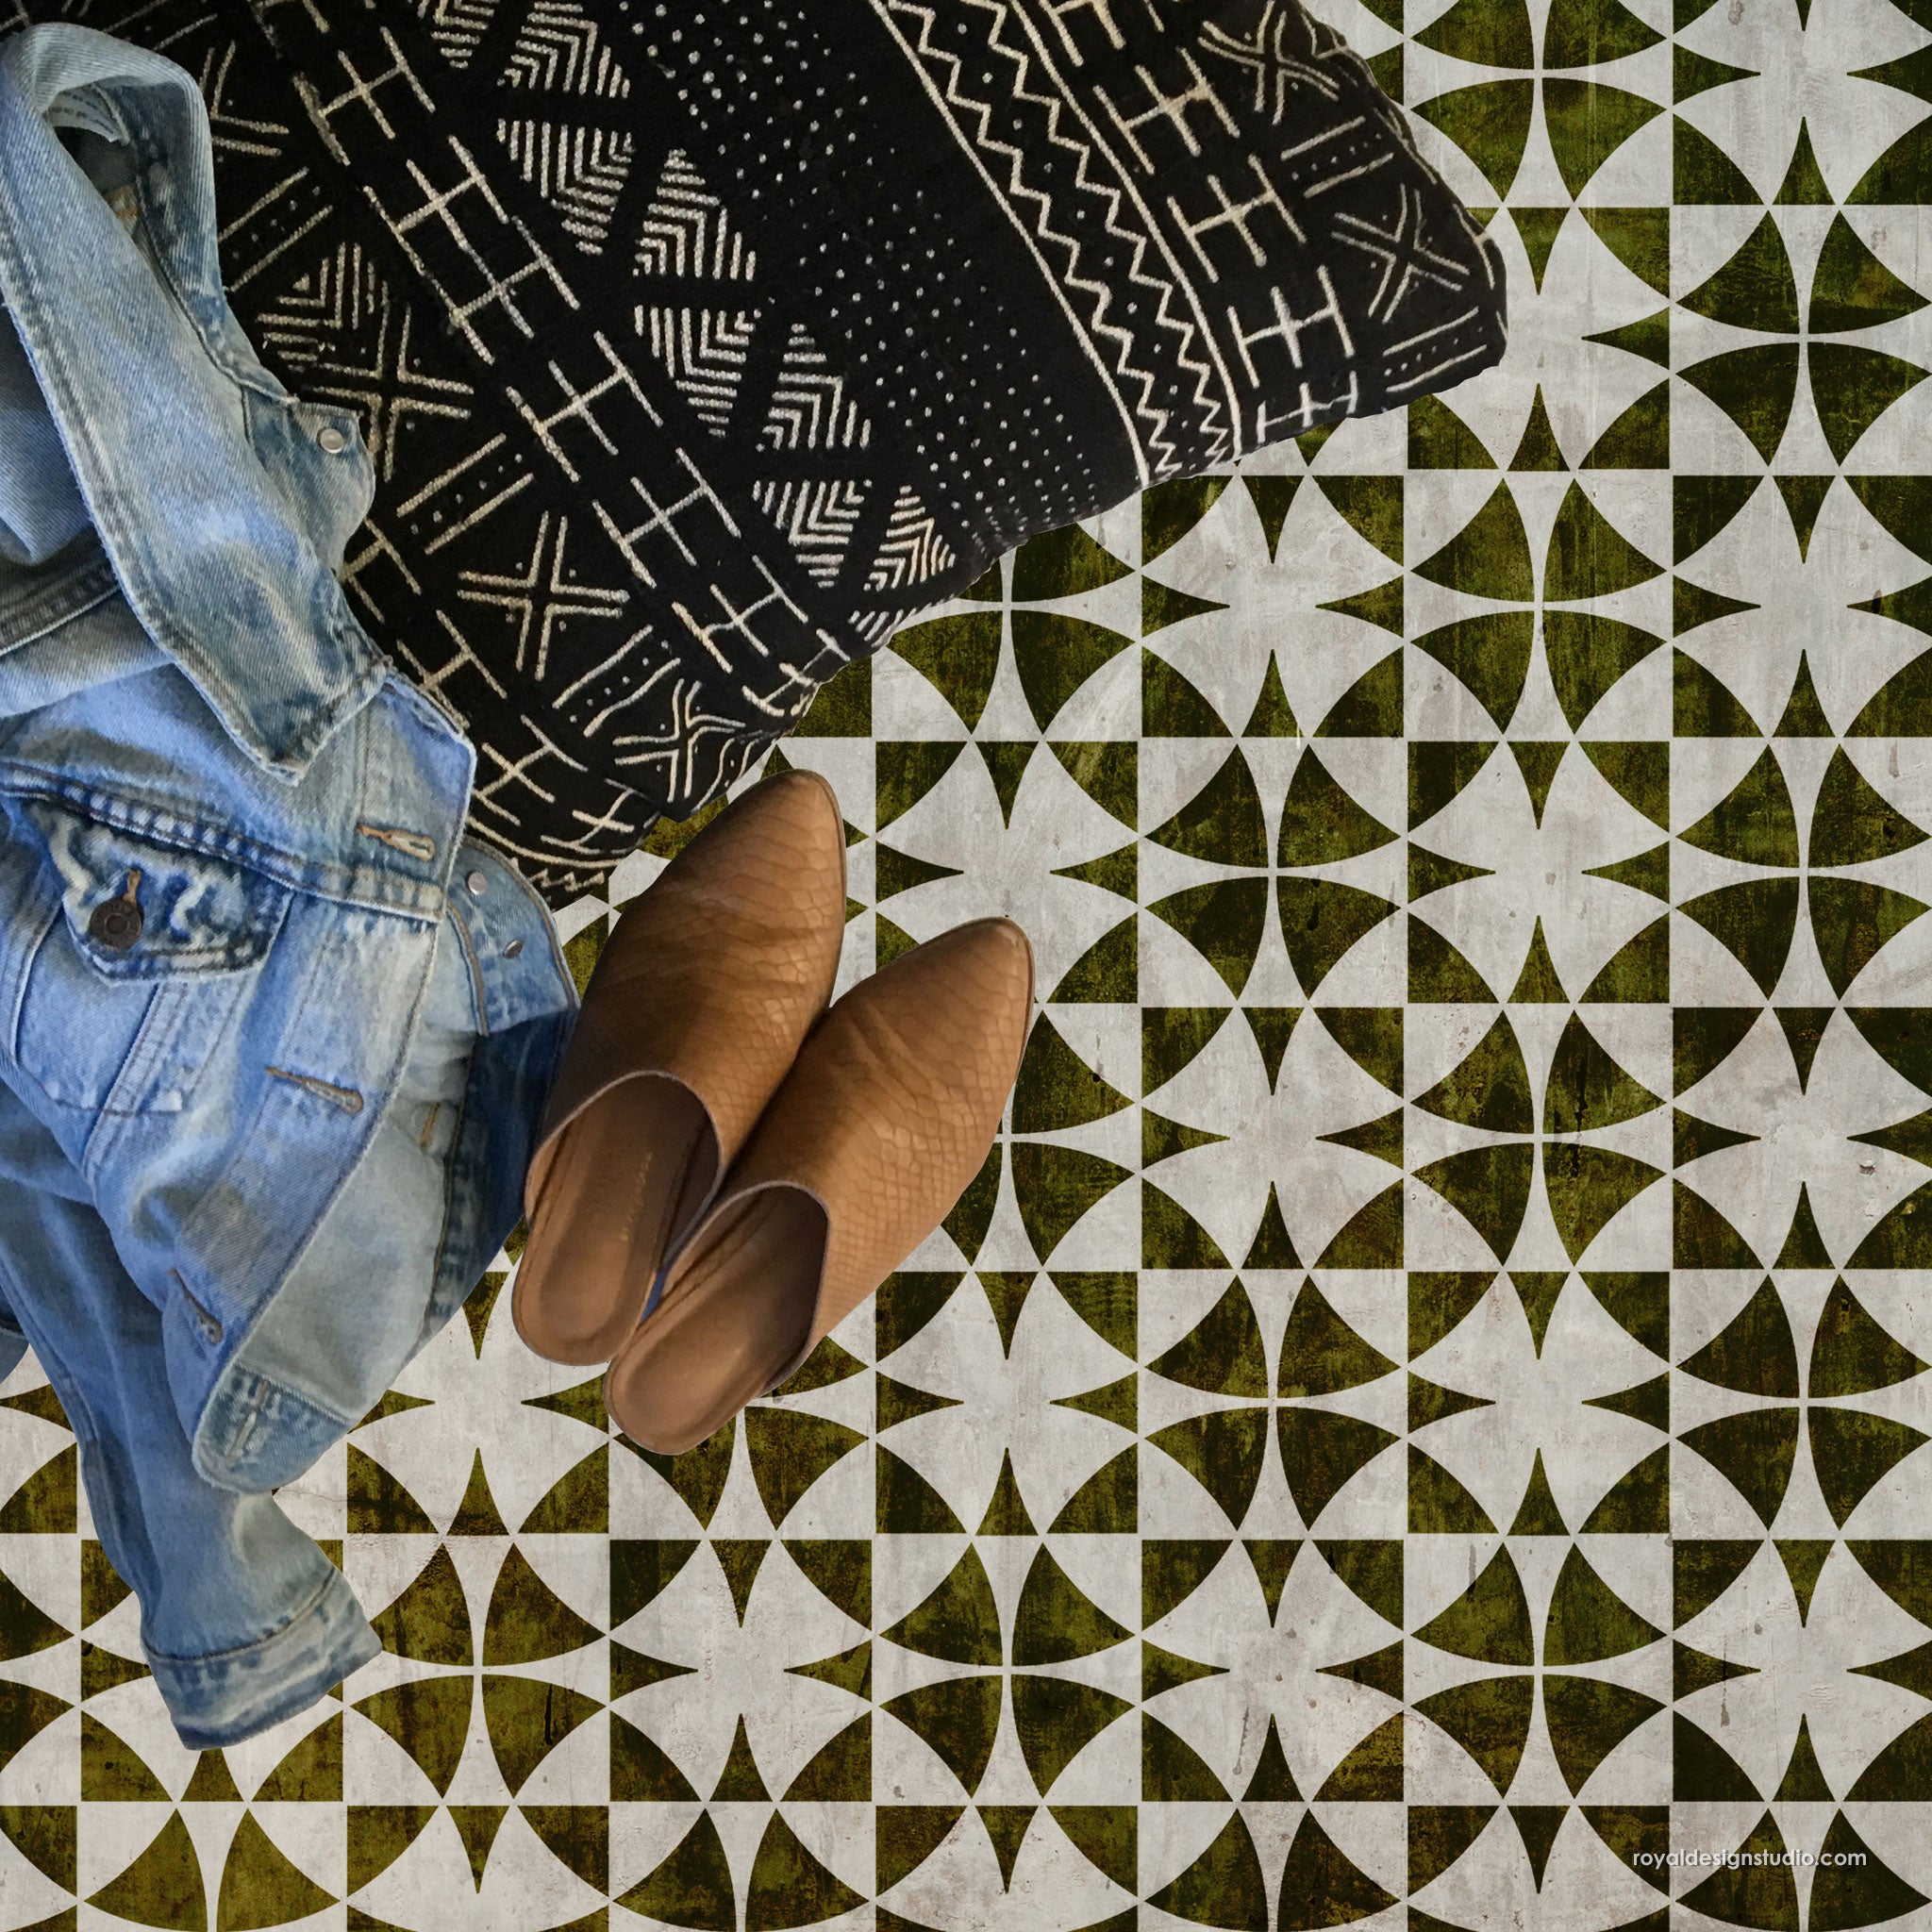
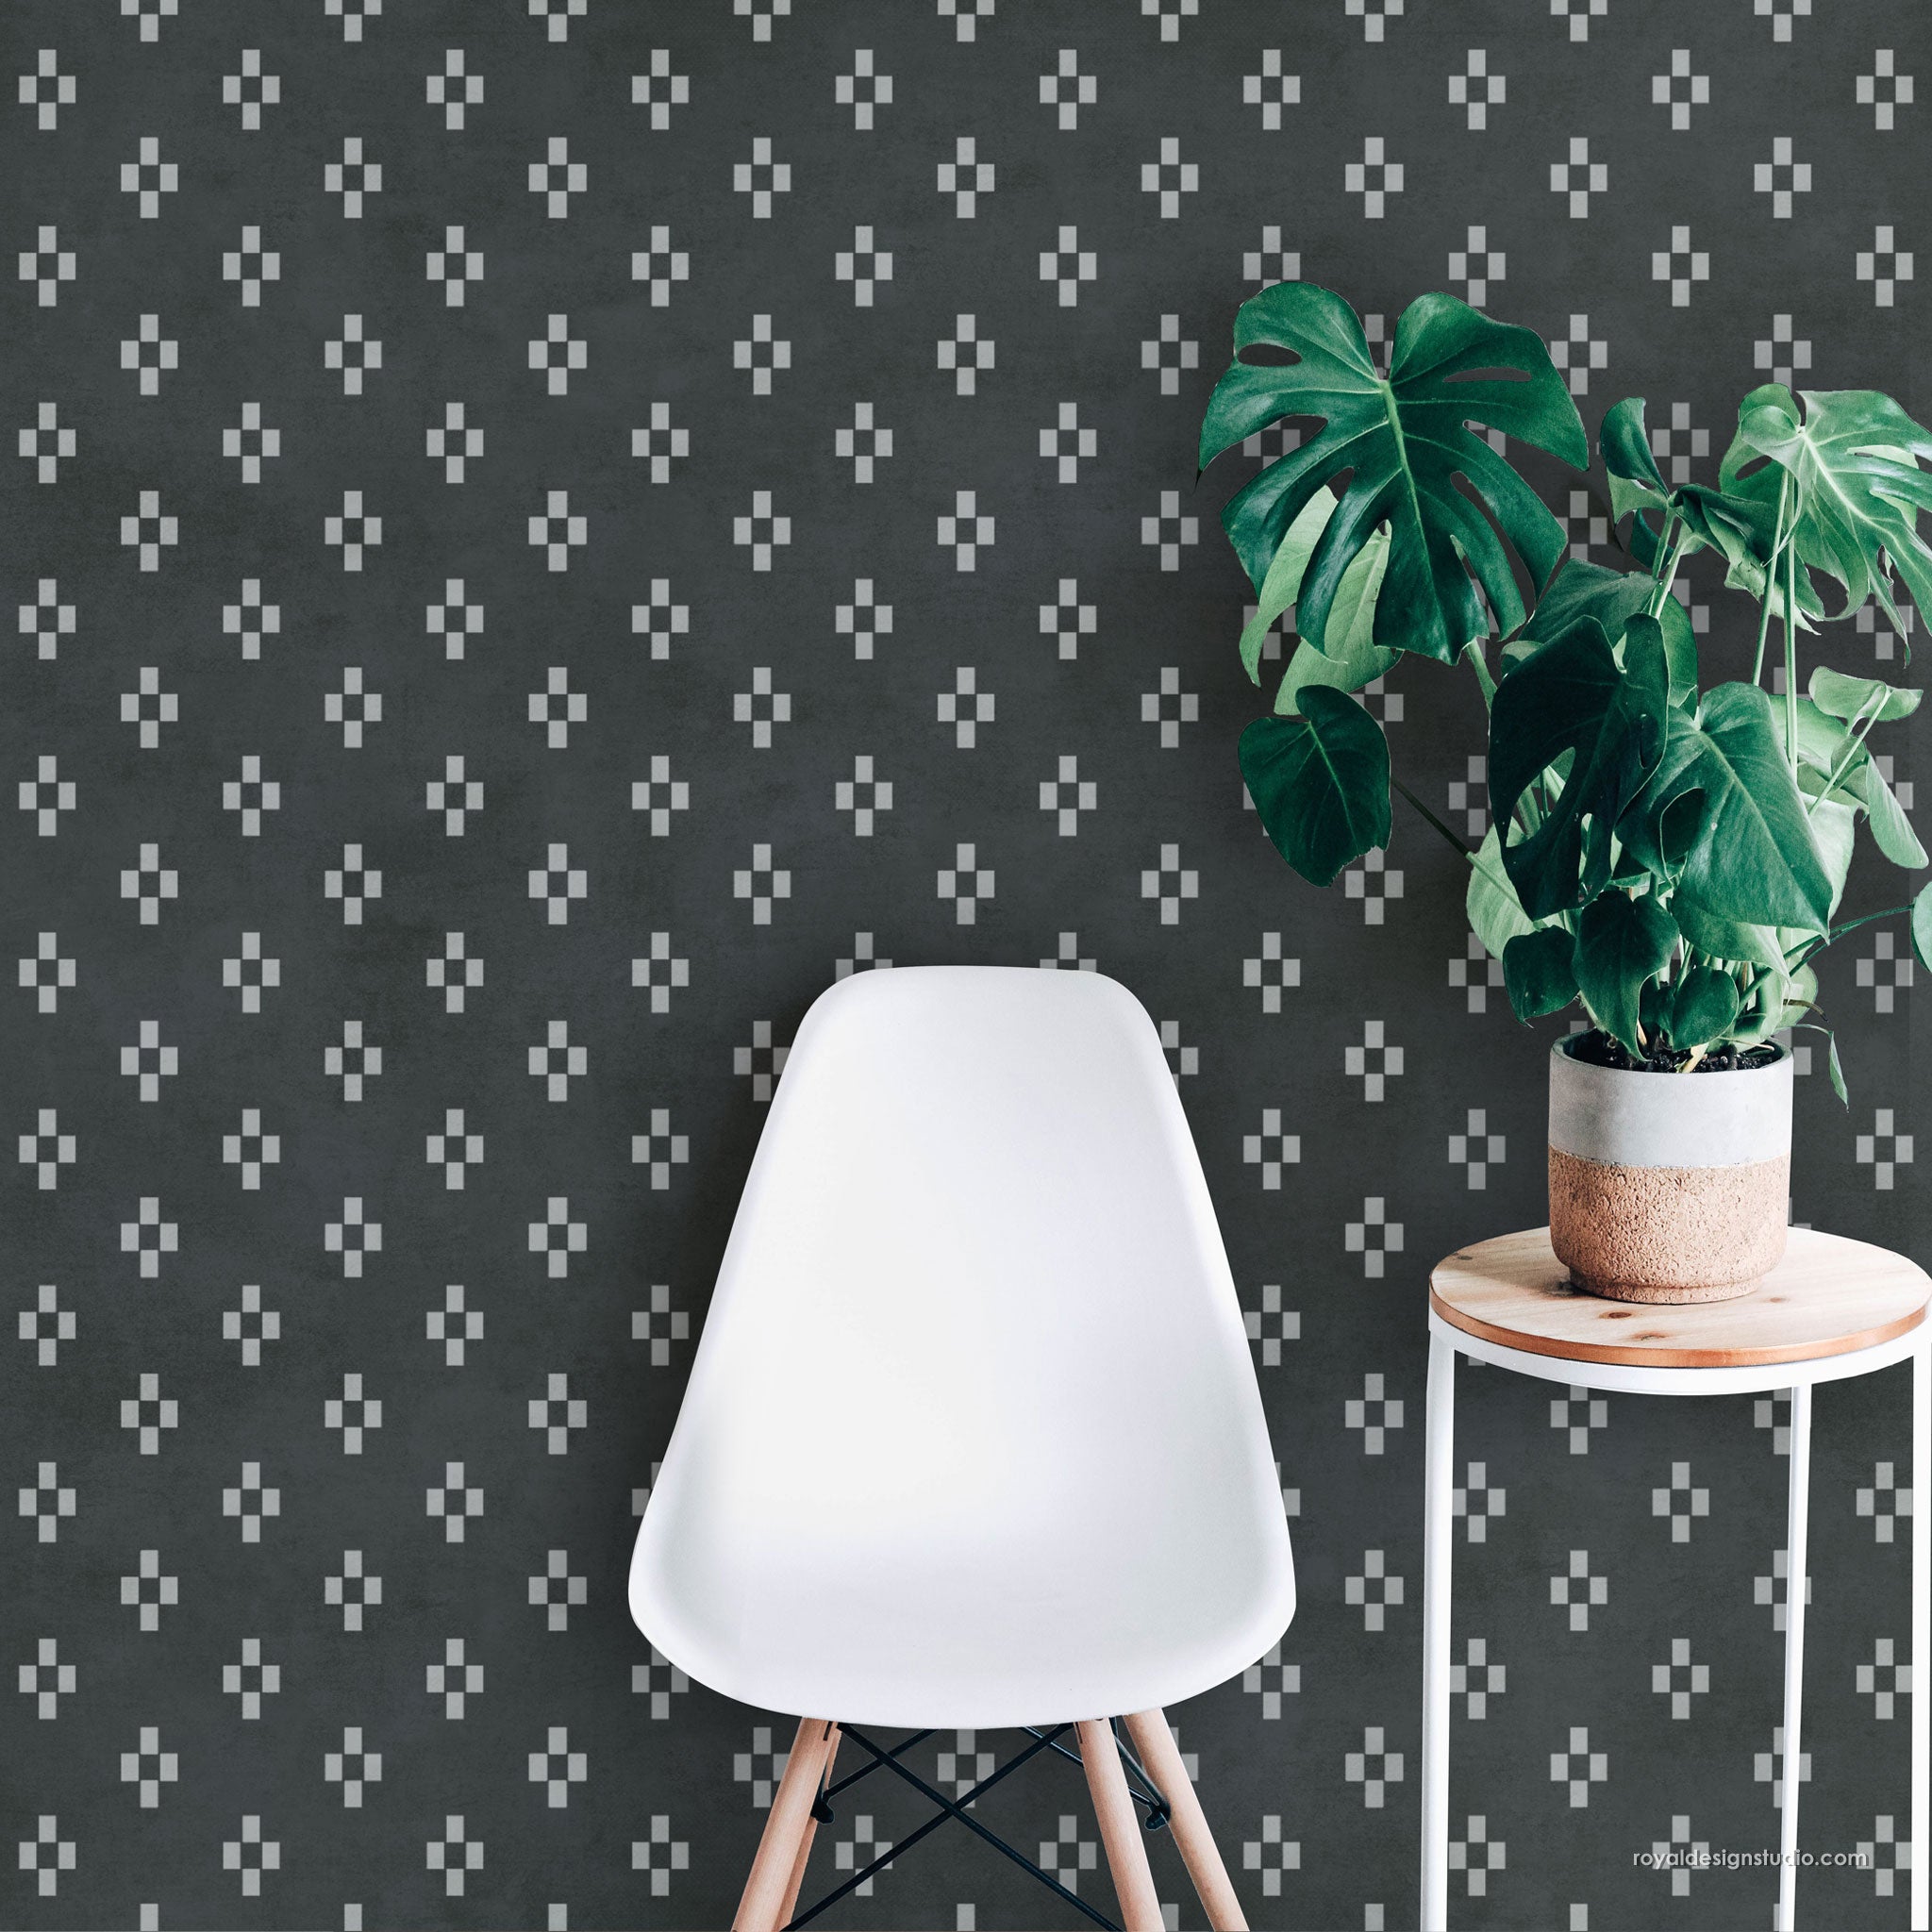
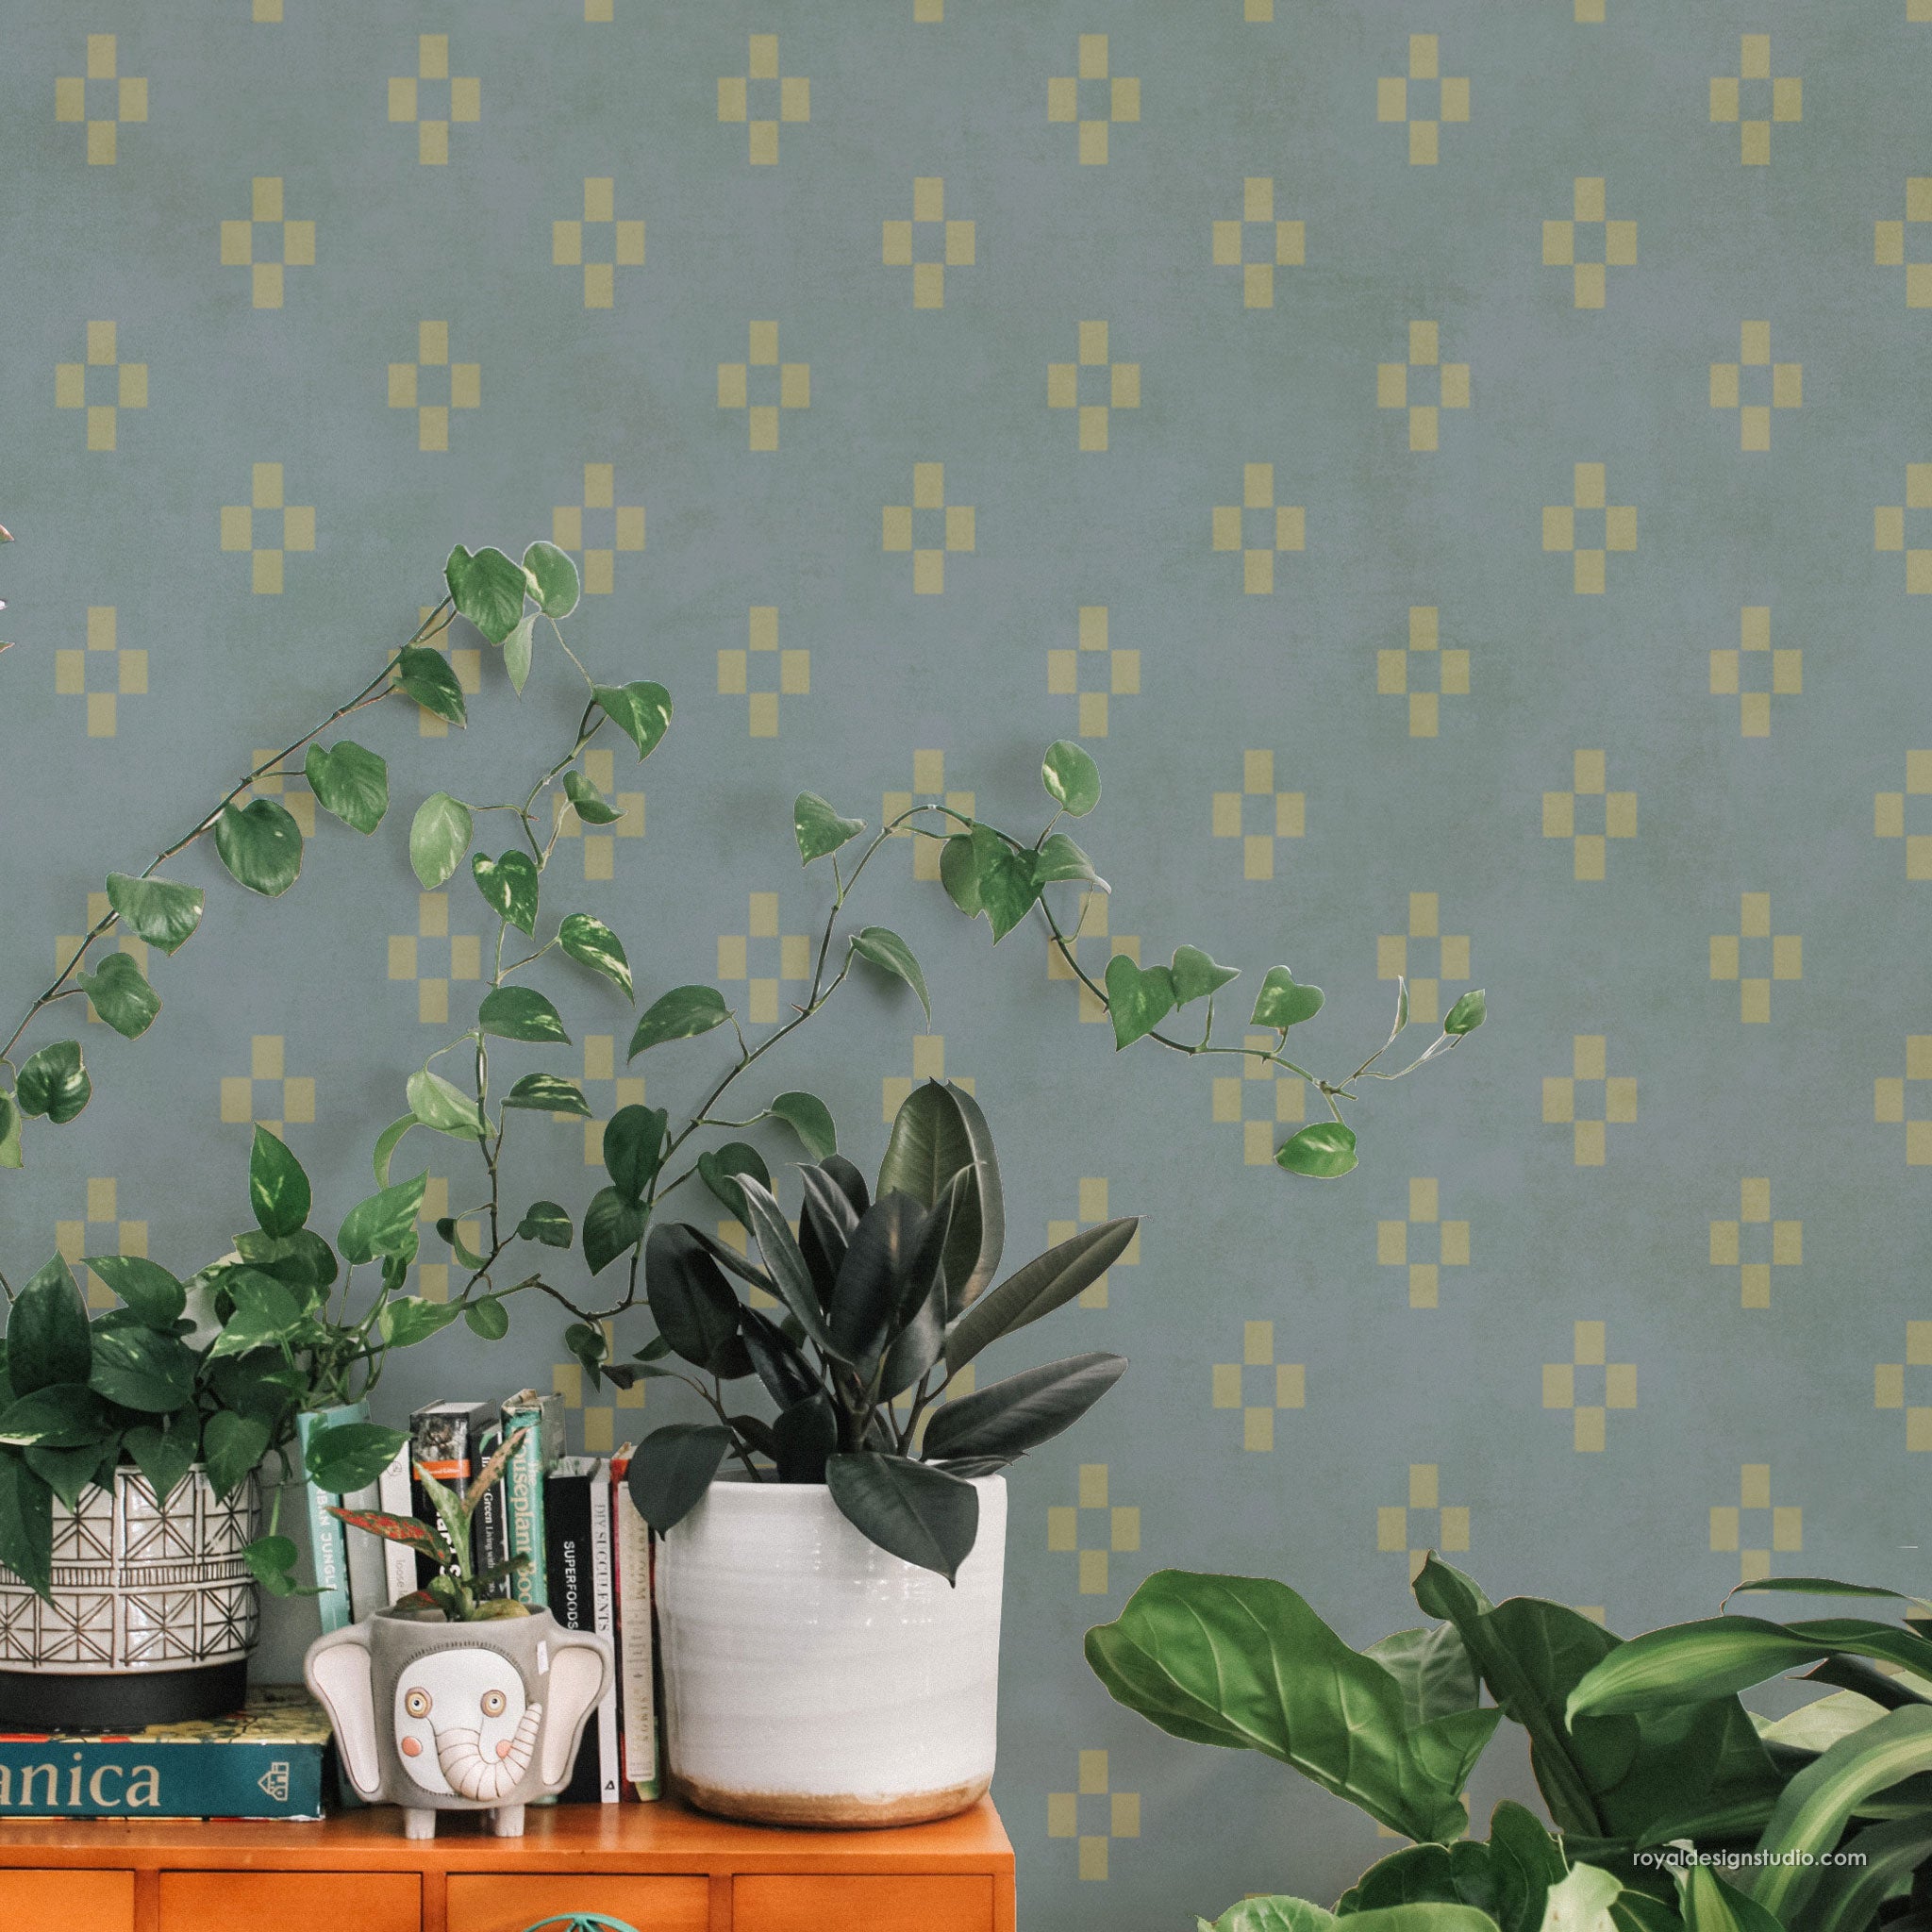
A home is only as strong as its foundation! A room makeover should be from the ground up, and too many times we see the floor neglected and forgotten because it’s too difficult to renovate and too expensive to call a professional. There’s a solution, and it’s fast and easy and affordable! Use Royal Design Studio Floor Stencils and Tile Stencils to directly paint over your worn, torn, or just plain ugly floors. You can paint and stencil designs onto concrete floors, ceramic tile floors, linoleum floors, and more! Watch and learn how below:
Supplies:
- Palladium Tile Stencil from Royal Design Studio Stencils
- Primer for painting floors
- Floor paint in your favorite color(s)
- Royal Stencil Brush
- Paint tray, paper towels, painter’s tape, paint roller
- Water-based polyurethane sealant
Prep: Clean your bathroom floor. Use painter’s tape to protect baseboards, cabinets, etc. Prep by painting the entire floor with primer and a paint roller. Let dry. Paint the entire floor with your base coat of floor paint if you want some other color than the white primer. Let dry.
Step 1: Secure the floor tile stencil with painter’s tape onto your floor.
Step 2: Load a stencil brush with floor paint Offload the excess paint from the brush onto a paper towel. This will disperse the paint evenly on the stencil brush as well as make sure you are using minimal paint. Using minimal paint is essential to preventing bleed under the stencil. Stencil the tile stencil design using light to medium pressure and a circular motion.
Step 3: Remove the tile floor stencil and reposition it using the registration marks that are built right into the stencil. Continue stenciling the next repeat and repositioning the tile stencil up, down, and around the first repeat you stenciled until you have stenciled your entire floor. Let dryl.
Step 4: Apply 1 or 2 coats of water-based polyurethane sealant with a paint roller to seal the painted floor. Let dry.


![Best Idea! [VIDEO Tutorial] How to Paint Your Tile Floor with Painting Stencils from Royal Design Studio Stencils - Tile Stencils, Floor Stencils, Custom Floor Designs, Painted Tile Pattern, Bathroom Floor Stenciling, DIY Home Decor Project](http://cdn.shopify.com/s/files/1/0094/1122/files/Untitled.png?v=1588285046)
![Best Idea! [VIDEO Tutorial] How to Paint Your Tile Floor with Painting Stencils from Royal Design Studio Stencils - Tile Stencils, Floor Stencils, Custom Floor Designs, Painted Tile Pattern, Bathroom Floor Stenciling, DIY Home Decor Project](http://cdn.shopify.com/s/files/1/0094/1122/files/IMG_0773_e_1.jpg?v=1588285269)
![Best Idea! [VIDEO Tutorial] How to Paint Your Tile Floor with Painting Stencils from Royal Design Studio Stencils - Tile Stencils, Floor Stencils, Custom Floor Designs, Painted Tile Pattern, Bathroom Floor Stenciling, DIY Home Decor Project](http://cdn.shopify.com/s/files/1/0094/1122/files/MG_8817-e_1_1.jpg?v=1588286087)
![Best Idea! [VIDEO Tutorial] How to Paint Your Tile Floor with Painting Stencils from Royal Design Studio Stencils - Tile Stencils, Floor Stencils, Custom Floor Designs, Painted Tile Pattern, Bathroom Floor Stenciling, DIY Home Decor Project](http://cdn.shopify.com/s/files/1/0094/1122/files/MG_8848-E_1.jpg?v=1588285985)
![Best Idea! [VIDEO Tutorial] How to Paint Your Tile Floor with Painting Stencils from Royal Design Studio Stencils - Tile Stencils, Floor Stencils, Custom Floor Designs, Painted Tile Pattern, Bathroom Floor Stenciling, DIY Home Decor Project](http://cdn.shopify.com/s/files/1/0094/1122/files/MG_8745_HR_1.jpg?v=1588285963)
