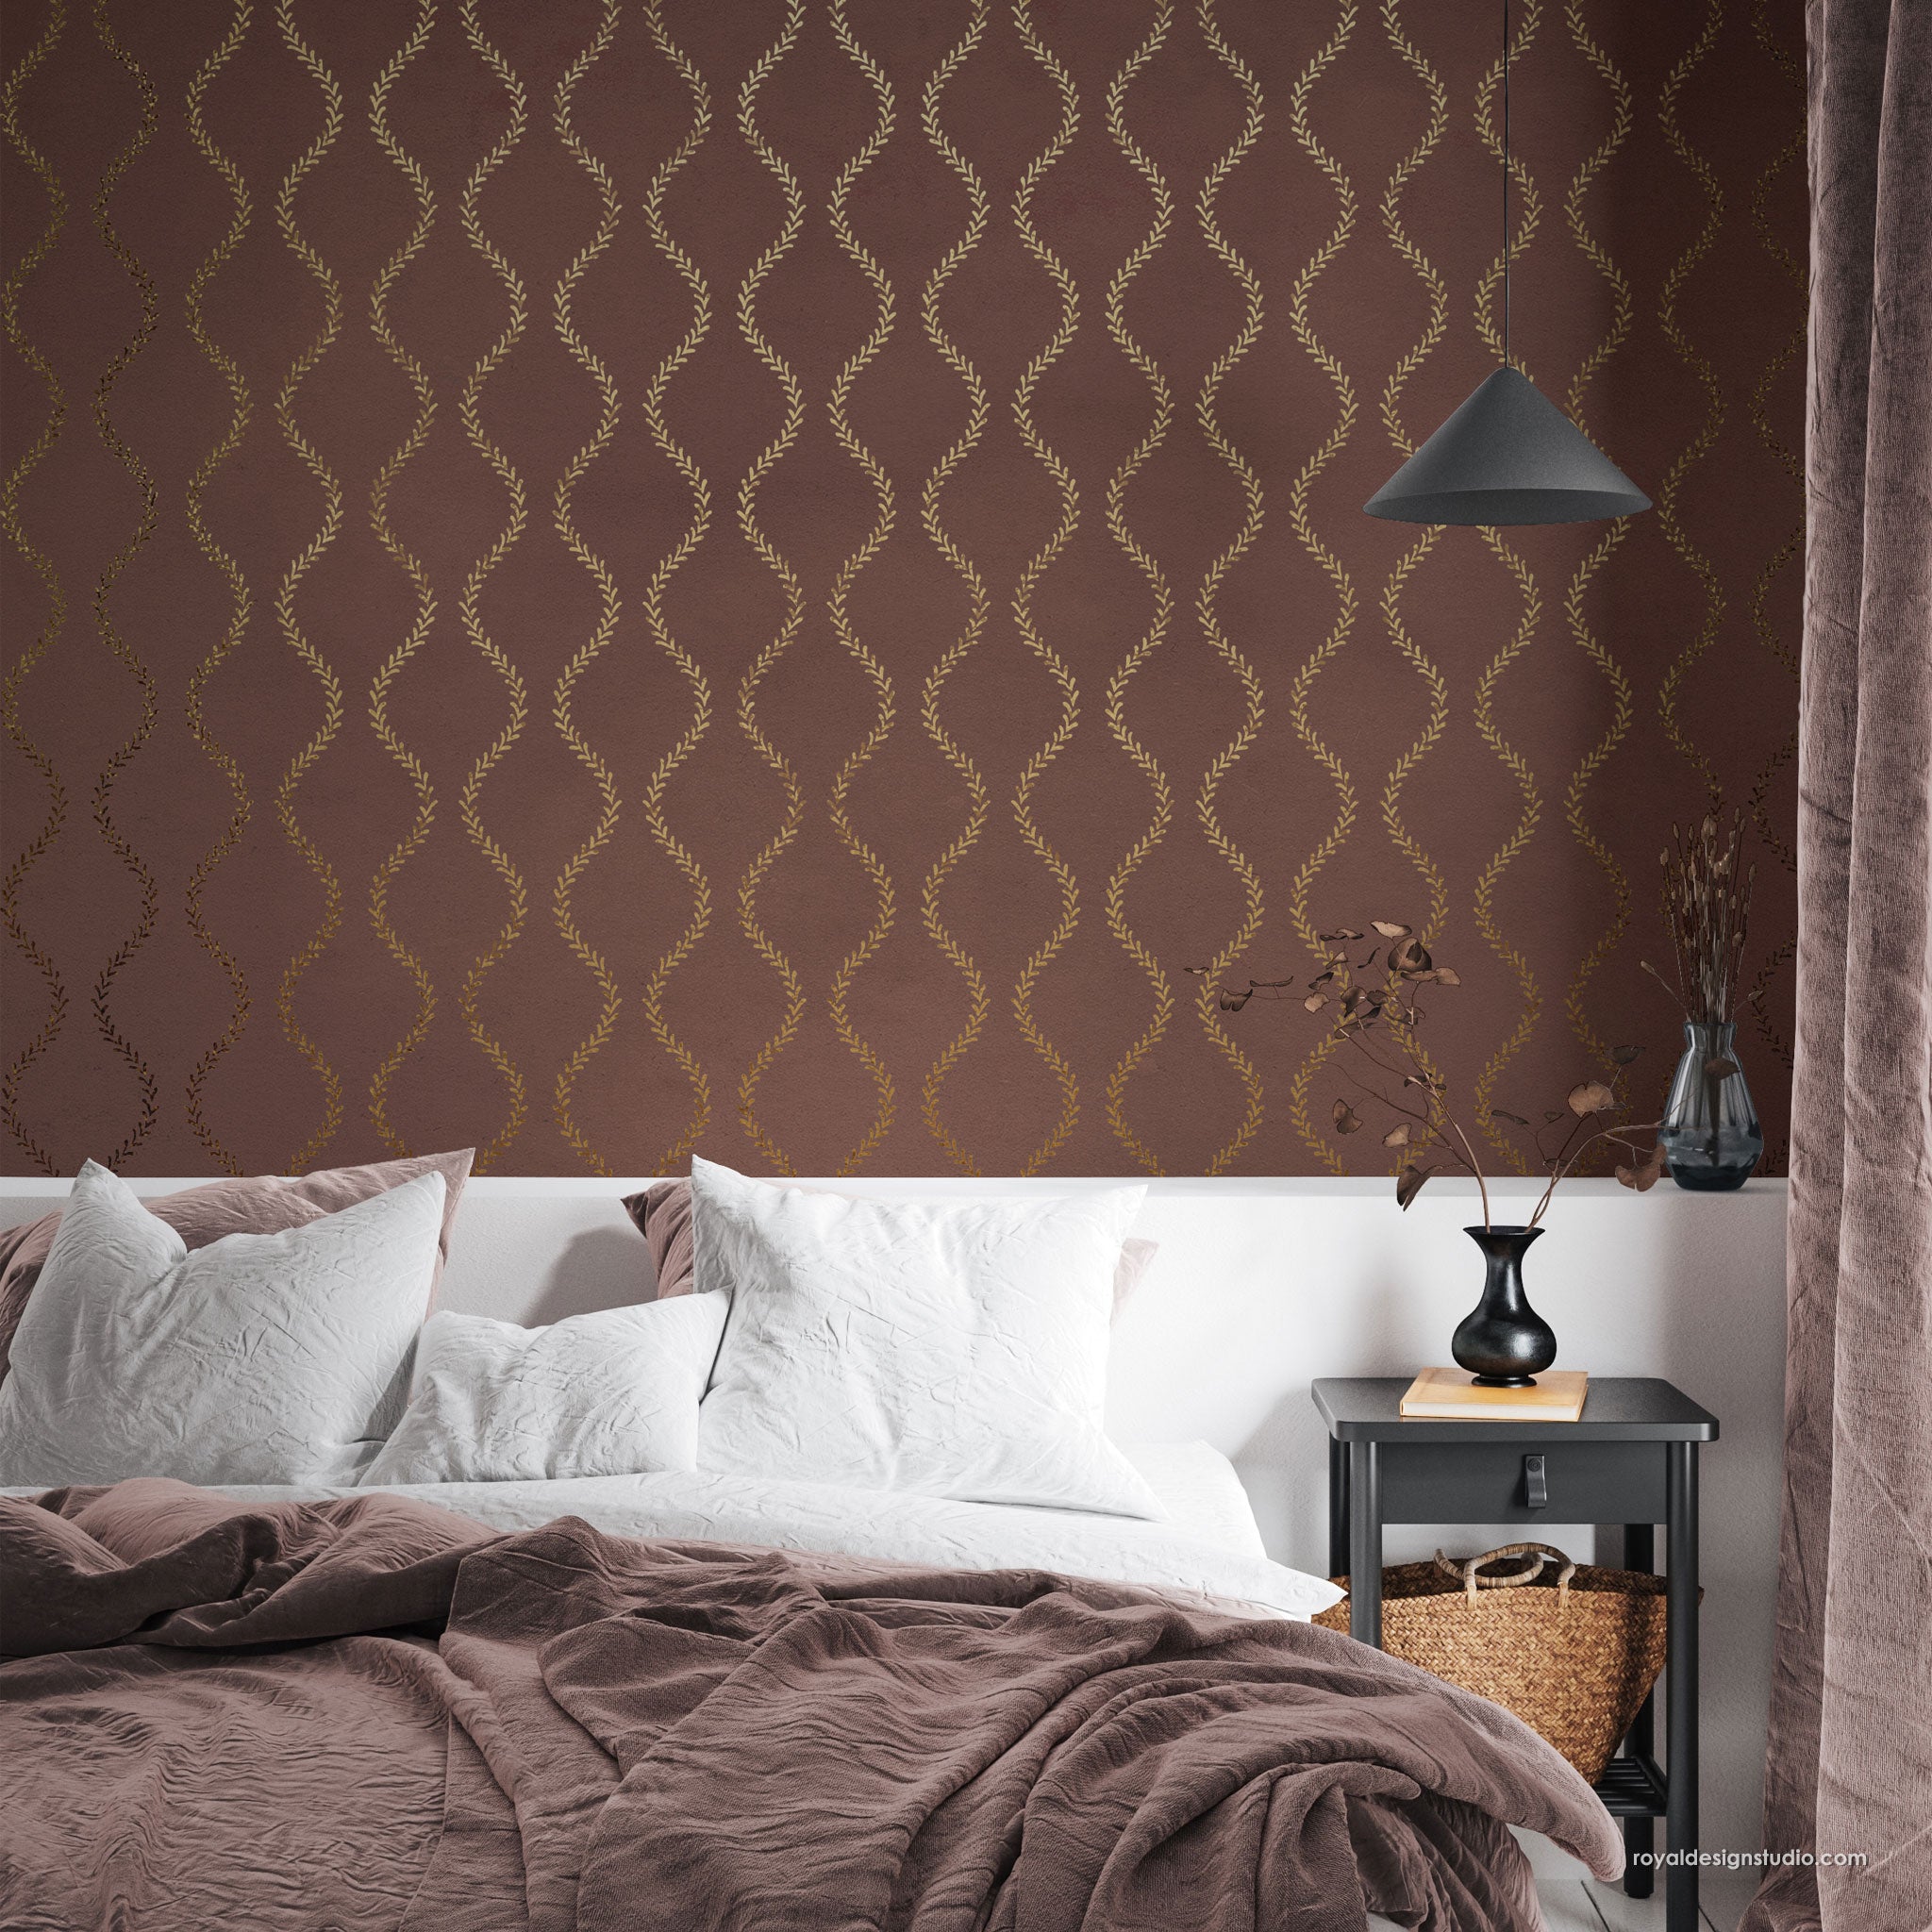
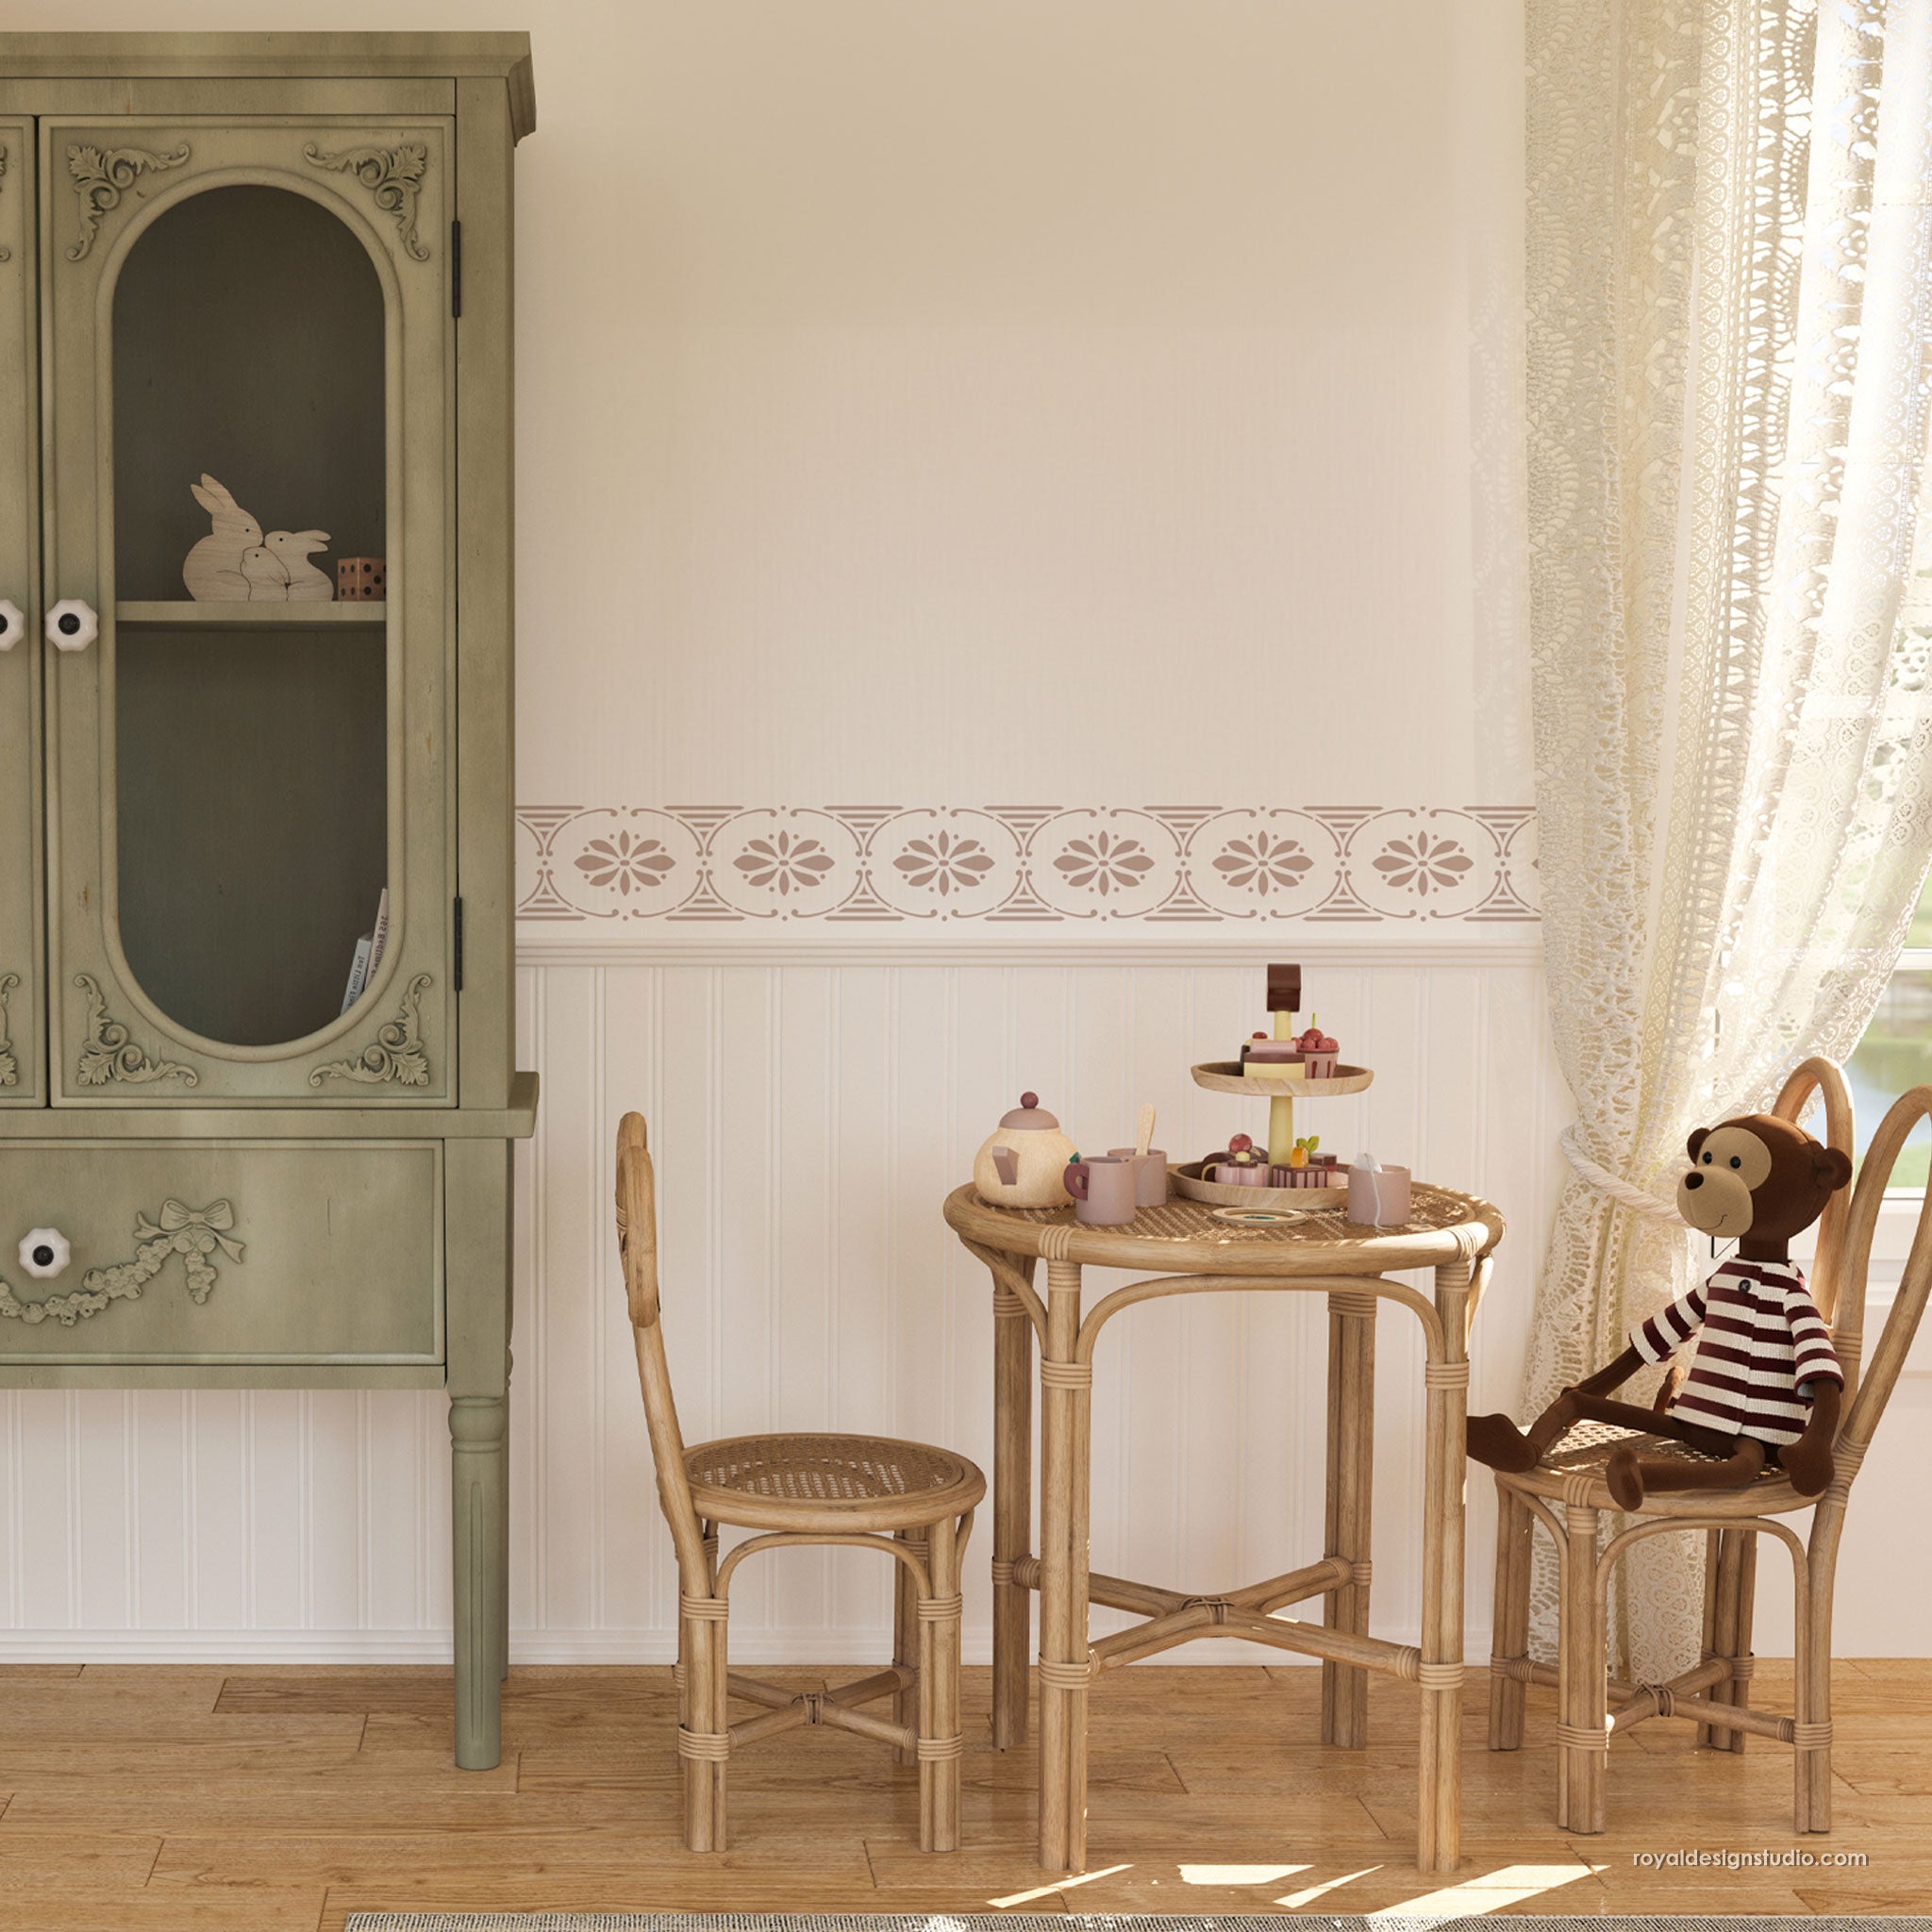
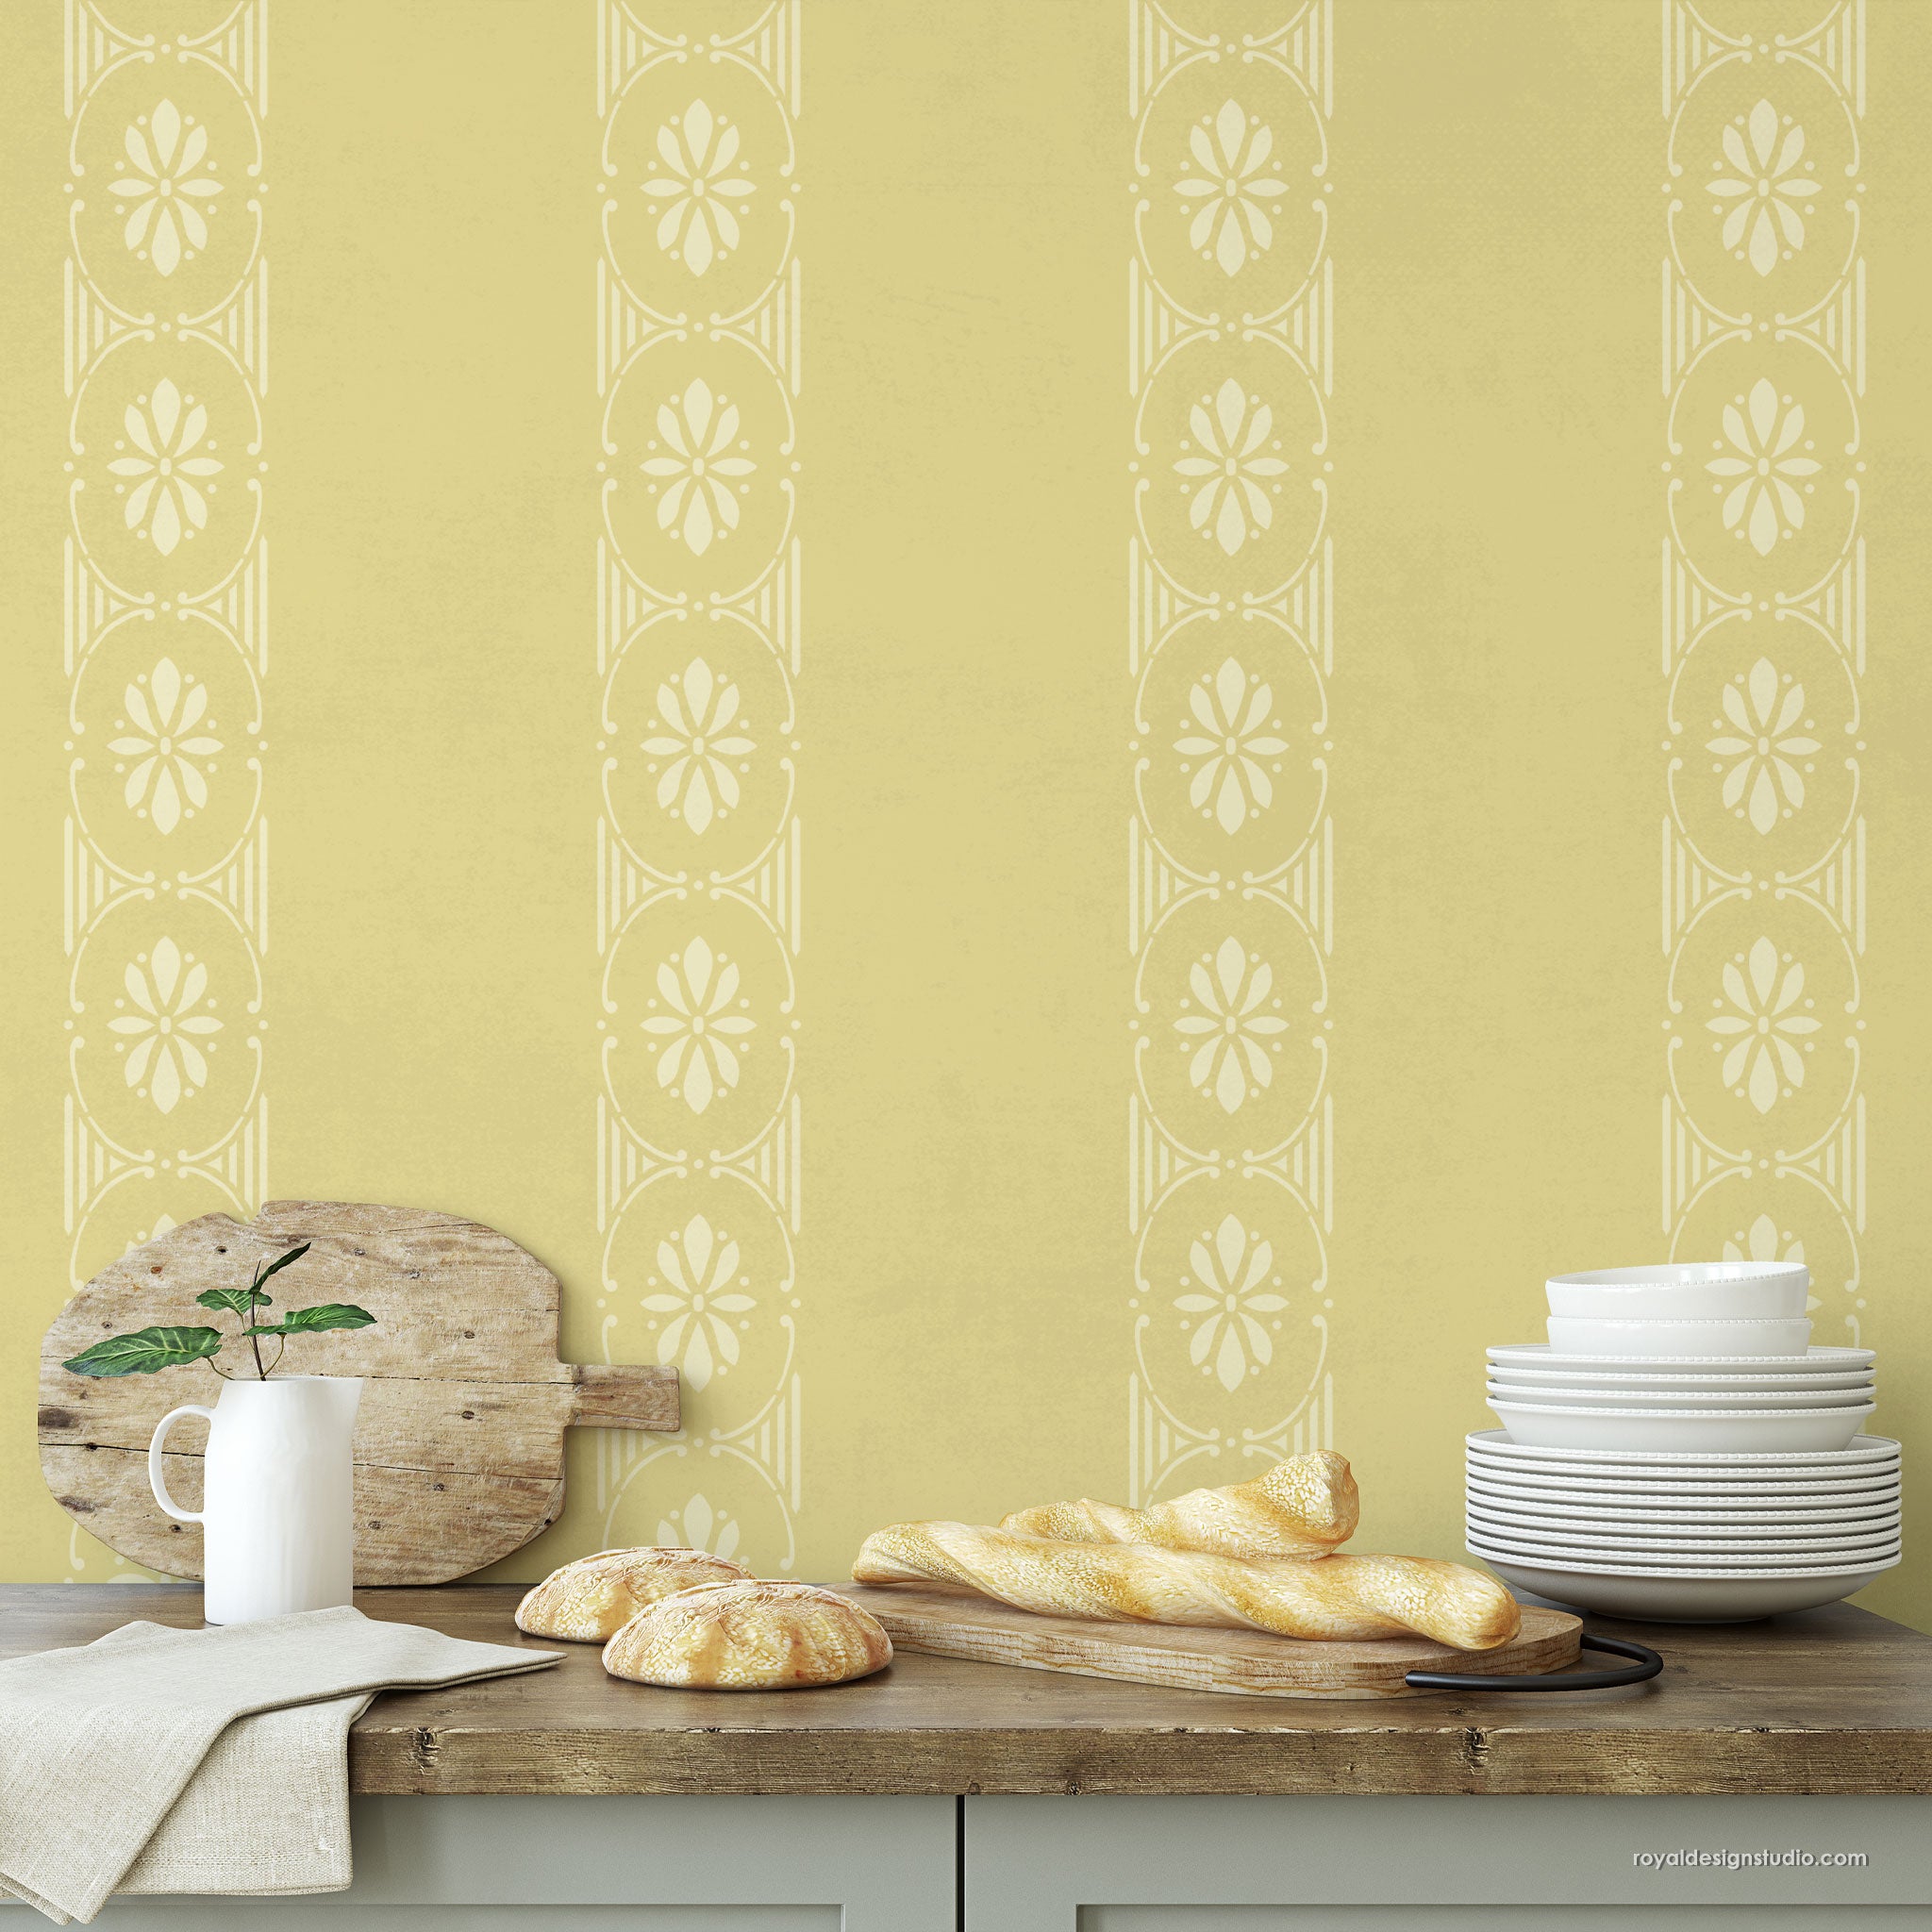
Use an allover damask stencil to create a custom, coppery wallpaper look. The beauty of stencils is that they allow for so many different design interpretation. Here we share how to create a stripe effect wall treatment with the addition of shimmery copper leaf.
Like all of our Royal Recipe Professional Finishes Stencil Tutorials, this finish is designed for the experienced DIYer or professional decorative artisan. This is not a "beginner" faux finish and a basic understanding of artisan finishing techniques is required.
Supplies:
- Royal Design Studio Stencils: Acanthus Damask Wall Stencils in Small, Large, or Production Sizes
- Modern Masters Metallic Paint: Brick, Copper, Gold Rush, English Brown, Extender
- Copper Leaf, Variegated Red Tamise Flakes, Wundasize
- Medium Oak Liberon Wax
- Tools: Assorted Stencil Brushes, Cheesecloth, Sea Sponge, Nylon Rollers, Dust Mask, Painter's Tape
Prep: Base coat surface with two coats of Modern Masters Brick Metallic Latex Paint. Let dry.
Step 1: Thin Copper paint with Extender (or similar latex glazing medium) at a ratio of 4 parts Extender to 1 part paint. Use a small nylon roller to apply to a workable area in a quick, cross-hatching manner, covering about 80% of your surface.
Step 2: Immediately roll over that area with Gold Rush that has been thinned at a ratio of 2 parts Extender to 1 part paint. Use the same cross-hatching motion, filling in areas previously untouched and going over some of the first color.
Step 3: Roll back in with the first color, Copper, to mix and blend the colors slightly. This technique is very easy to do in small, workable areas as you move around the room and provides a subtle color-play. Do not overload your rollers, however, with an excessive amount of paint. Let dry.
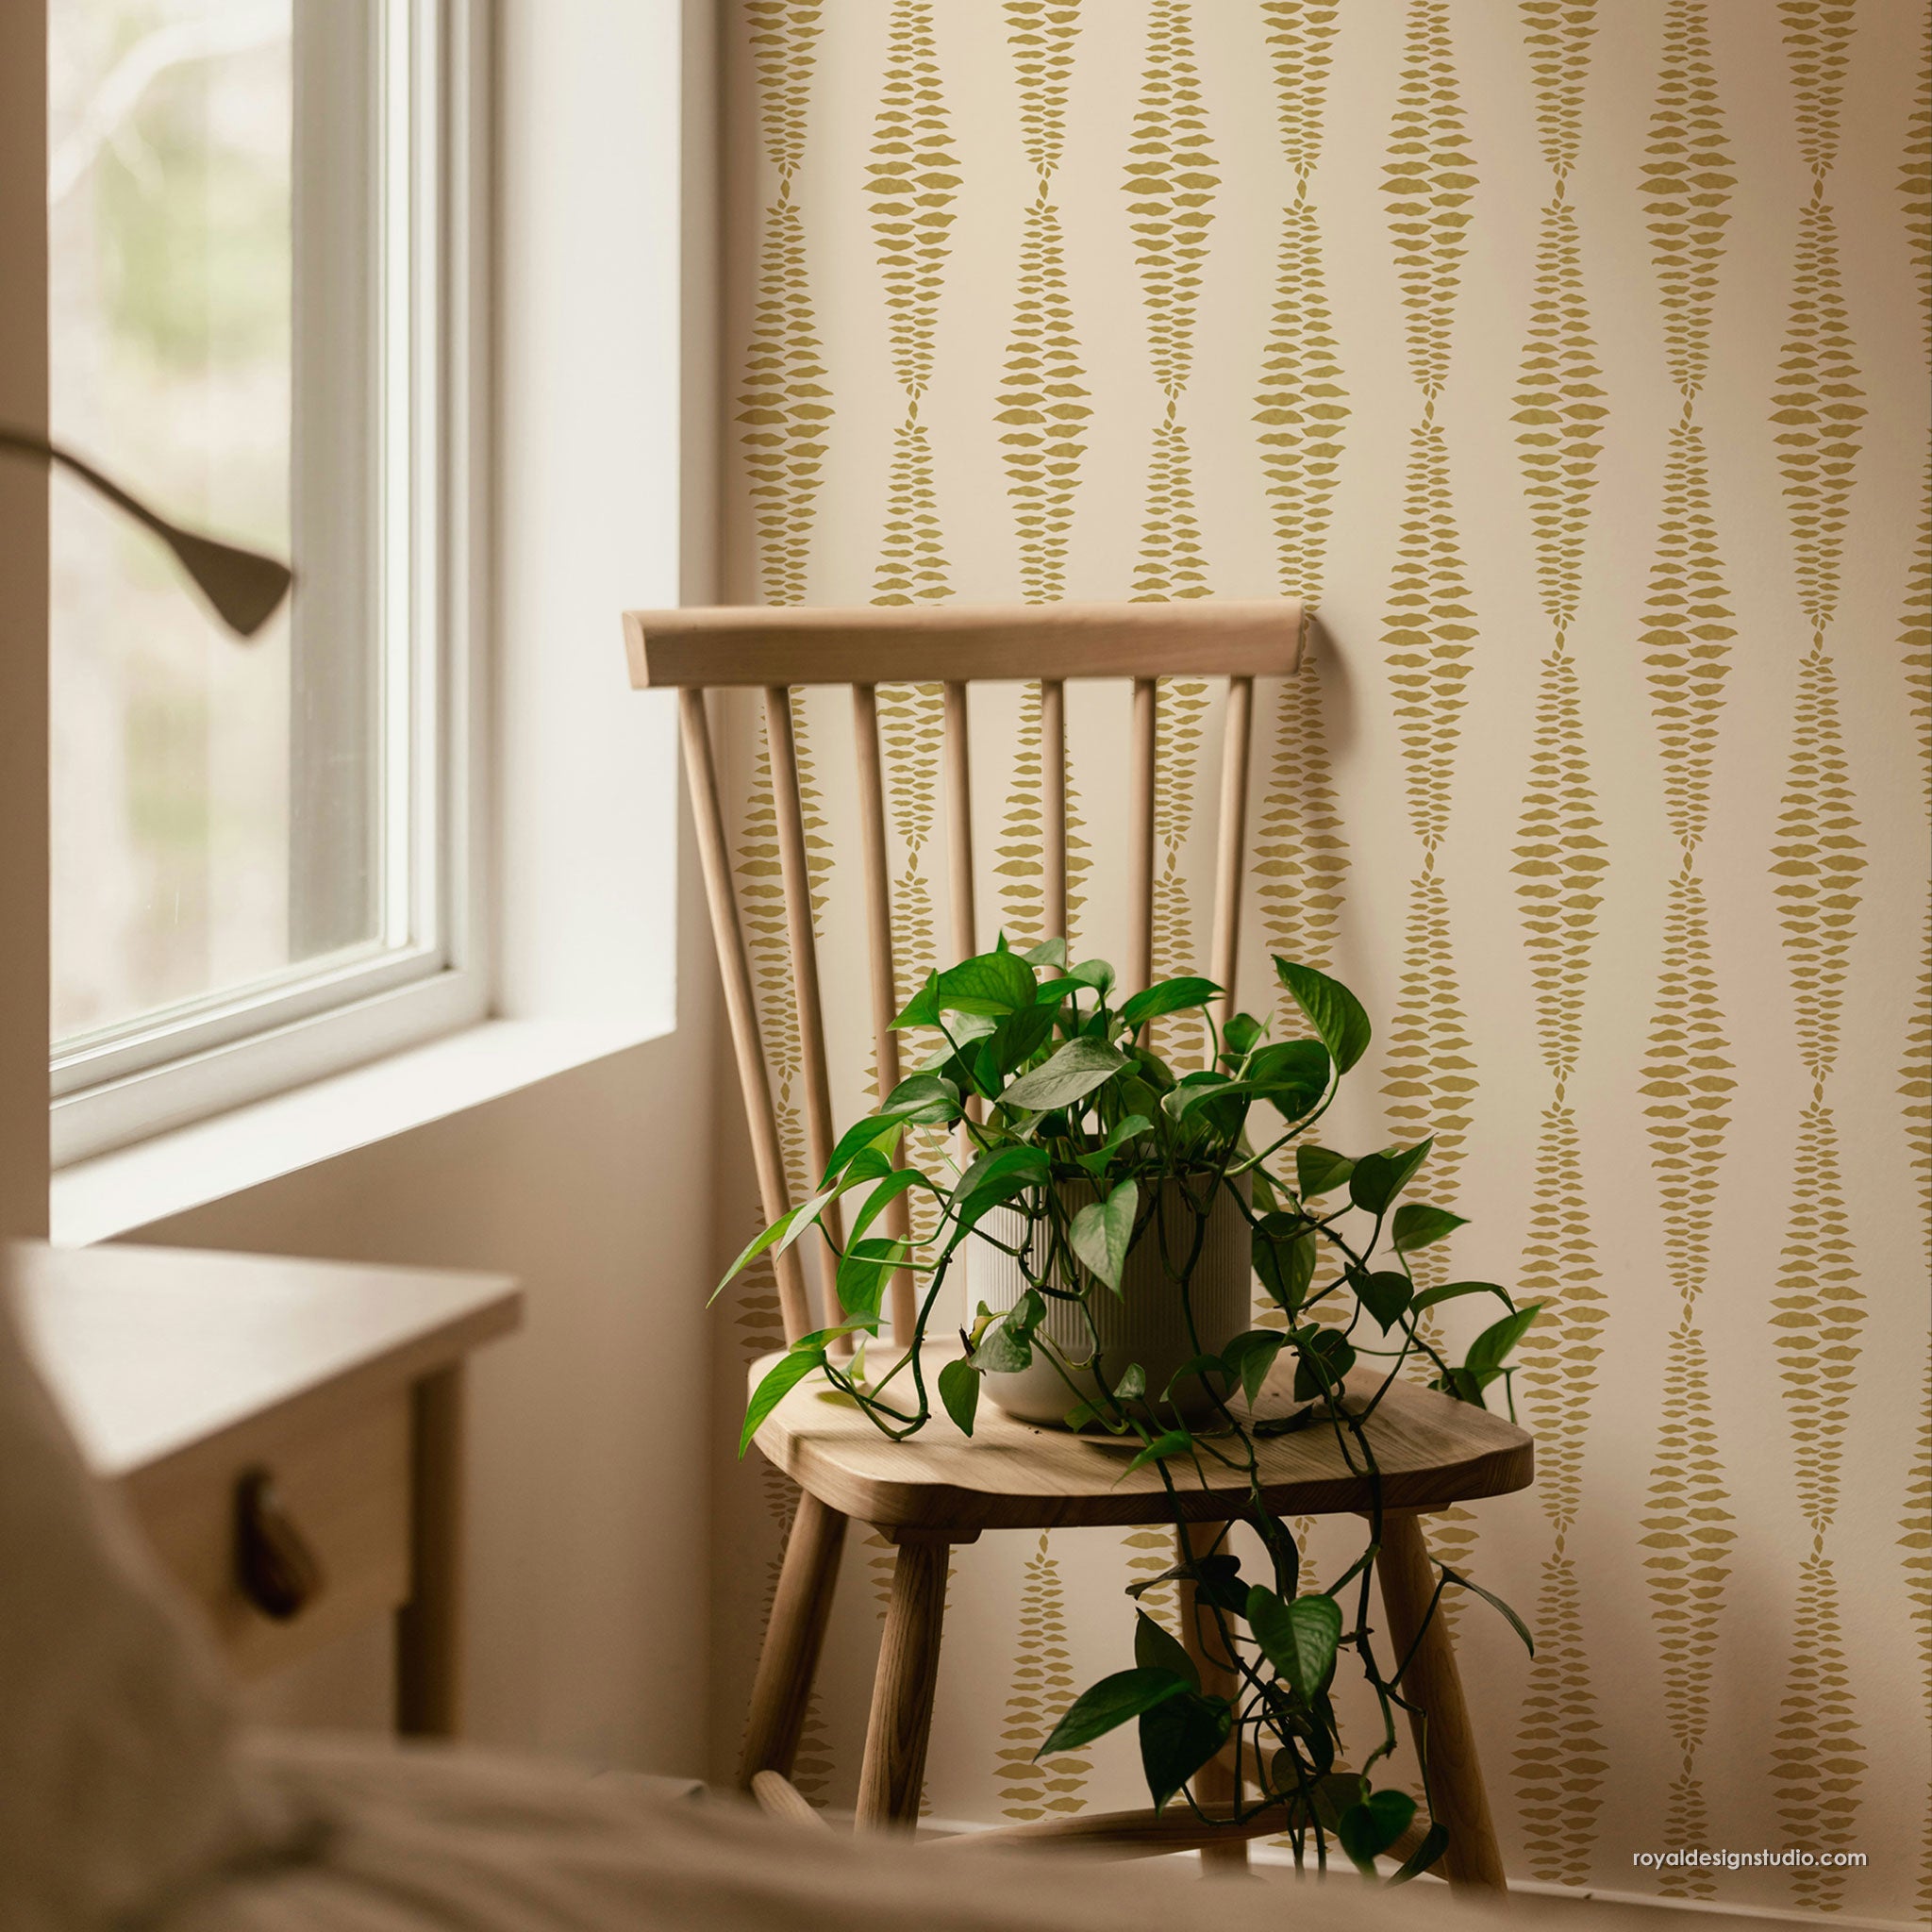
Step 4: The Small Acanthus Damask Stencil design is an allover pattern that is easy to use for creating vertical stripes. Here the stripes have been placed quite closely together but for a larger space they can be placed much wider apart. Generally, the width of the stripes is determined by the size of the room.
Step 5: Use either the single repeat or Production version of the pattern. One half of the Production version is used here (the left side). Simply stencil one repeat of the design vertically with English Brown, aiming for solid, even coverage.
Step 6: OPTIONAL: Stenciled stripes can be added to “frame” the patterned stripes, if desired. Simply run two vertical lines of tape to mask off the desired width of the stripe you wish to create and stencil the color in between the taped lines. These stripes are 3/4” wide.
Step 7: OPTIONAL: Here, the center stripe has been isolated with tape and the Large Acanthus Damask design is being stenciled with the Brick color that has been thinned with about 20% Extender to give it more translucency and “flow”. Note that the pattern is turned upside down.
Step 8: English Brown, also thinned with about 20% Extender is used to add depth and definition around some of the edges of the stencil pattern. Repeat this design and process vertically in each center stripe.
Step 9: If you have added brown stenciled stripes you can further define them by stenciling along the taped edge with the English Brown prior to removing the tape.
Step 10: Replace the Small Acanthus Damask Stencil over the English Brown and use a damp sea sponge that has been loaded with Wundasize to lightly tap through the stencil opening. Don’t overload with the size and use a light pressure to avoid pushing the size under the stencil edges. The size has an “open time” of 24 hours, so apply it to all the striped pattern at once.
Step 11: Use Variegated Red Tamise Flakes (small pieces of leaf) to apply here and there throughout the design. The leaf will only stick to areas where there is size. You can expect to use about a quarter of a small jar of this leaf per stripe.
Step 12: Fill in the rest of the sponged-on size areas of the design with Copper leaf. You can use either book leaf or Schaibin leaf (loose, boxed leaf). When finished, use a soft cloth to burnish the leaf and remove excess leaf from unsized areas. Wear a dust mask when you do this to avoid small particles of leaf that will be in the air.
Step 13: Seal the leaf and tone the entire surface by applying a light coat of Medium Oak Liberon Wax with cheesecloth. After 20 minutes you can burnish the wax, if desired, with a soft cloth. When finished, wet the cheesecloth and open it up to let it air dry before disposing.


