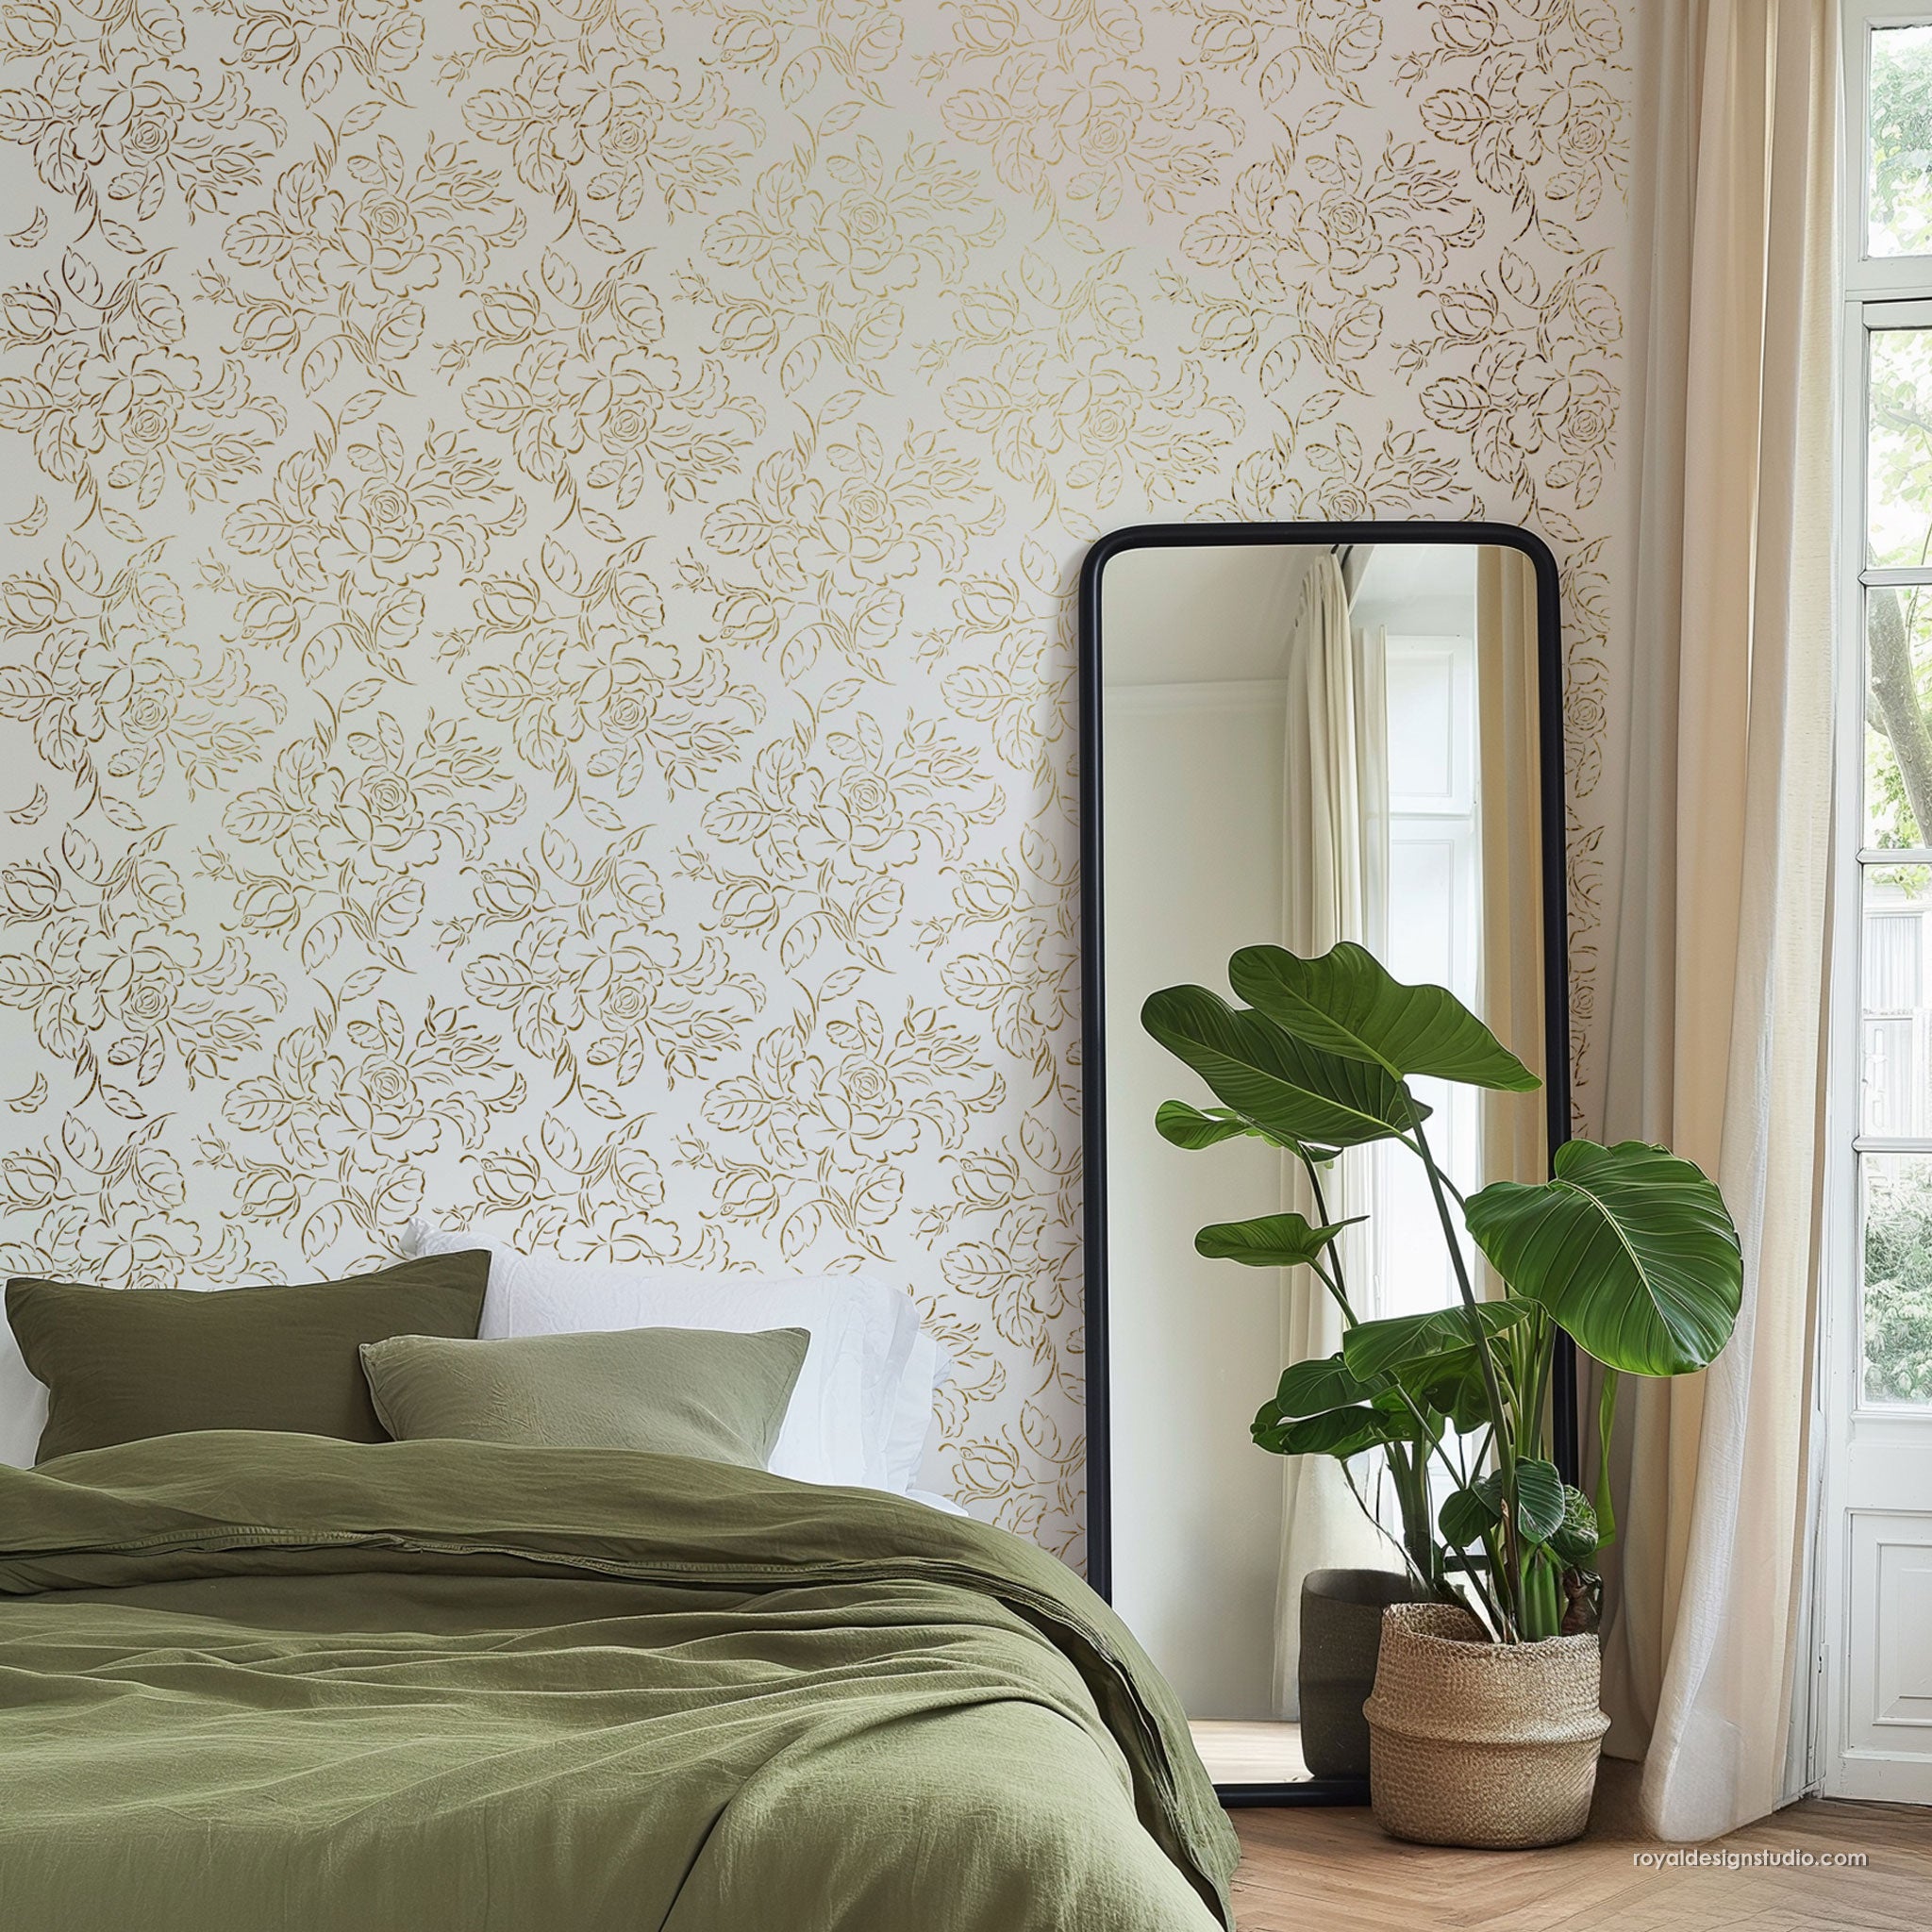
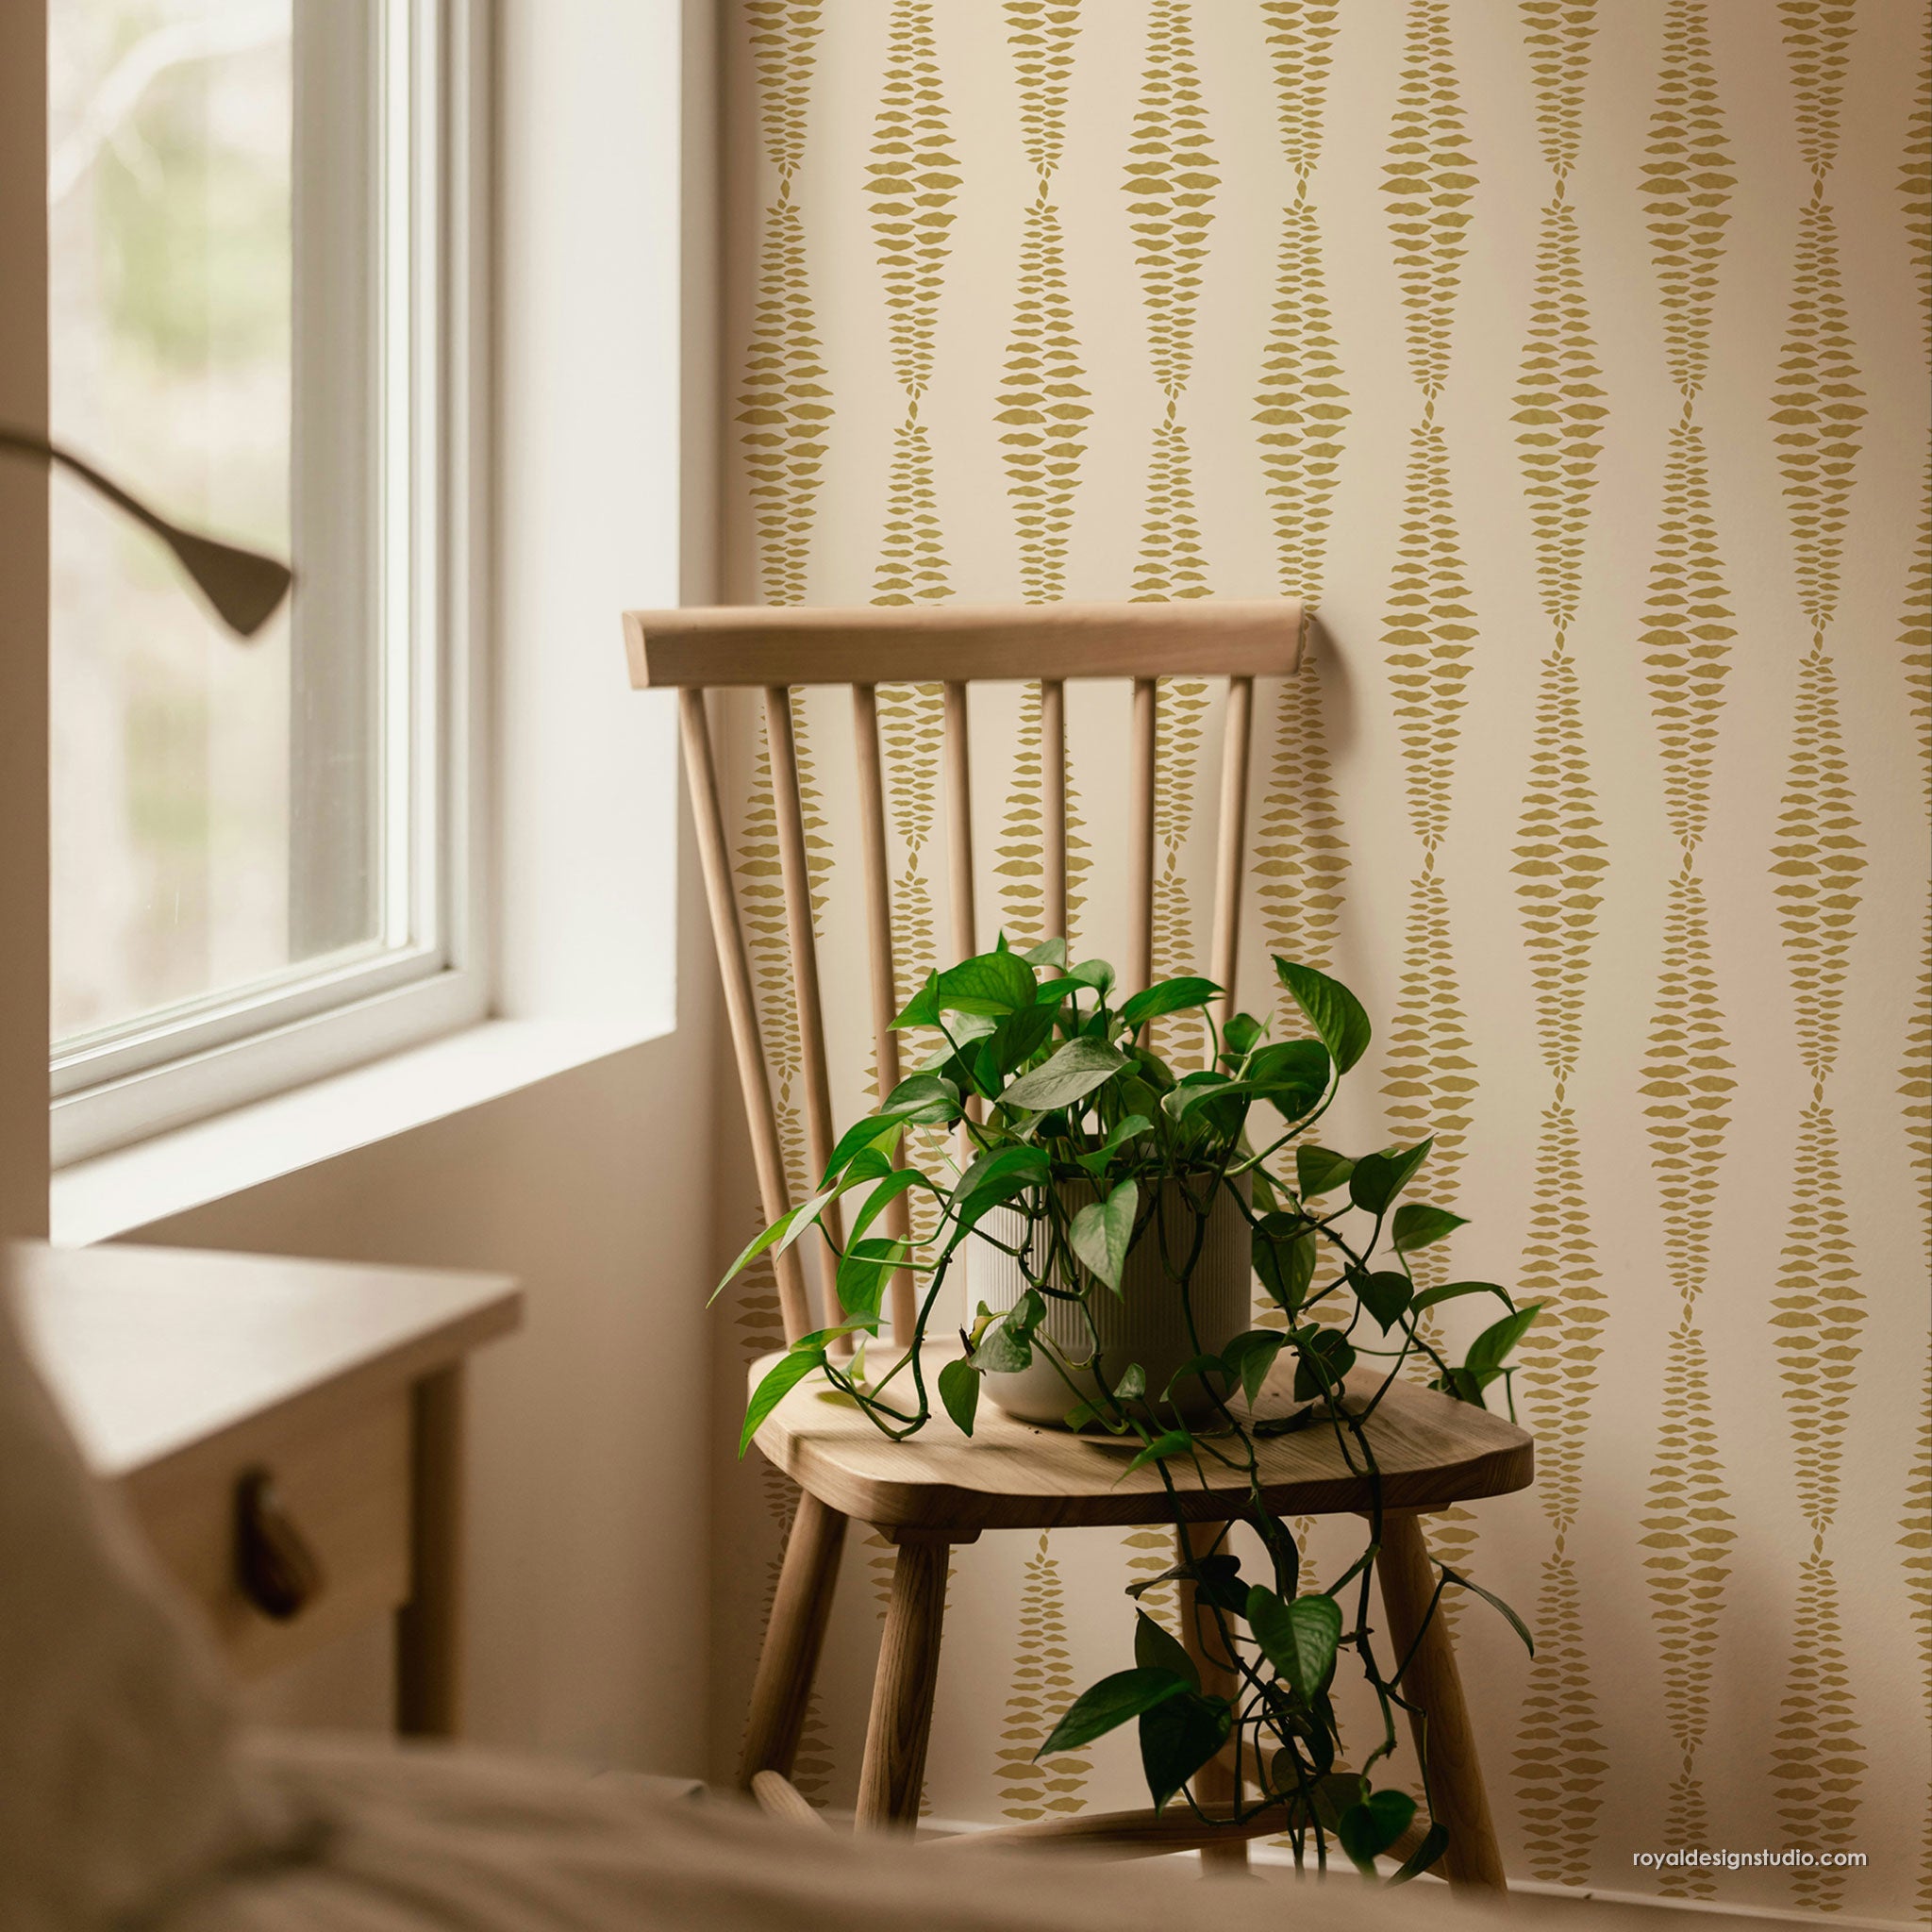
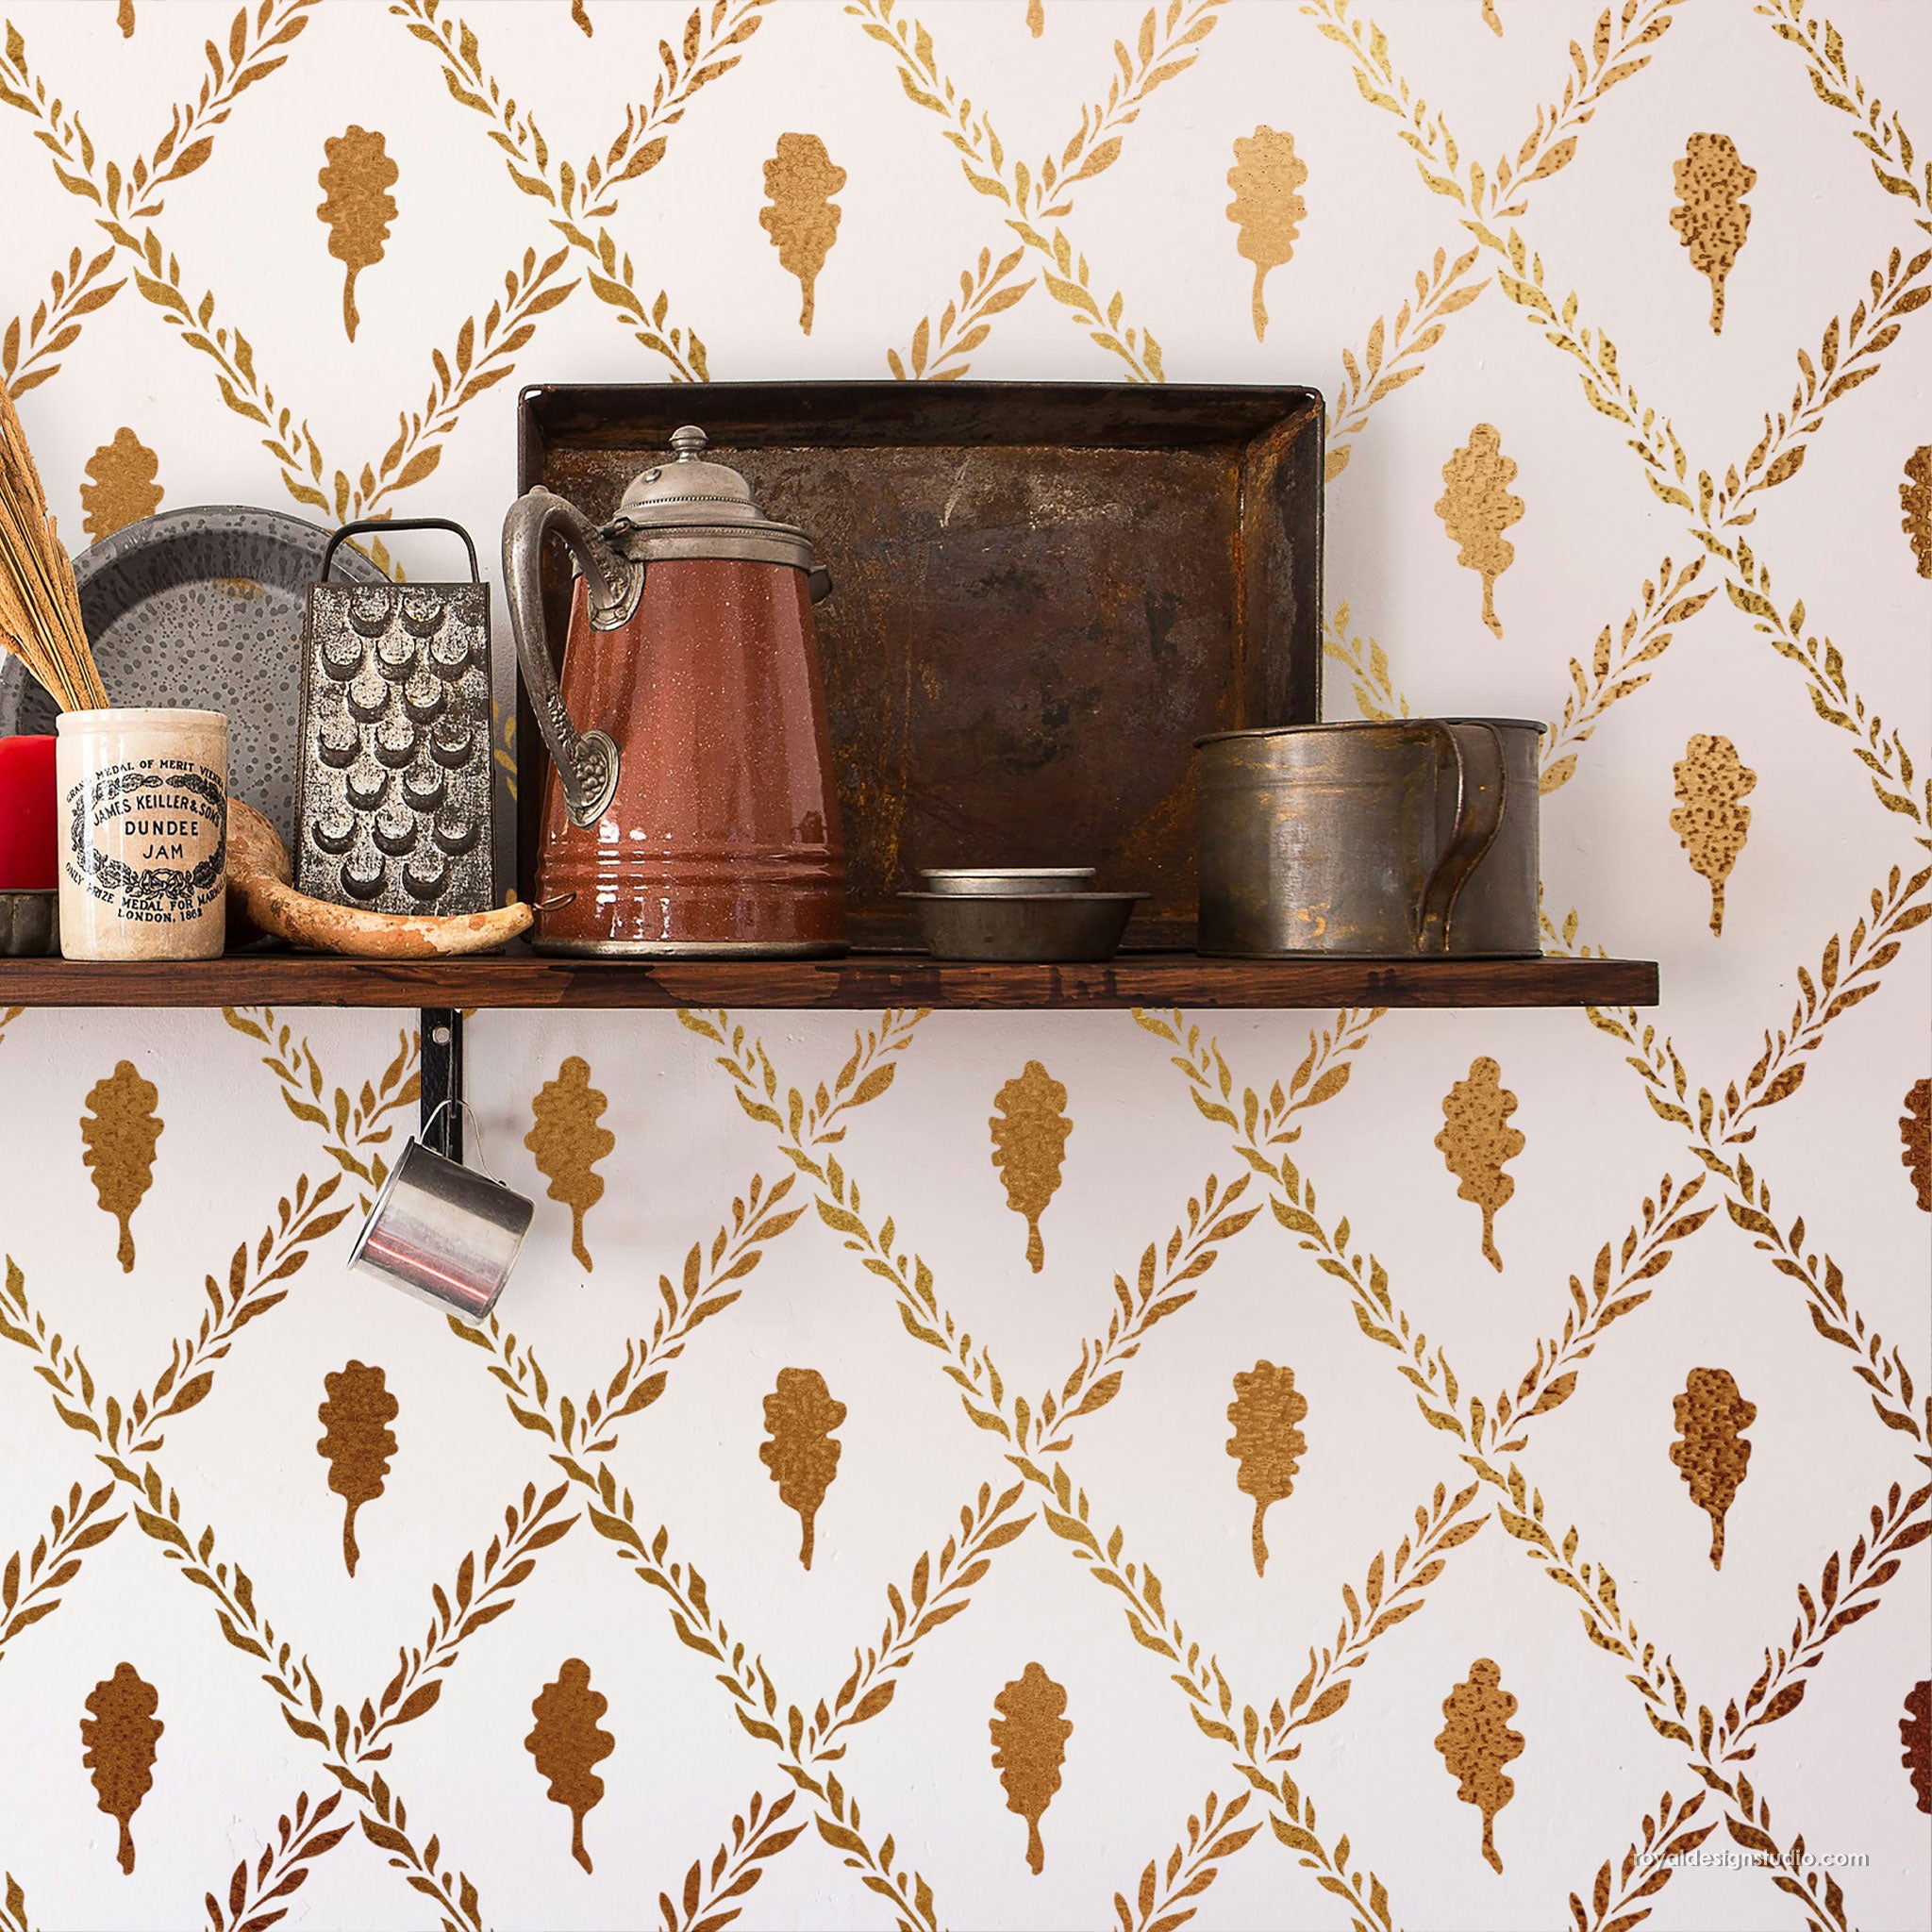
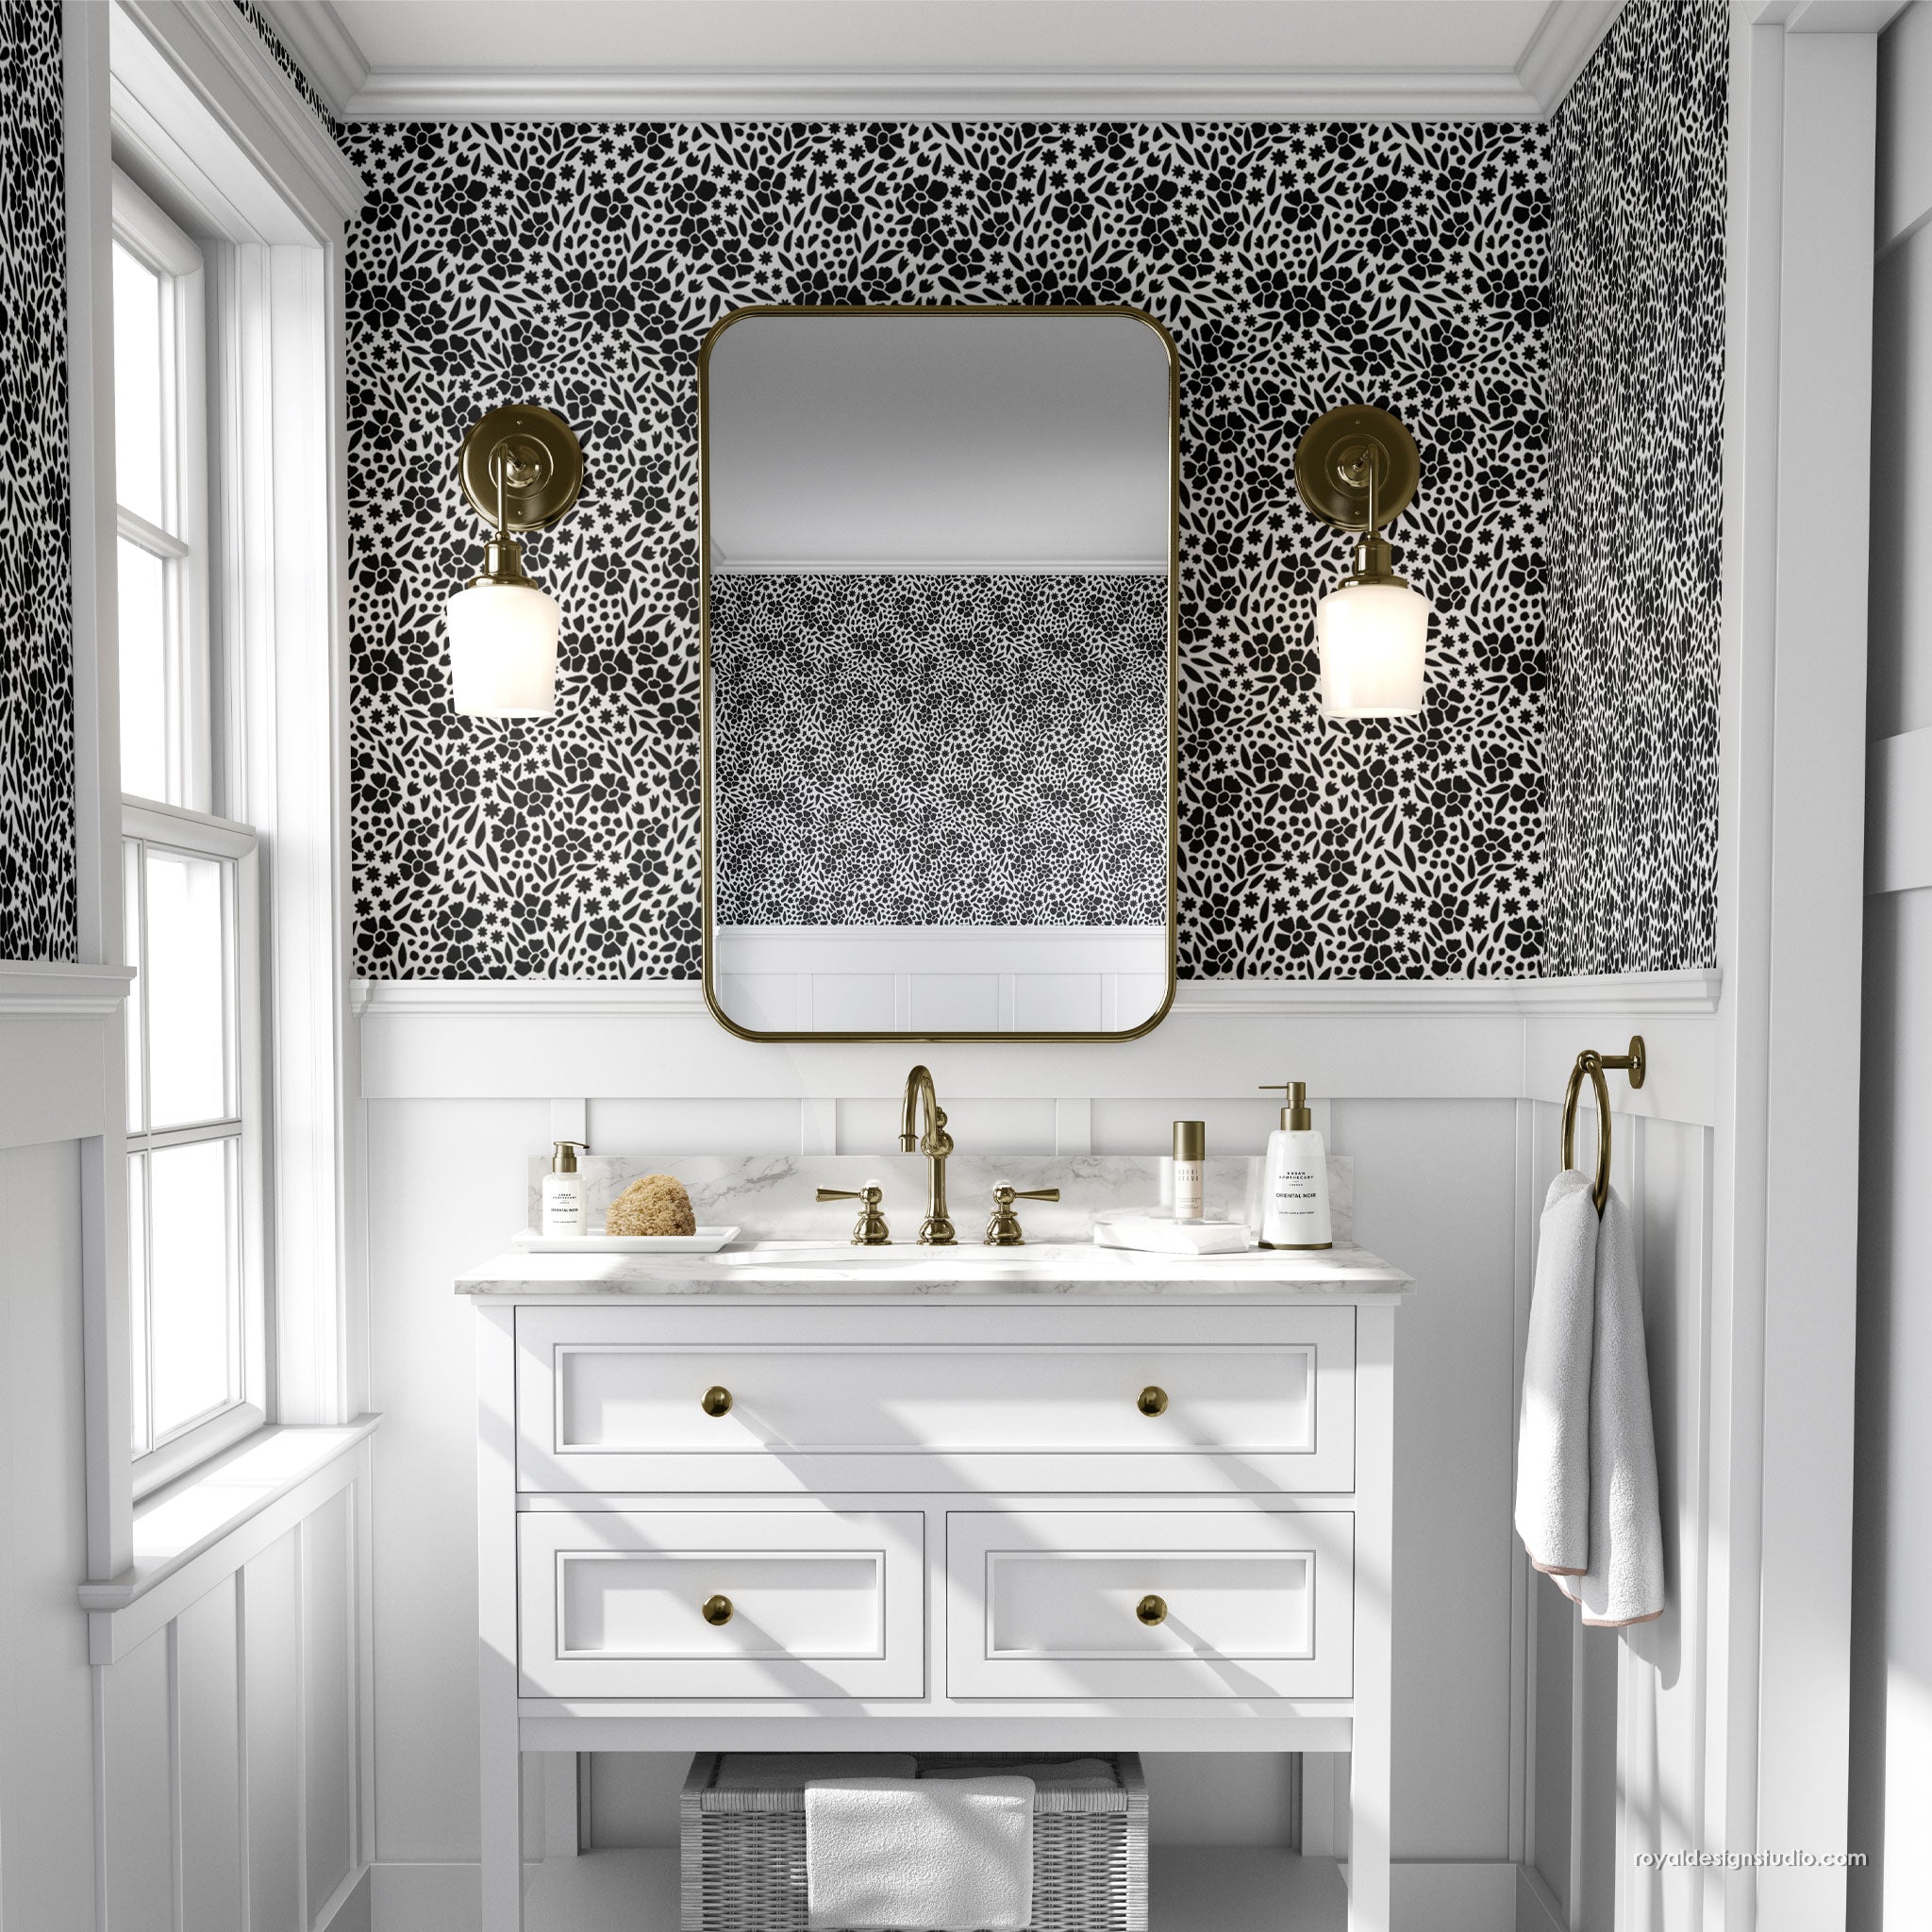
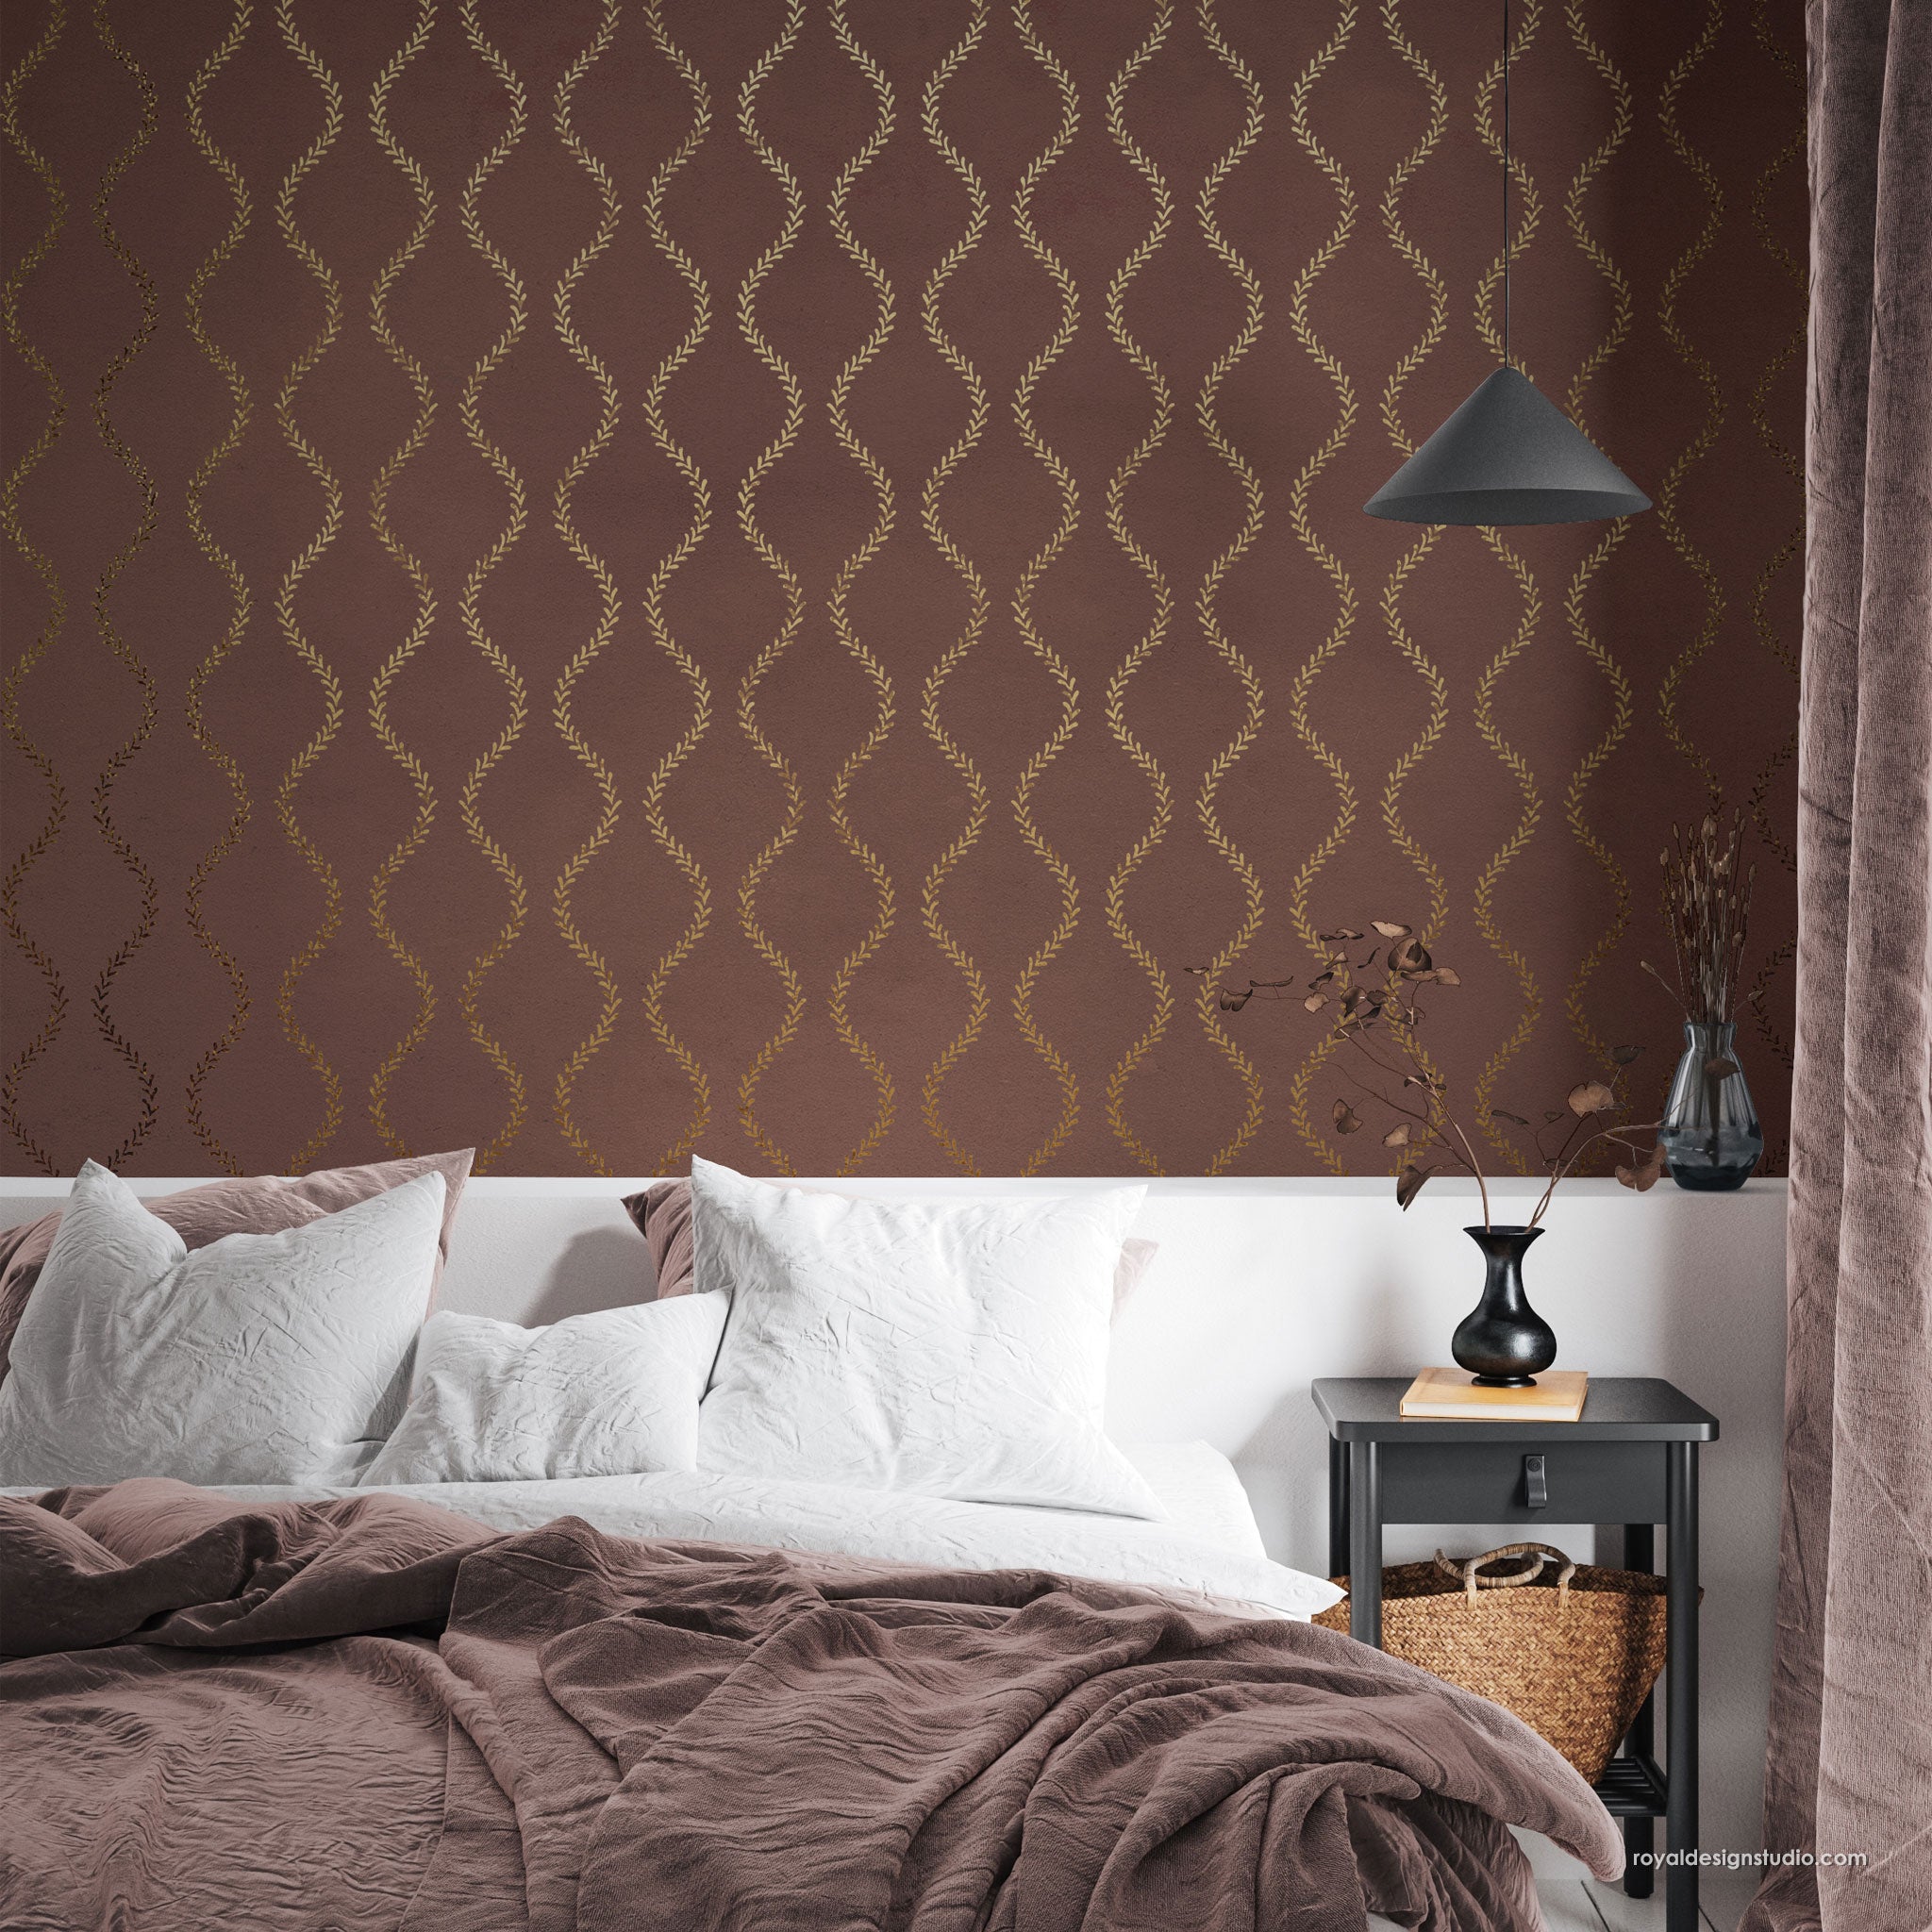
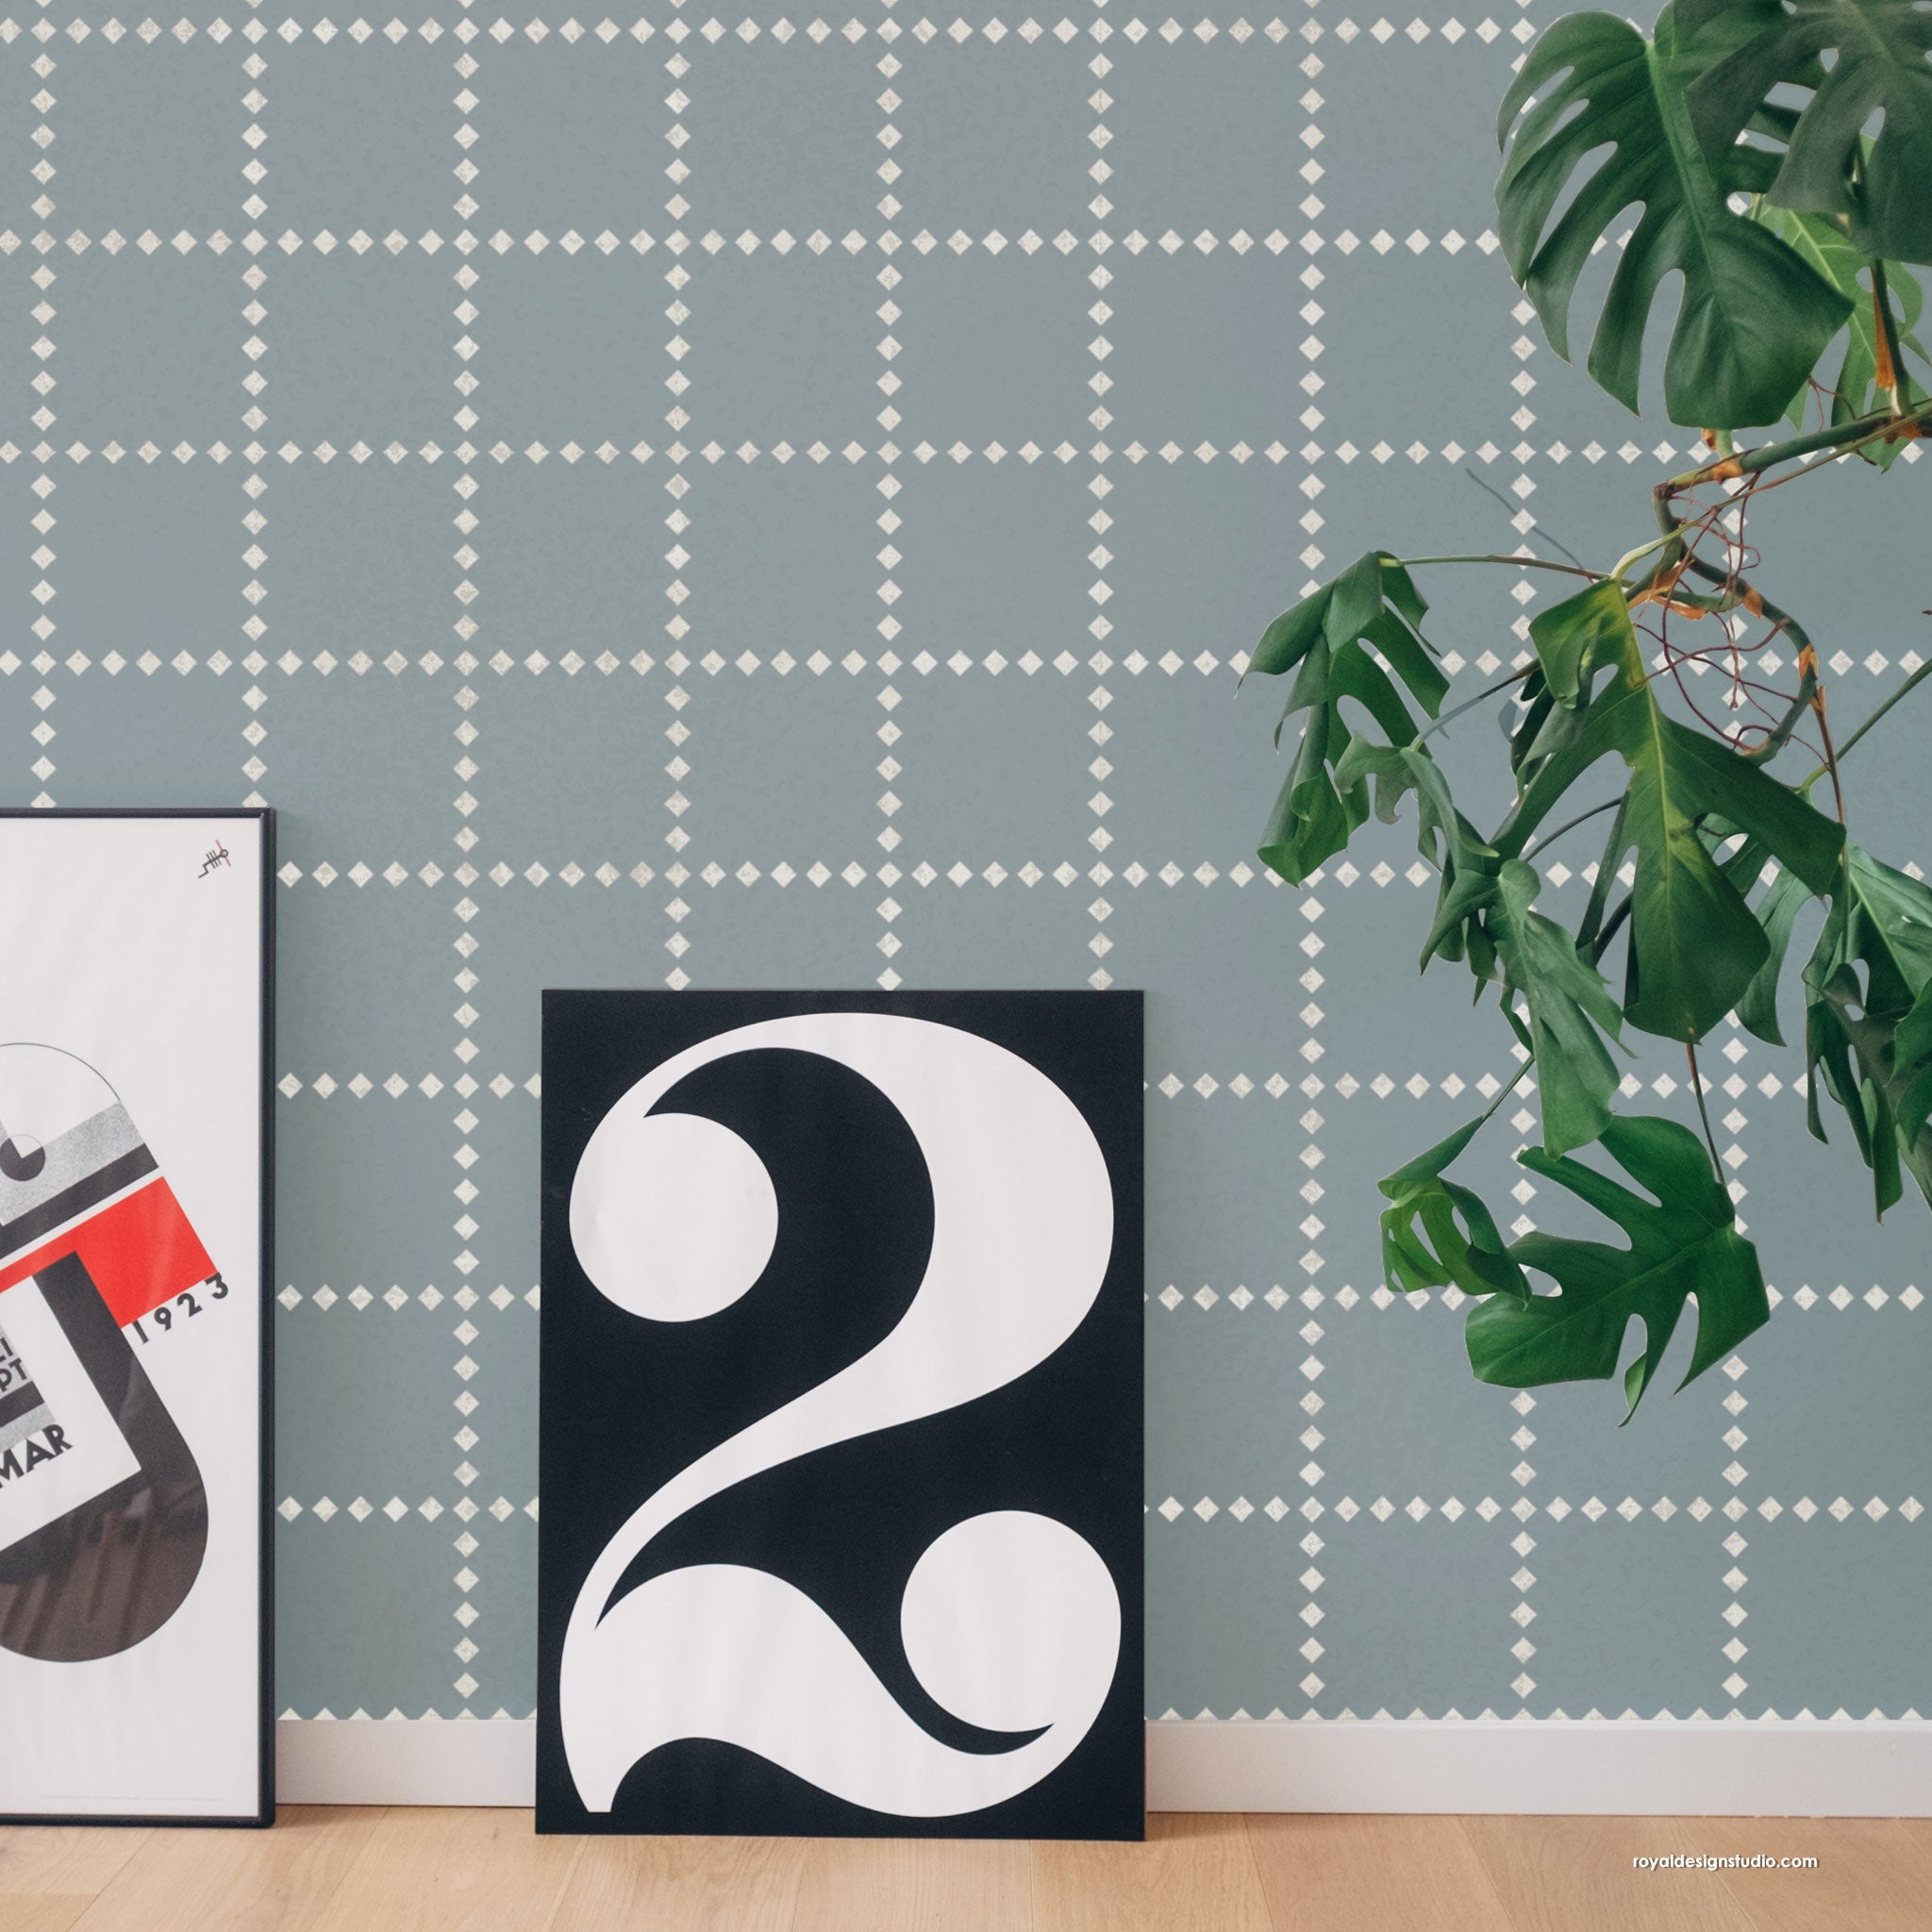
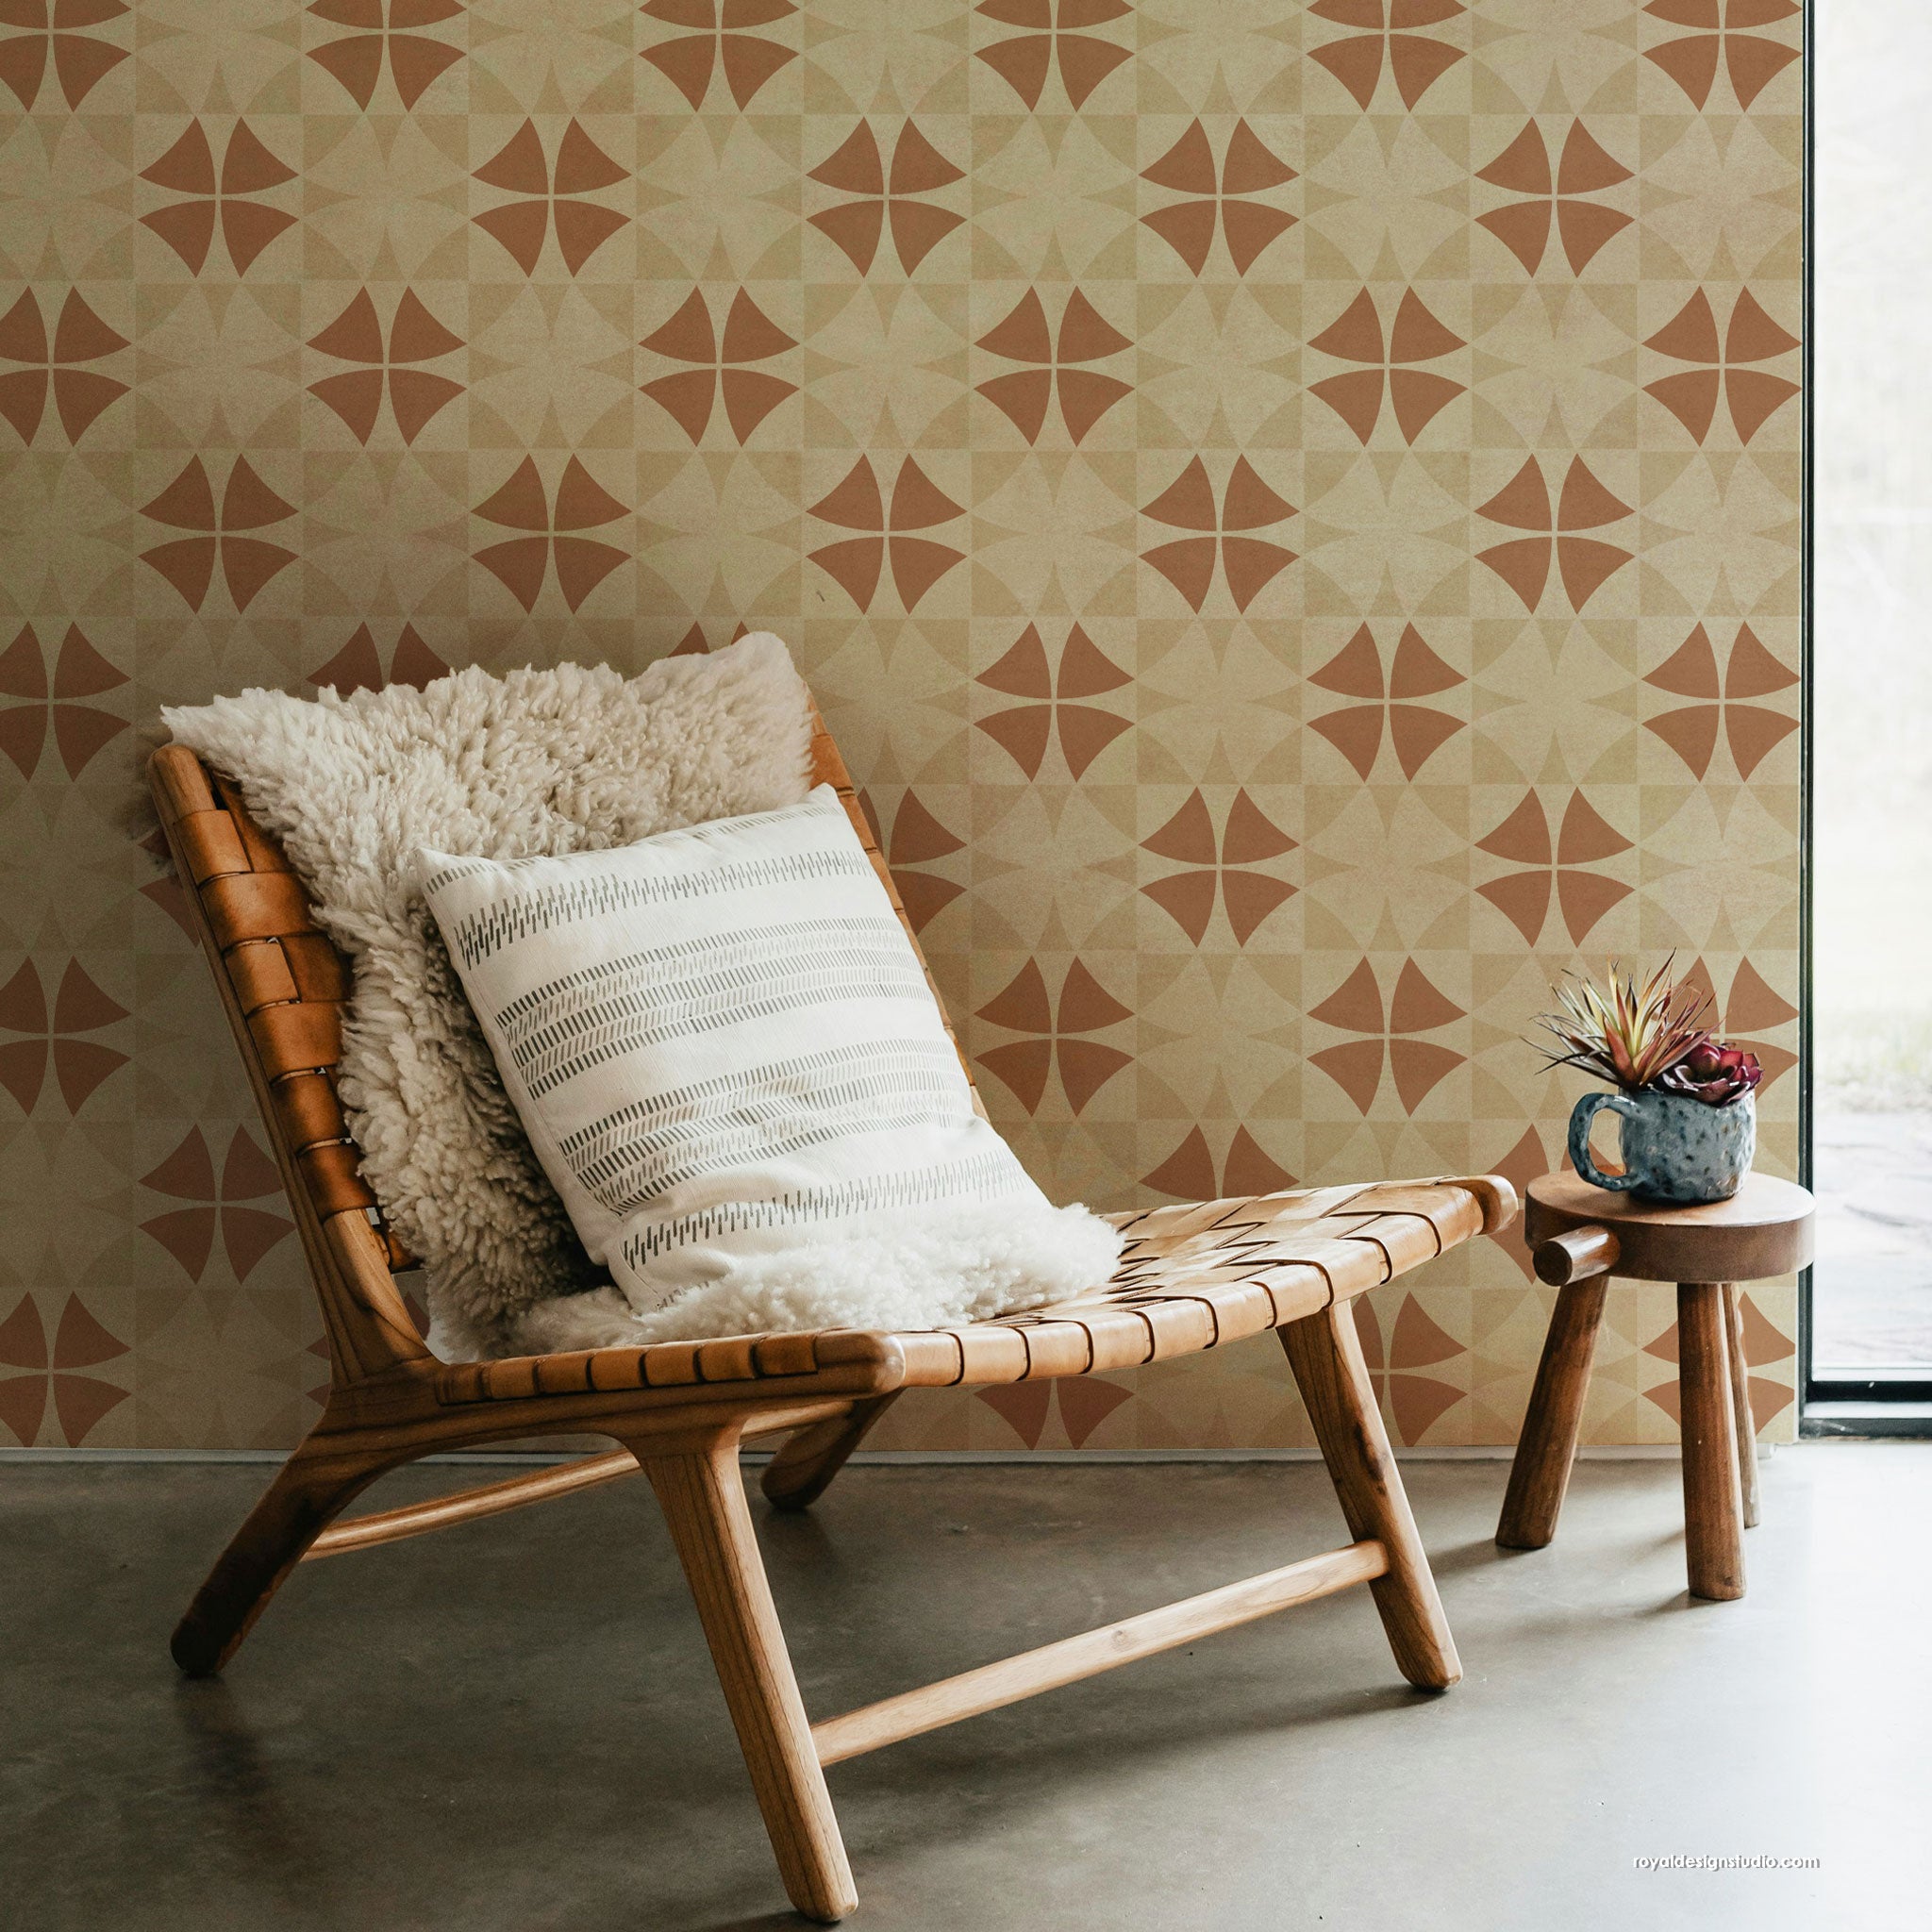
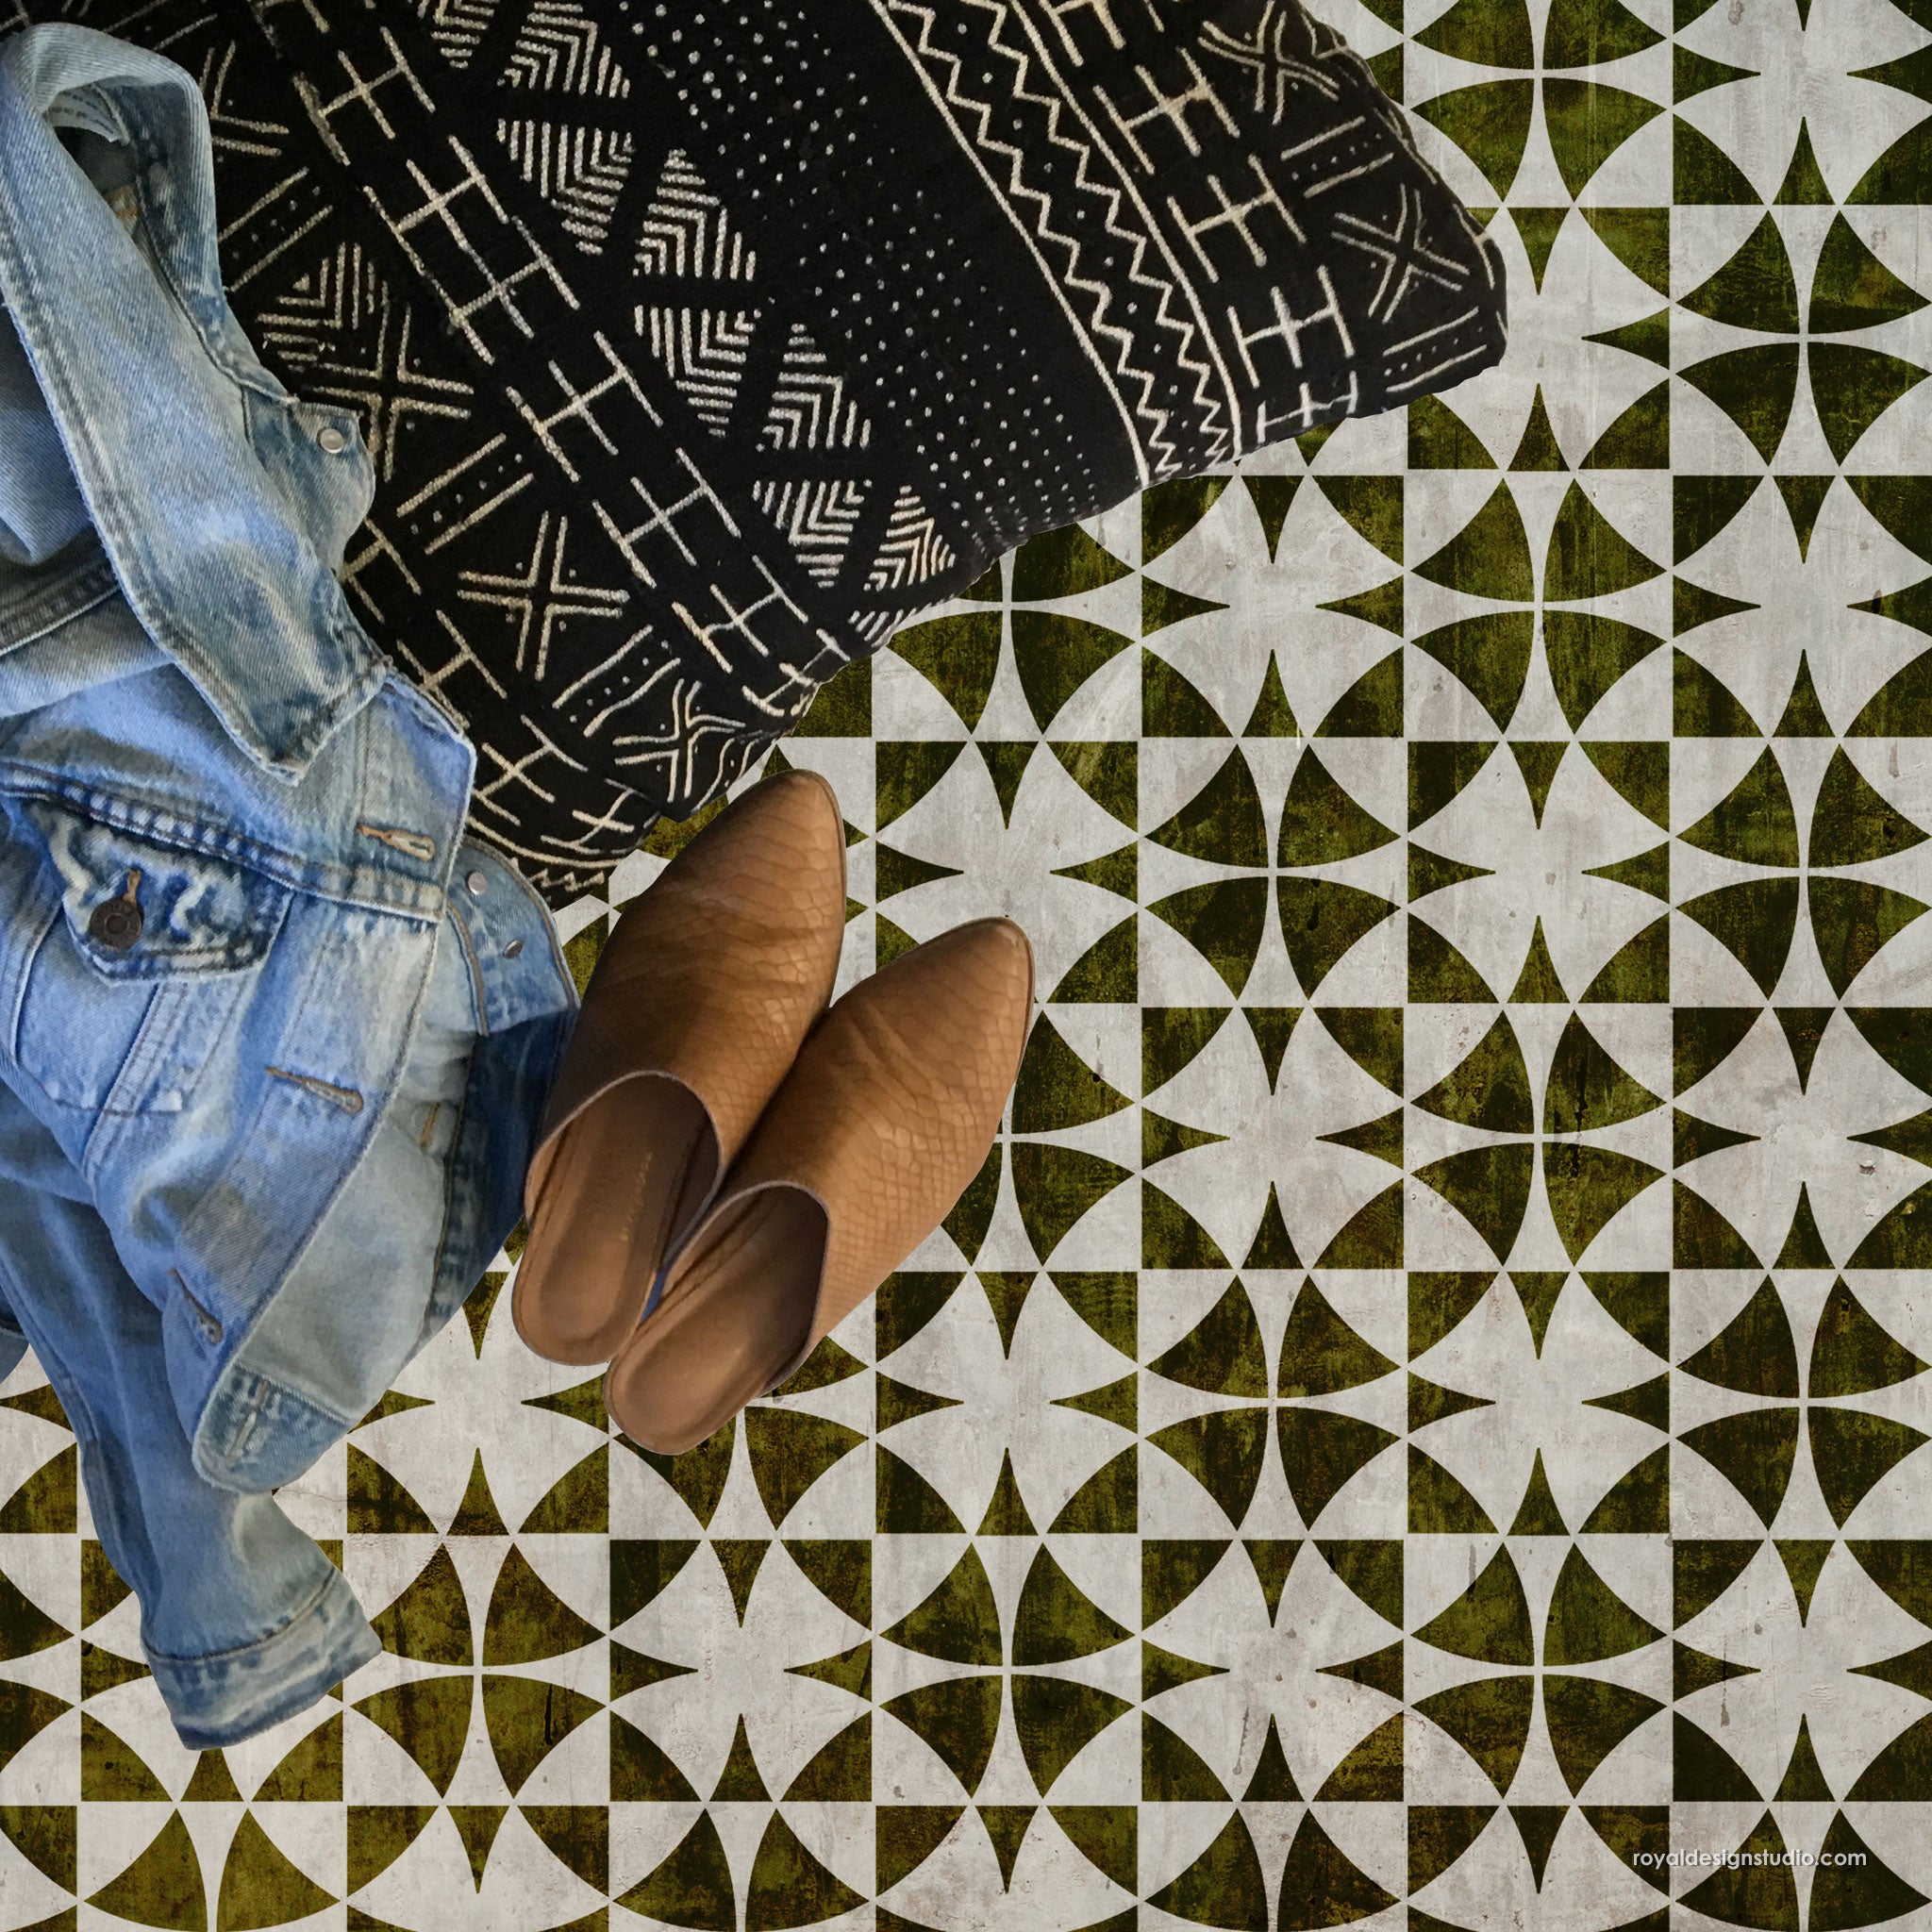
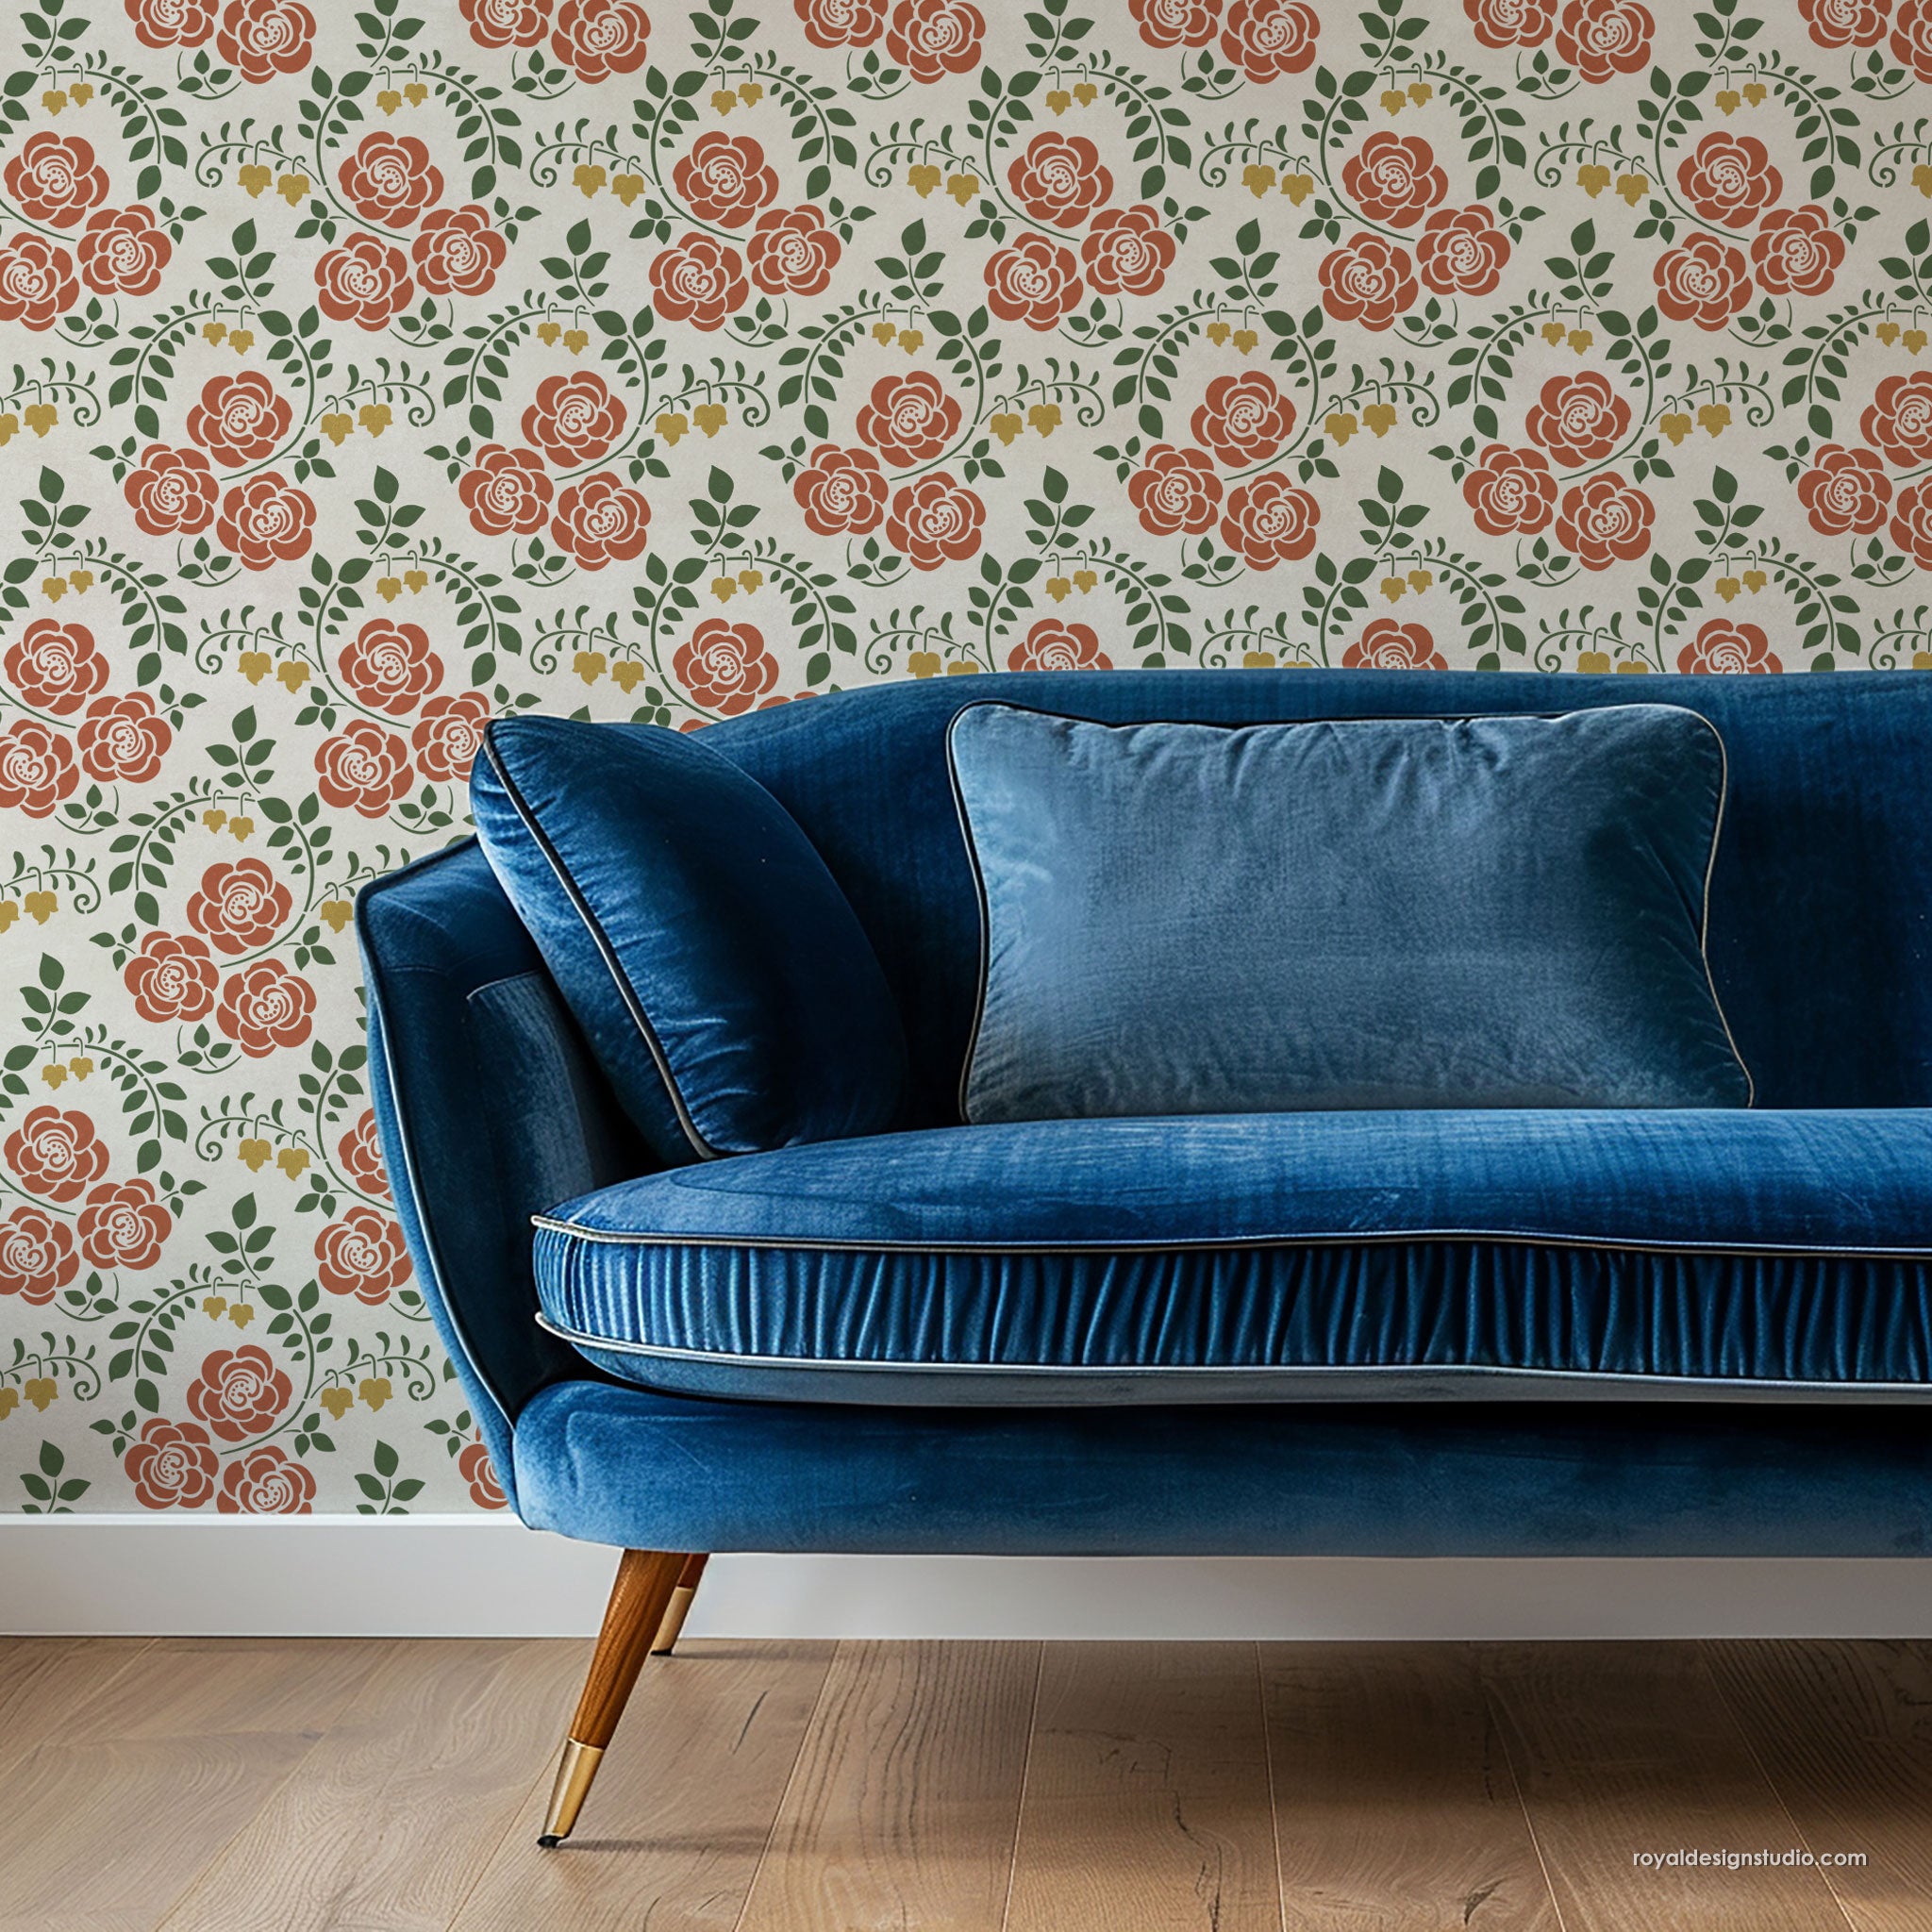
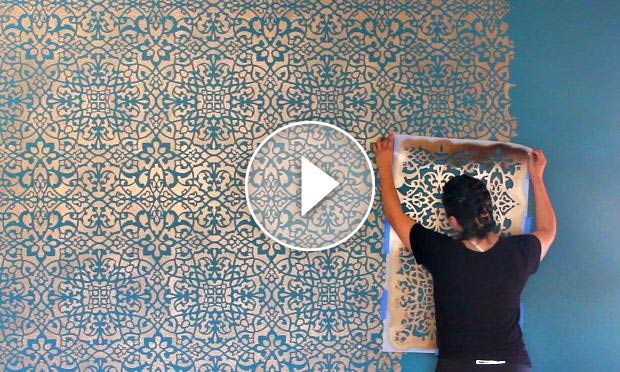
Are you still looking for wallpaper to decorate a favorite accent wall but can’t seem to find the PERFECT one? Forget the hassle of finding the wallpaper that perfectly fits your style! Get creative in your decorating by creating your own custom wallpaper look with Wall Stencils. Unlike traditional wallpaper with set designs and set colorways, Wall Stencils allow you to use any color scheme you would like and even add personal finishing touches. We want to show you how we painted a wallpaper look using our Palace Trellis Moroccan Wall Stencil. Of course you can change up the colors and design for your own unique spin! Click play to watch this DIY stencil tutorial to see how to stencil a custom wallpaper look of your own.
Supplies:
- Palace Trellis Moroccan Wall Stencil
- Antique Gold Royal Stencil Creme
- Large 3” Royal Stencil Brush
- Painter’s tape, bubble level, and paper towels
Step 1: For a blue and gold wallpaper look, we stenciled over a preexisting dark teal painted wall. You may need to paint your accent wall a similar color before stenciling. Place and secure the large wall stencil to the ceiling line with painter’s tape. Use a bubble level to make sure the design is straight on your wall.
Step 2: Load the 3” stencil brush with Antique Gold Stencil Creme and then offload the excess paint onto a paper towel. Offloading prevents you from using too much paint, which is the #1 reason why paint bleeds under a stencil. Using minimal paint is the best way to create crisp stenciled designs. Remember, when it comes to paint while stenciling “less is more”.
Step 3: Once you stenciled the first repeat, remove the stencil and reposition the stencil directly underneath the first repeat. The built-in registration marks on our stencils make it easy to match up the mark windows with the painted marks. Continue stenciling and repositioning the stencil until the entire wall is stenciled.
Step 4: To stencil the corners of your accent wall, mask off the adjacent wall with painter’s tape. Only secure the side of the stencil onto the wall that you wanted stenciled with painter’s tape. Use your free hand to push in the bending and durable stencil into the corner. Stencil the design with your other hand using a small stencil brush.
Step 5: To stencil the ceiling line of your accent wall, mask off the ceiling with painter’s tape. Cut the ½” of excess mylar that is on the top of your ceiling filler. Secure the ceiling filler with painter’s tape and use a small stencil brush to stencil.
And that’s it! You’re done! You have all the personality of wallpaper, but with more money in your pocket and more custom creativity in your home. BONUS: Wall Stencils are easy to change up! Unlike wallpaper that damages walls when it’s removed, you can simply paint over the design. Remember to tell your family and friends that it isn’t wallpaper and wasn’t professionally done – or don’t! ;) They’ll wonder where your wallpaper seams and edges are…
Looking for more Stencil Techniques like this? Check out these other stencil tutorials and ideas:


![[VIDEO TUTORIAL] How to Stencil a DIY Wallpaper Look for Less! Painting a Large Feature Wall with Pattern for Cheap! with Royal Design Studio Wall Stencils](http://cdn.shopify.com/s/files/1/0094/1122/files/how-to-stencil-a-wallpaper-loook.jpg?v=1520031685)

![[VIDEO TUTORIAL] How to Stencil a DIY Wallpaper Look for Less! Painting a Large Feature Wall with Pattern for Cheap! with Royal Design Studio Wall Stencils](http://cdn.shopify.com/s/files/1/0094/1122/files/how_to_stencil_a_wallpaper_look_for_less_painting_bedroom_feature_wall.jpg?v=1520018349)
![[VIDEO TUTORIAL] How to Stencil a DIY Wallpaper Look for Less! Painting a Large Feature Wall with Pattern for Cheap! with Royal Design Studio Wall Stencils](http://cdn.shopify.com/s/files/1/0094/1122/files/how_to_paint_a_large_accent_wall_stencils_design.jpg?v=1520018360)
![[VIDEO TUTORIAL] How to Stencil a DIY Wallpaper Look for Less! Painting a Large Feature Wall with Pattern for Cheap! with Royal Design Studio Wall Stencils](http://cdn.shopify.com/s/files/1/0094/1122/files/stenciling_into_corners.jpg?v=1520018326)
![[VIDEO TUTORIAL] How to Stencil a DIY Wallpaper Look for Less! Painting a Large Feature Wall with Pattern for Cheap! with Royal Design Studio Wall Stencils](http://cdn.shopify.com/s/files/1/0094/1122/files/custom_wallpaper_feature_wall_how_to_stencil_wall_diy_tutorial.jpg?v=1520019200)

