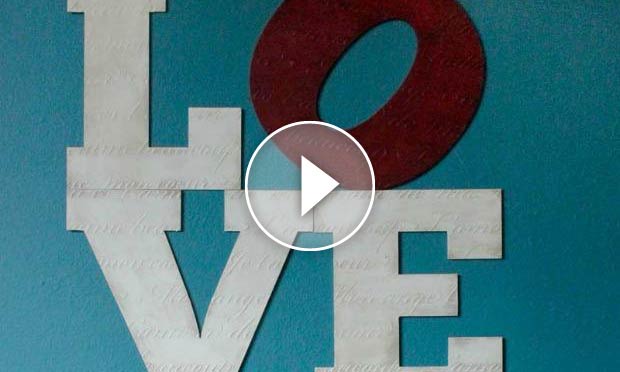
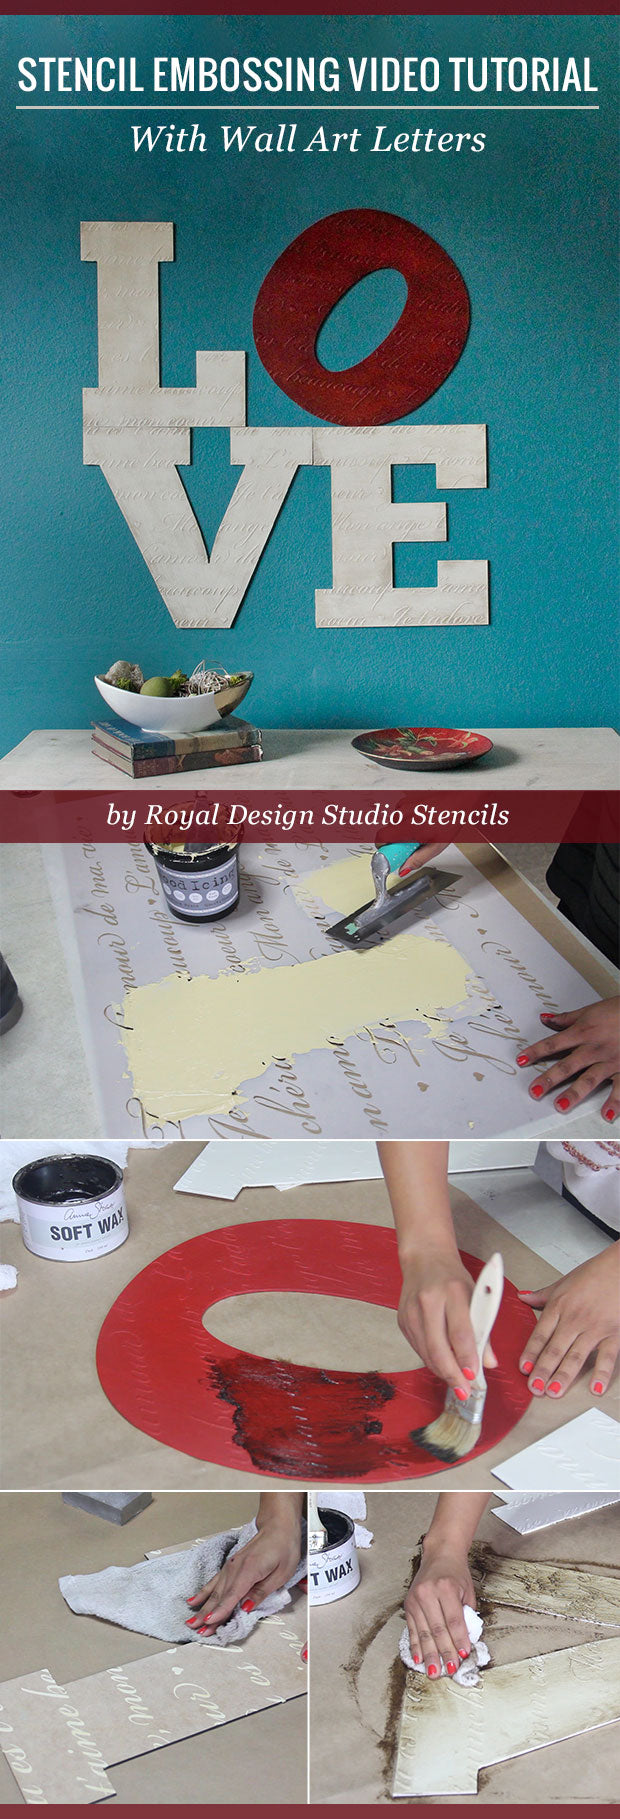
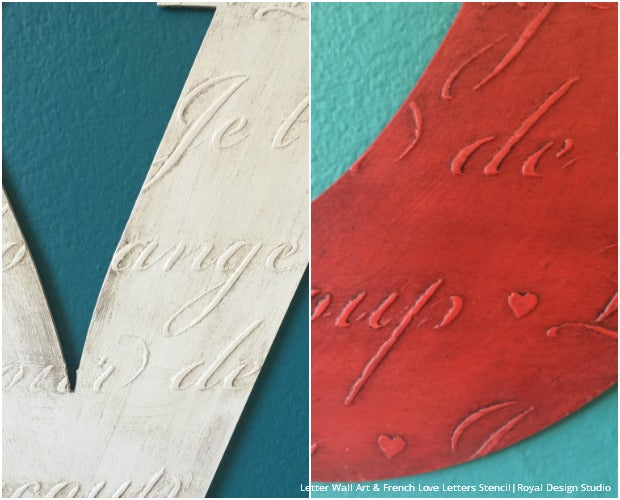
Learn how to create wall art that you’ll LOVE using customizable and paintable Chunky Letter Wall Art Wood Shapes. Always reaching for new stenciling heights, we used a stencil embossing technique to raise our French Love Letters Furniture Stencil and really make the script POP! Reminiscent of Philadelphia’s iconic “LOVE” sculpture, this stencil project gives you a taste of pop art with a pop of pattern.
See the easy step-by-step process in our DIY stencil video you will find the supplies and steps detailed out below!
Supplies:
- Large Chunky Wall Art Wood Letters™
- French Love Letters Furniture Stencil
- Wood Icing™ Textura Paste
- Annie Sloan Chalk Paint® in Old White and Emperor’s Silk
- Annie Sloan Clear and Dark Soft Wax
- Pointed sash brush, chip brush, cheesecloth, sanding block, and cleaning rags
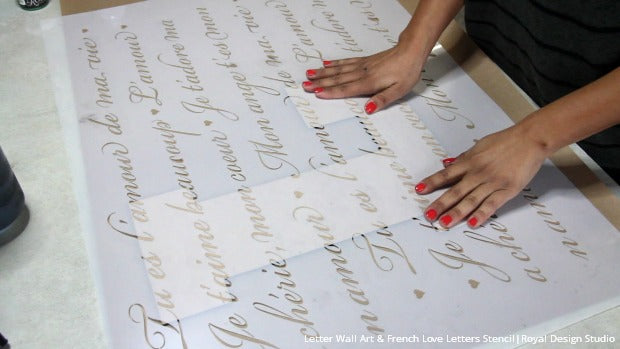
Step 1: Place and secure the stencil on a Wall Art Letter.
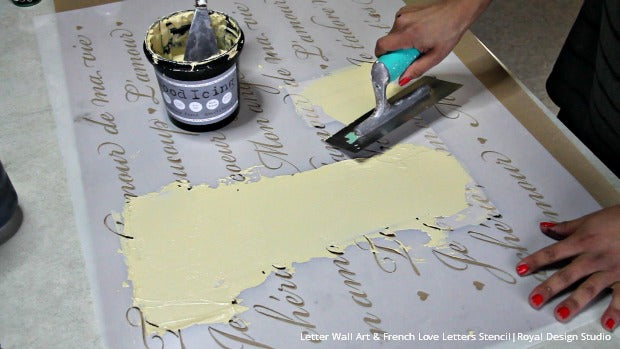
Step 2: Apply a thick layer of Wood Icing™ on the stencil design with a trowel. Carefully remove the stencil from the Wall Art Letter. Use a spatula to remove excess product from the edges of the Wall Art Letter. Let dry.
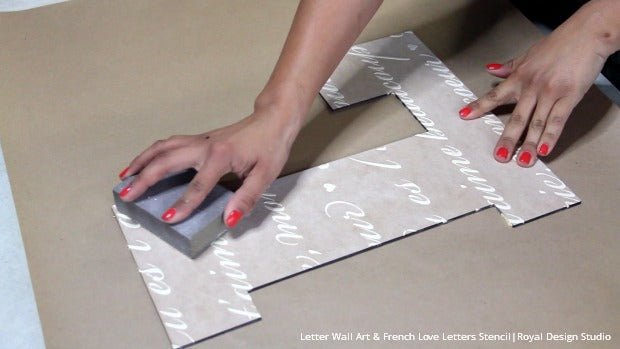
Step 3: Lightly sand the stenciled designs to remove any ridges. Remove sanding dust with a damp rag.
Step 4: Repeat Steps 1 through 3 with the rest of the Wall Art Letters.
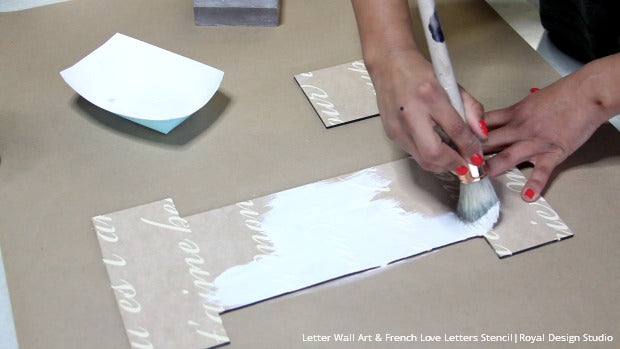
Step 5: Paint the “L”, “V”, and “E” shapes with Old White Chalk Paint® using a sash brush. Let dry.
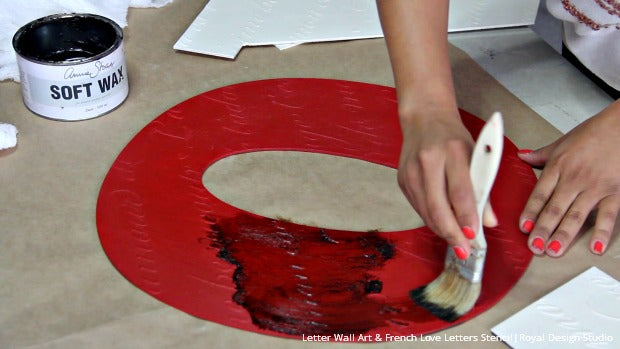
Step 6: Paint the “O” shape with Emperor’s Silk Chalk Paint®. Let dry.
Step 7: Apply Clear Wax to the “O” shape with cheesecloth. Remember to remove access wax. Let dry for 10 minutes.
Step 8: Apply Dark Wax to the “O” shape with a chip brush. Immediately remove access wax with cheesecloth.
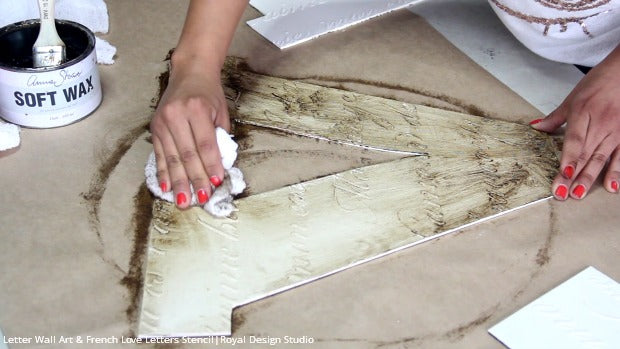
Step 9: Repeat Steps 7 and 8 with the rest of the Wall Art Letters.
Step 10: Hang your painted and stenciled Wall Art Wood Letters™ with Scotch® Removable Mounting Squares. To create the same design as the Philadelphia “LOVE” sculpture, make sure to hang the “L” and “O” above the “V” and “E”, and hang the “O” diagonally to the right.
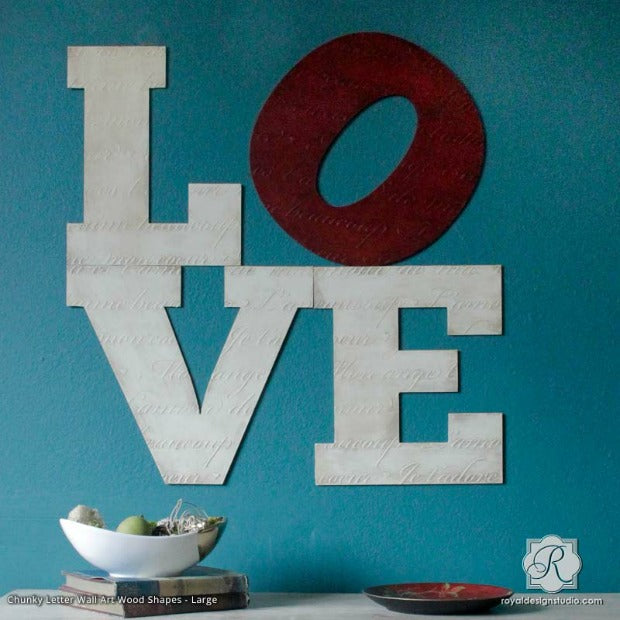
And here is the LOVE-ly end result! DIY wall art with pattern that pops!! Love this idea, but want to make it a little different? With Wall Art Letters, you can customize your project in so many different ways: spell out your name, favorite quote, or even a hashtag! You can emboss stencil patterns like we did in this tutorial or you can mix it up with gilding, decoupage, and more!
Looking for more inspiring Stencil Techniques like this? Check out these other DIY stencil tutorials: