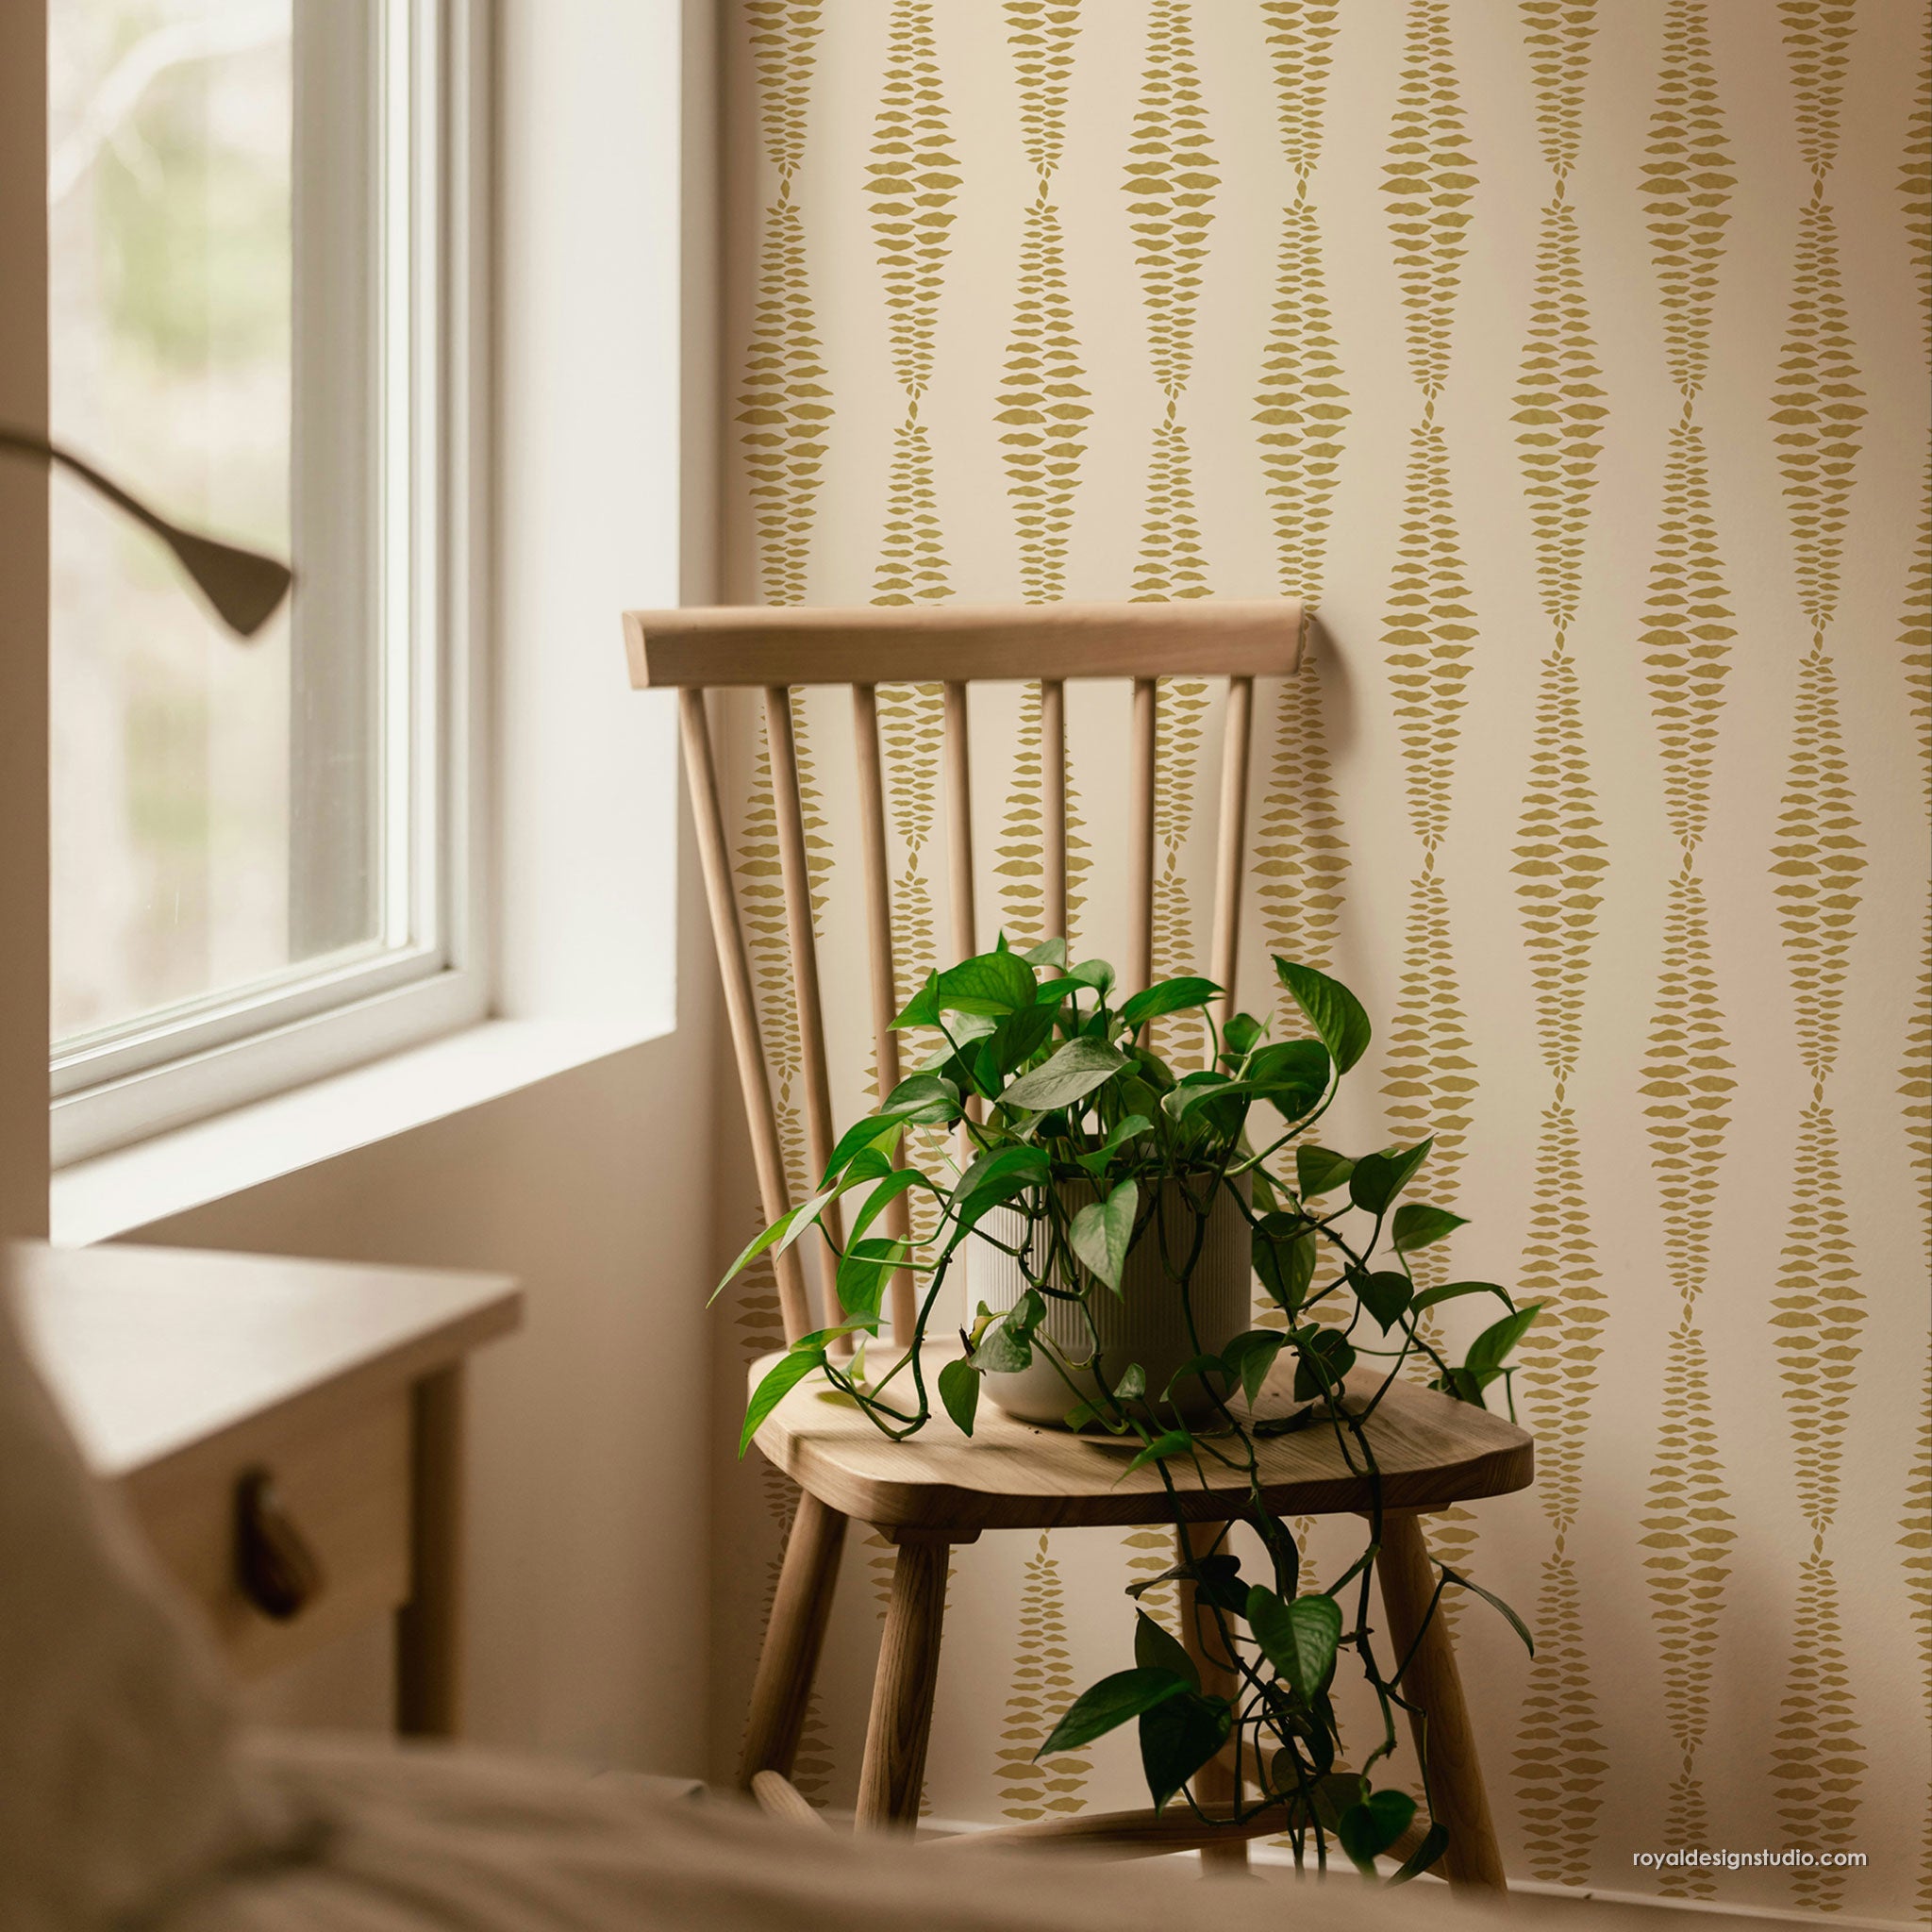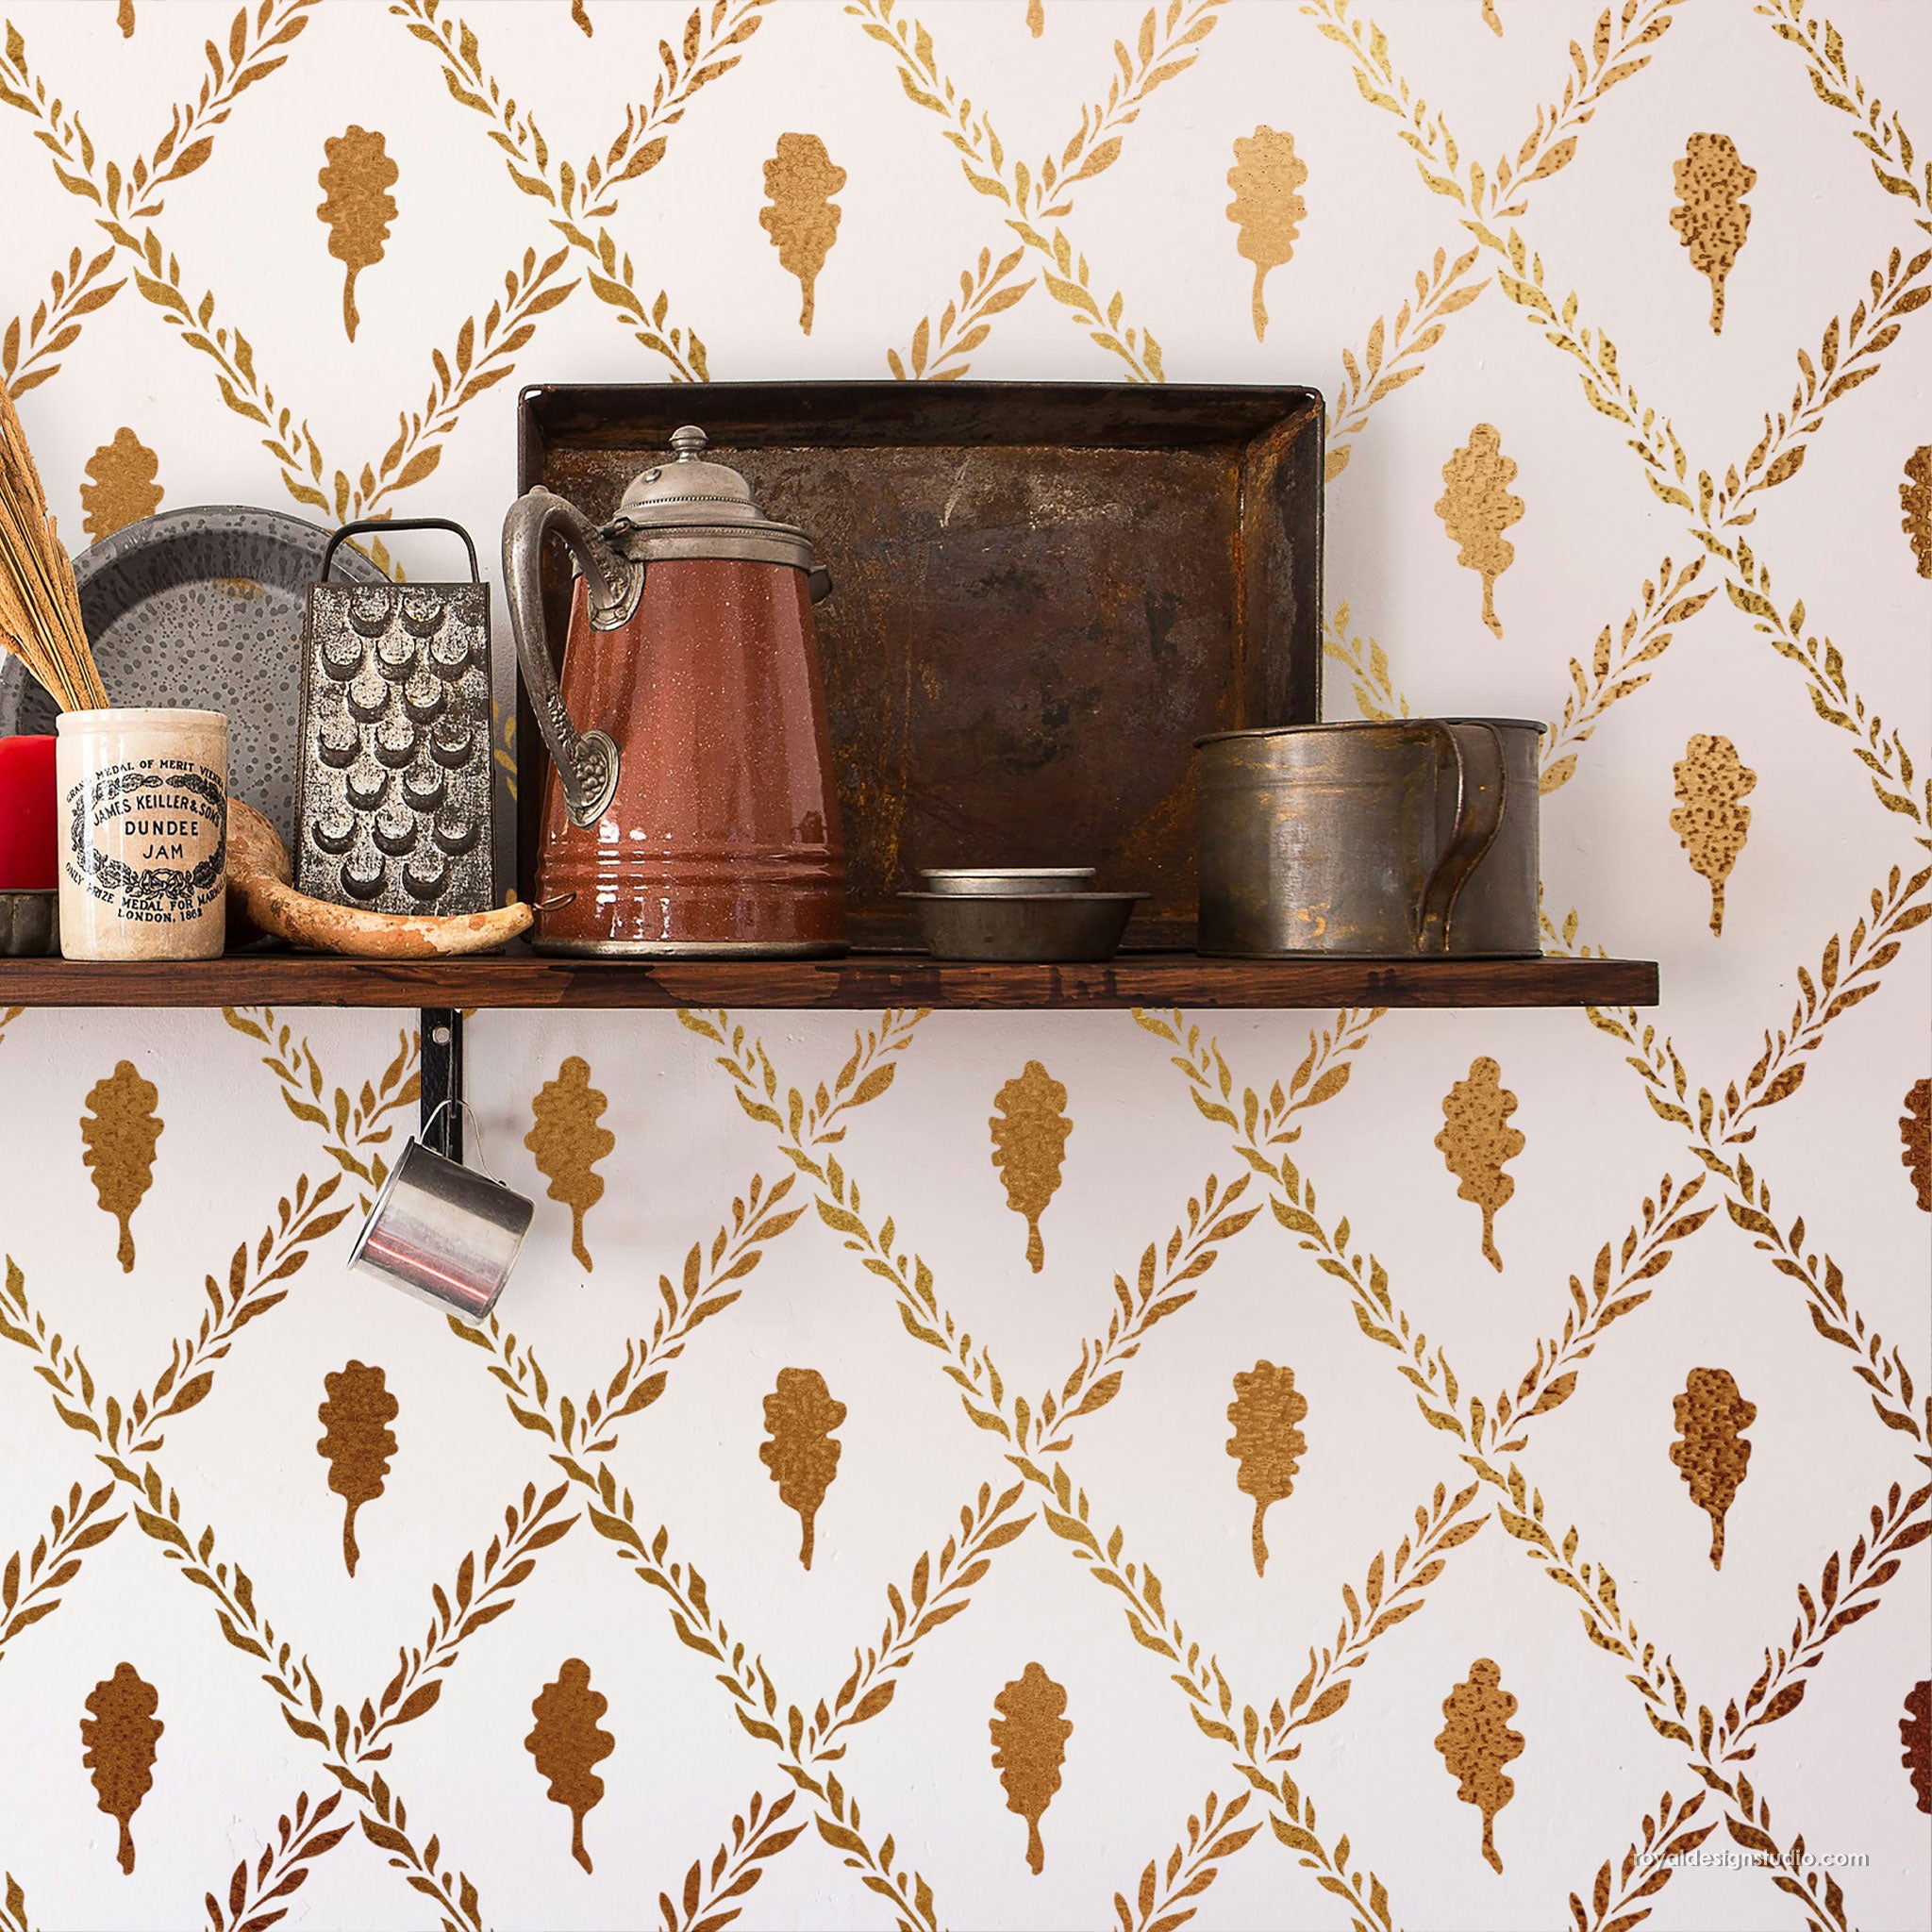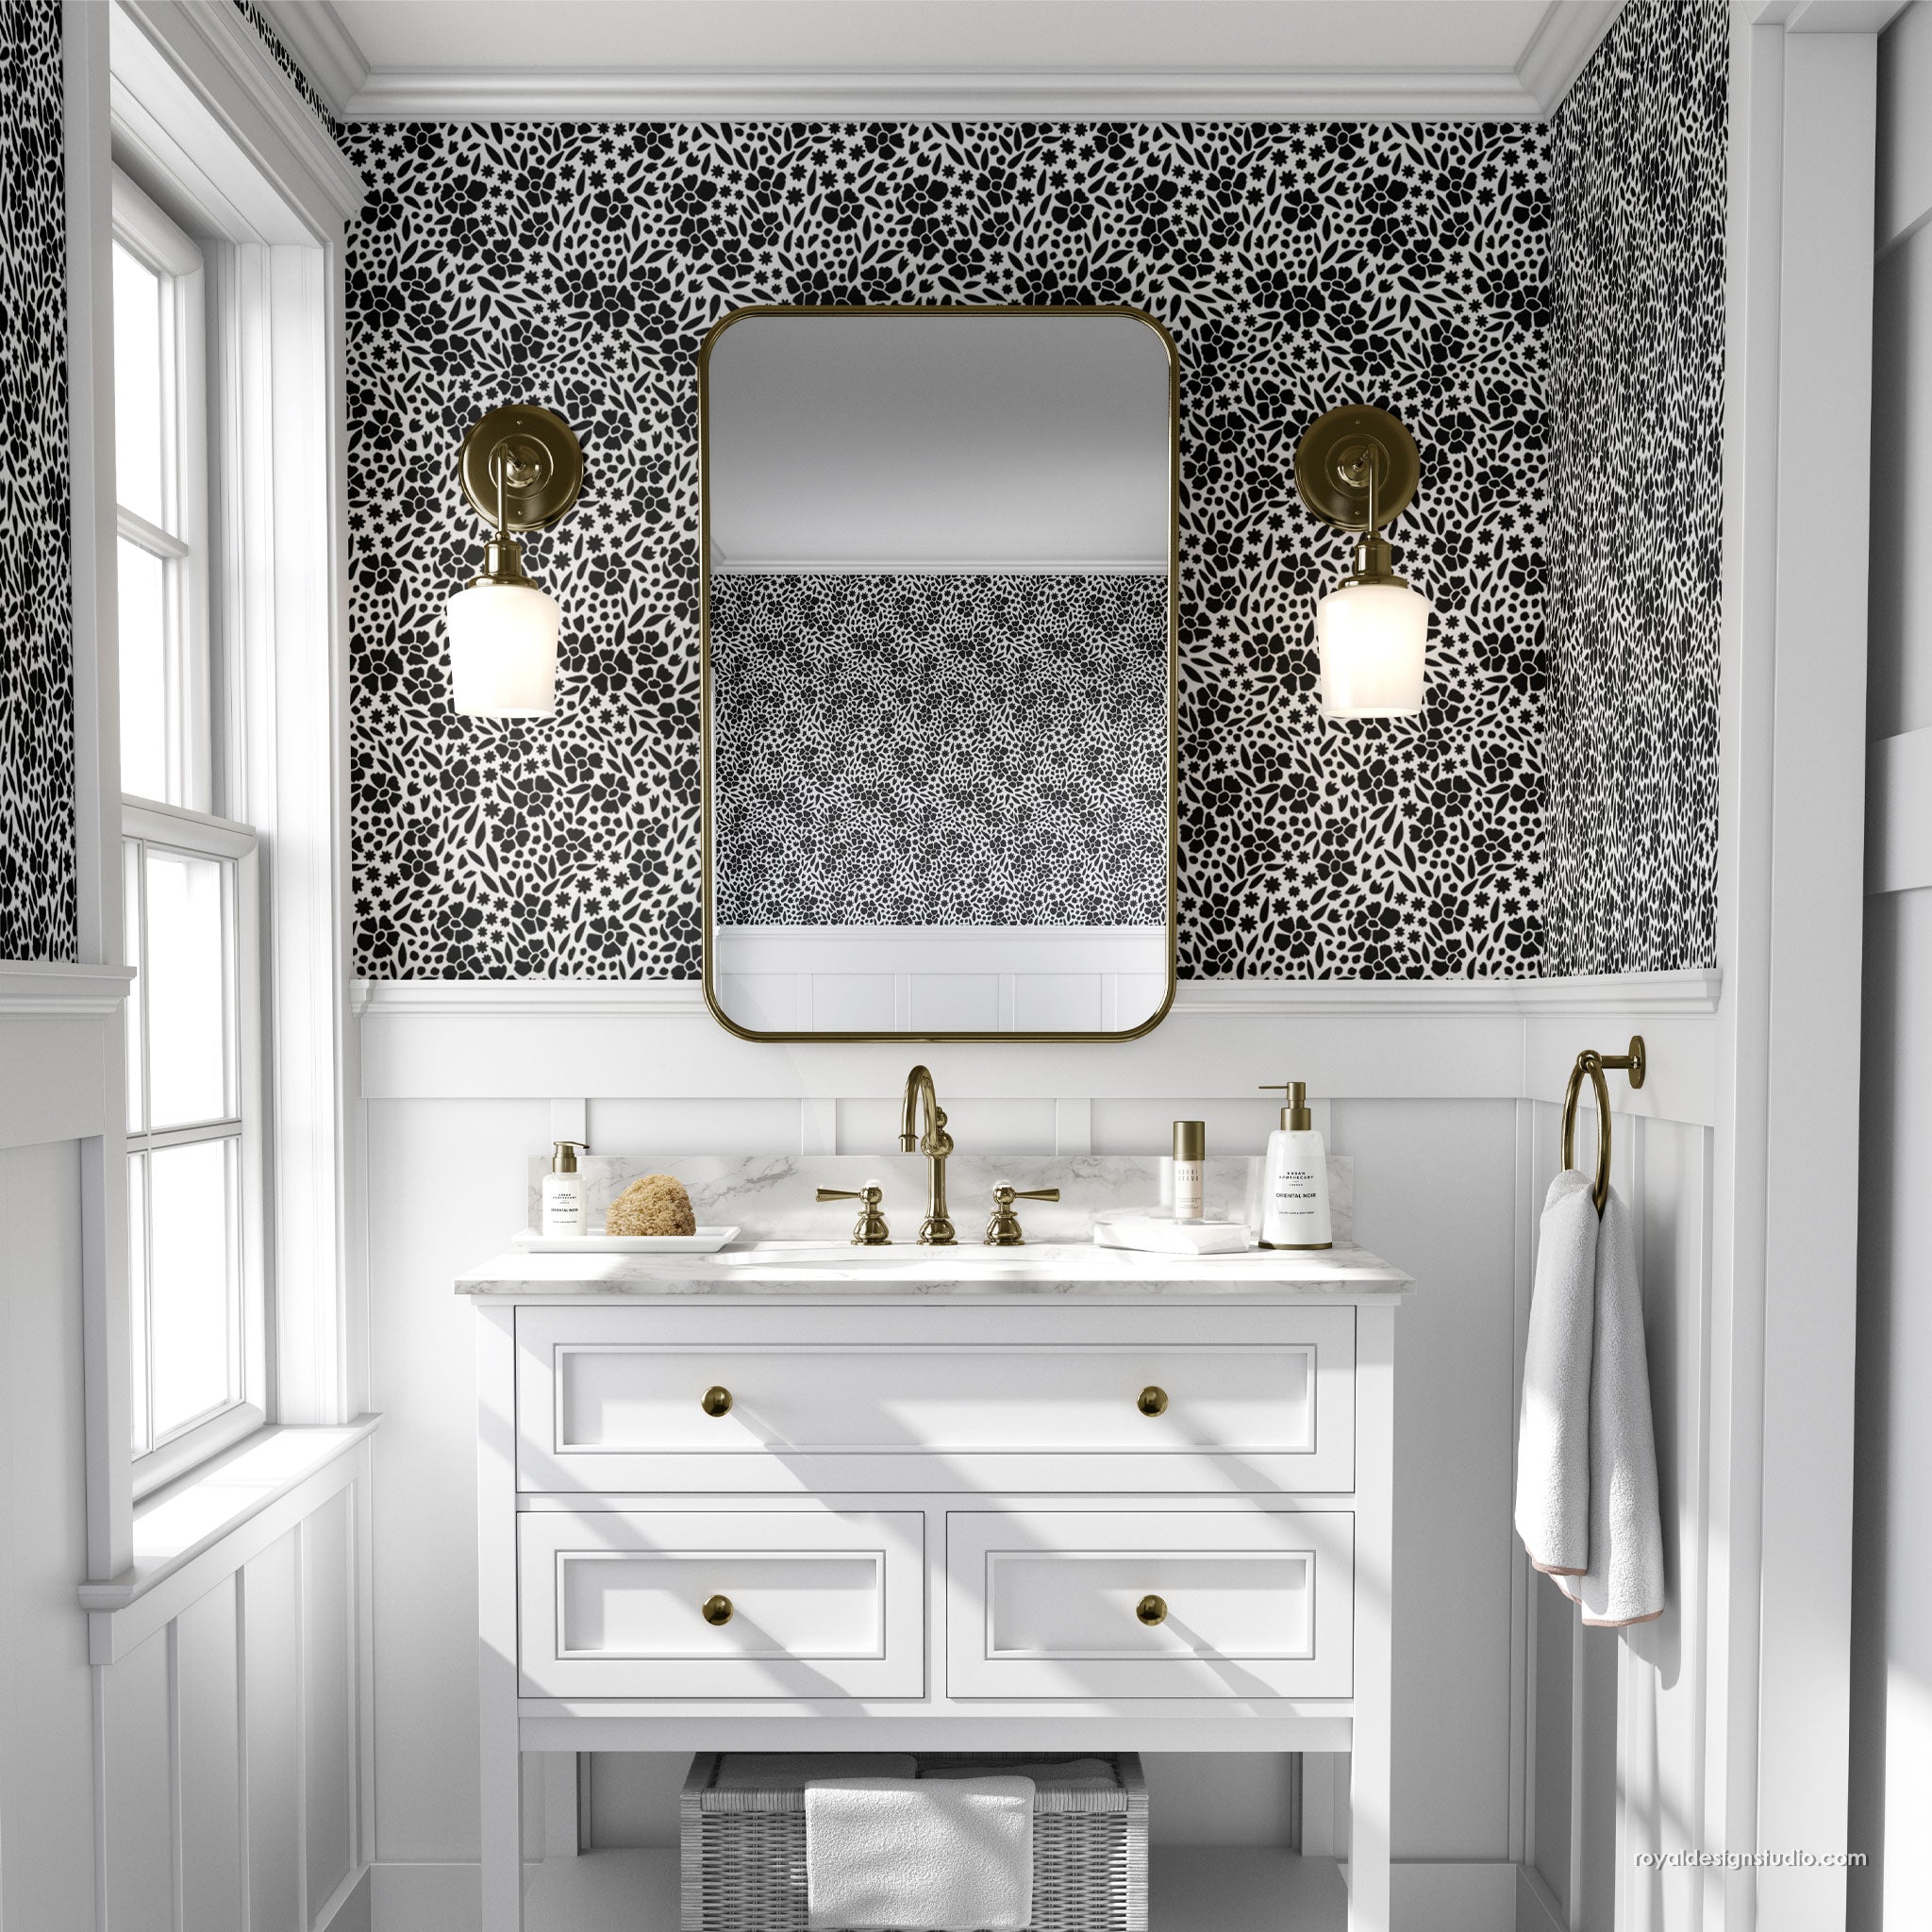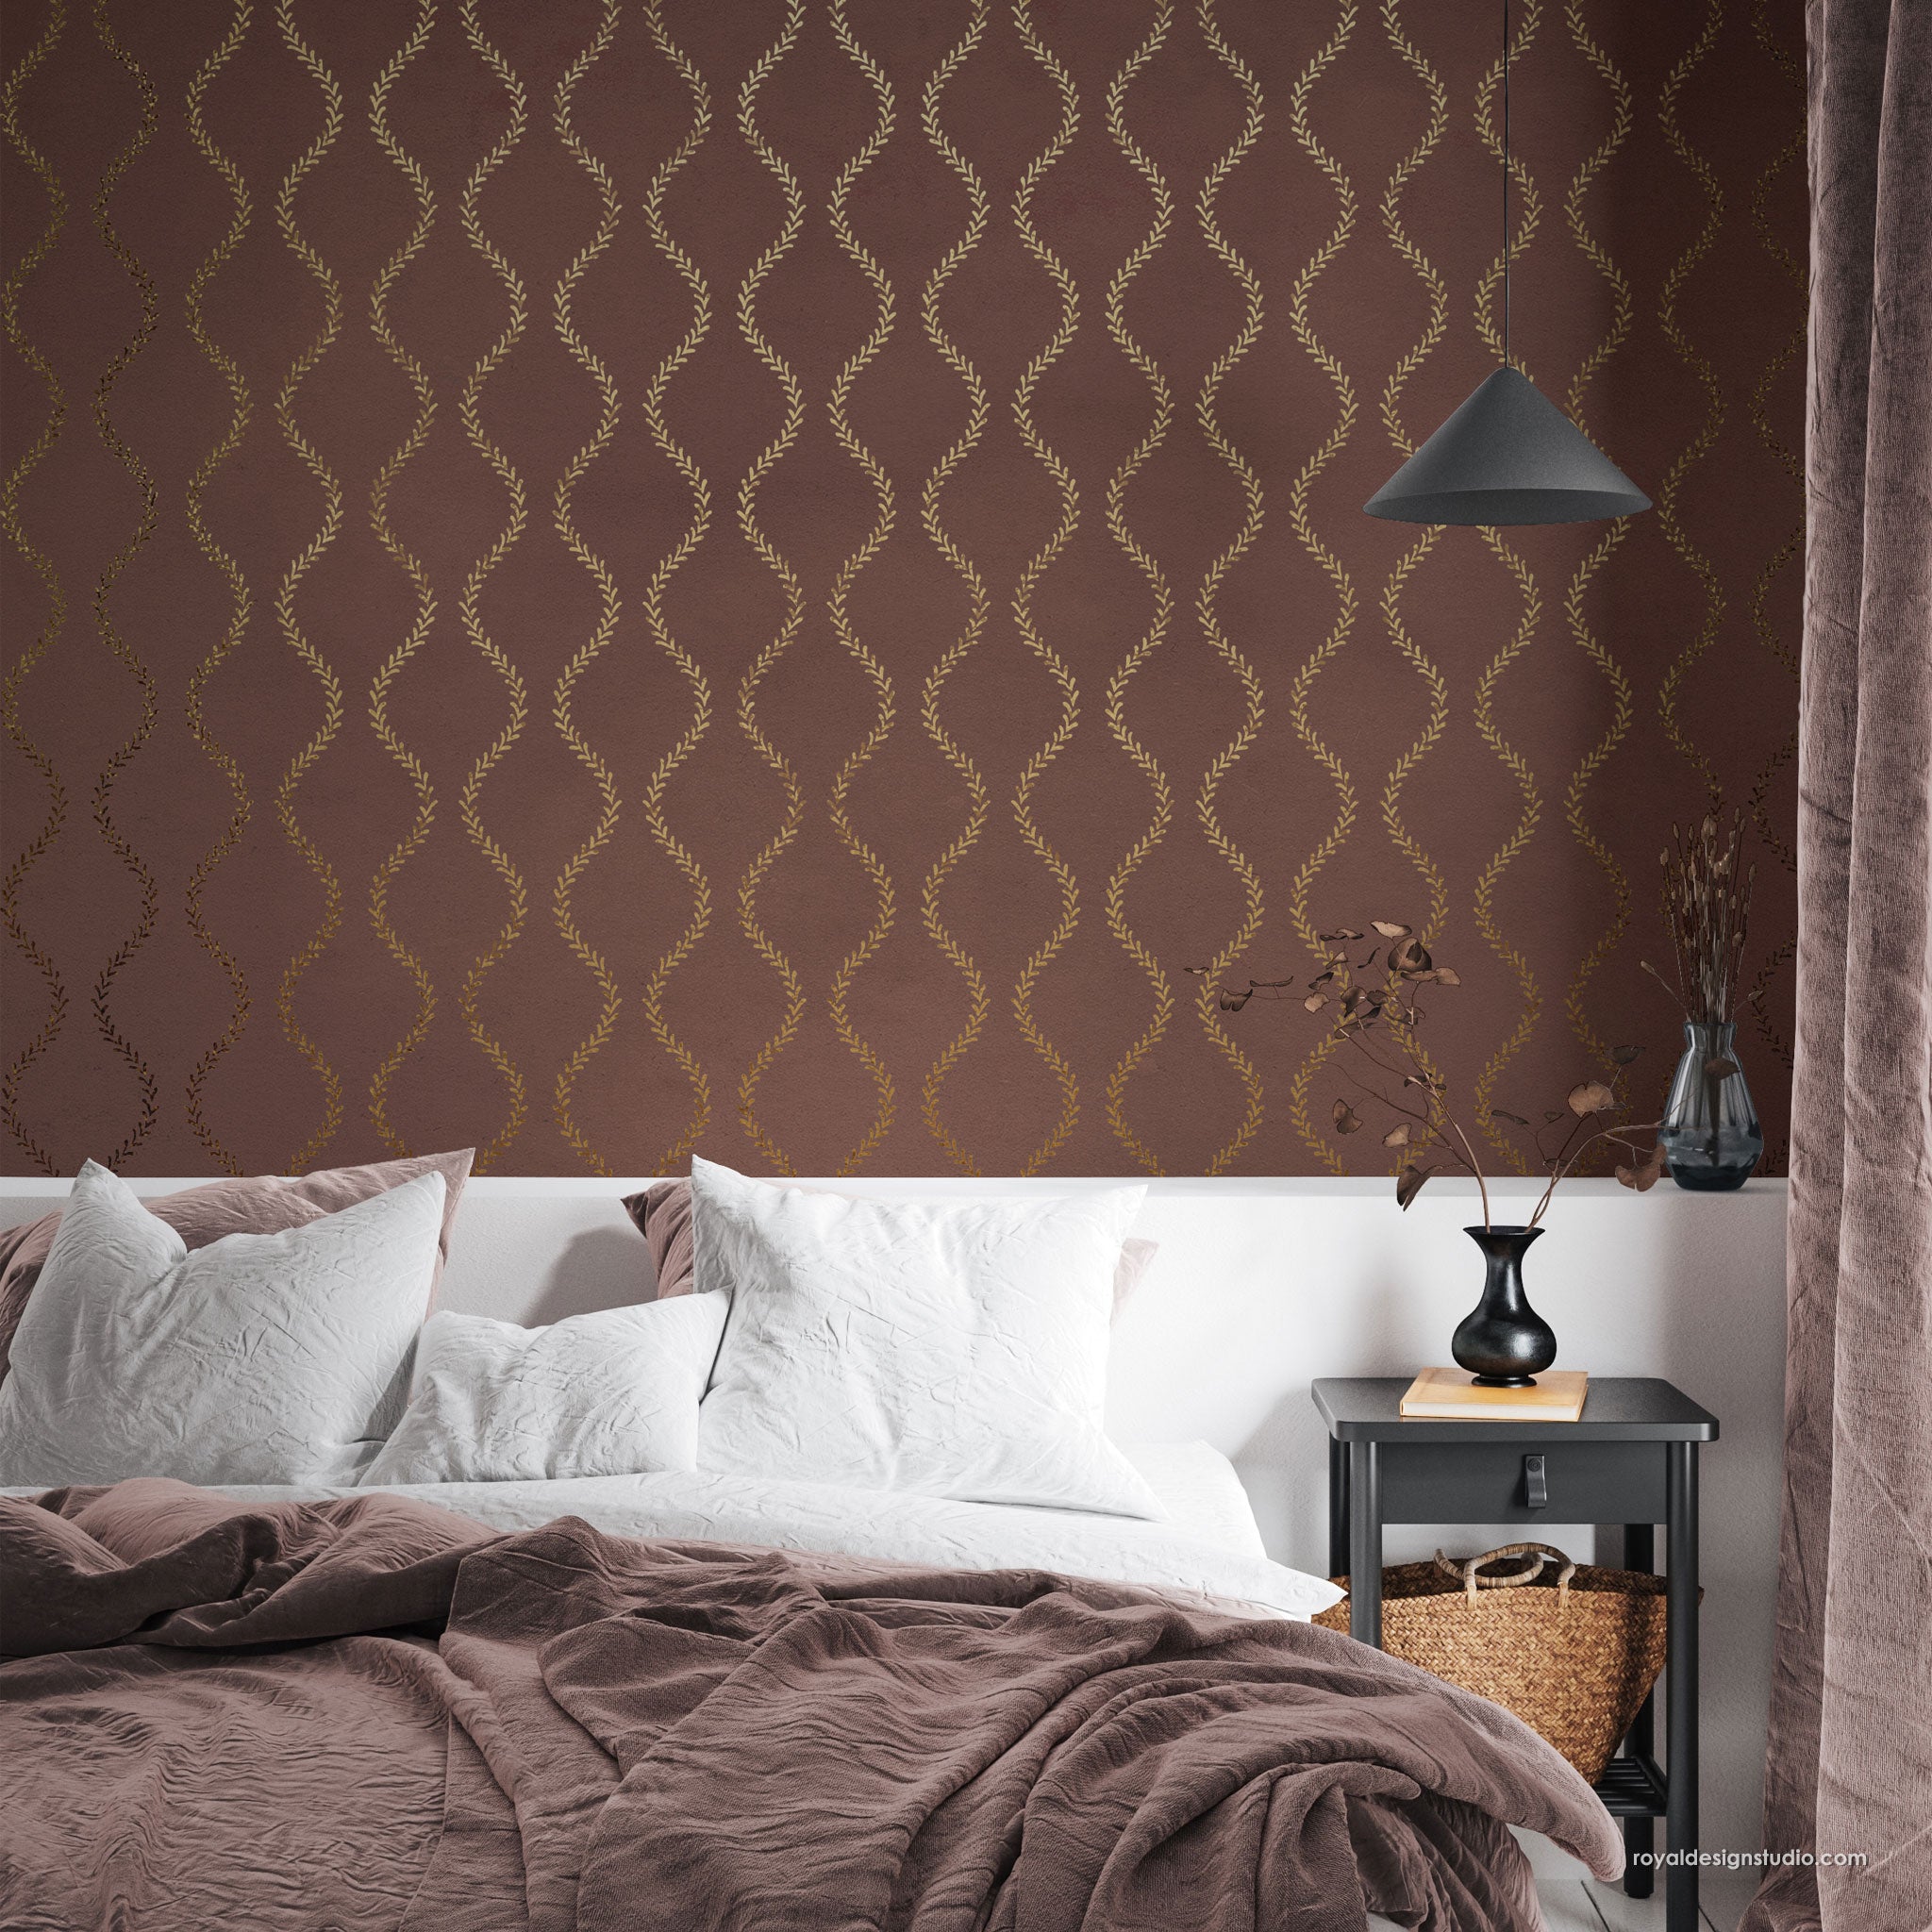
Stenciling is a fantastic technique to have in your DIY arsenal. Learning how to stencil enables you to add pattern and color to nearly every surface for a custom look all of your own. We get a lot of stenciling questions here at Royal Design Studio and thought to share some of the most common stenciling fears and give you a lot of good old fashioned stenciling advice! Ready to start? Let's get to Stenciling!
FEAR ONE: "I don't know where to start and I don't want to get it wrong."
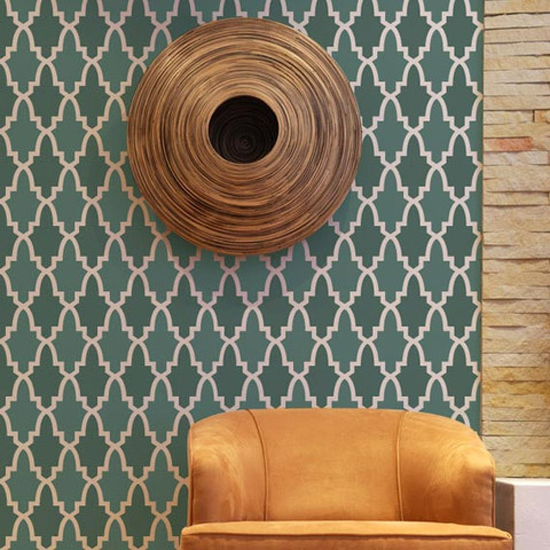
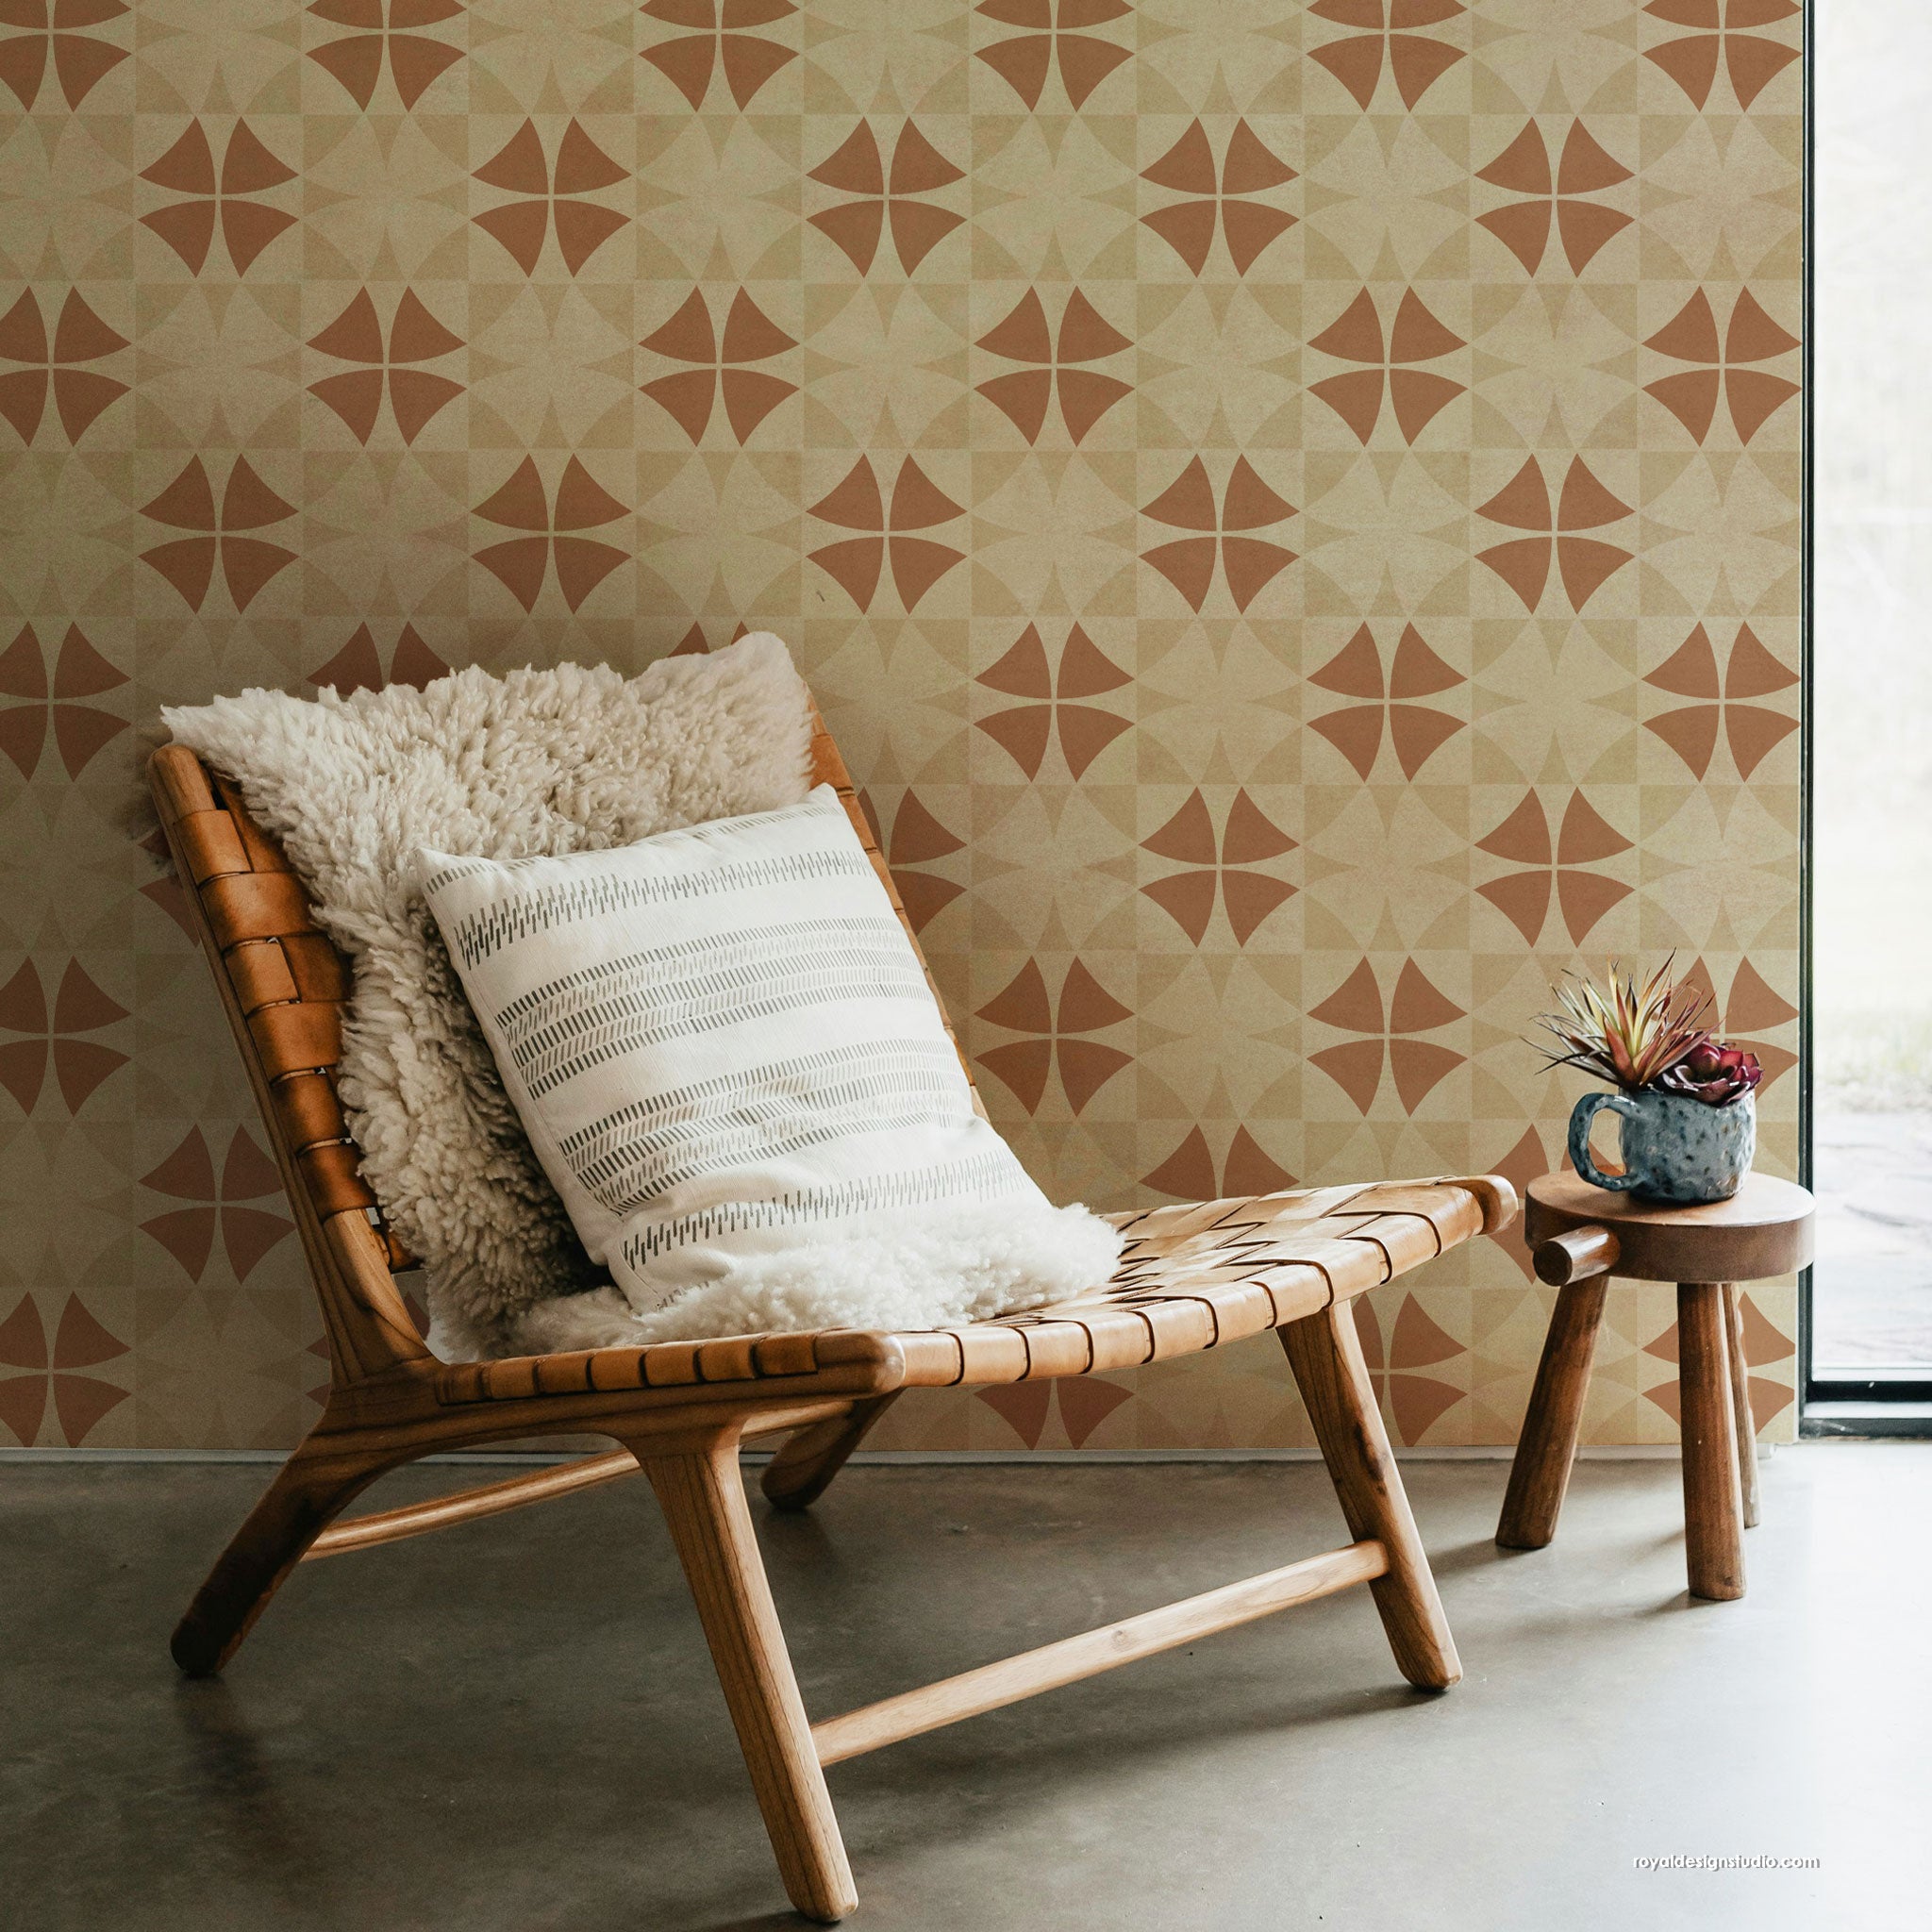
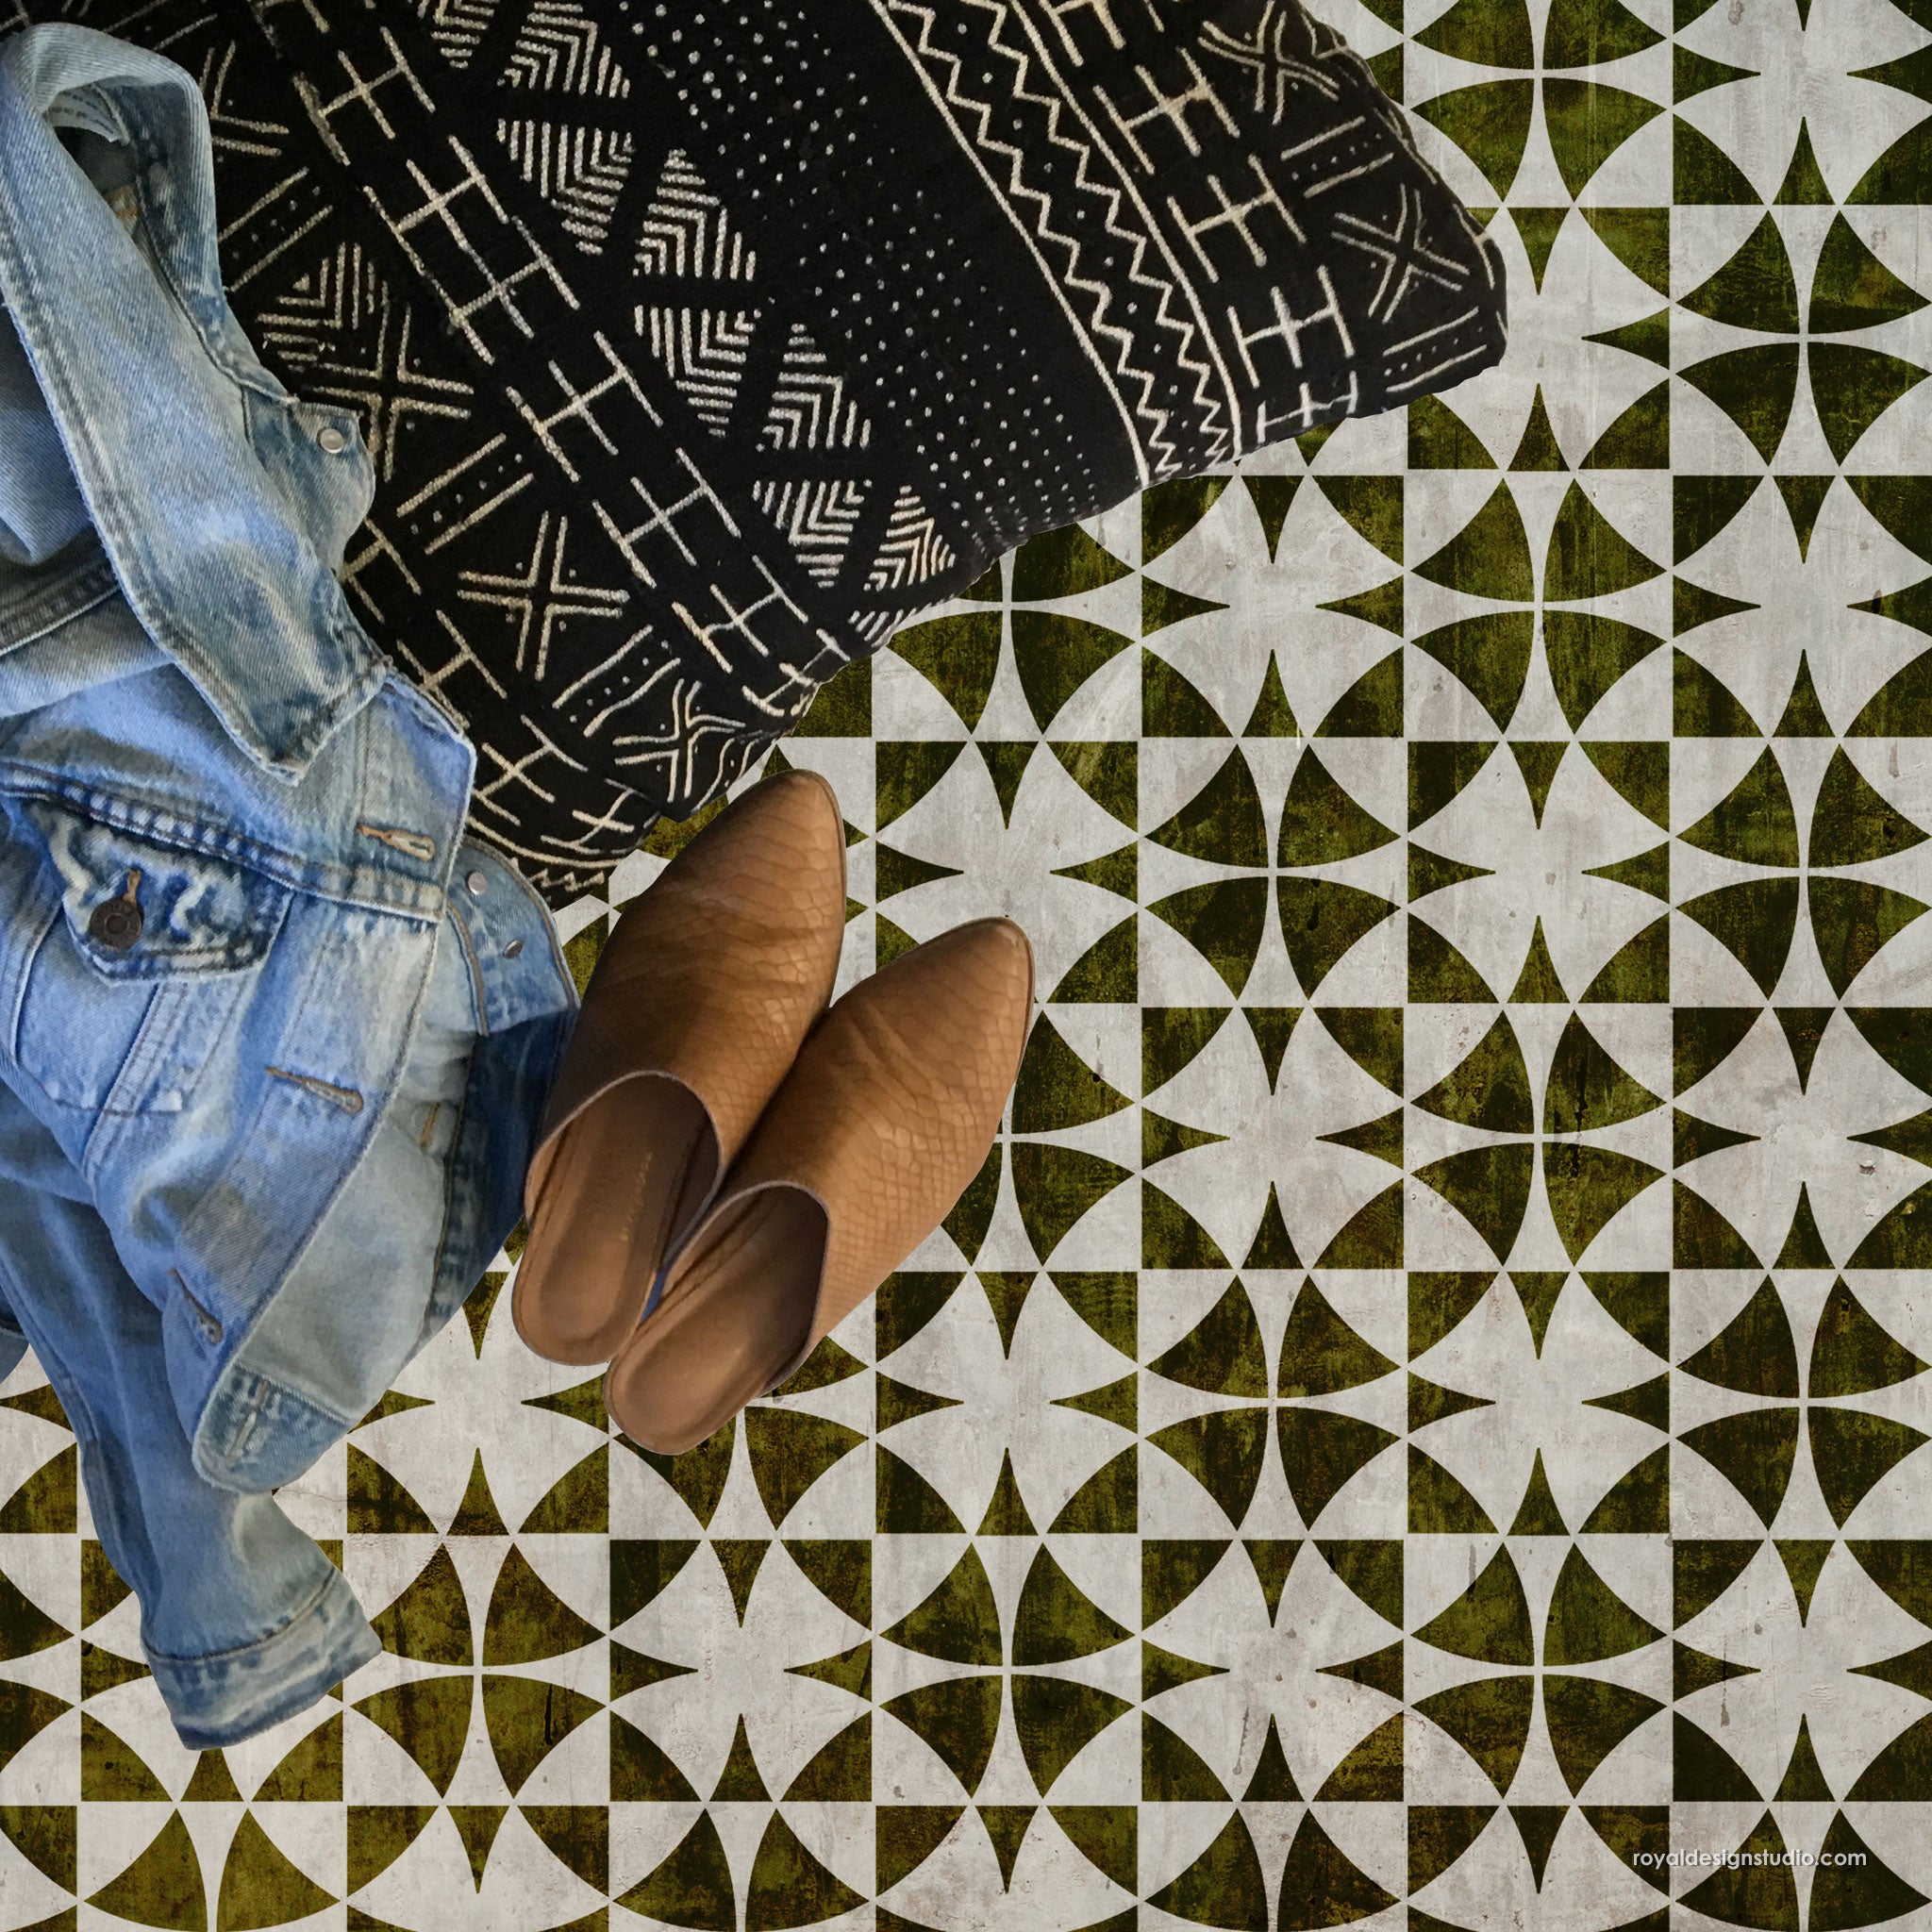
Moroccan Arches Allover Stencil
We hear this one a lot! Starting your first stencil project is a lot like starting a workout routine - it takes a bit to make that first step, but once you're done, euphoria takes over and you wonder why you didn't start sooner! With stenciling you'll need the right materials and tools and also have a predetermined idea of colors for your preferred stencil pattern. Placement of your stencil design has always been key and you can go with an allover stenciled wallpaper look or motif stenciling for any surface. The repeat pattern stencils come with registration marks which let you know where the next stencil placement should be - it does the thinking for you! Rest assured, each stencil ordered from us comes with full instructions on stenciling and we have an incredible array of How to Stencil tutorials on our site as well.
FEAR TWO: "I don't know what supplies I will need."
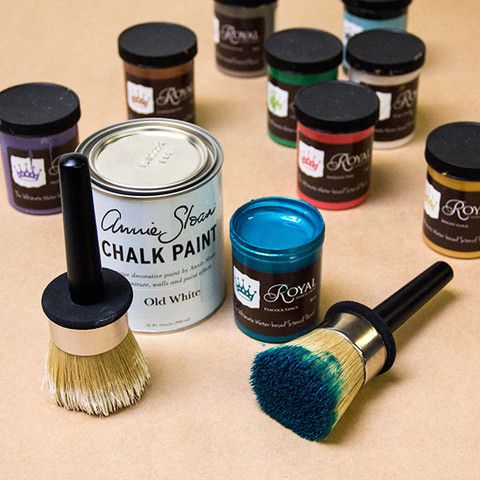
You'll need a paint medium and an application tool, along with paper towels or a paint tray for offloading extra paint. For the medium, we highly recommend the Royal Stencil Cremes as they are made specifically for stenciling - they dry fast for quicker stenciling and are rich in color so you're not going over the same area 2 or 3 times. You can also use acrylic paint, fabric paint, Chalk Paint® and latex paint as well - all should cover easily, but latex paint will take the longest time to dry while you are stenciling. As to the tools, many like using a roller, but there are also quite a few (if not more) who prefer using a stencil brush. [There is also a larger 2" allover stencil brush and an even bigger Super Large 3" Stencil/Wax Brush to make the stenciling go way fast.] We've found that the best roller tools for stenciling is the Flocked Stencil Roller Set.
FEAR THREE: "My paint always seems to seep under the Stencil"
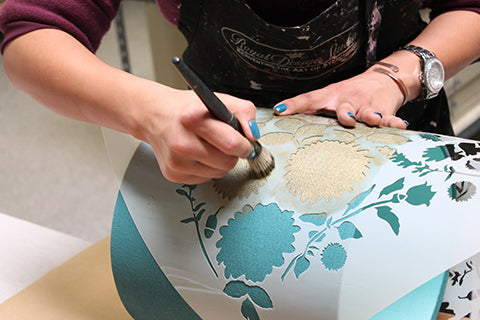
Forest Floor Damask Stencil from the How to Stencil a Lampshade Tutorial
Simply put: You have too much paint on your brush or roller. Make sure you offload them fully onto a paper towel or paint tray, almost as if you have a dry brush. This will allow you to control the application of paint on the stencil. We have a handy-dandy Basic Brush Stenciling Tutorial and a How-to for Making Roller Stenciling Clean and Crispy so that you can see visually how to master 'dry' techniques for both applications. Make sure that you also secure the stencil with tape or stencil adhesive to help hold the stencil in place.
We hope these tips and tricks have helped you further enjoy the world of Stenciling! Let us know in the comments if you have more questions for us - we love to help!
Be sure to check out these fab How-to Stencil Tutorials!


