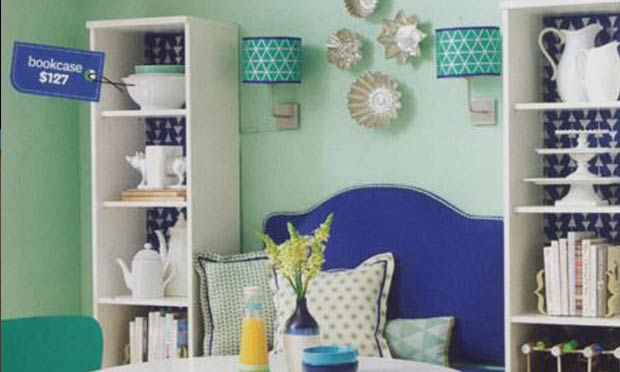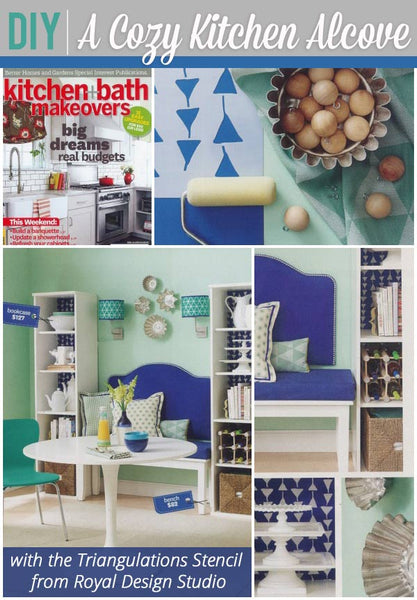
Could your kitchen use a fresh summer upgrade? We have the perfect idea to create a cozy, custom alcove at a low cost thanks to this Royal Design Studio stencil feature in Kitchen + Bath Makeovers Magazine! Every issue of the Better Homes and Gardens owned magazine inspires us with amazing designs, floor plan transformations, and can-do tips for creating the best space ever. In the Summer 2015 issue, the magazine hunted down the perfect way to expand your seating, storage, and style with a cozy alcove. See how you can make one yourself – no crowbar or contractor needed!
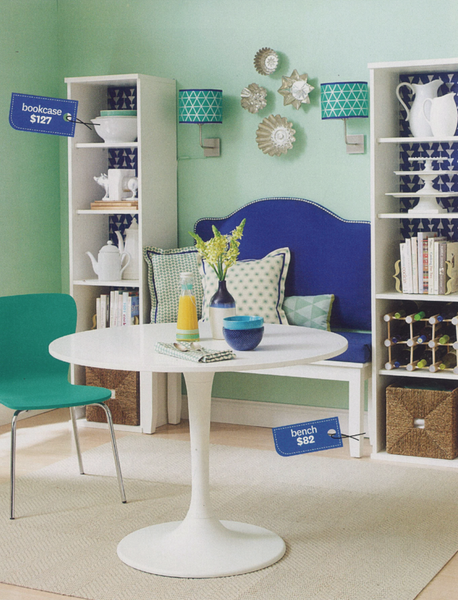
The trick is to simply anchor the space of both sides of a wall with 2 tall premade bookcases. A great way to accent items in a bookshelf is to stencil the back of the bookcase! Here, they used our Triangulations Furniture Stencil from our Bonnie Christine Collection in contrasting navy and white that highlighted the modern pattern.
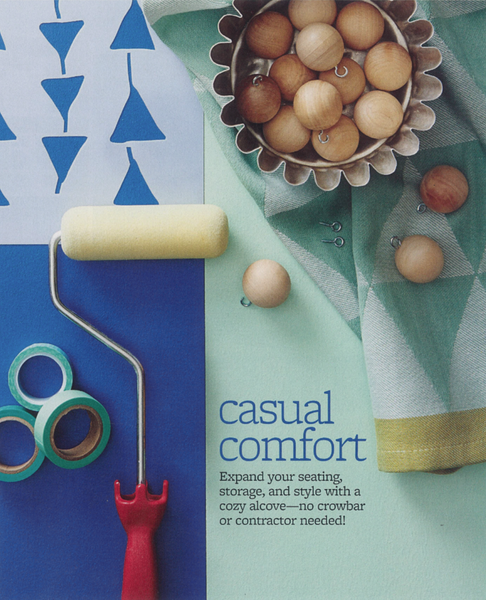
To stencil the back of a bookcase, you should first remove the shelves and use painter’s tape to protect the adjacent surfaces. Paint your base coat on the back and let dry. Choose your favorite pattern from our large collection of stencils. Here, they chose our Triangulations Bonnie Christine Furniture Stencil to continue the modern style of the room. Position your stencil at the center top of the back and tape in place. Load a small roller or stencil brush in your chosen accent color. Make sure to use the “off-loading” stenciling technique. Let dry. Repeat the stenciling process downwards along the centerline and then on the sides.
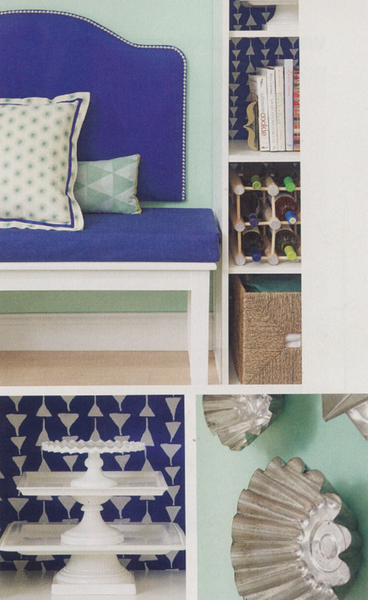
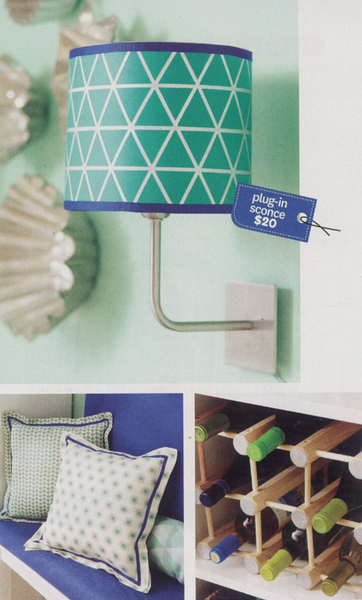
Complete the faux alcove look by nestling a headboard, cozy bench, and seat cushions between the tall bookcases that you stenciled to get the illusion of a built-in banquette. Then add wall art, a wine rack, and bookcase items to your new and improved space. Ta da! Now you have a DIY alcove that fits your style and budget.
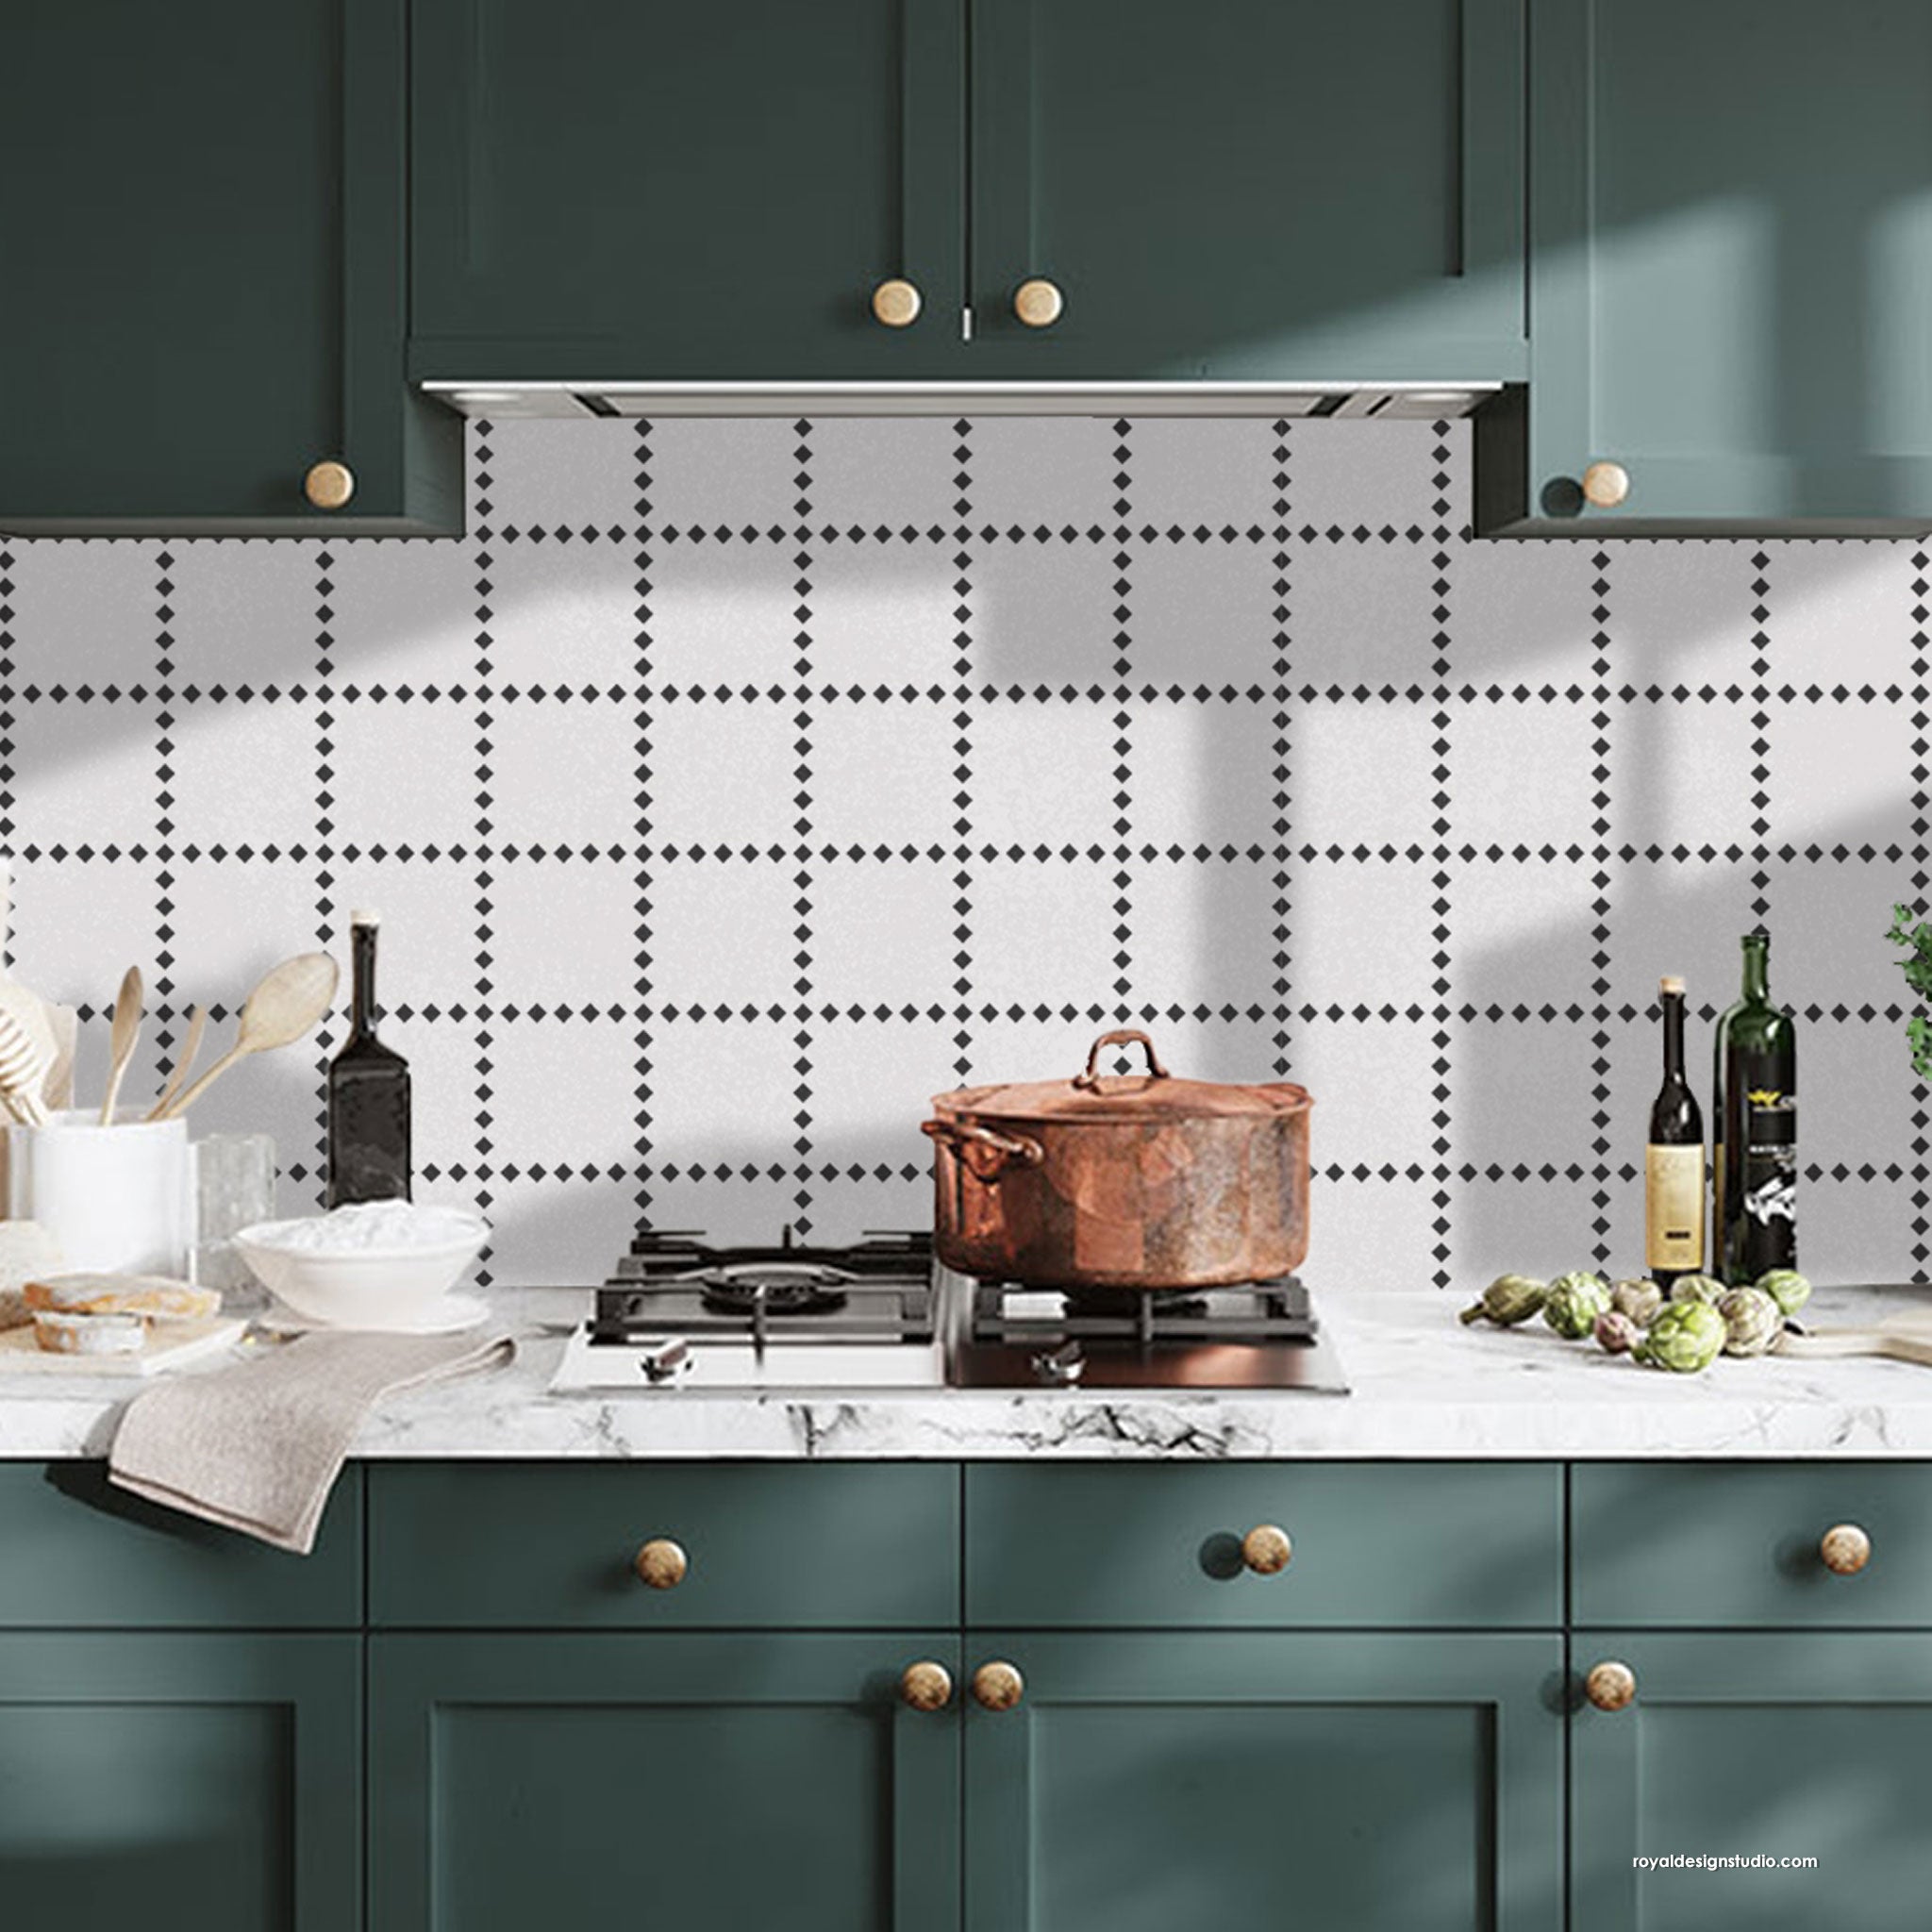
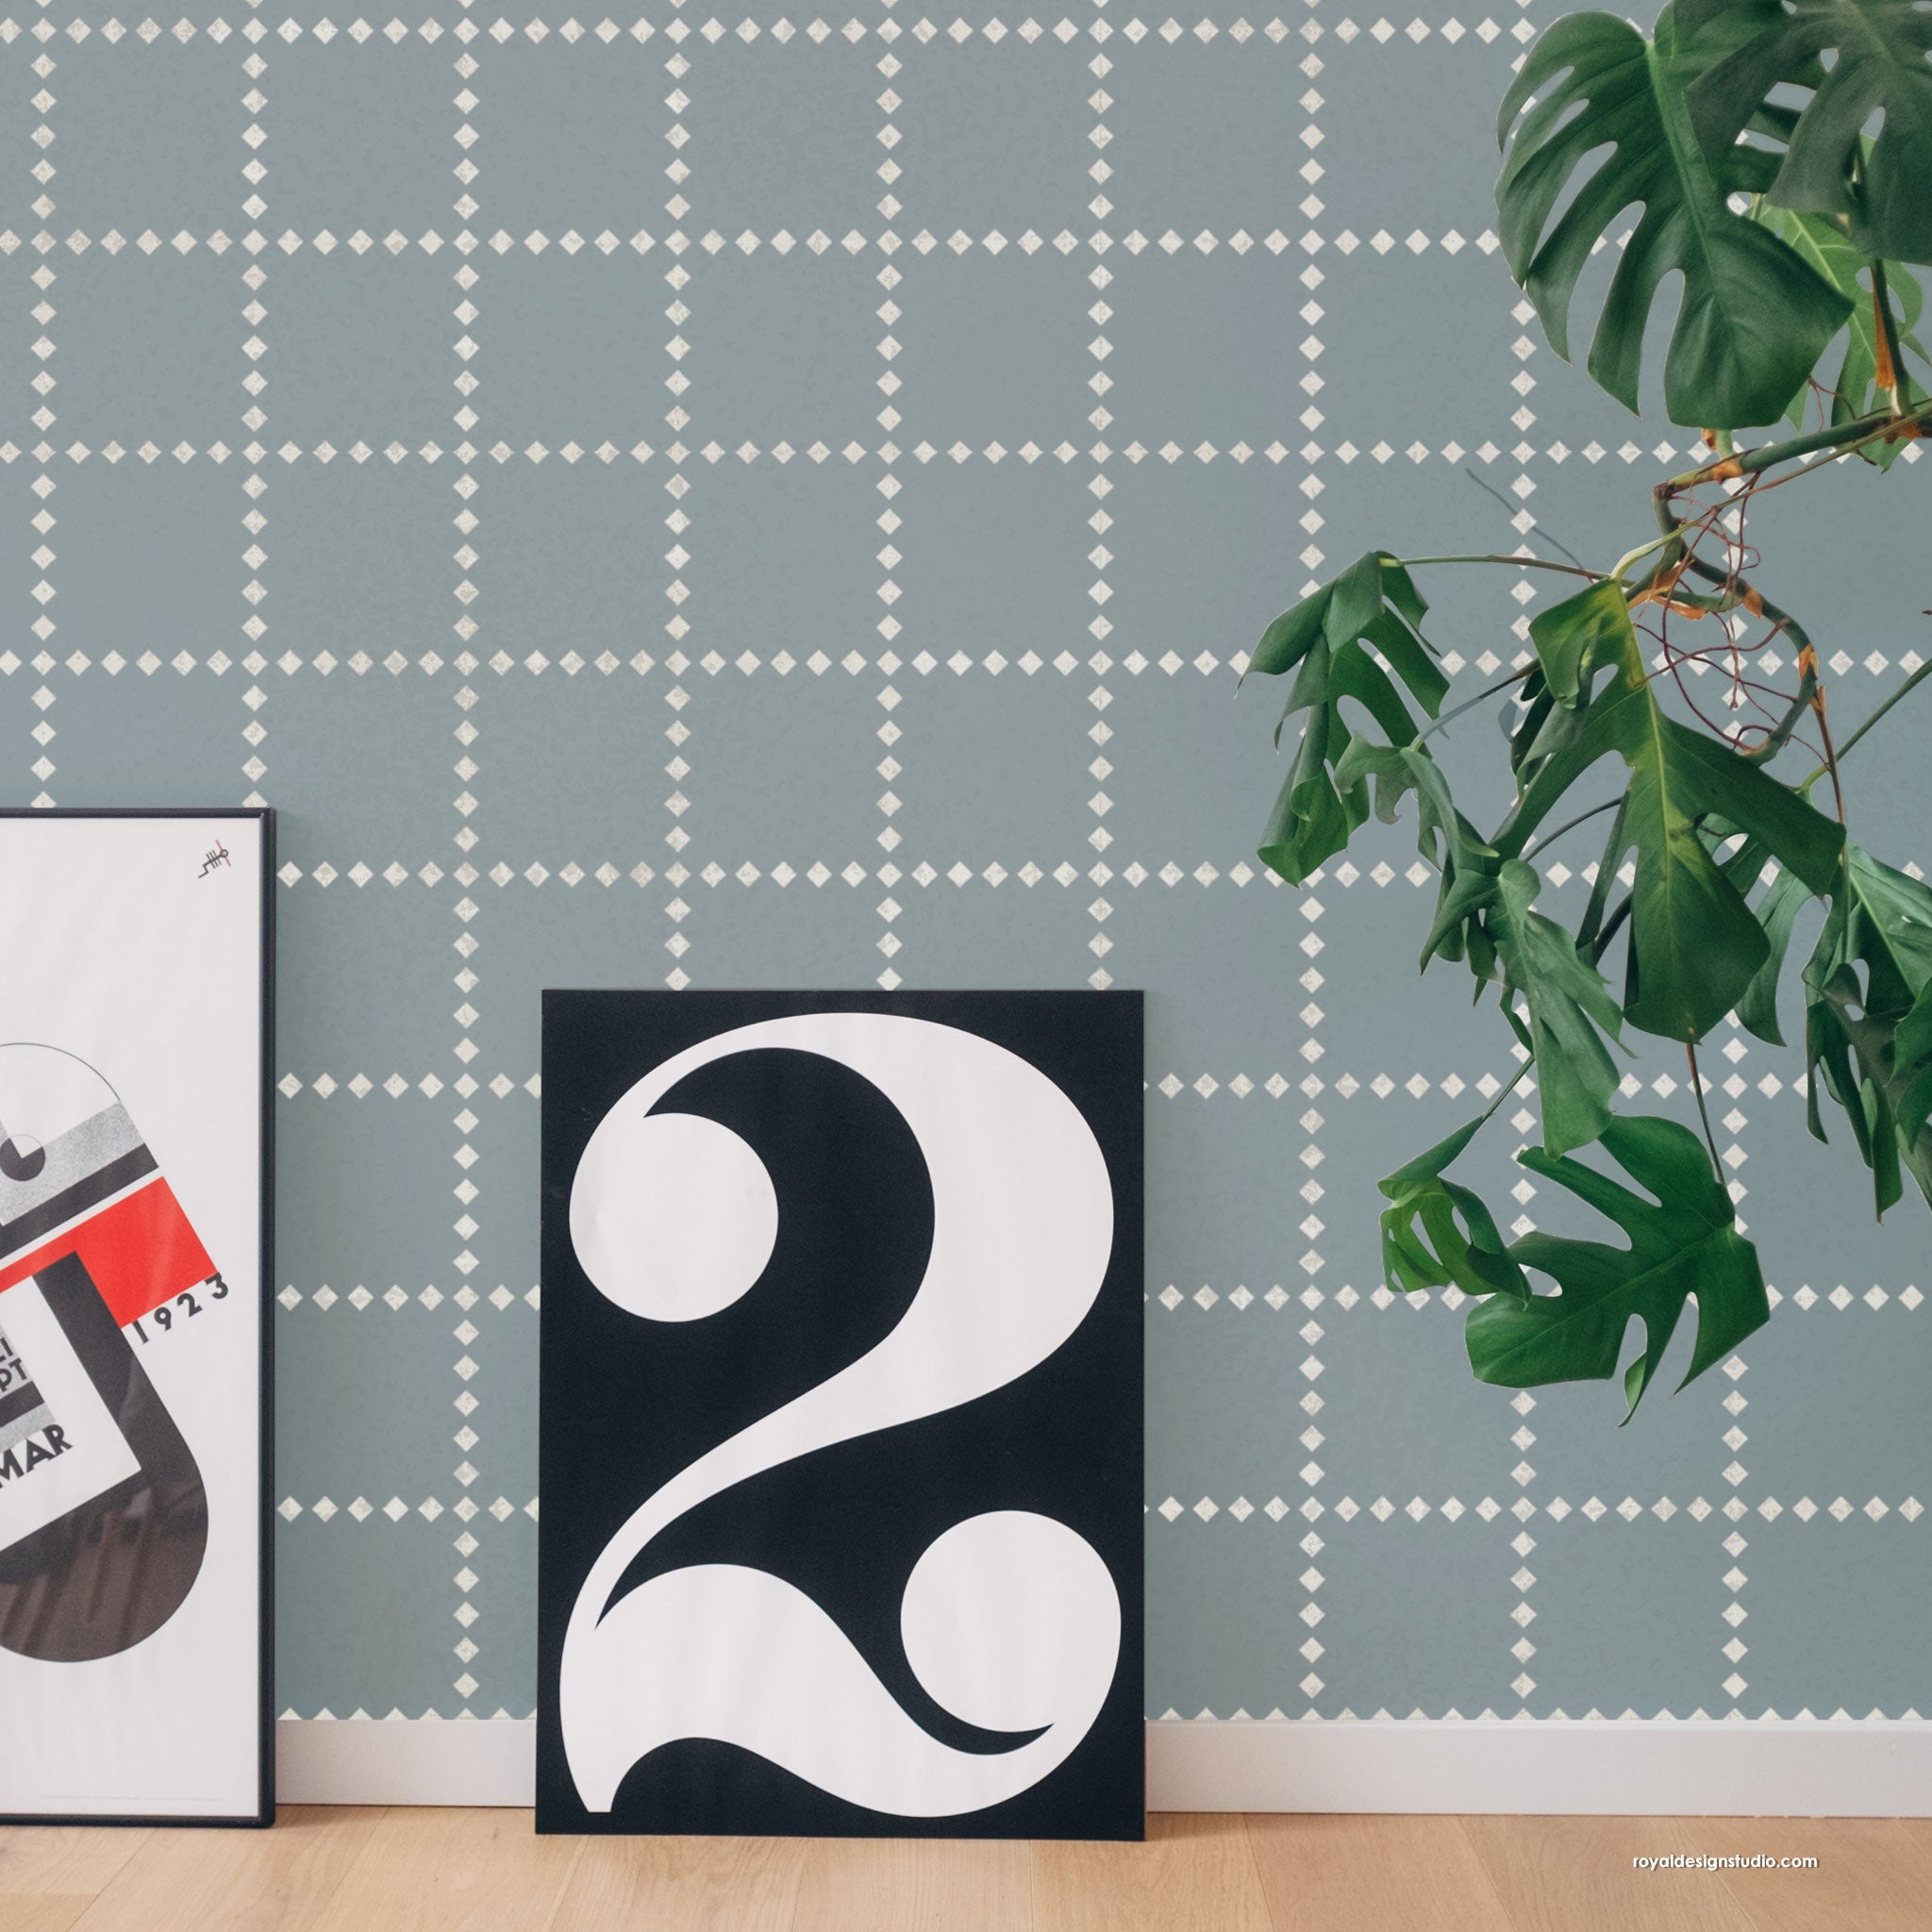
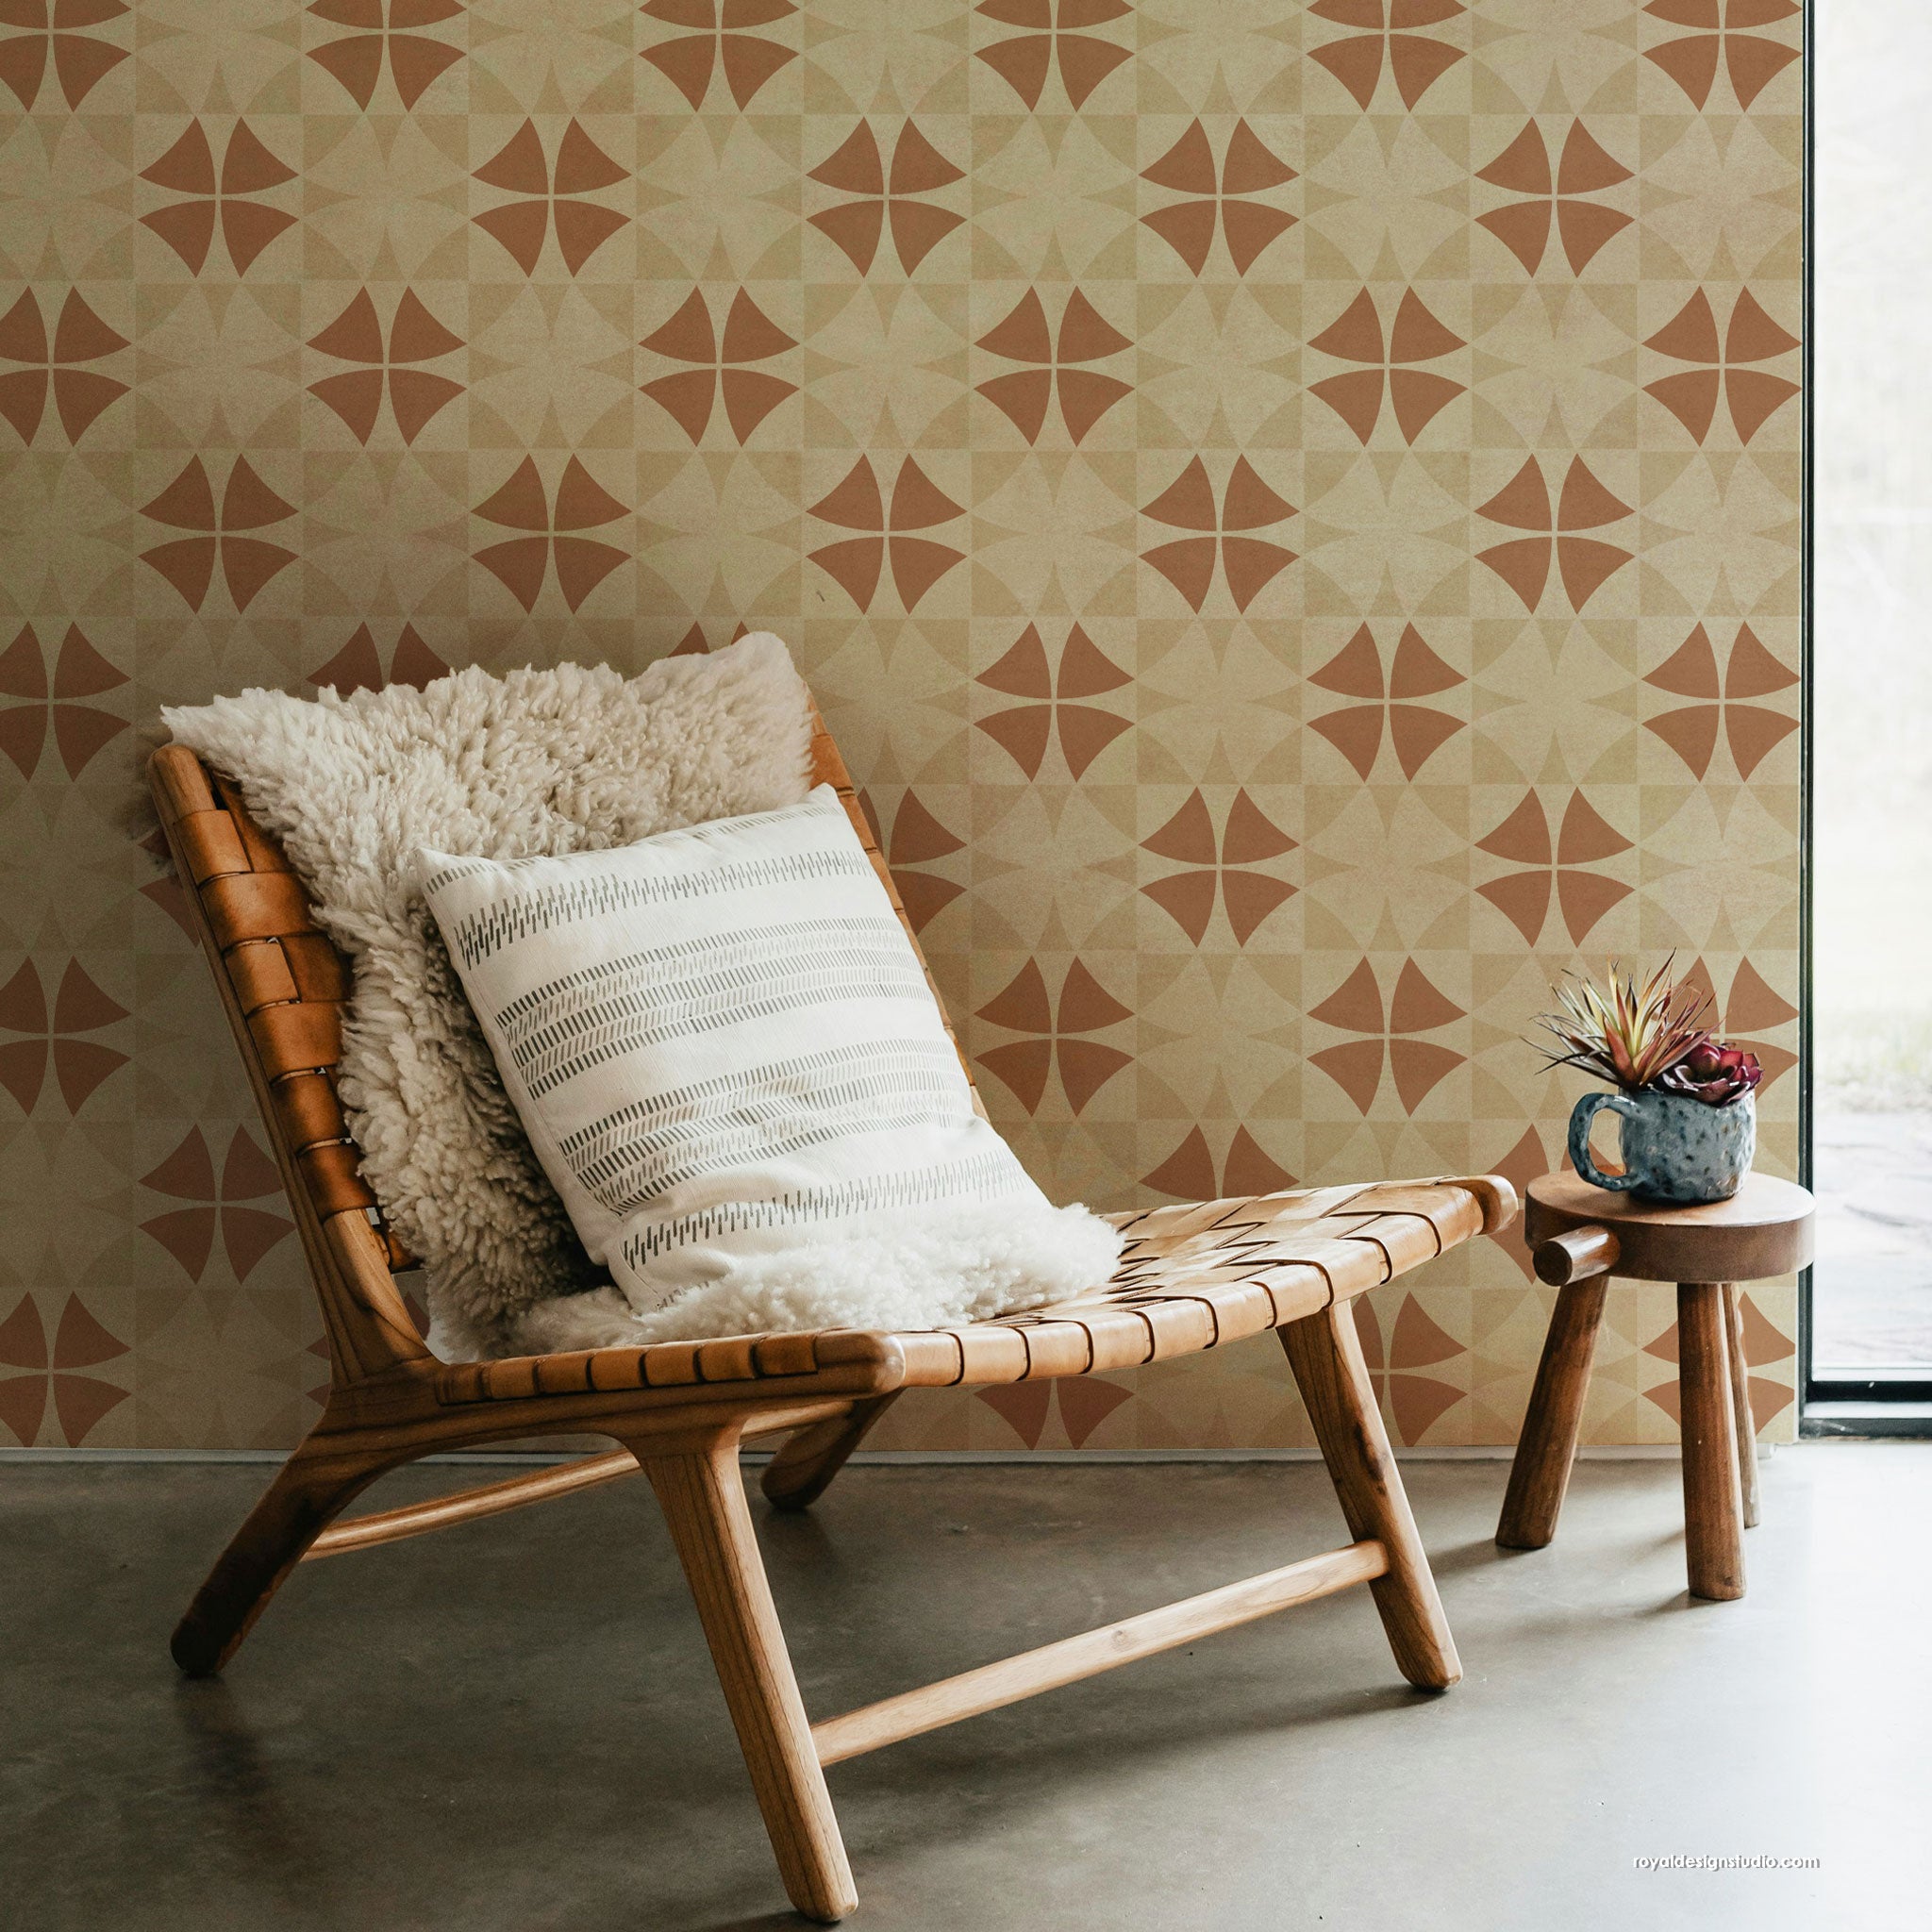
Want more ideas for stenciled kitchen décor? Check out these other kitchen-tastic stencil ideas from Royal Design Studio.


