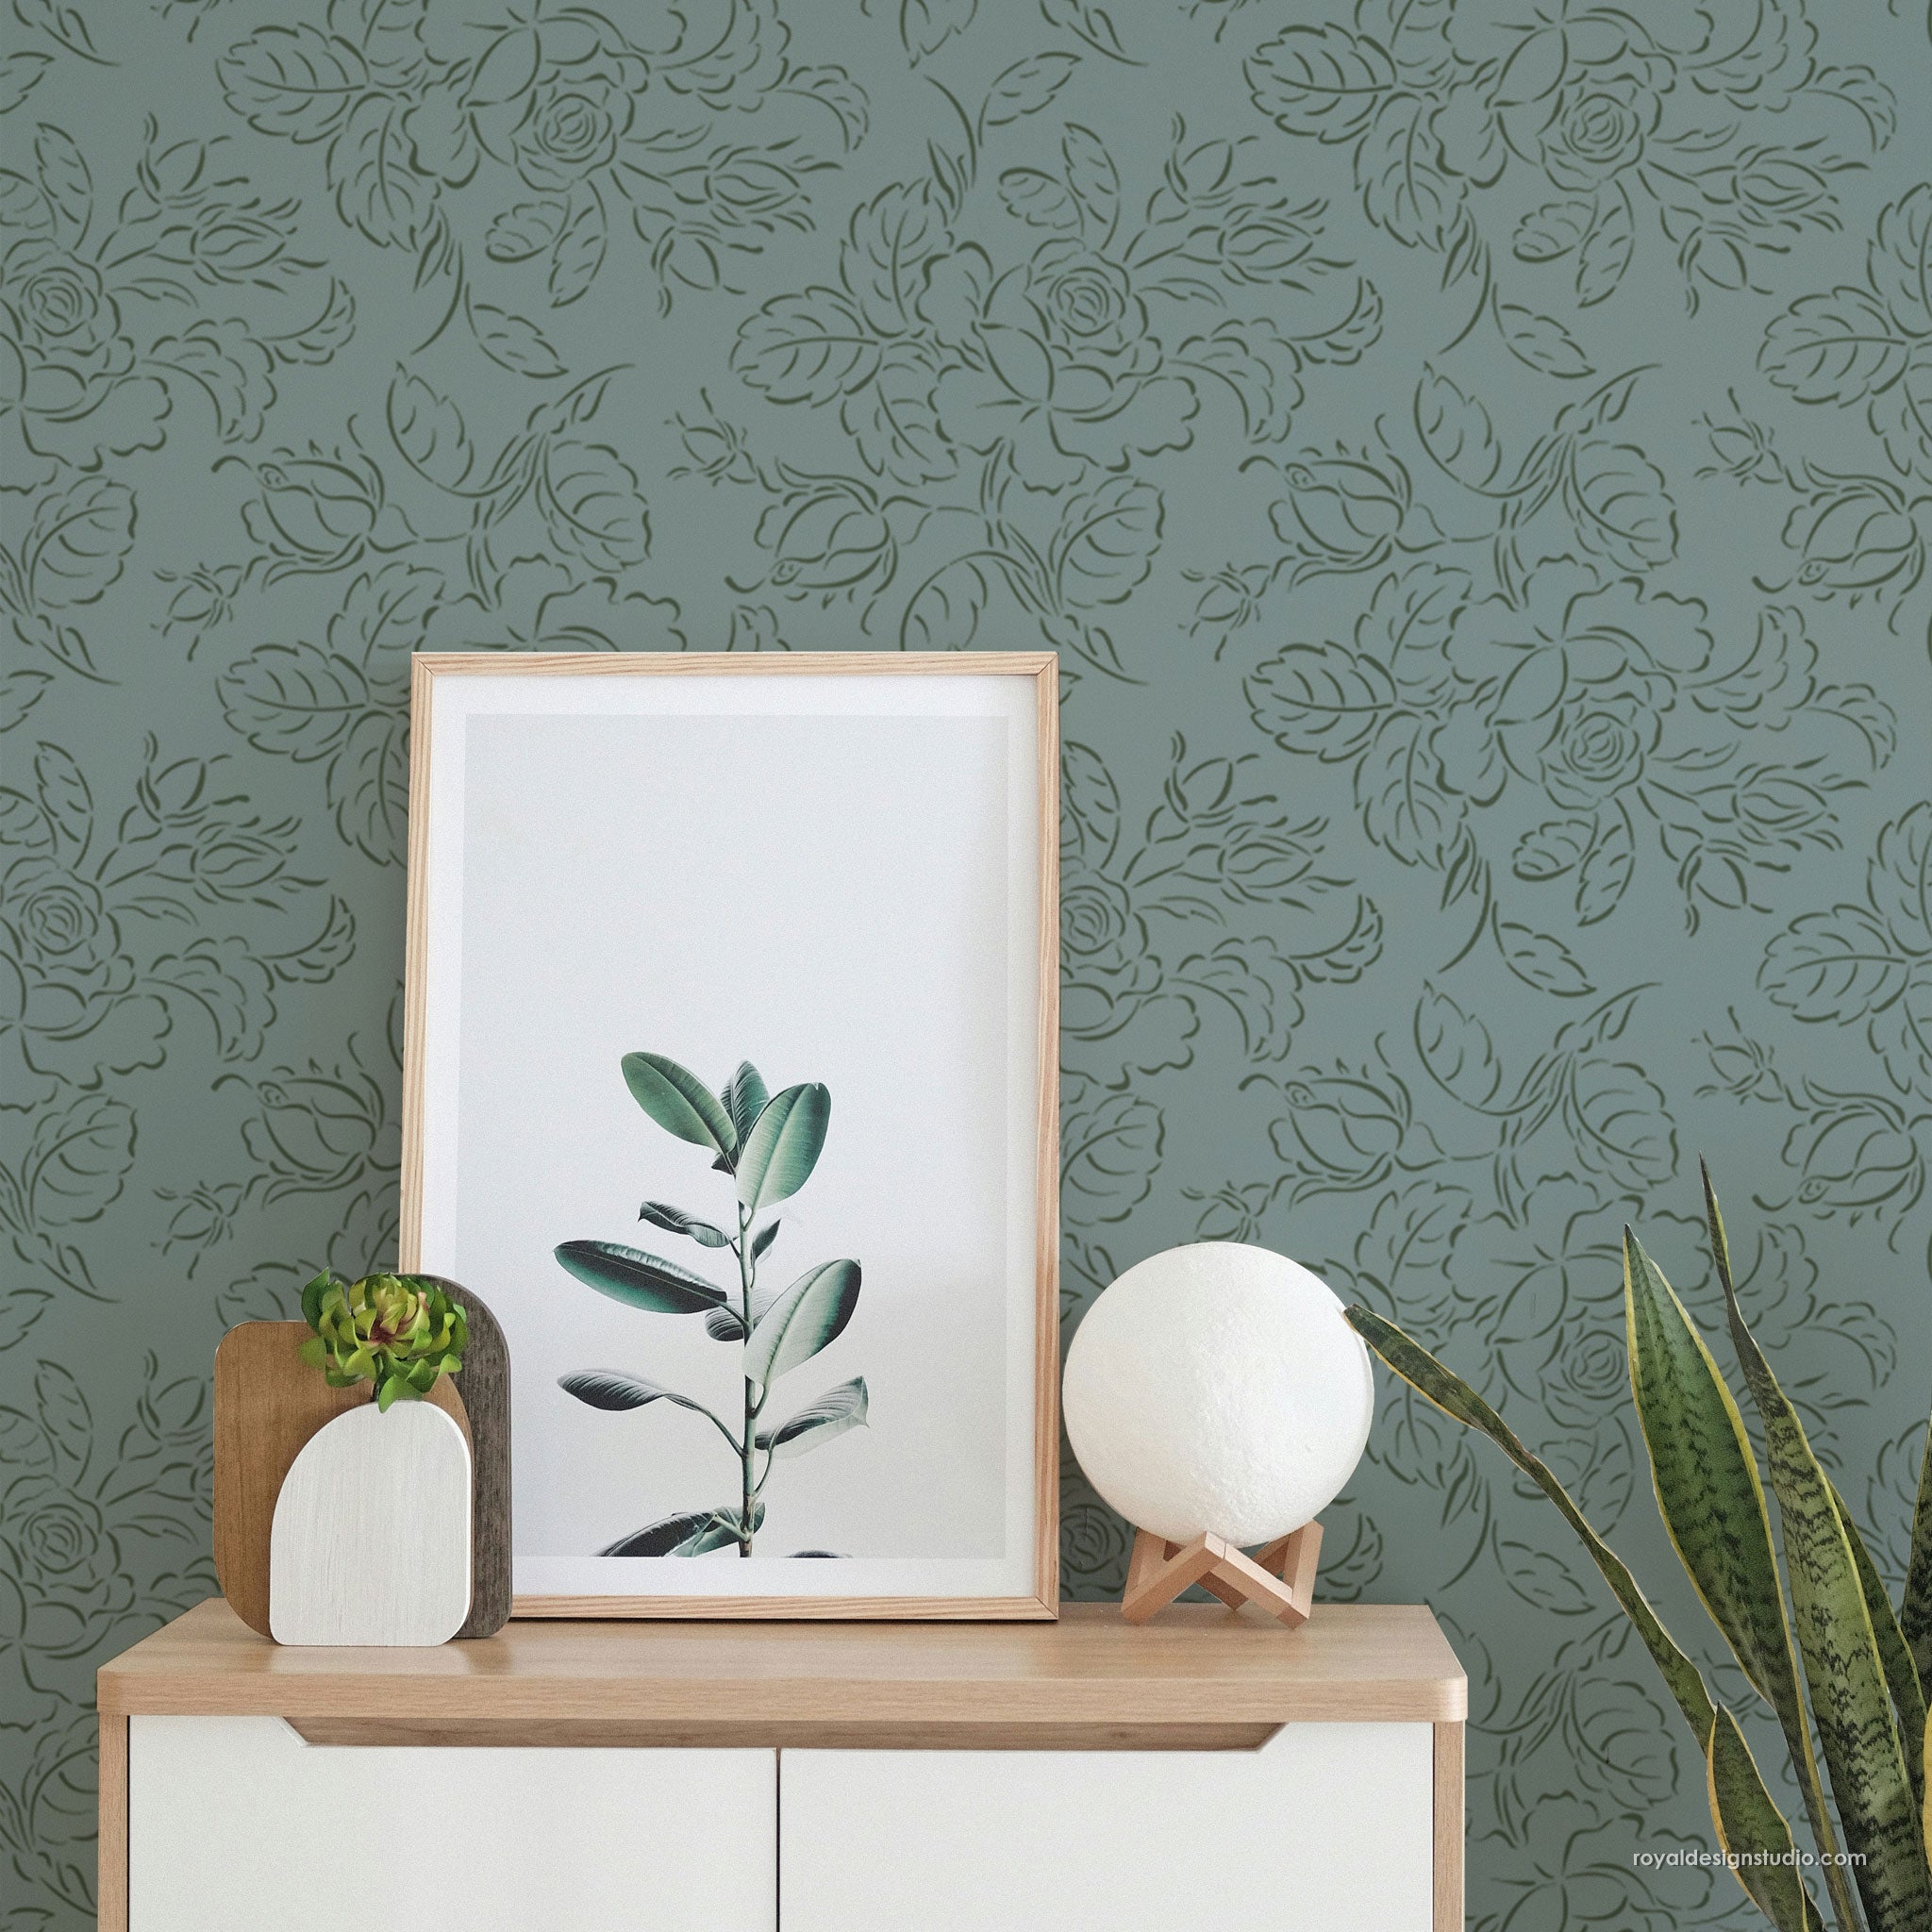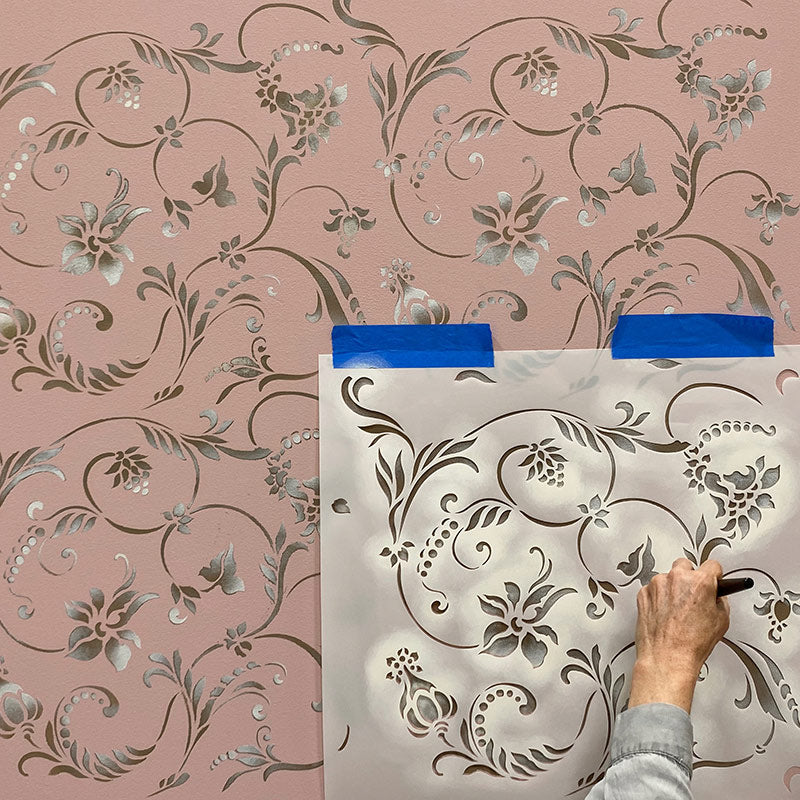
Our Flourish Damask Stencil has been one of our most popular stencil patterns for over 20 years. How’s that for longevity in this day and age? We decided to give it a little “stencil update” by showing you an easy stencil idea that can add depth, dimension, and an artistic touch to any stenciling design.
Watch the video below and read on to learn how to use a stencil brush to add simple white highlights throughout any stencil pattern.
Stencil Supplies
- Flourish Damask Stencil from Royal Design Studio
- 2-1 “ Stencil Brushes
- Painter’s Tape, Paper Towels, Bubble Level
- Paint: Behr Ultra Interior Flat in Linen White and a custom brown and pink color*
*Sorry we can’t provide exact colors-we try to use the paint we have on hand. The dirty pink color was a mix of a medium pink with Linen White and the taupe/brown color added.
Steps to add some Flourish to your stencil project
Step 1: Tape the stencil in place for your first repeat and check to make sure it is level by placing a bubble level on top and making sure that the bubble is centered. You only need to do this on the first repeat.
Note: This stencil pattern is asymmetrical so it’s possible to begin the stencil pattern at any point on a feature wall and continue repeating the pattern to the edges from that point.
Step 2: Stencil the pattern completely first in the base color; in this case, a taupe brown. A stencil brush is the fastest way to stencil an open pattern like this, as you can see in the video. It goes very fast!
Step 3: Load and offload a separate stencil brush with the Linen White color. This color will be used very sparingly, so be sure you are using a dry brush. Selectively use the white color in design areas you want to “highlight”.

PRO TIP!
This step is really a personal “artistic decision”. I highlighted areas like the centers of the larger flowers, the berries, and tips of leaves to make them “pop”. I also went back later and added additional highlight areas for more interest, and took some out by adding back . I recommend that you do some practice samples first to get a feel for this new stencil technique and find the result that you like best.
Step 4: Continue to stencil the pattern with the taupe brown base color. Once I established the look that I wanted I decided it would be faster to stencil all the base color first and then go back a do the highlights on a second pass.
Step 5: Clean the stencil and replace it exactly over the first stenciled pattern. Try to stencil the highlight accents on each repeat in roughly the same manner-though they don’t have to be “identical”. It adds to the hand painted effect if there is a little variation.
Follow these links to more inspiring How to Stencil Posts
- Learn how to stencil a customer wallpaper look with 2 colors of paint.